Have you ever wanted your own personal testing server? If so, then you may want to consider creating a local server on your computer. On a local server, only you will have access to it and you will be able to freely experiment and test plugins and themes before using them on live websites. This is very useful to avoid downtime when you want to test out something.
If you take the time to create a local server you should also take the time to recreate your website by creating a local copy. That might sound like a lot of work, but if you want to actually test how a theme looks or if a plugin is compatible, then you need the same environment as your live website. Today I will demonstrate how to install WordPress on a local server using Xampp.
How Can a Local Server Help You
There are many advantages to having a local server that only you can access. Security is one of the first that comes to mind. If you are truly worried that someone might be stealing your ideas, you can safely develop them on a local server. Of course, this means you actually have something worth stealing, which is why many plugin and theme developers create these local servers. Not only does a local server guards their secrets, but it also allows them to test plugins and themes on an offline website with the same functionality of a real one.
Testing is important for many reasons and can make installing a plugin or installing a theme a safer experience. If you are a plugin or theme developer, there is a chance your theme or plugin can become widely used and if there is some bug that crashes websites that use it, you are causing downtime and that website will lose profit and traffic. It is very important to test these things out and even if you are just a website developer you do not want to install a theme or plugin that is not compatible. Compatibility issues can have very serious repercussions on your website so it’s important to be careful.
Why Choose Xampp
Xampp is one of many web server softwares available. One of the biggest benefits over other web server software like Wampp is that Xampp can be used on Windows, Mac, and Linux operating systems. This is great because as a developer you do need to test on multiple platforms and using the same web server software will be very beneficial. Xampp is not a one trick pony. You can install WordPress using Xampp, but you can use it for other web platforms as well.
How to Install WordPress on Local Server Using Xampp
Today I will demonstrate how to install WordPress on a local server using Xampp. The first step to creating your local WordPress site is to actually install Xampp. It is a very simple installation that I will walk you through and then you will need to install WordPress from WordPress.org onto you new local server. Keep in mind that you can install this on Windows, Mac, and Linux operating systems, but this tutorial will be done on a Windows computer.
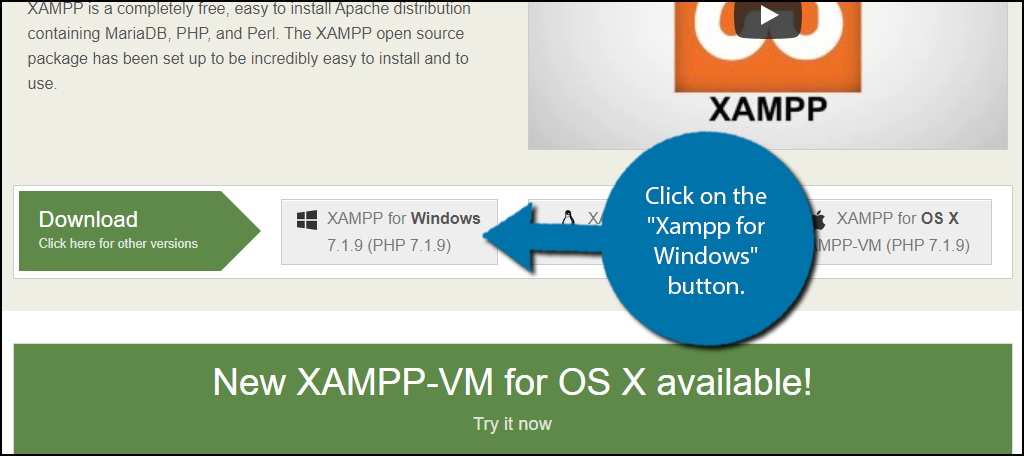
Let’s start by heading to the Xampp home page. You will see all three of the OS downloads. Click on the “Xampp for Windows” button.
A new page will open and a download will begin. Allow the download to finish and open it. Click on the “Yes” button to allow it to access your computer. You may get a warning message about UAC on your computer, but you can change that later if the problem persists. You will now be on the setup wizard. Follow the setup instructions and click on the “Next” button when you are done reading each tab.

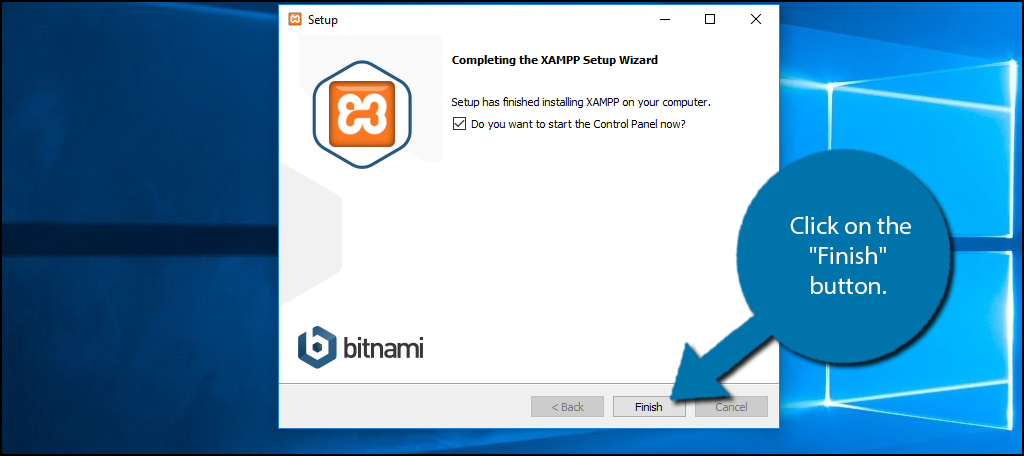
During this setup wizard, you will decide where the file is placed and download the software. You may need to tell your computer to allow Xampp to have access during the installation. This process may take several minutes depending on your Internet and computer’s performance. Once it is done click on the “Finish” button.
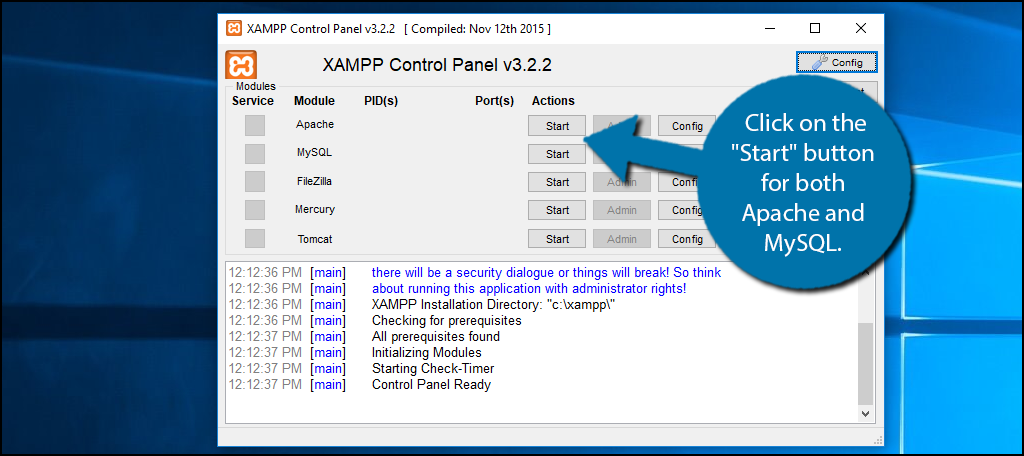
You will be prompted to select a language. Select the correct language and click on the “Save” button. The control panel will now be open and ask what you want turned on. You will need to click on the “Start” button for both Apache and MySQL. You will need to once again allow access to your computer. They will be green if they are running.
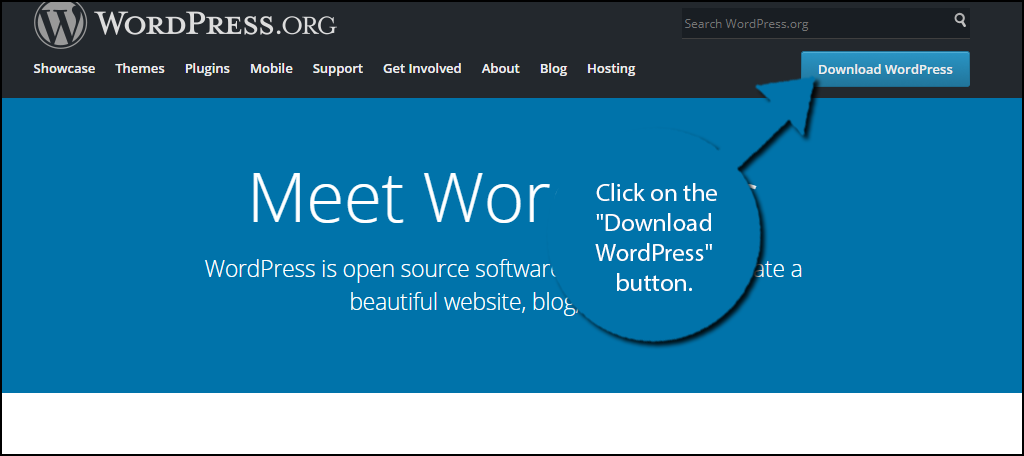
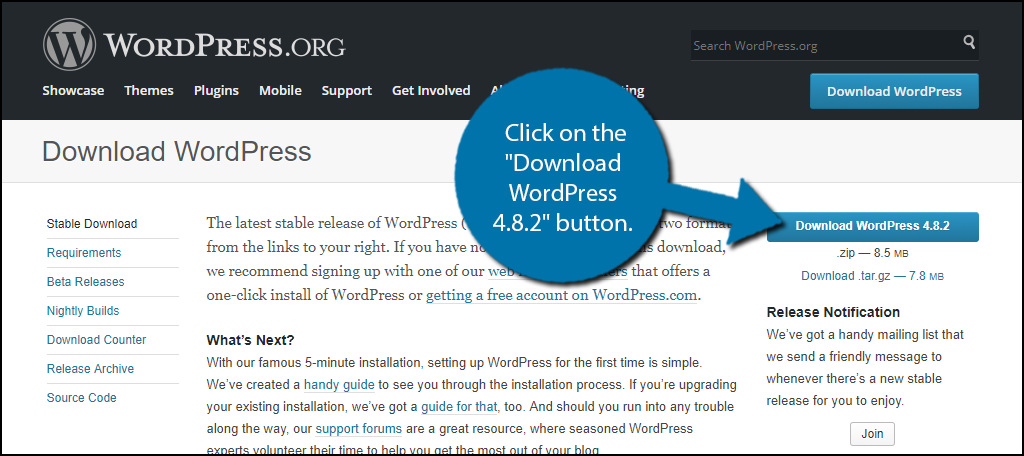
Xampp is now ready to go and it’s time to install WordPress on your computer. Go to WordPress.org and click on the “Download WordPress” button on the top right of the page.
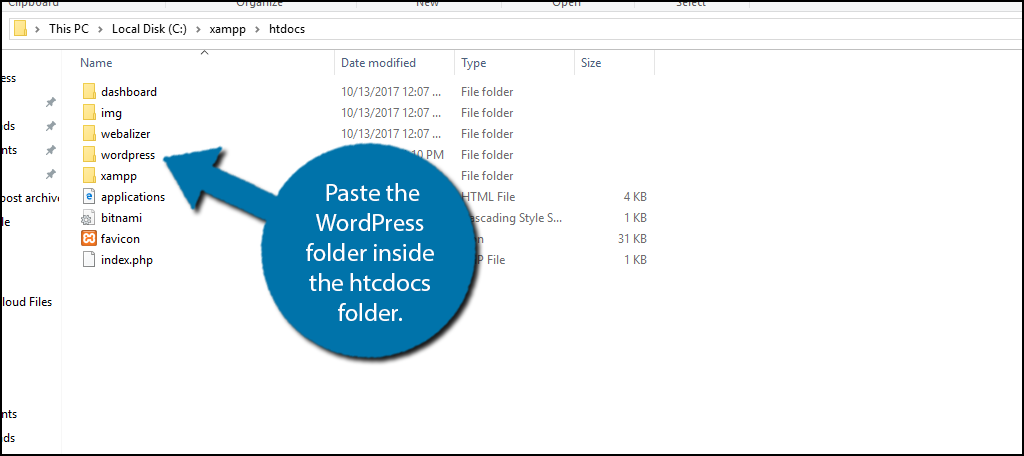
A new page will open. Click on the “Download WordPress 4.8.2” button, which is the latest version as of October 2017. A zipped file will be downloaded. You will need to extract it using an extraction tool. Once the file is extracted you will need to copy or cut the WordPress folder so that you can paste it. Find the Xampp folder and find the htcdocs folder within. Paste the WordPress folder inside the htcdocs folder.
You’re almost done now! Go onto an Internet browser and type the following in the URL:
[ht_message mstyle=”info” title=”” show_icon=”” id=”” class=”” style=”” ]localhost/wordpress[/ht_message]
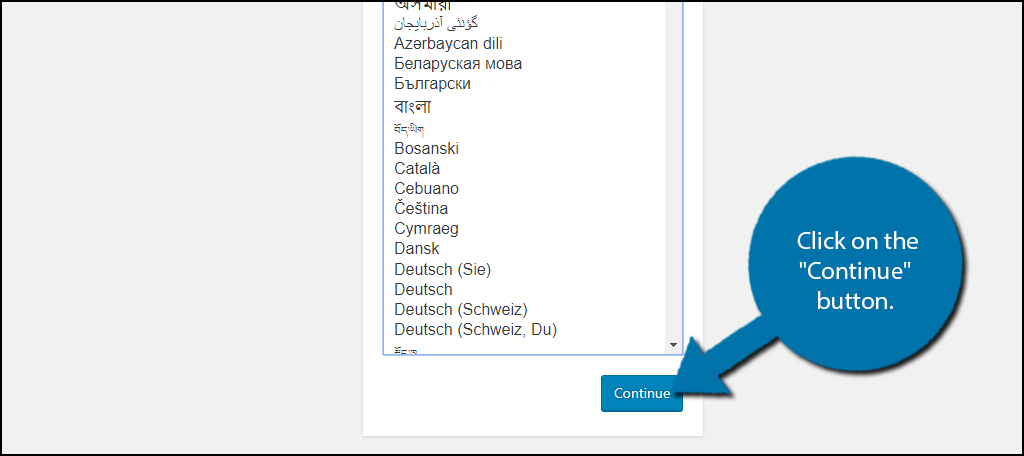
If you changed the WordPress folder name, then replace wordpress with the folder name you chose. When you enter this page you will begin the WordPress installation. Select the language and click on the “Continue” button.
A page will appear with a lot of important information, but if you have used WordPress before, then you should know it all already. Click on the “Let’s Go” button. You will now need the name of your database and enter all of your database’s information. You need to create a database, but don’t worry, it is not complicated. Open a new tab and enter the following in the URL section:
[ht_message mstyle=”info” title=”” show_icon=”” id=”” class=”” style=”” ]localhost/phpmyadmin/[/ht_message]
Click on the Databases tab. Enter the name for your new database and click on the “Create” button.

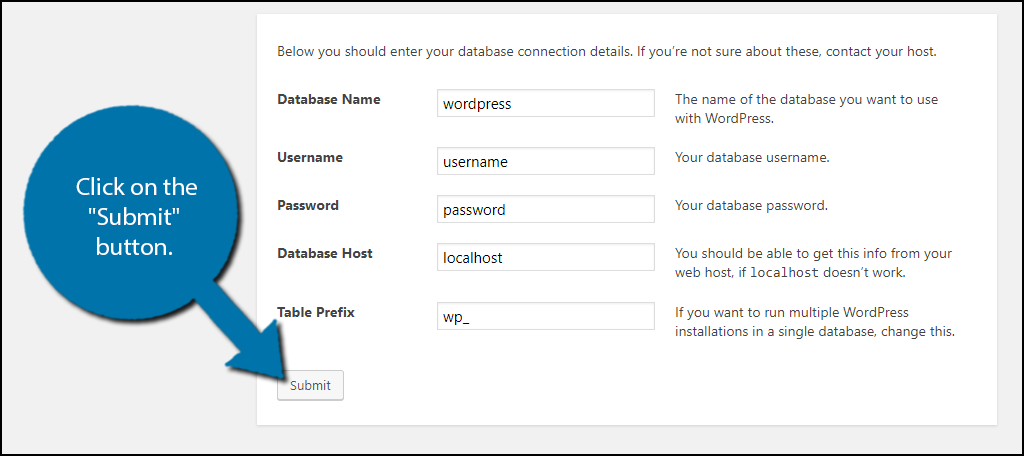
Head back over to your WordPress set up page and enter your databases name in the first box. By default your username is root and the password field should be left blank. Click on the “Submit” button.
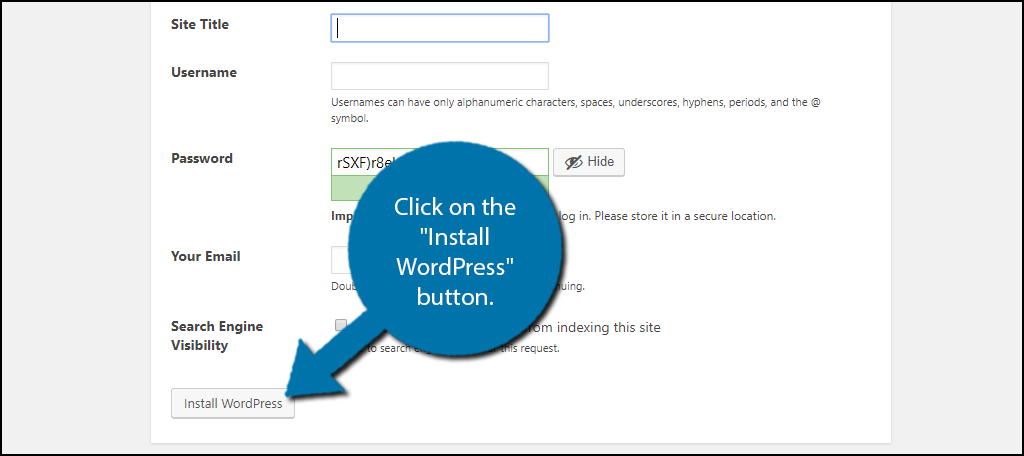
Click on the “Run the Install” button. Enter the information on the next page and click on the “Install WordPress” button.
Once you finish the installation all that’s left is to log in. Simply enter the following on a web browsers URL to access your local WordPress website at any time and log in.
[ht_message mstyle=”info” title=”” show_icon=”” id=”” class=”” style=”” ]/localhost/wordpress/wp-admin[/ht_message]
Remember if you changed the WordPress folder name, change WordPress to that folder’s name.
Congratulations, you now have a local WordPress website. You can use it to test plugins and themes in WordPress before using them on your website or releasing them to be used on other websites. Remember, if you are testing a plugin for your live website create a local copy so you can test the theme on your real website to get the best testing environment.
Always Test Plugins and Themes
Keeping your website up to date with the latest plugins and themes is crucial to keeping your website fresh. Visitors love websites that look great and have great content, but unfortunately, it is easier said than done. Compatibility and bugs can take your website offline very quickly if the plugin or theme is not properly tested. Always keep this in mind regardless of whether you are a website, theme, or plugin developer.
How often are you using your new local WordPress website? Have you been able to prevent any problems from occurring by testing it first?
Ron,
Thank you for your directions/instructions on how to upload WordPress to my localhost XAMPP server. Previous attempts were failures due mainly to getting confused by too much text.
You hit the best tone and simplicity and saved me more stress than previous. Yeah, I know the process was a synch but you made it so easy.
Thanks again
Rob Bruce