It seems to be inevitable. Eventually, the time comes that you have to migrate your WordPress site to a new host. Maybe you outgrow your old host, or their service deteriorates. There are many reasons that we want to—or have to—make a move and find a new host that can accommodate your site as it grows. But moving any site, even a WordPress site, can be a complicated process.
I’m going to show you how to make it easier with the All-in-One WP Migration plugin.
First, Some Website Migration Basics
Some things apply to every website move, not just a WordPress migration. First things first, though, if you’re moving to GreenGeeks, you can skip this entire article because we’ll migrate your website for you.
For free.
If you’ve ever migrated websites yourself, you know that’s a valuable service. Our migration team has seen it all, so I can confidently say that they can handle your move and save you a mountain of stress and bother.
Okay, that being said, when you’re migrating a website, here are some essential points to keep in mind. If you’ve been down this road, this is probably old news, and you can skip ahead to the next section on installing the plugin.
But if you’re new to site migration, read on.
- Keep the site up at your old host while you plan and execute the move. You want to prevent website downtime, or at least keep it to a minimum, so it’s important that the site stays up at the old host until you’re sure everything is up and running at the new host.
- Databases require special attention. With a database-driven platform like WordPress, you still want to keep the site up and running at the old host during migration. But, you don’t want any updates made to the old site location during that time, as they would be lost when the old site is terminated. Before migration, suspend the updating (or creation) of posts and pages and disable commenting. You can make updates and re-enable commenting at the new location during migration.
- Is your domain name registered through your old host? If so, you may want to move it to the new host or a domain registrar. Don’t leave your domain with a company that you don’t trust to host your website.
- Are you using HTTPS? If not, you should be! The process of moving the SSL certificate that makes HTTPS possible varies depending on the kind of certificate you’re using. A paid or premium certificate will need to be re-keyed, so you’ll want to check with the certificate issuer (that may be your old host) about export details, and to the new host for installation instructions. Don’t leave this step for late in the migration process. Exporting, re-keying etc. can take some time. Plan accordingly.
- If you are migrating WordPress with a change of domain, make sure you make redirect mapping part of your migration. You must be thorough and complete with your 301 redirects, or you are going to suffer SEO setbacks. If you’ve worked hard to improve your search result rankings, dropping the ball here can set you back. Way back. Don’t let that happen. Make sure every URL on the old site is mapped (and redirected) to the corresponding URL on the new site.
- Set up your email boxes at the new host. If your host handles your email, it’s easy to overlook this step. We tend to take email for granted (when it’s working correctly). Make sure you have a new mailbox set up for every existing email account on your domain before you update DNS as the last part of the migration.
- Change DNS and wait. And then wait some more. After you update your domain’s name servers to point to the new host, the changes propagate pretty quickly these days, usually within an hour or so. But there’s a reason everyone says to wait 48 to72 hours before disabling the site at the old host. DNS doesn’t update that quickly everywhere. Updates can be slow for rural ISPs and smaller countries. While most of the world will see your site at the new host right away, some visitors may still see the old site for a couple of days. Whenever I’m migrating a website I leave the old site up for as long as I can. But I always plan for at least a 72-hour overlap.
Installing the All-in-One WP Migration Plugin
Let’s get to the good part, the WordPress migration plugin that is going to make our lives easier during migration.
Log in to your WordPress admin panel.
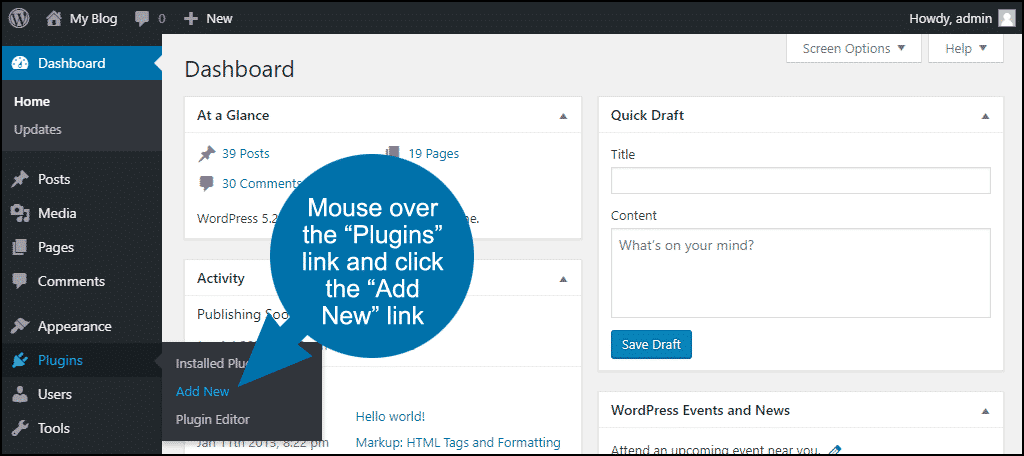
In the left column navigation, mouse over the “Plugins” link and click the “Add New” link.
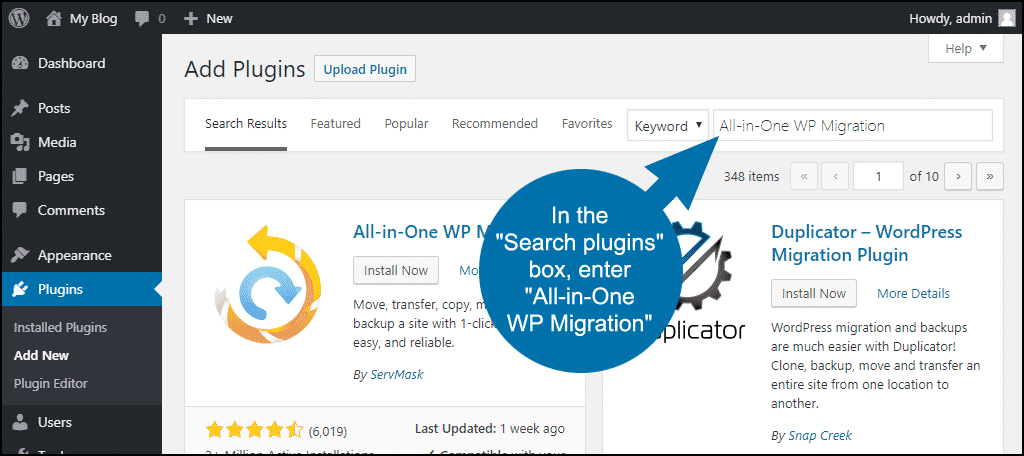
In the “Search plugins…” box, enter “All-in-One WP Migration.”
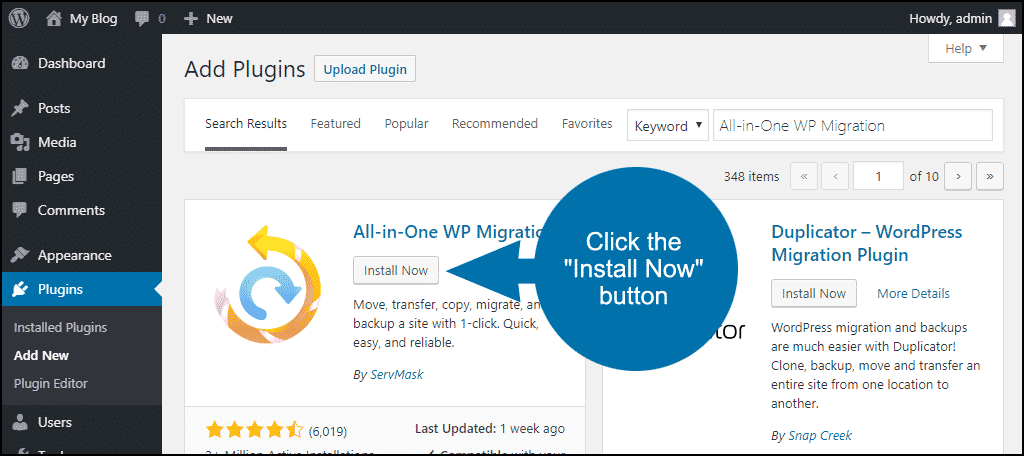
Once you have located the plugin, click the “Install Now” button.
When the plugin has been installed, click the “Activate” button.

Exporting With the All-in-One WP Migration Plugin
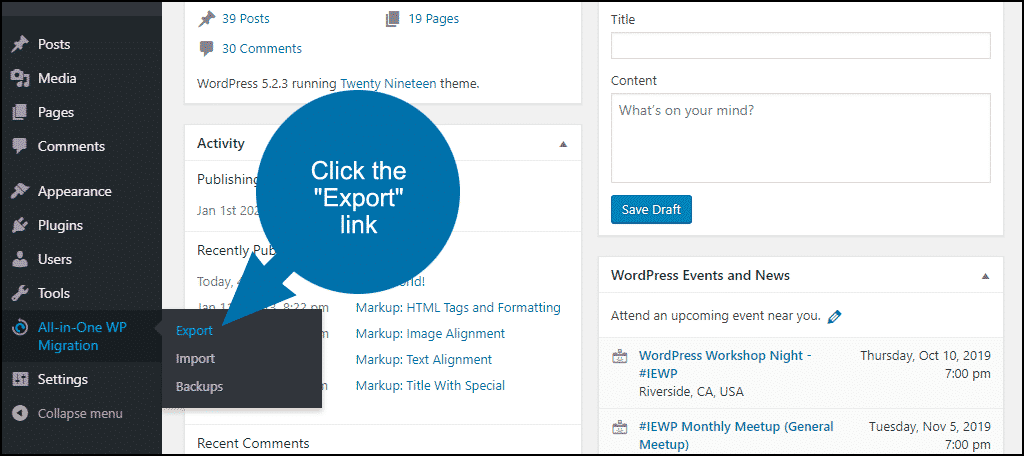
In the left column navigation mouse over the “All-in-One WP Migration” link and click the “Export” link.
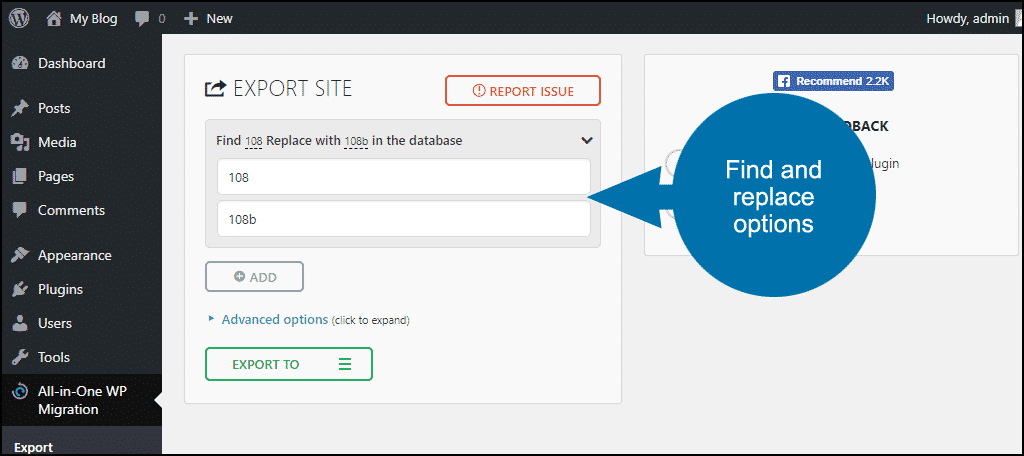
There are a couple of export options.
The “Find Replace within the database” link does just that. Find and replace will be useful if you’re moving to a new domain, or the path in your URLs is changing.
In my example here, I’m moving between two installations on the same domain, so the path will change. The old path is /108, and the new path is /108b.
There is a “+ ADD” button to add more find and replace entries.
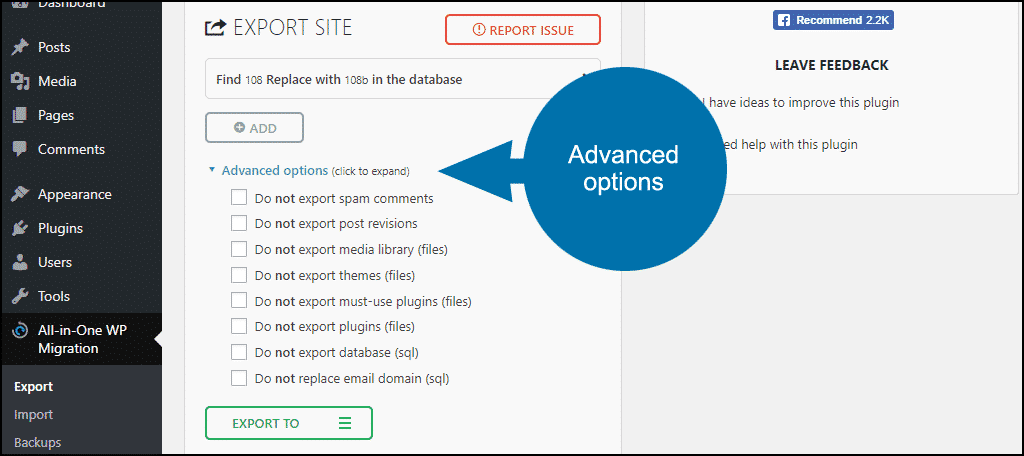
The “Advanced Options” link opens a menu of things you can exclude from the export. I’m not going to exclude anything, and in most cases, you won’t want to exclude anything either.
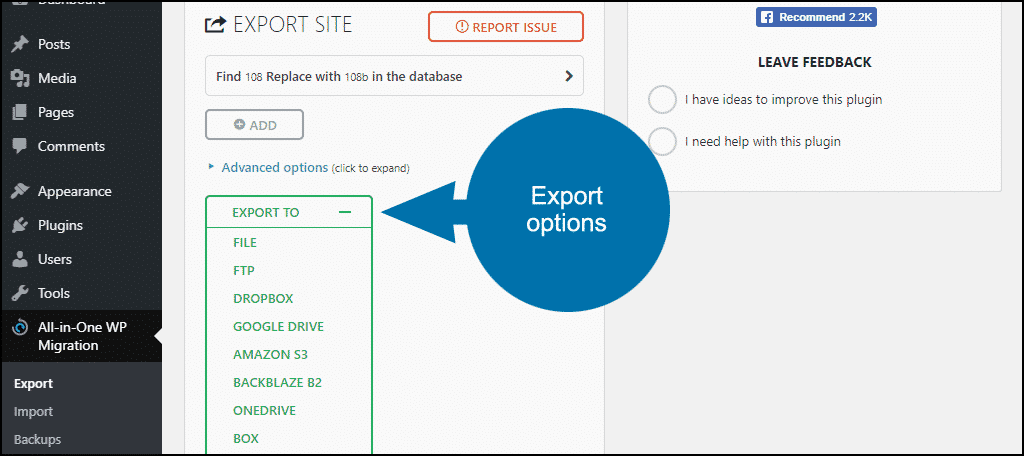
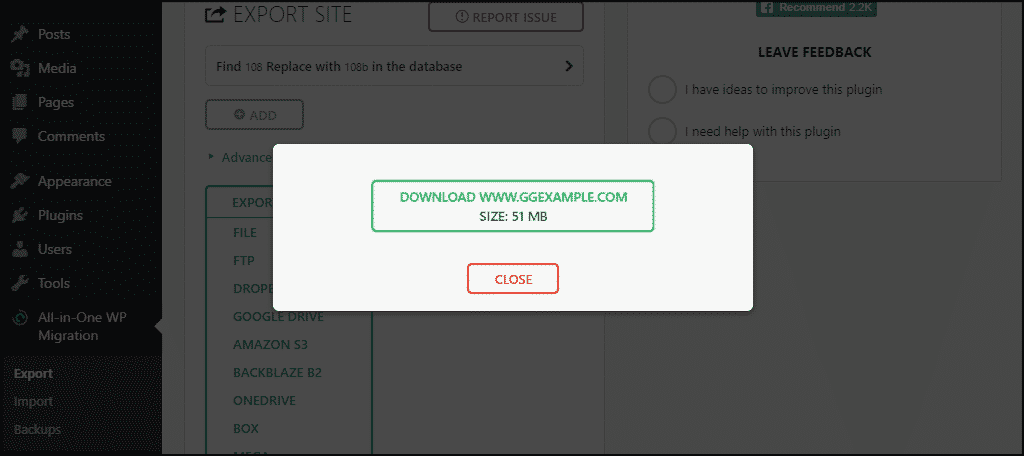
The “EXPORT TO” button presents you with a lot of cloud-based storage options. For this tutorial, I’m going to export the site to a file. To export your WordPress site, make a selection from the “EXPORT TO” dropdown.
As soon as I clicked “FILE,” the export started.
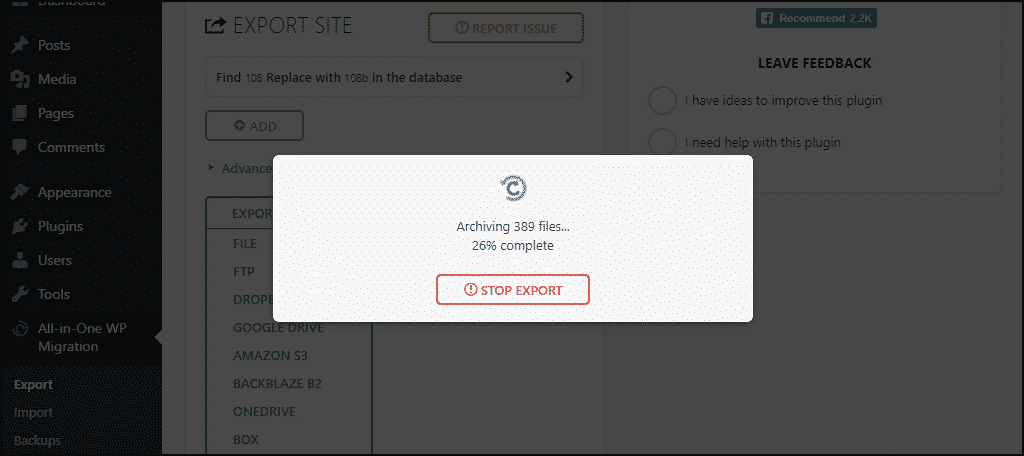
When the export is complete, that popup overlay will remain open. You have to click on the download link to save the export to your computer.
Importing With the All-in-One WP Migration Plugin
Okay, now that we’ve got our old site exported, let’s go over to the new site and import.
You’ll have to install WordPress at the new host, then install the All-in-One WP Migration plugin.
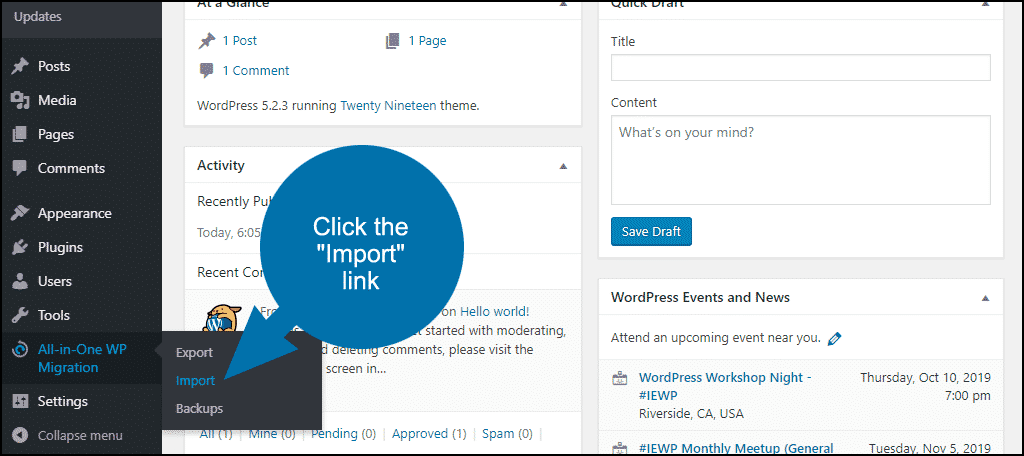
In the left column navigation, mouse over the “All-in-One WP Migration” link and click the “Import” link.
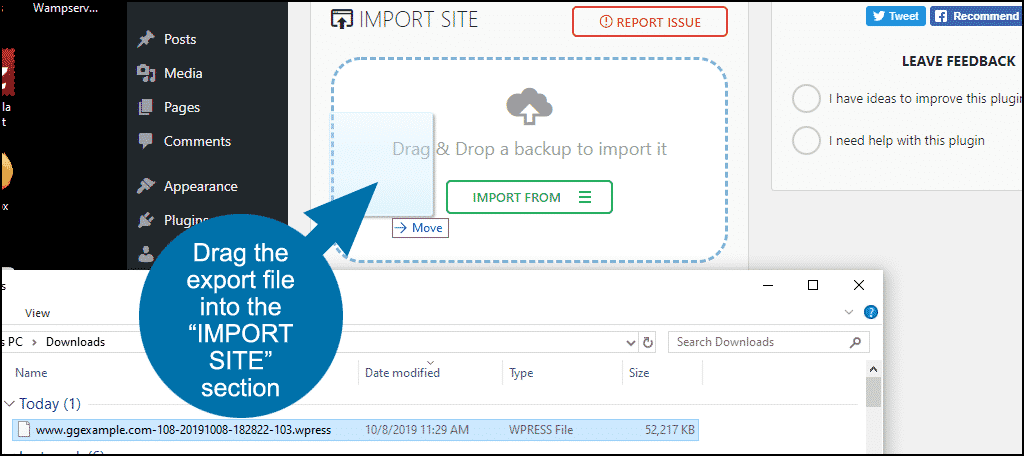
Locate the export file from the old location. If you didn’t specify a location, it’s likely in your downloads directory.
Drag the export file into the Import section of All-in-One WP Migration.
At this point in the process, you may experience an error.

Not to worry. You can change that upload limit in the .htaccess file — more on that in a minute. For now, let’s proceed.
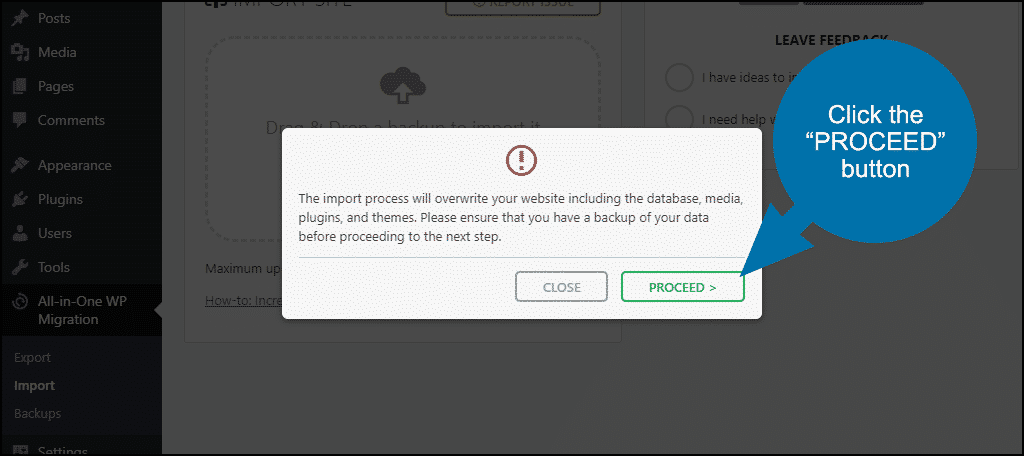
You’ll see a warning that the import will overwrite the existing database. That’s okay since we’re importing into a new WordPress installation. Click the “PROCEED” button.
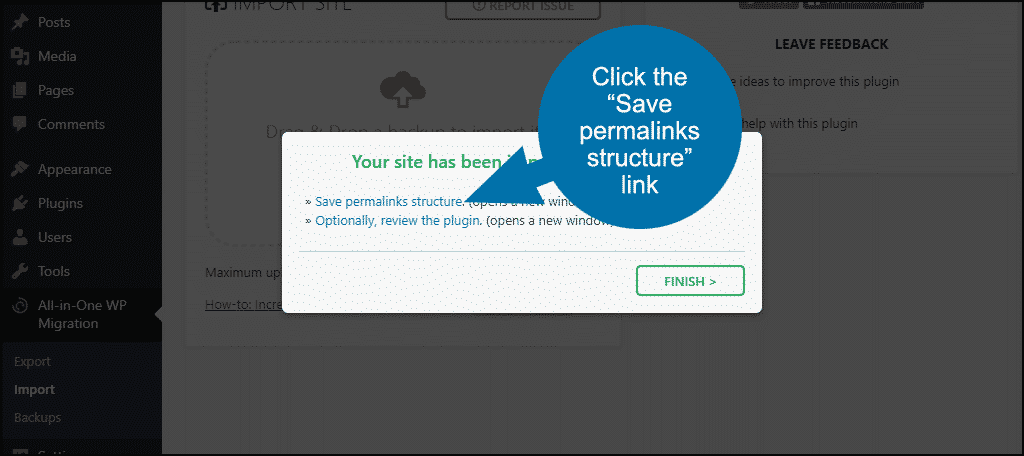
You’ll get a successful import notice, but don’t close it yet!
Click the “Save permalinks structure” link.
You’ll be brought to the admin login of the new WordPress installation.
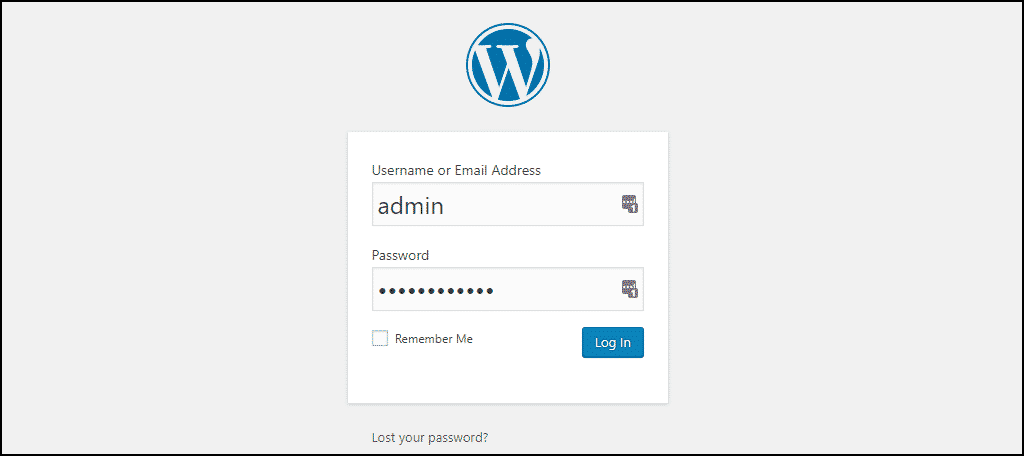
Now we just migrated the old database to the new installation, so the admin login is the same as it was on the old site.
Once you’ve logged in, you’ll be sent to the “Permalink Settings” page. Don’t change anything here; just scroll down and click the “Save Changes” button.

That’s all there is to it.
If you check the new WordPress installation, it should now match the old existing installation.
Fixing an Import Error With .htaccess
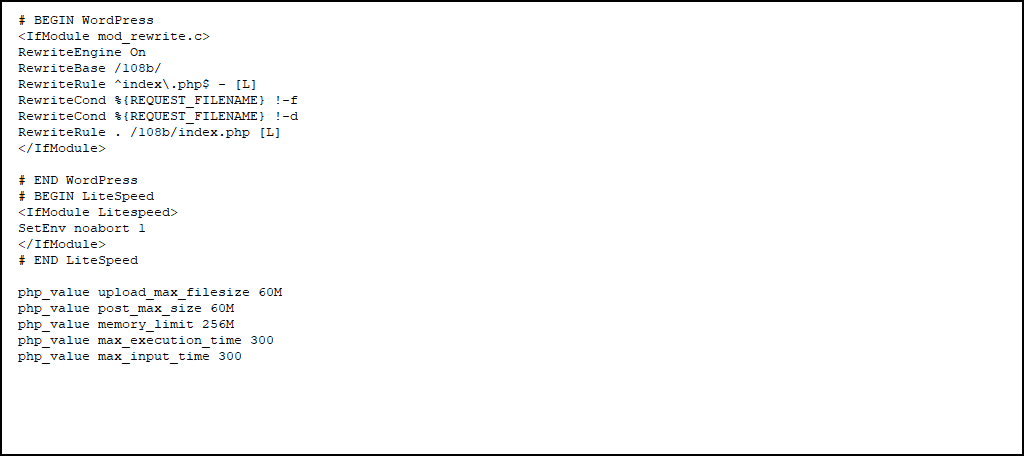
If you experience the upload error, you can fix it by adding a few lines to the .htaccess file in your WordPress root directory.
Since my export is a little over 50 MB, I’ll add this to the bottom of the .htaccess file at the new location. It increases the allowable upload size to 60 MB.
php_value upload_max_filesize 60M php_value post_max_size 60M php_value memory_limit 256M php_value max_execution_time 300 php_value max_input_time 300
You can see that I gave a 60 MB value to “php_value upload_max_filesize” and “php_value post_max_size.” You can increase that M value to whatever you need to upload your export file.
At some hosts, you may not be able to increase the upload value past a certain point. If you make the changes to .htaccess but still experience the upload size error, contact the new host and let them know you need the PHP upload limits raised.
When Editing .htaccess Doesn’t Work: Bypassing the Import Error by Using FTP
If your efforts to raise the PHP upload limit are not successful, you can bypass the PHP upload and use FTP to move the export to your new installation. This feature is only available with a paid extension to the All-in-One WP Migration plugin, so I haven’t verified the functionality.
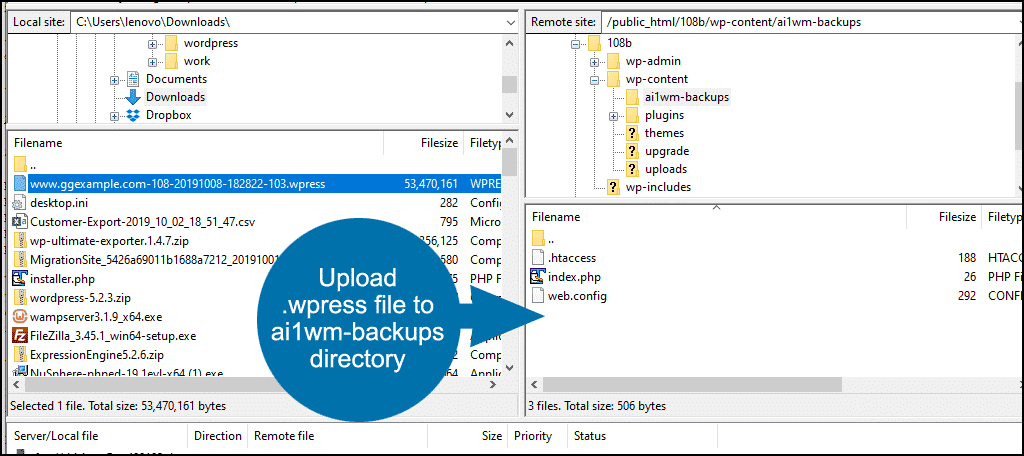
Make an FTP connection to the new WordPress installation.
Upload the .wpress file (the export) to /wp-content/ai1wm-backups.
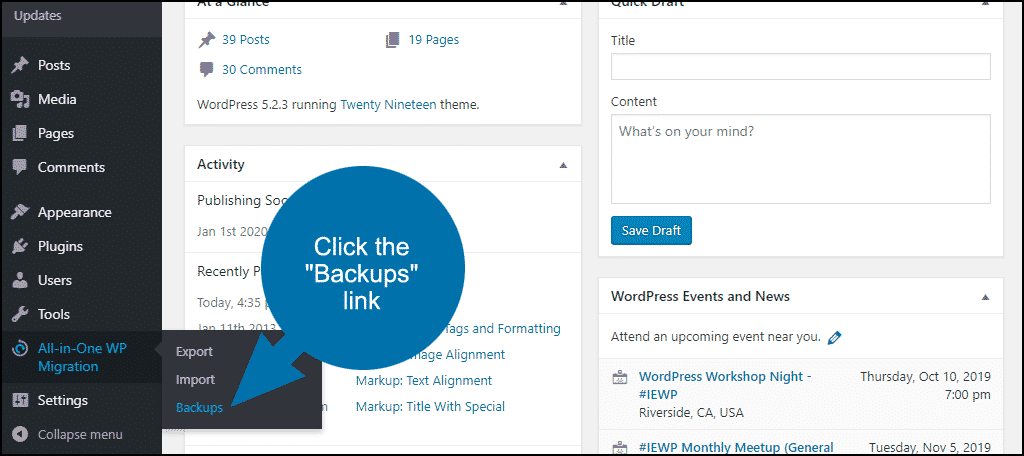
In the left column navigation, mouse over the “All-in-One WP Migration” link and click the “Backups” link.
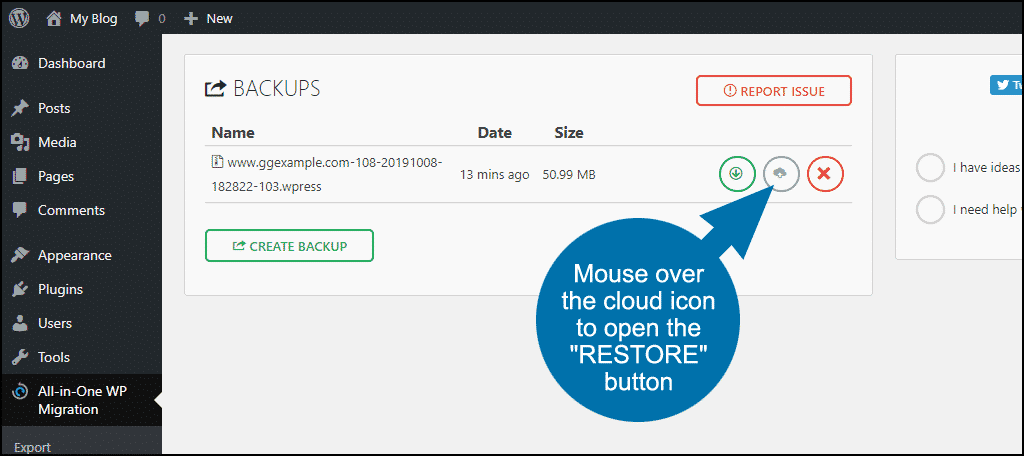
Mouse over the cloud icon to open the “RESTORE” button. Click “RESTORE.”
Migration Is a Many-Splendored Thing
I’ve done more website migrations than I care to remember over the past 24 years, and if there’s one constant in all migrations, it’s this: something unexpected is going to happen. I’ve never had the unexpected thing be a good thing, so it’s wise to be prepared for anything.
The first and perhaps most obvious step to being prepared is to have a backup of your site. When you’re migrating to a new host, that backup should include everything you have access to – site files, mail, databases – everything.
If you have a current backup on hand, the worst migration catastrophe is fixable. So before you do anything, get your backups in order.
Have you used any other migration plugins for WordPress? Let us know about them. Have you ever let a host handle a migration for you? We’d like to hear about that too.