As a security measure, traditional SSH password authentication is disabled on GreenGeeks servers. This article will detail the process of setting up and using public key authentication for shell, or command line, server access.
This tutorial will cover how to create SSH keys, import existing SSH keys, and manage them from both the GreenGeeks Dashboard and cPanel.
Note: As an alternative, web-based terminal access is also available in cPanel if you need to run a quick command or two.
Method 1: GreenGeeks Dashboard
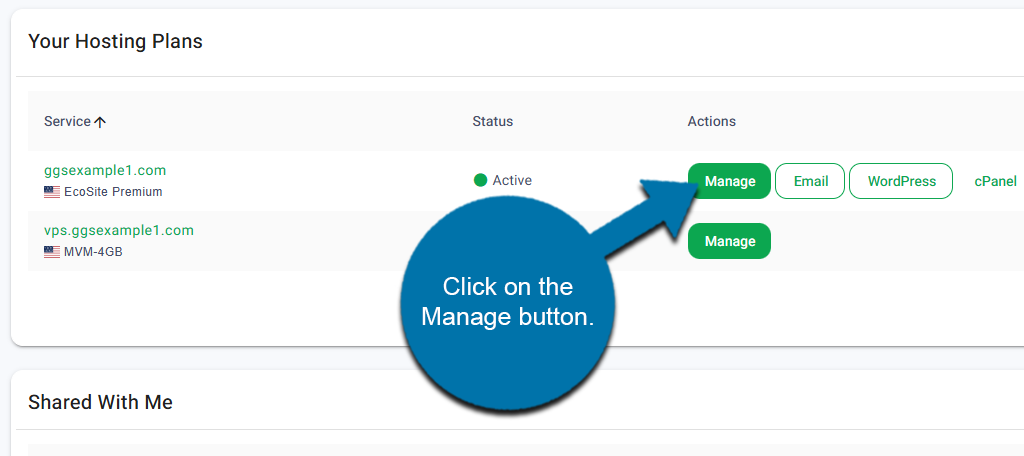
Log in to GreenGeeks and click on the Manage button next to your domain.
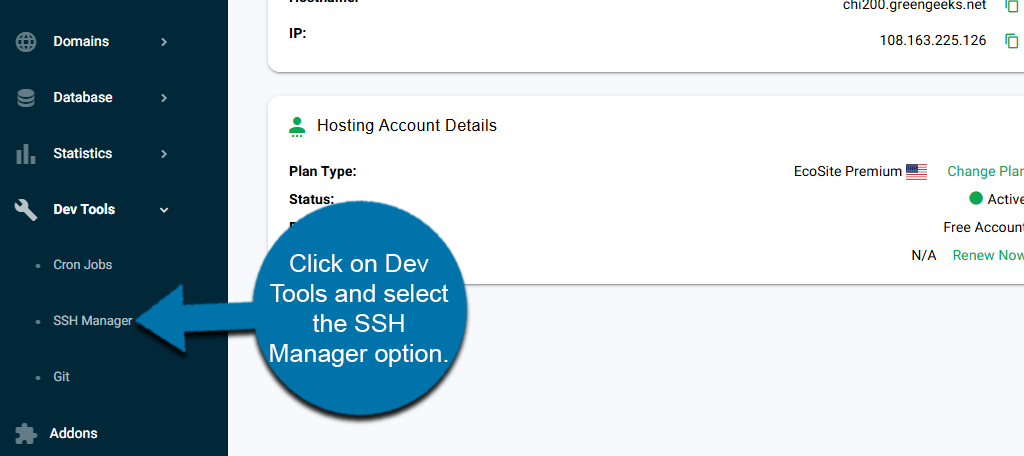
On the left-hand panel, click on Dev Tools and select the SSH Manager option.
This area allows youto manage your SSH keys. You can generate a new one or import an existing one. Let’s start by creating a new one.
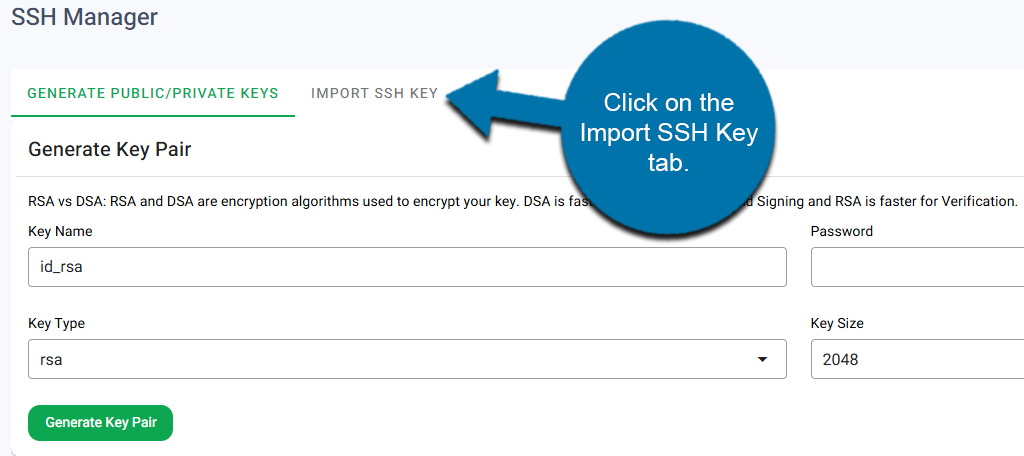
Generating A Key
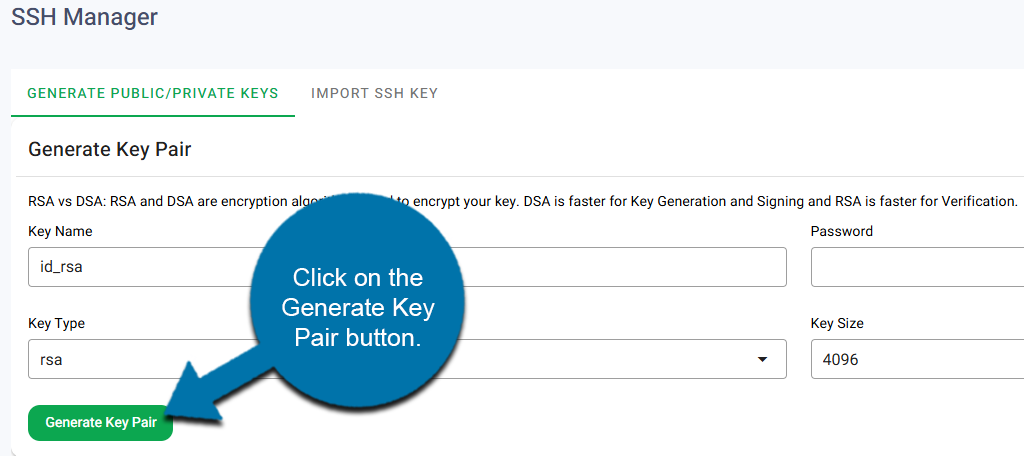
You can generate a key by filling out these four fields:
- Key Name– Defaults to “id_rsa,” typically there is no need to change the default value.
- Password– Use a strong password.
- Key Type– Should default to RSA. Typically, there is no need to change the default value.
- Key Size– Should default to 4096; we recommend leaving the default value.
Click on the Generate Key Pair button when you are done filling out the fields.
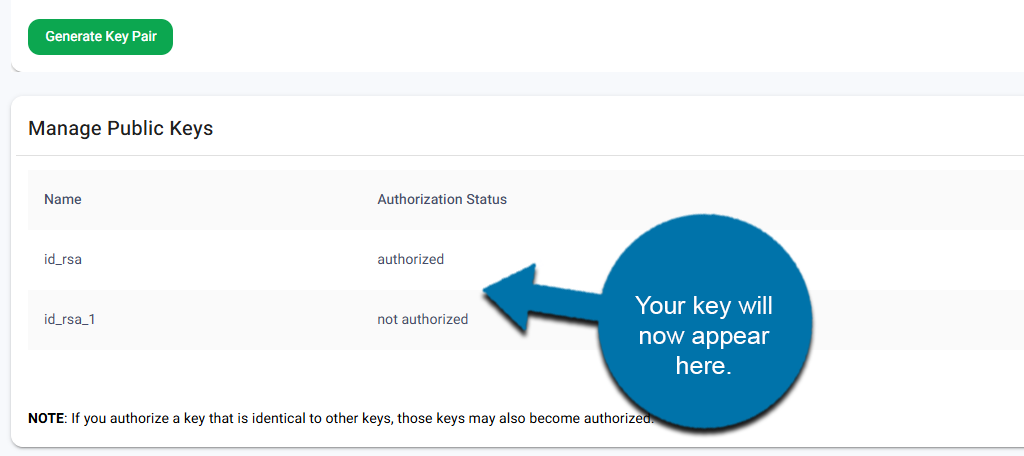
The key will now be added to your Public Keys area below.
Importing An Existing Key
To import an existing key, click on the Import SSH Key tab.
Enter the following fields:
- Key Name– Enter the name of the key.
- Passphrase– Enter the passphrase of the key.
- Key– Paste the key into the field.
Click on the Import Key button.
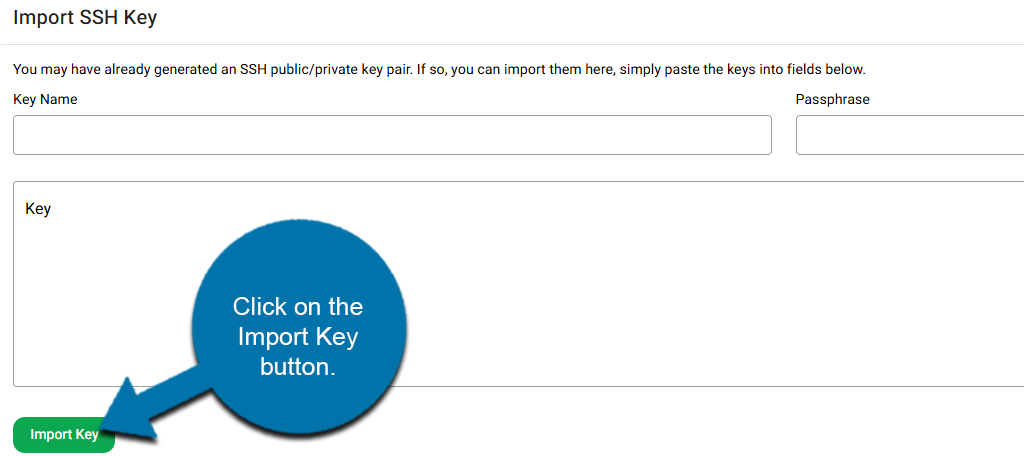
This will add the key to the public or private key list (depending on which it was).
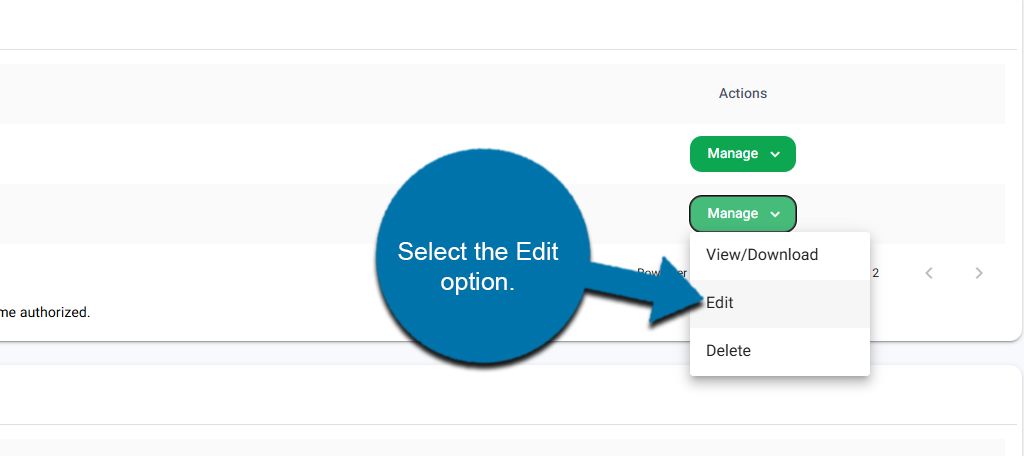
Managing & Viewing Keys
In the Manage Public Key area, locate the key you generated or imported, then click the Manage button next to it. Select the Edit option from the drop-down.
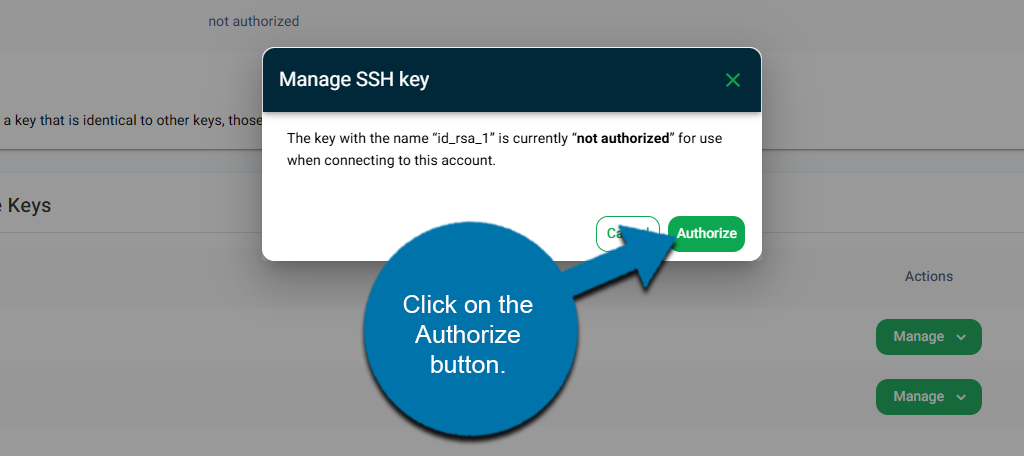
A small window will pop up. Click on the Authorize button.
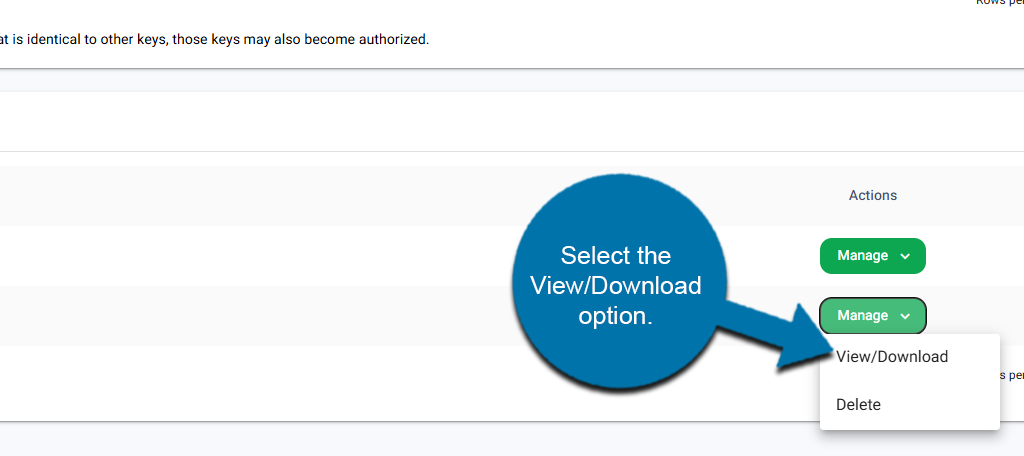
In the Private Keys area, locate the key you just authorized and click the Manage button next to it. Select the View/Download option.
A small window will appear that contains the SSH key. Click on the Copy to Clipboard button.

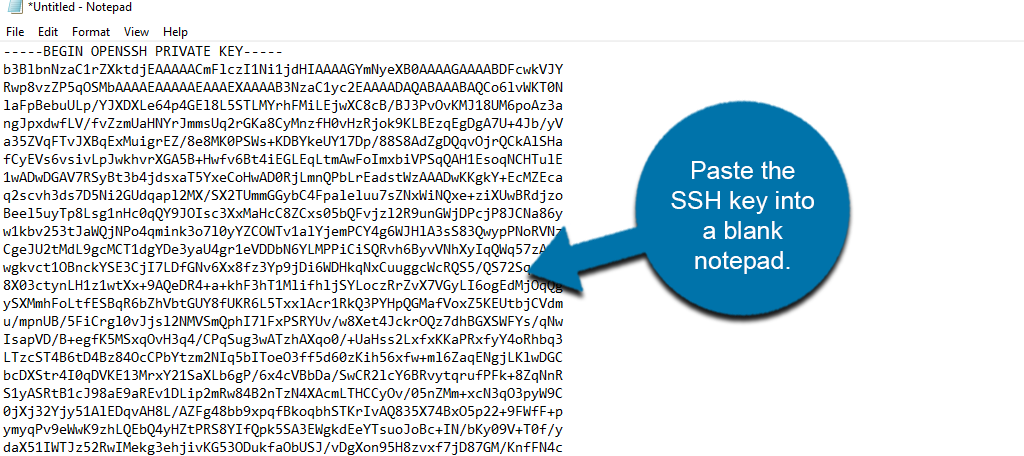
To be able to use this in PuTTY, you’ll need to paste this code into a txt file. To do so, open up a notepad on your computer and paste the SSH key into it.
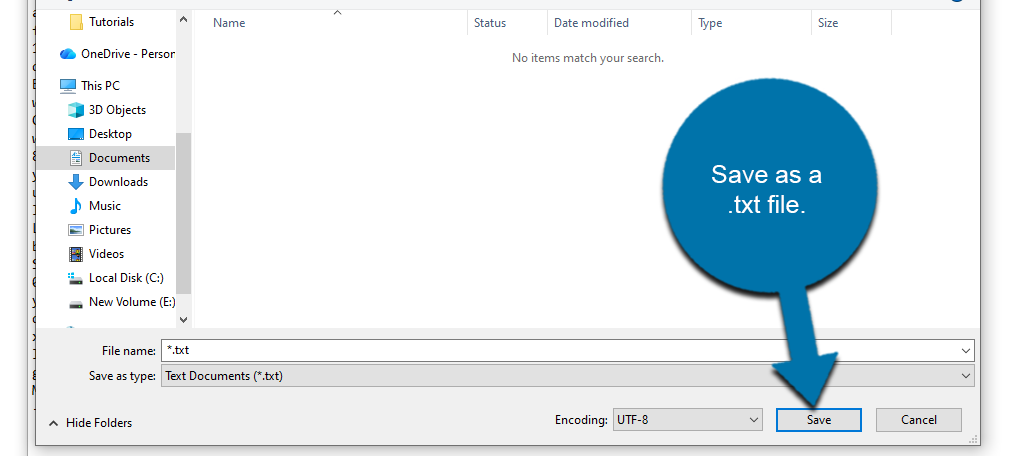
In Notepad, save this as a .txt file. You may name it whatever you want.
We will need this file to convert it to a .ppk file format using PuTTY. For more information on this, view our guide on how to use PuTTY for SSH keys.
Method 2: cPanel
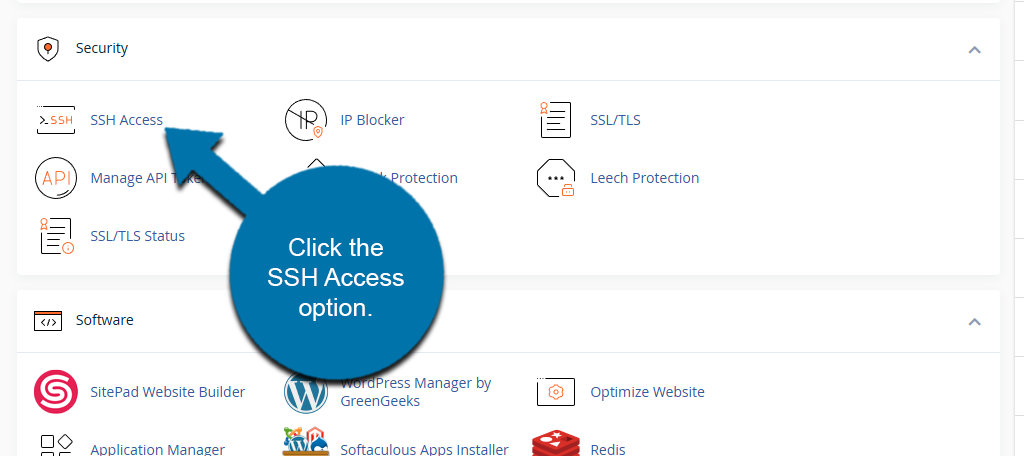
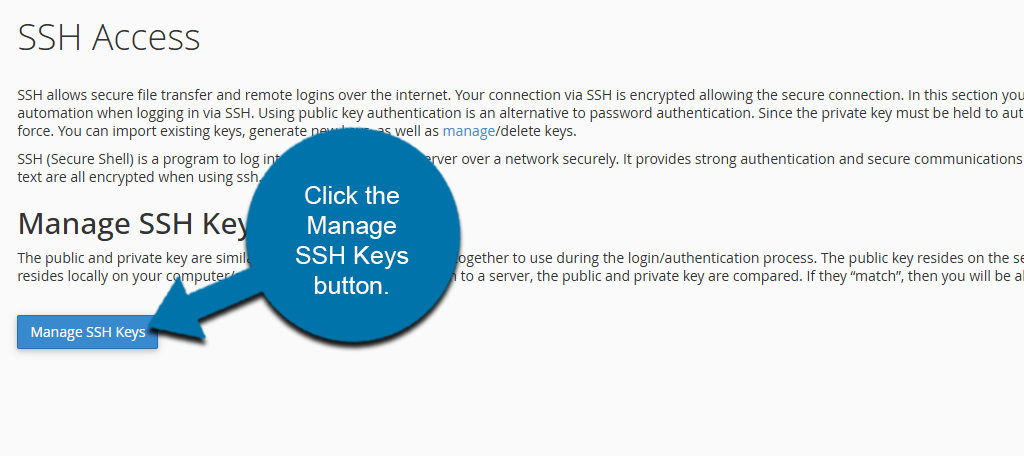
Log in to GreenGeeks and access your cPanel. Locate the Security section and click the SSH Access option.
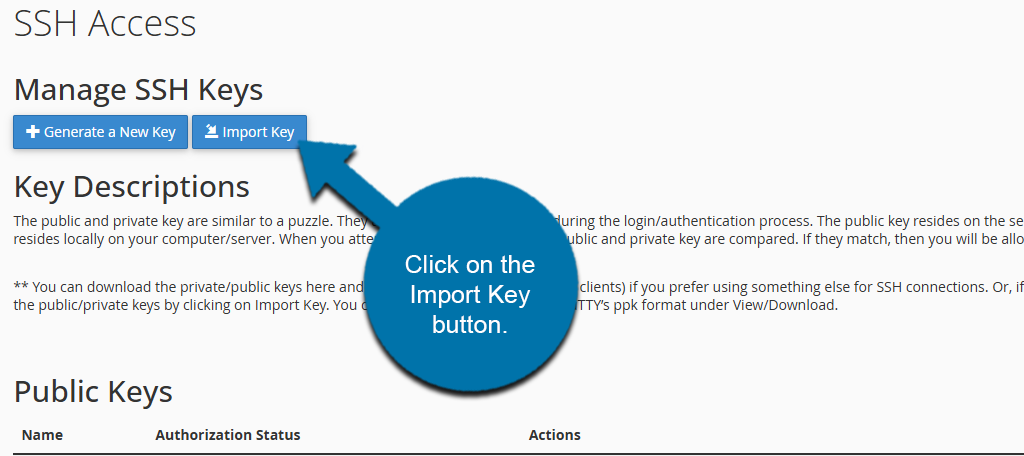
Click the Manage SSH Keys button.
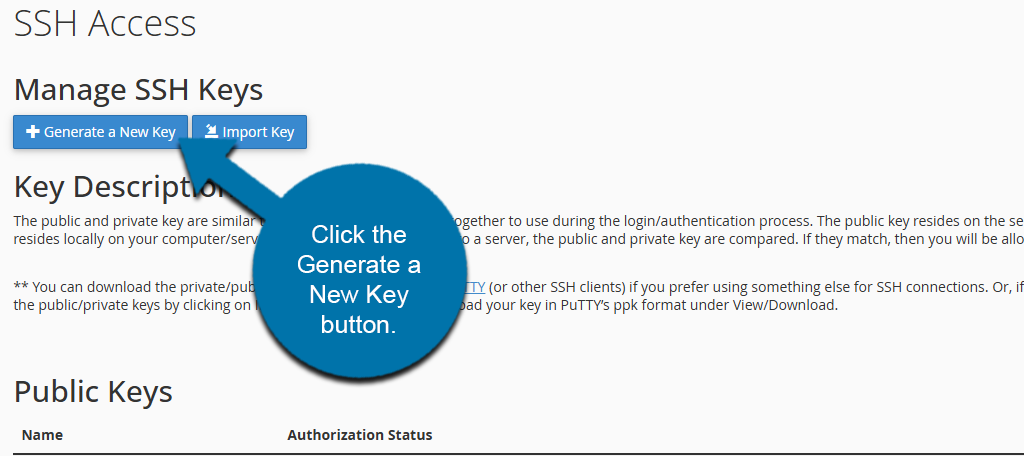
Generating A Key
Click the Generate a New Key button.
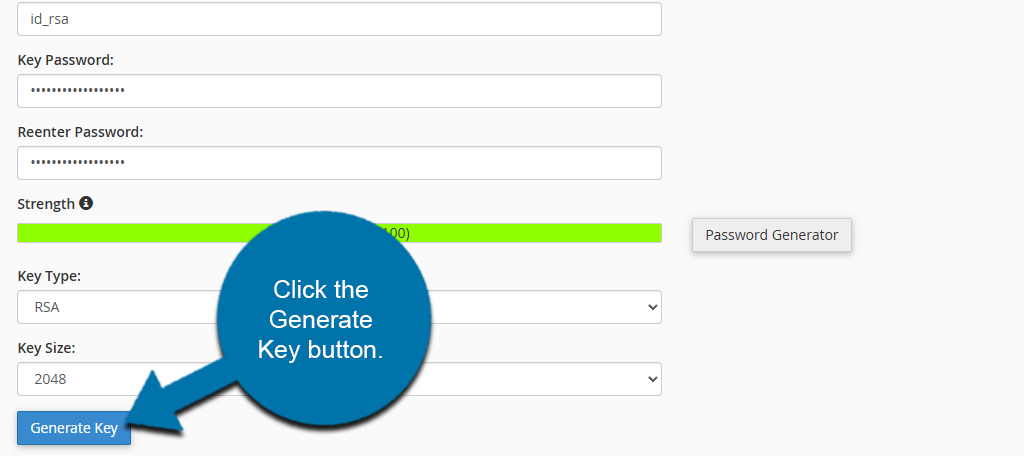
The following entries are required to generate the key pair:
- Key Name – Defaults to “id_rsa,” typically there is no need to change the default value.
- Key Password – Use a strong password.
- Key Type – Should default to RSA. Typically, there is no need to change the default value.
- Key Size – Should default to 2048; we recommend leaving the default value.
Enter a password or passphrase and click the “Generate Key” button.
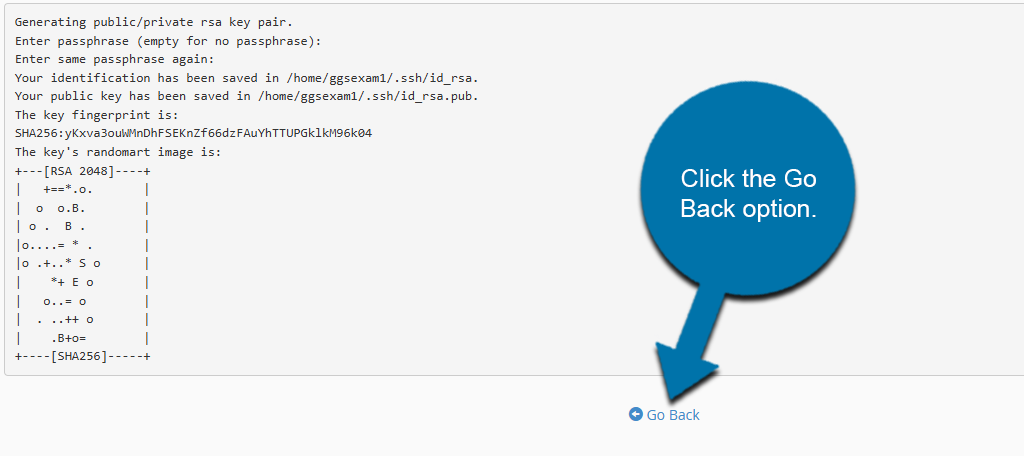
The keys will be generated and shown. To authorize SSH access using the private key you just created, click the Go Back option.
Alternatively, if you want to import an existing key…
Import An Existing Key
To import an existing key, click on the Import Key button.
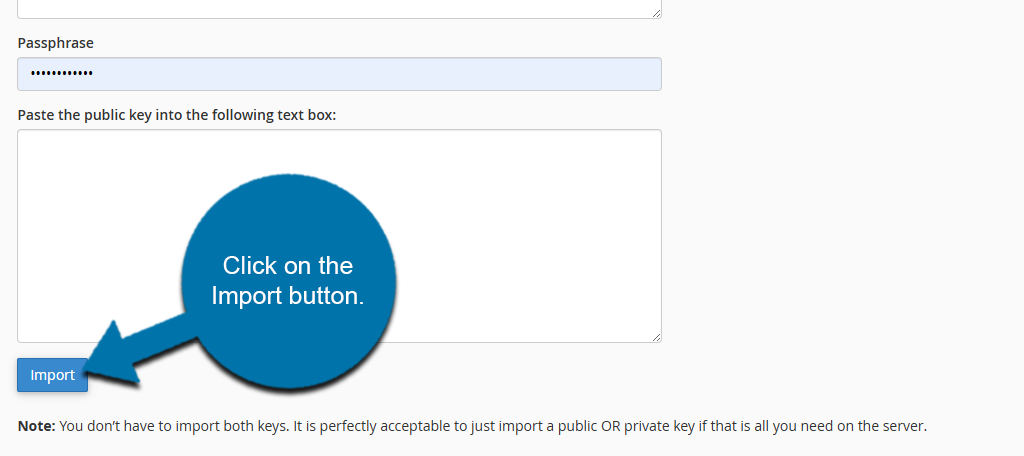
Simply enter the name and password for the key and paste the private and public key into their respective boxes. Click on the Import button to finish.
Note: You do not need to enter both a public and private key. Either is fine on its own.
You will see a confirmation screen. Click on the Go Back option at the bottom.
Managing & Viewing Keys
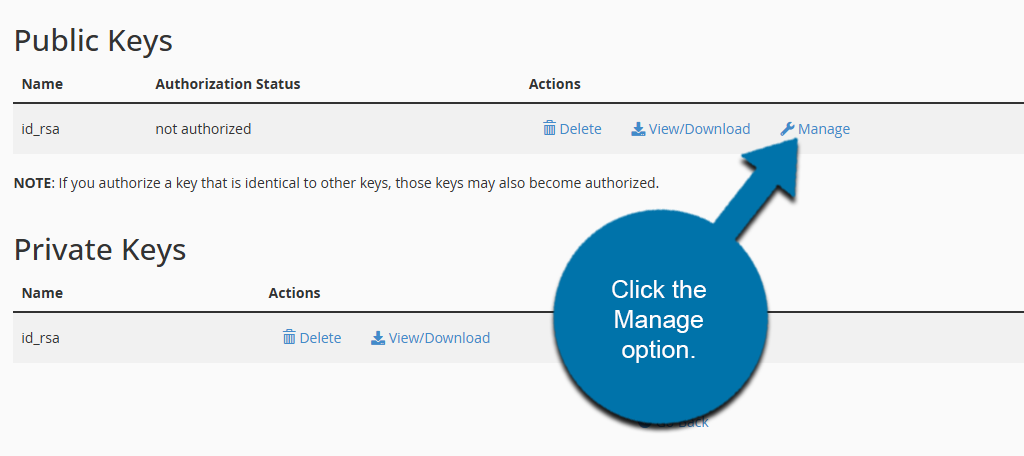
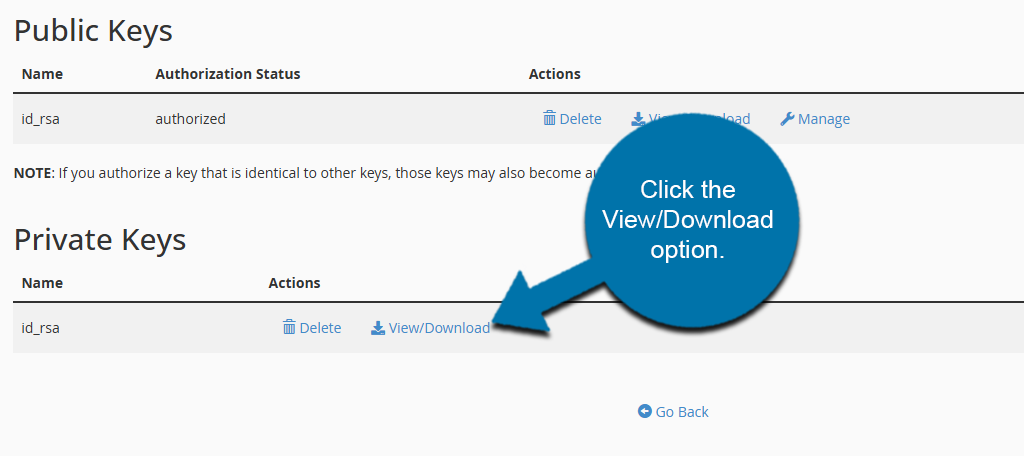
In the Public Keys section, locate the key you just created and click the Manage option.
Click the Authorize button.

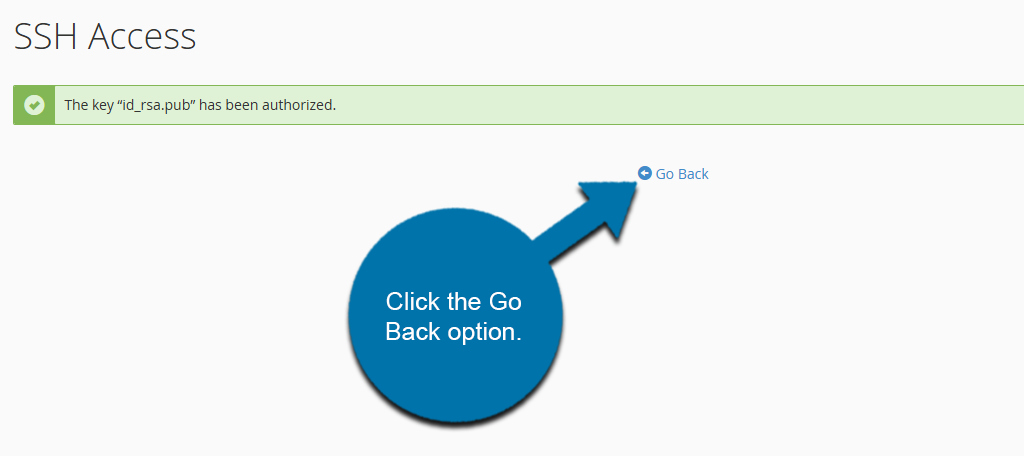
You will now see a message indicating that the key has been authorized. Click the Go Back option.
In the Private Keys section, click the View/Download option.
You have a few options here: click the Download Key button, copy/paste the provided key, or convert the key into PuTTY’s PPK format using the Convert button.
If you click the Download Key button, the key will be saved on your computer with the name “id_rsa.”
To use the PuTTY SSH program, in the “Convert the ‘id_rsa’ key to PPK format:” section, enter the password or passphrase you specified during key generation, and click the Convert button.
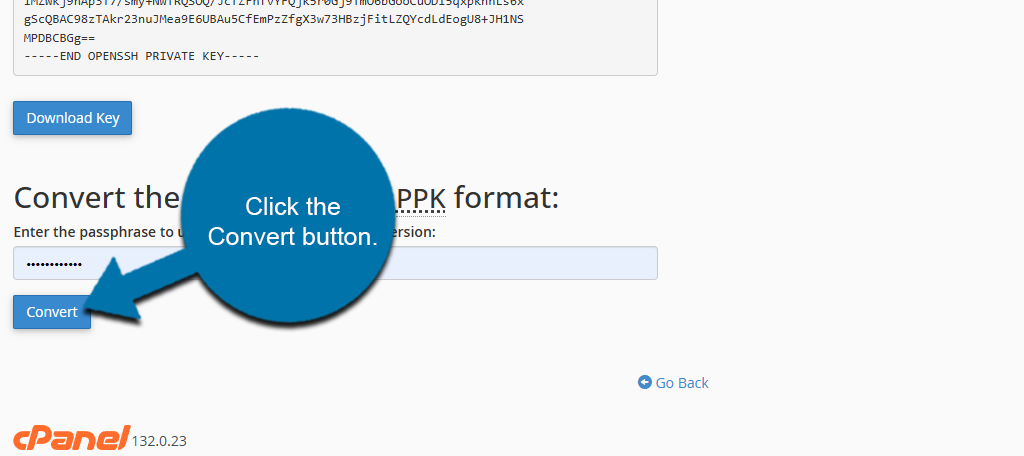
The key will be saved on your computer with the name “id_rsa.ppk.”