Managing your hosting resources amongst your customers is the most important aspect of running a successful Reseller business. This article will cover what you need to know about managing your hosting packages and allotting resources.
How to Create and Manage Hosting Packages
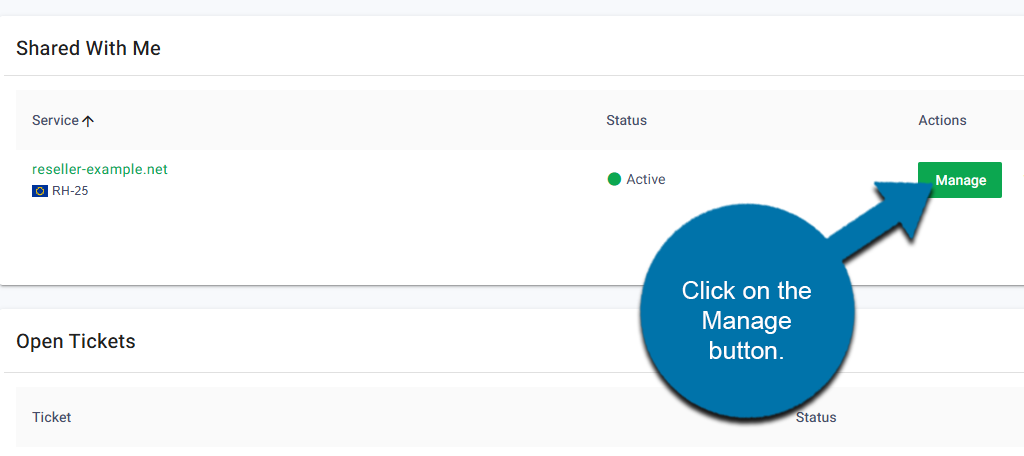
Log in to your GreenGeeks account. Locate your reseller account and click on the Manage button.
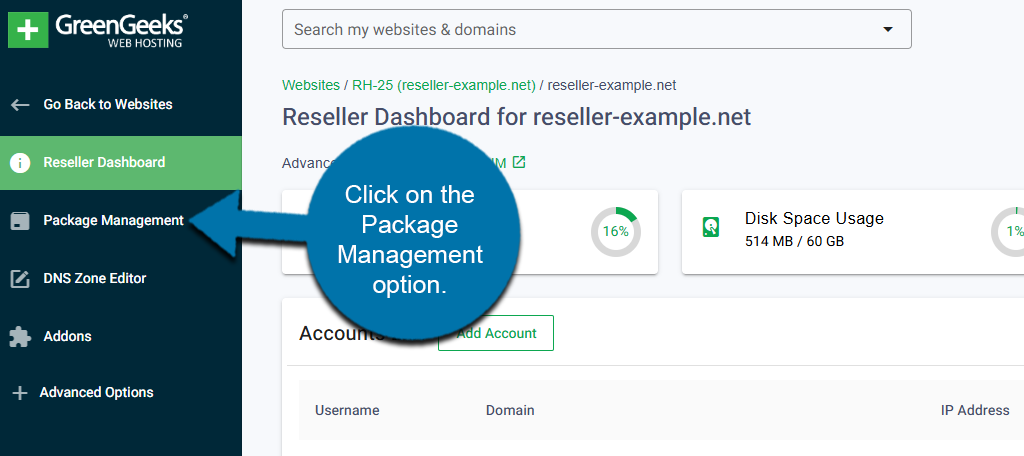
This will bring you to the Reseller Dashboard. On the left-hand panel, click on the Package Management option.
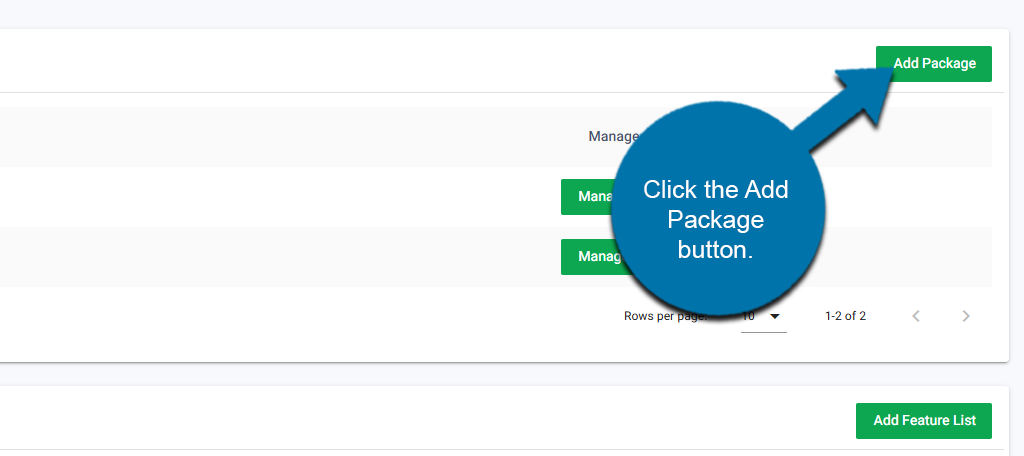
Click the Add Package button.
This will open up a new window. The first option is to enter a package name. Most packages are divided into tiers like Bronze, Silver, and Gold. Alternatively, but equally popular naming schemes include the Personal, Business, and Premium options.
Or simply naming the package after the number of resources, like 1 GB, 5 GB, and 10 GB.
You can choose anything for a name, but picking plan names that are easier to understand is beneficial for customers.

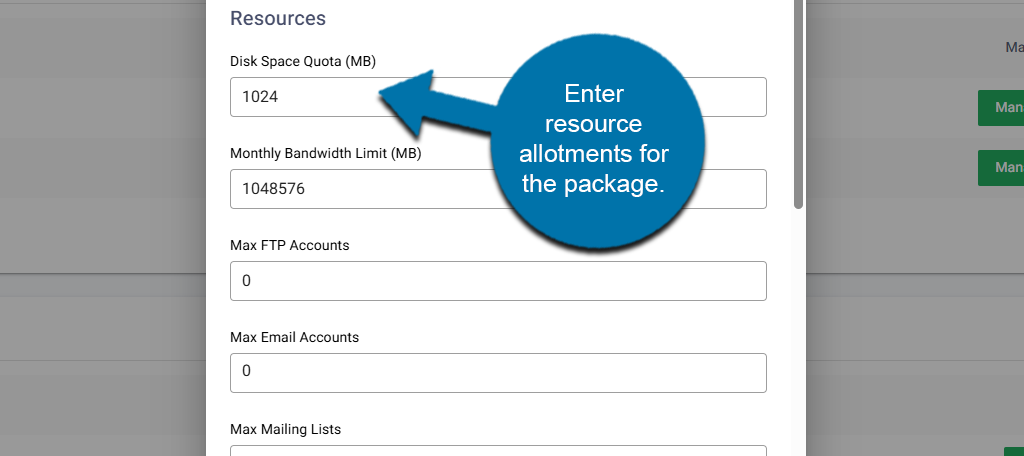
Below this, you will see various options to adjust the resource allotment for the package. This includes Disk Space, Bandwidth, number of FTP accounts, and more. Simply go through each option and enter the value that fits your needs.
Note: Some entries need to be entered in terms of Megabytes (MB). Make sure that the number is correct, as it can cause problems if accounts get too many resources or too few.
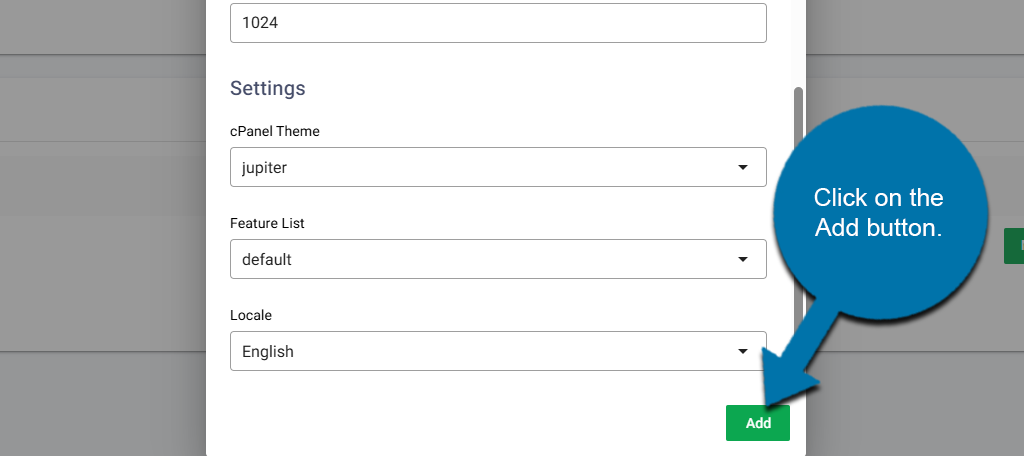
Lastly is the Settings section. Here, you can adjust the cPanel theme that these users will see, set the features, and choose a language. Click on the Add button to finish.
Repeat this step to add as many packages as necessary for your business.
How to Edit Existing Hosting Packages
You may need to increase or decrease resource allotment for your packages.
For example, if customers can purchase customizable packages. They may request additional resources, thus you’ll need to edit the package to increase the allotment. The opposite can also happen.
You can do this easily at any time. Just be sure to notify users about any changes to their resource allotment; otherwise, it can create a bad user experience.
Locate the reseller account and click on the Manage button next to it.
On the left-hand panel, click on Package Management.
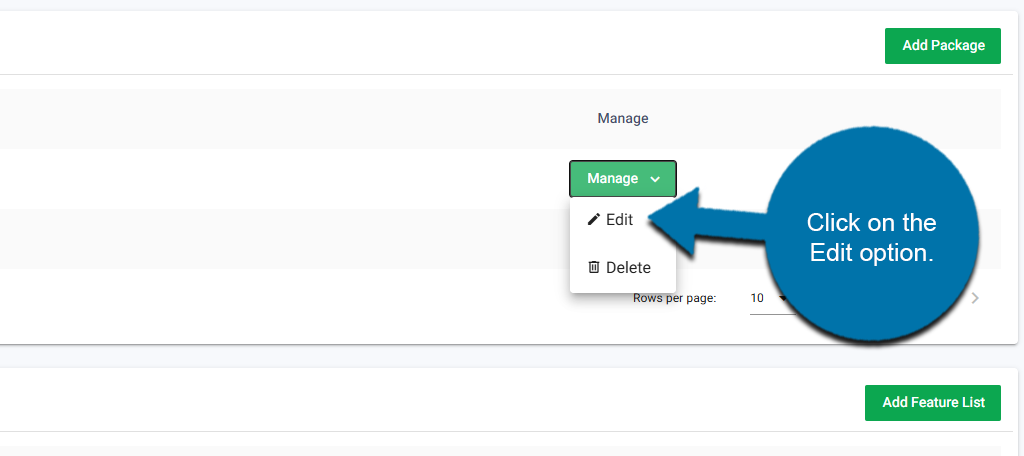
In the Your Packages section, you will see a list of the current packages you have created. Click on the Manage button next to it to reveal additional options and select the Edit option.
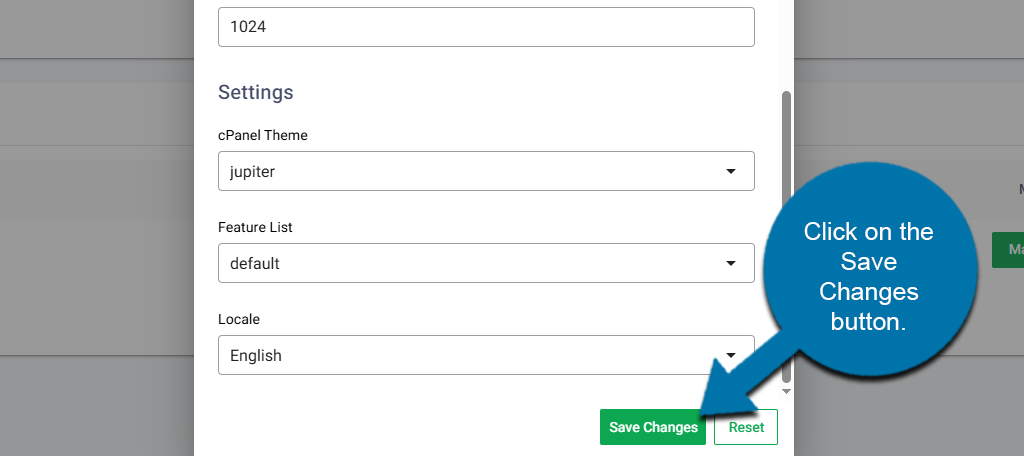
This will open the Package window that you used to create it originally. From here, you can edit any of the resource limits or settings as needed. Remember to click on the Save Changes button at the bottom.
How to Assign A Package to A Customer Account
Once you have created your hosting packages, you are ready to assign them to customers. You can do this when creating their account for the first time or updating an existing account. I will demonstrate both methods.
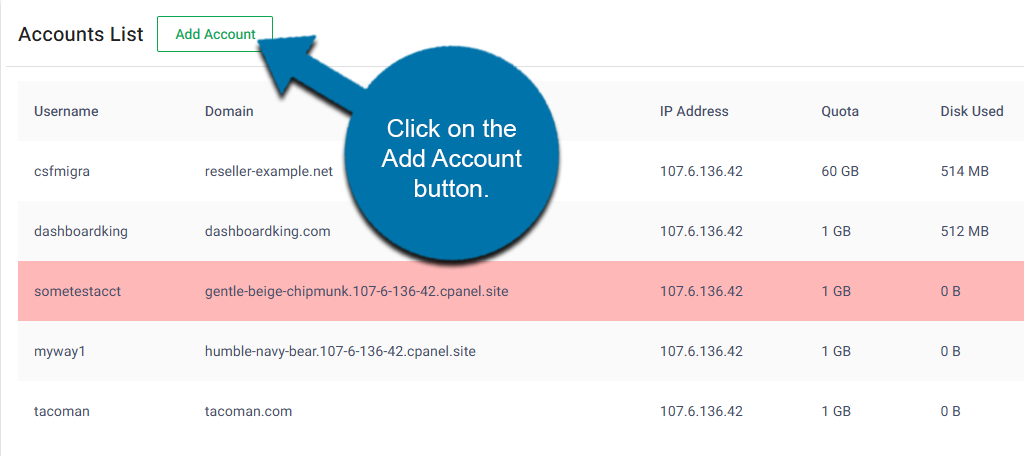
In the Reseller Dashboard, you will see an Account List section. This will contain a list of every account you have control over. First, let’s assign a package during the account creation process.
Click on the Add Account button.
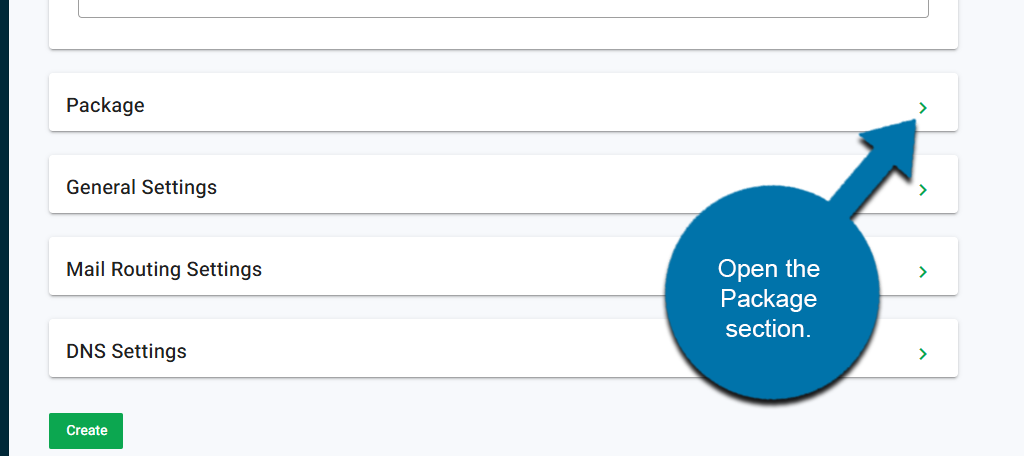
Locate the Package section and click to expand it.
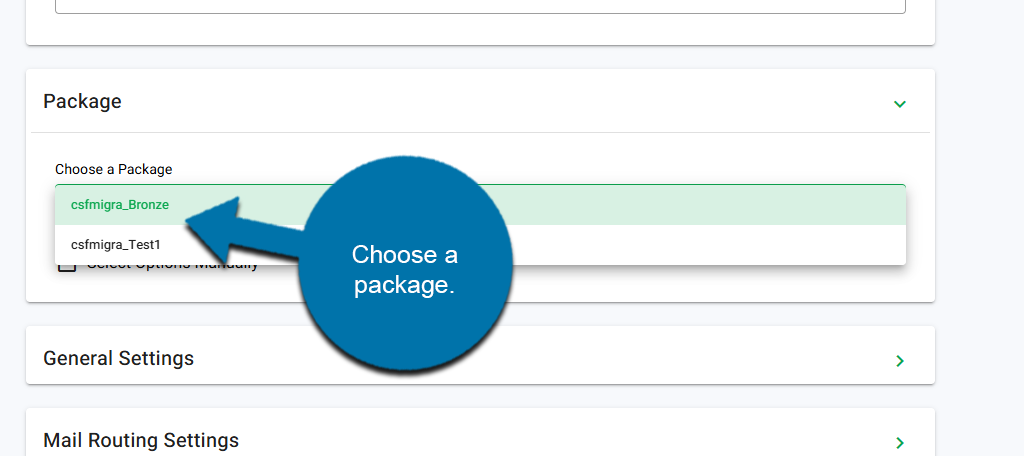
You will see a drop-down box that you can use to select an existing package to assign to the account you are creating.
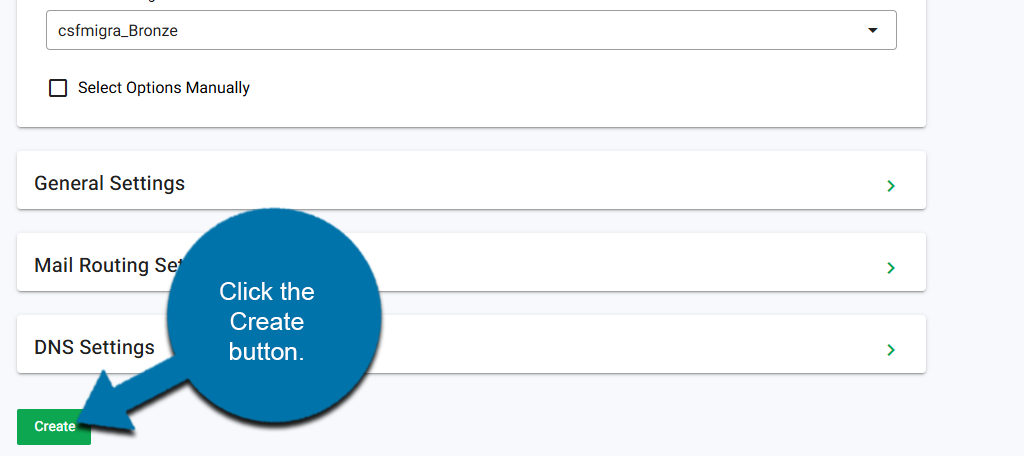
And that’s it, finish creating your account by filling in the necessary details. Once complete, click the Create button, and the account will be created with the assigned package.
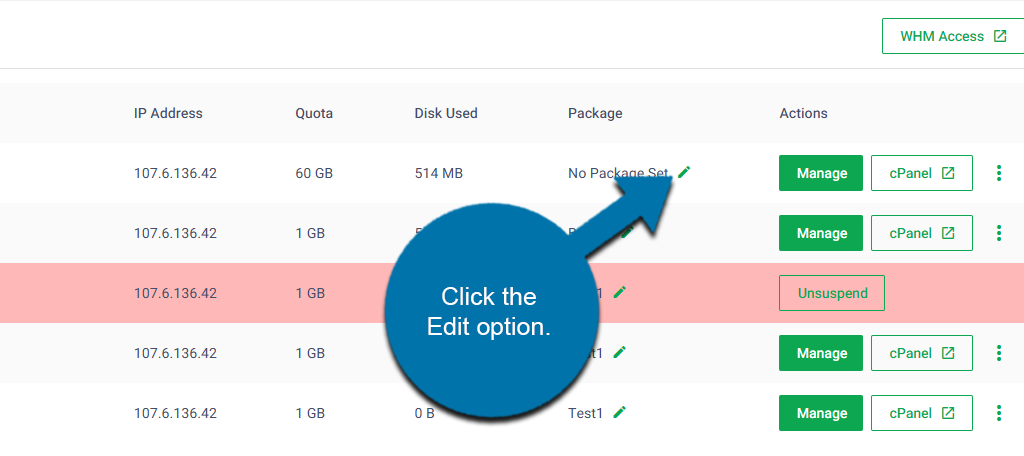
Alternatively, if you would like to change the package assigned to an existing account, go to the Reseller Dashboard and locate the Account List section.
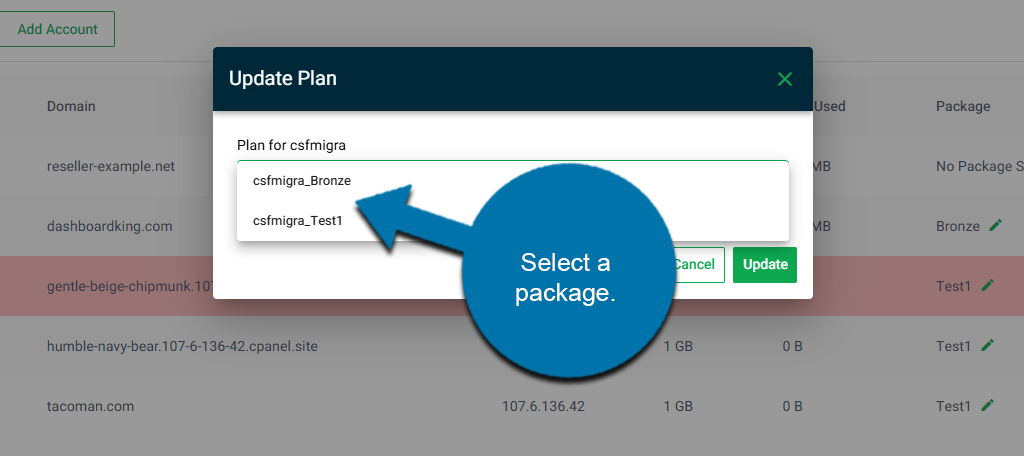
Once there, you should see a column for Package. Click on the Edit option to change the Package for that account.
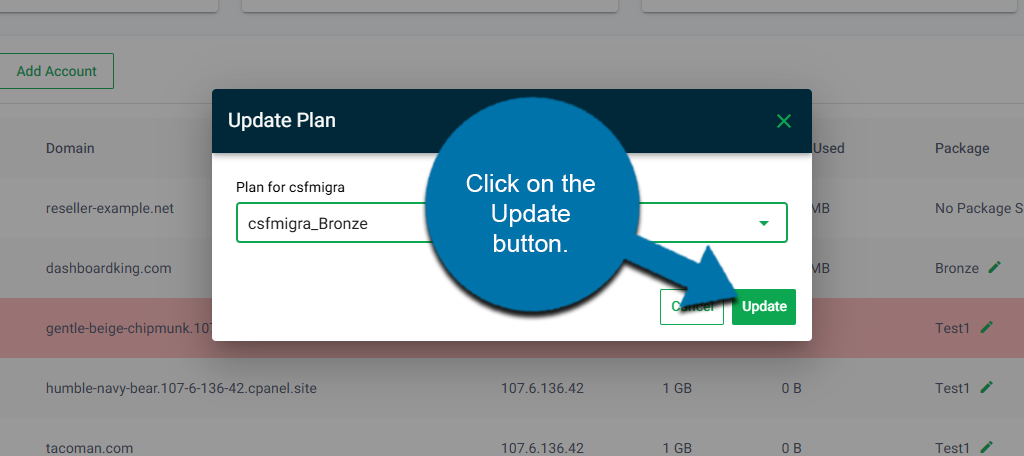
This will pull up a small window that allows you to use the drop-down to select a package.
Once the package has been selected, click on the Update button to finish.
How to View and Monitor Resource Usage
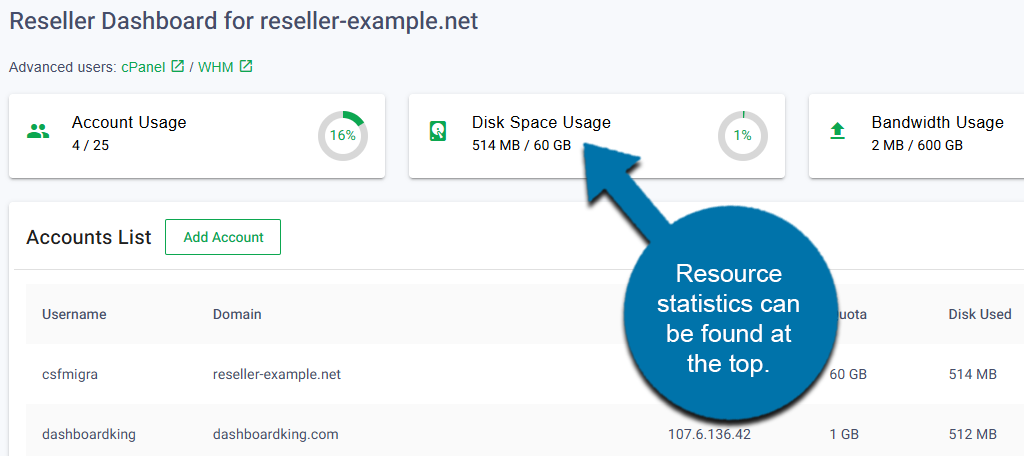
You can view resource usage across accounts at any point. This can help you identify how many more customers you can sign up, or decide if you need to purchase more resources to expand.
This information is available at the top of the Reseller Dashboard. Here you can see the total number of accounts, disk space usage, bandwidth usage, and inode usage.
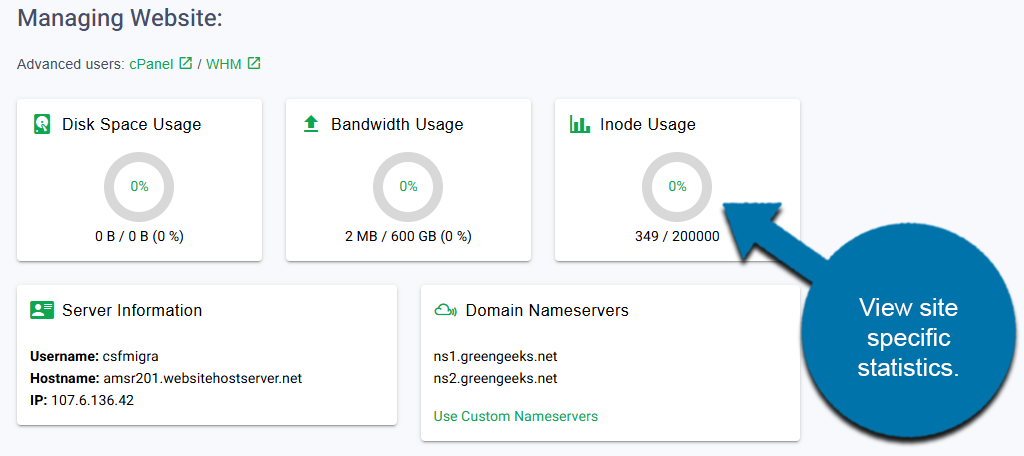
If you would like to see the resources a specific website uses, go to the Account List and click on the Manage button for that account.

At the top, you will see the disk space usage, bandwidth usage, and inode usage.
Best Practices for Preventing Resource Overages
Managing your resources effectively helps maximize the number of customers you can have, while also ensuring your resold accounts operate smoothly.
At the core of resource management are the packages you create. These packages have limitations in place that give you control over how much disk space a customer has access to while on that package, a bandwidth quota, and so on.
Each of these settings can be customized to fit the package’s needs. Naturally, customers may sometimes exceed this as their operations grow, or through bad practices. For example, if a website fails to optimize its image files, they can easily exceed a disk space quota that is set.
The quotas you have in place ensure they cannot exceed the threshold assigned by the package. If they do, the account will be suspended; however, that can lead to a bad customer experience, so staying proactive is the better option.
This involves regularly monitoring your hosted sites. If you notice a site is approaching resource limitations, contact them to ensure they are aware. You can use this as an opportunity to convince them to upgrade to a higher tier, or even create a custom package that better meets their needs.