PuTTY is the recommended application for Windows to use SSH connections. It is free to download and easy to use, thus it is the most popular option. It is worth mentioning for Mac users that PuTTY is not required on Mac, but some still prefer using it as it does more than just SSH.
This tutorial will cover how to create and import SSH keys in PuTTY.
Downloading PuTTY
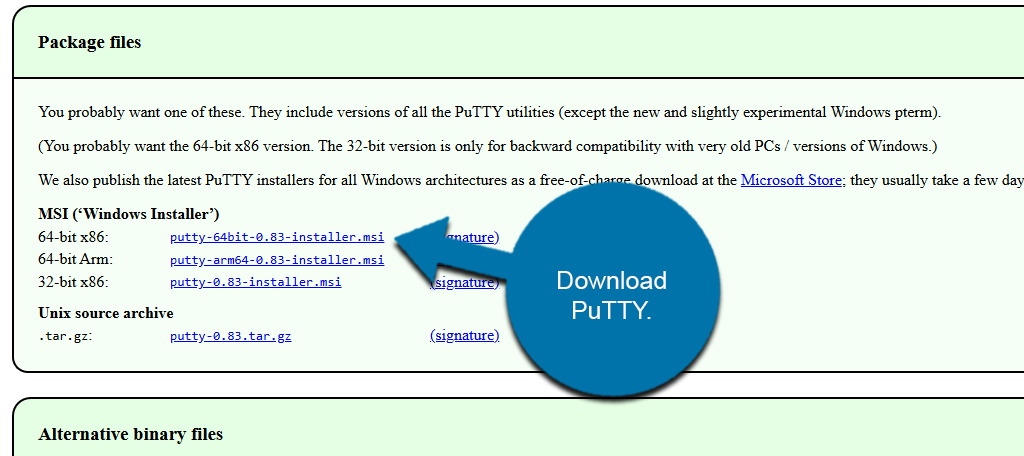
PuTTY is free to download, and you can find the download file by visiting the official PuTTY site. Once there, click on the download page for the latest version link.

From the downloads list, click on the version of Putty you wish to download. For most users, that will be the 64-bit x86 version, but older PCs may need to use the 32-bit version.
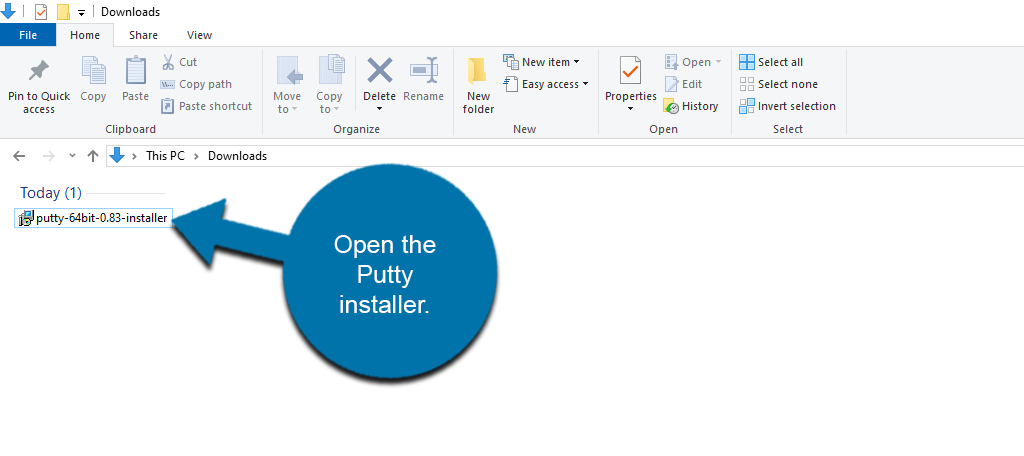
The file will be added to your computer’s Downloads folder. Go to your Downloads folder, locate the PuTTY installer, and open it.
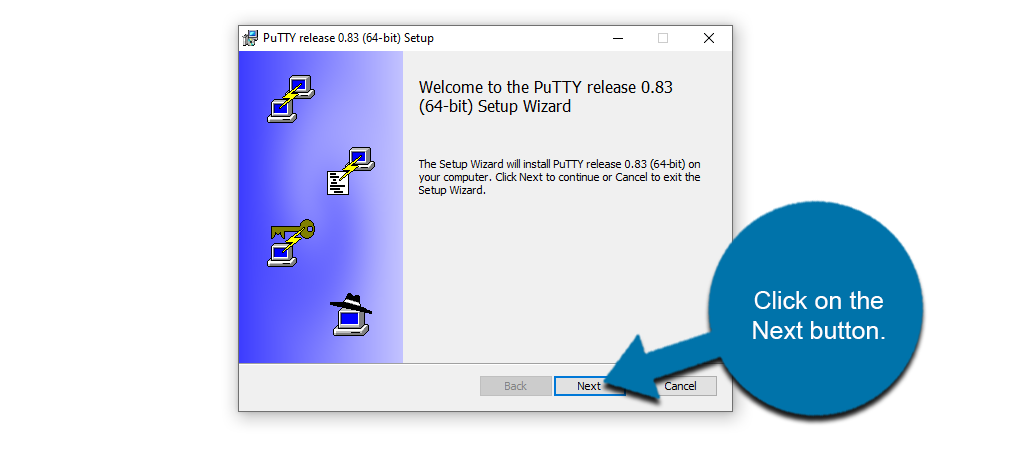
This will open the PuTTY setup wizard. Click on the Next button.
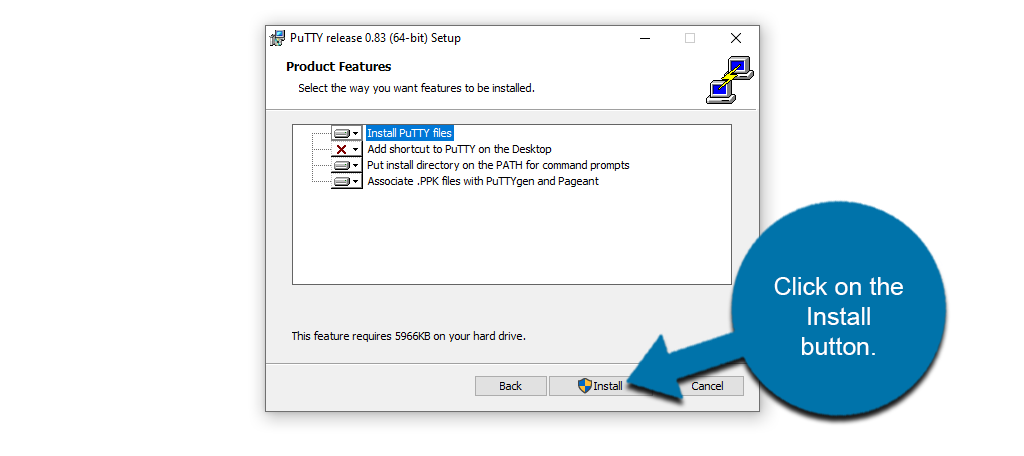
The setup wizard will walk you through a basic installation of PuTTY, which just includes picking where you want the files to go on your computer. At the end, click on the Install button.
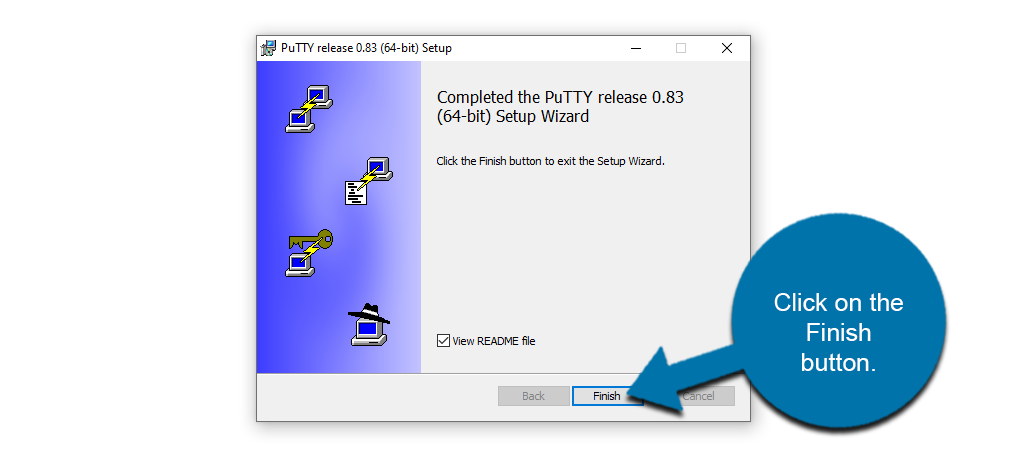
The installation process will begin. You may be asked to allow PuTTY to make changes to your computer, depending on security settings. After it is complete, click on the Finish button.
PuTTY will now be installed on your computer and ready for use.
Generating SSH Keys With PuTTY
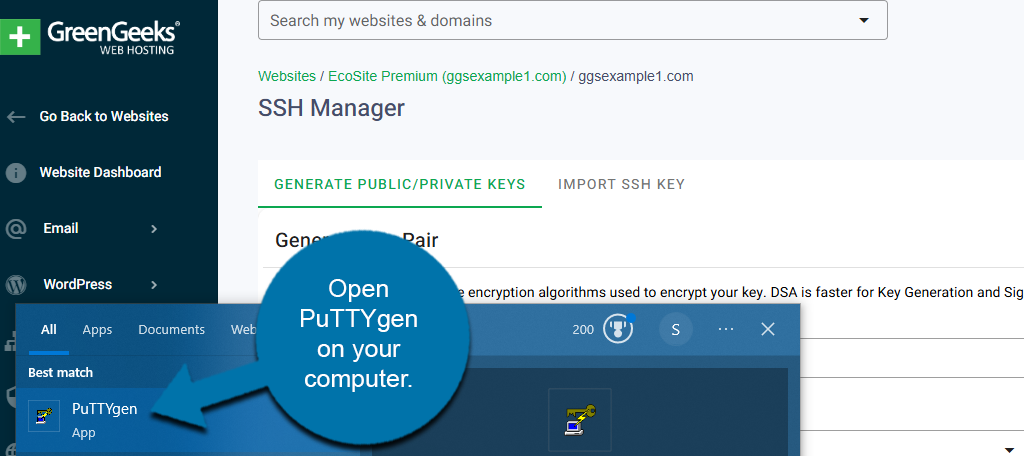
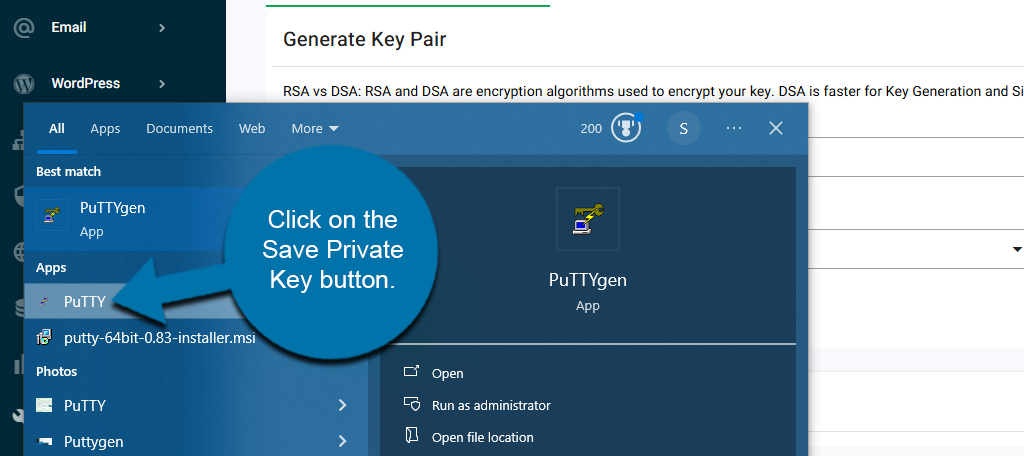
To generate an SSH key with PuTTY, open up the PuTTYgen application on your computer. You can do this by searching for PuTTYgen in the Windows search bar.
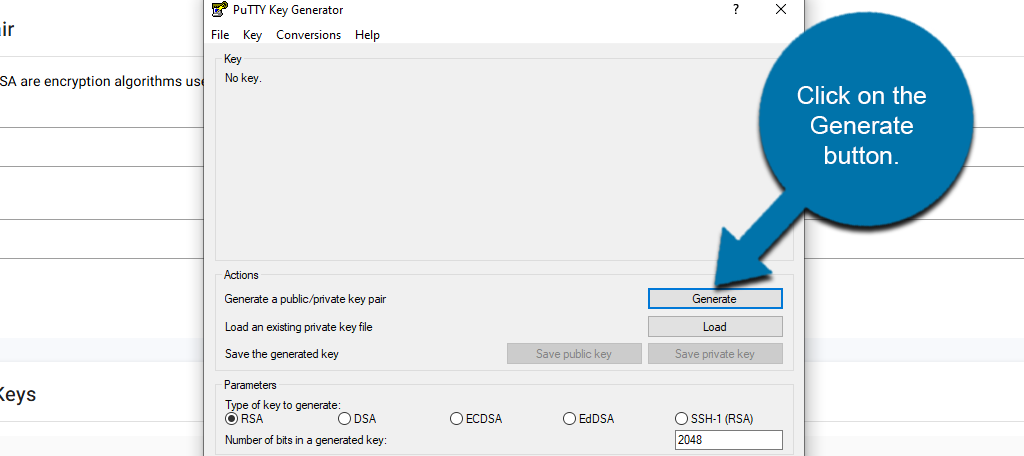
This will open up the PuTTYgen window. To create a new SSH key, click on the Generate button.
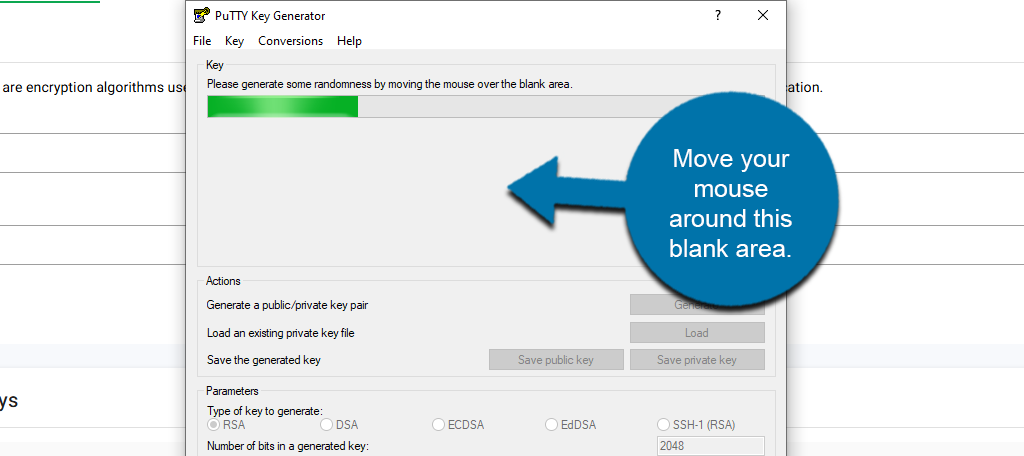
This will begin the key generation process. You will be asked to move your mouse over the blank area to generate the key. The progress bar will not fill if you do not do this.
When the bar fills up completely, the SSH key will be generated. Below it, you will need to enter a Key Passphrase. Similar to creating a password, ensure it is strong by using capital & lowercase letters, numbers, and symbols.
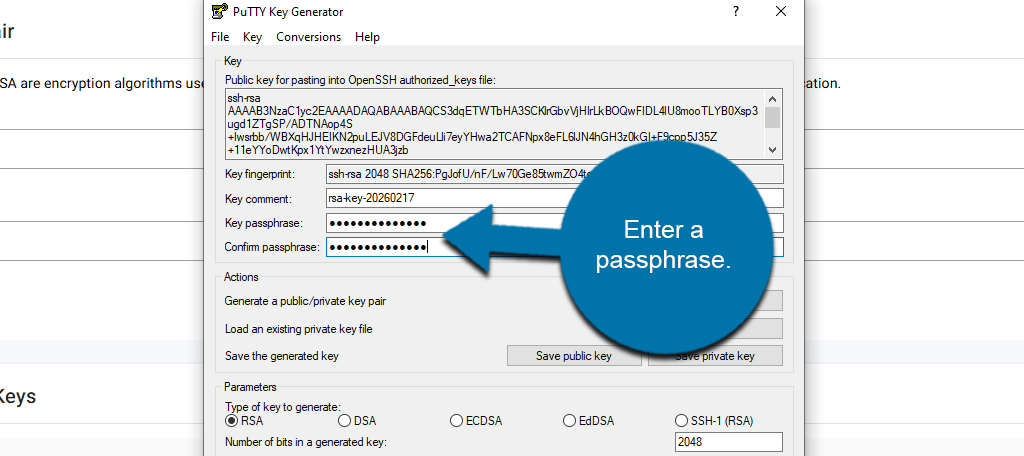
Click on either the Save Public Key or Save Private Key button (depending on which one you want to make).
Note: At the bottom are additional parameters such as the type of key and the number of bits generated. These can be changed, but the default options are fine as is.
This will open up a Save screen where you can name and save the file on your computer.
Importing An SSH Key In PuTTY
If you already have an SSH key, you can easily import it into PuTTY. To do so, open PuTTYgen again. The method differs slightly depending on whether you are importing an SSH key you created in cPanel or one you created in the GreenGeeks Dashboard.
I will demonstrate both approaches.
Importing from the GreenGeeks Dashboard
When you generate an SSH key from the GreenGeeks Dashboard, your only option is to copy the code, which you must store in a .txt file, which is demonstrated in this tutorial. To utilize this key, we need to turn it into a .ppk file, which PuTTYgen can do.
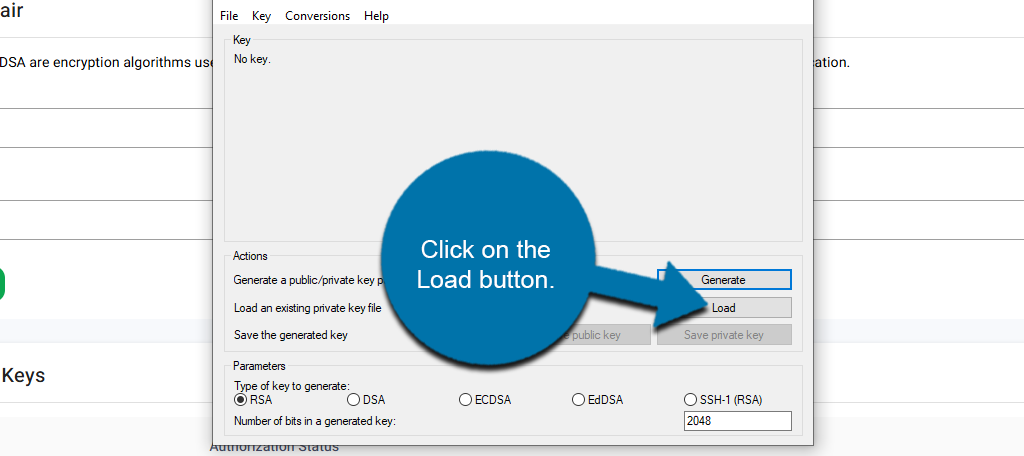
Click on the Load button.
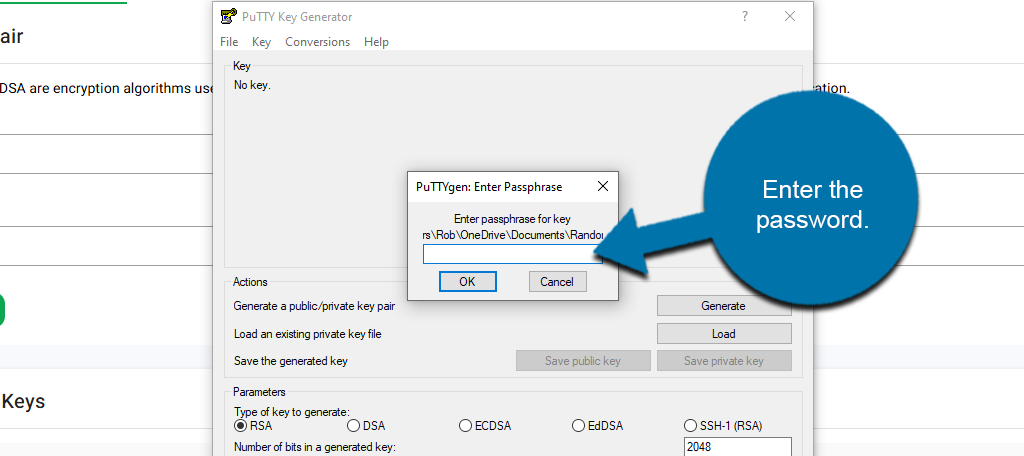
Select the .txt file that contains the SSH key. You will now be prompted to enter the password you created when you generated the key. Enter it into PuTTYgen.
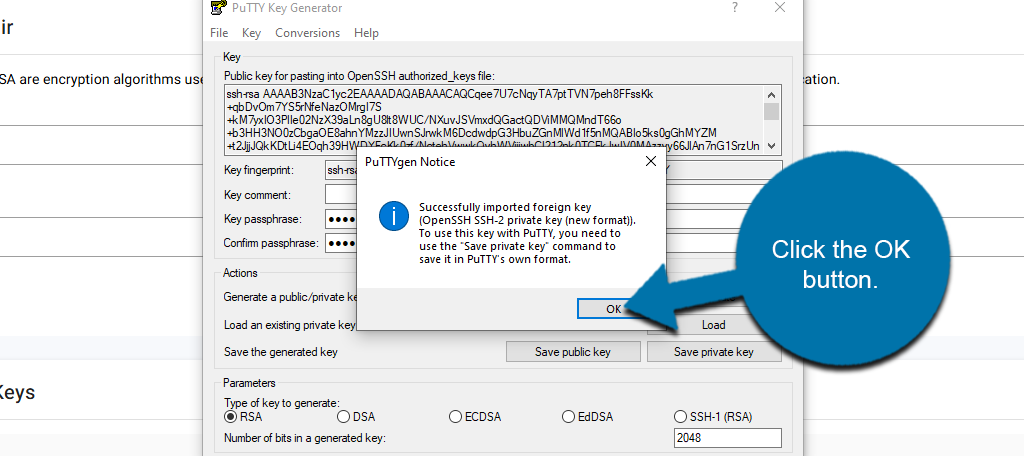
You should now see a notification informing you that the process is successful, but you now need to save it in the PuTTY file format .ppk. Click the OK button.
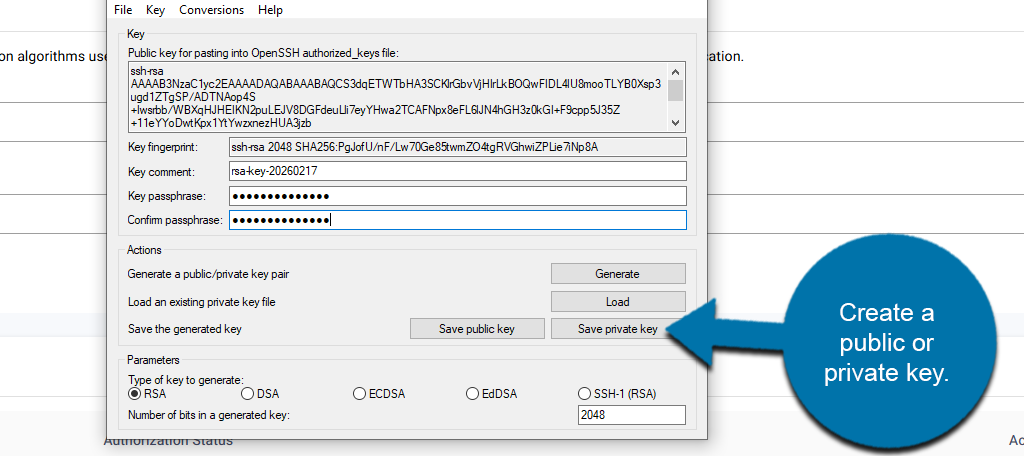
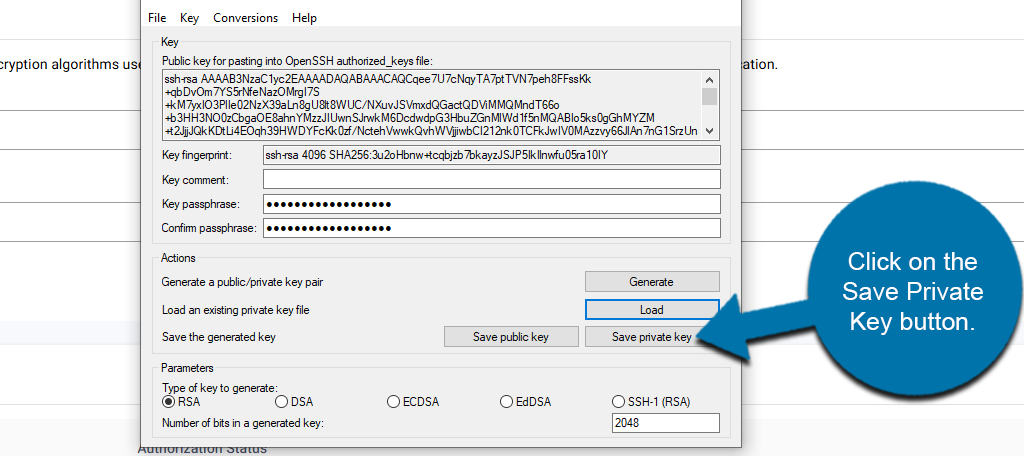
Click on the Save Private Key button. This will convert the file to a .ppk file. You will not have to repeat this beyond loading the key going forward.
You are now ready to use PuTTY.
Importing from cPanel
If you used cPanel to generate your SSH key, then good news, the file is already a .ppk. Thus, you simply need to load the key in PuTTYgen.
In PuTTYgen, click on the Load button.
Select the .ppk file containing your SSH key from your computer. You will now be prompted to enter the password you created when generating the key.
Once the password has been entered, the SSH key will be loaded, and you will be ready to use PuTTY.
Using PuTTY
Start by opening the PuTTY app on your computer. You can find it by using the Windows search function.
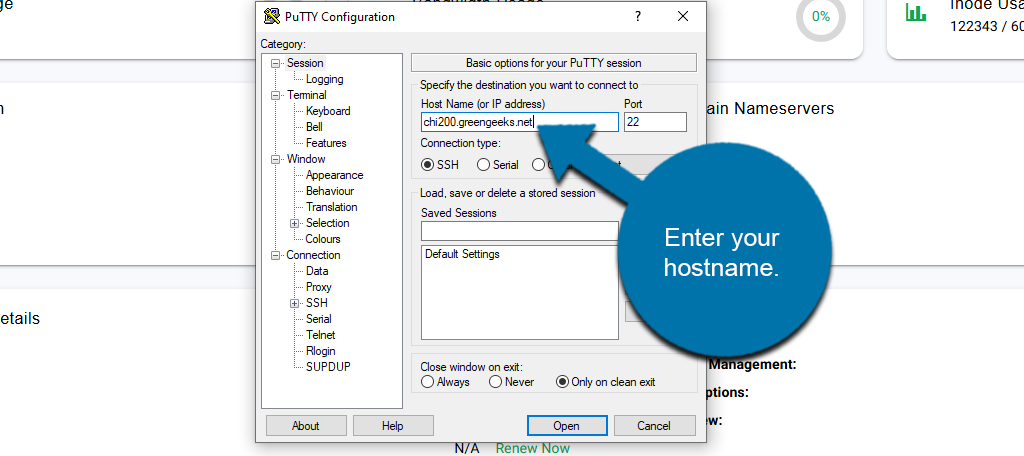
Once PuTTY is open, locate the Host Name (or IP address) field and enter your host name. Then enter the port, which should be 22.
Note: To find your hostname, check your website dashboard, locate the Server Information section, and copy the Hostname field.
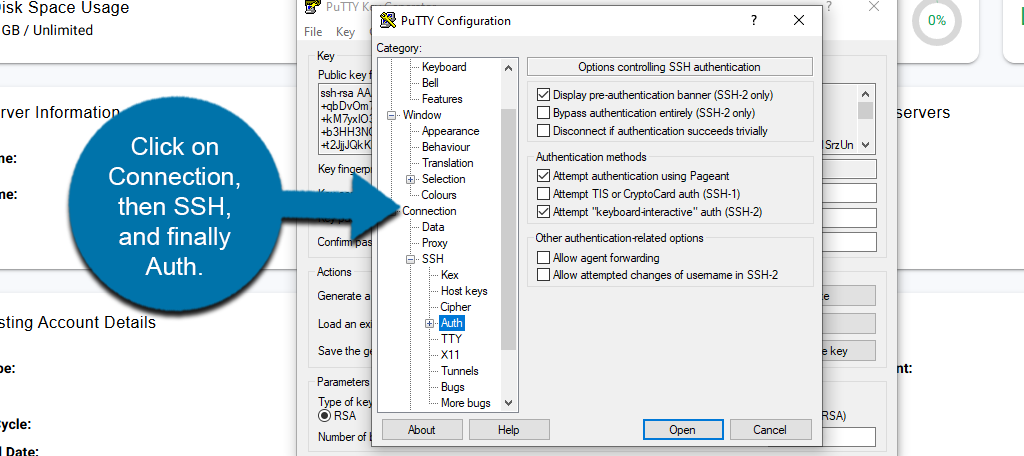
On the left side, click on Connection, then SSH, and finally Auth.
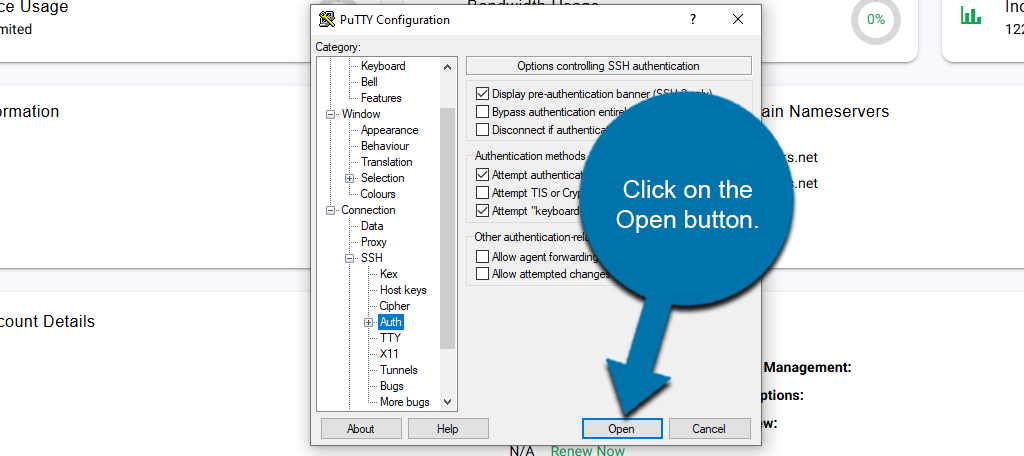
Click on the Open button and select the .PPK file from your computer.
Note: If you already have the key loaded from PuTTYgen, you will not need to select the file again.
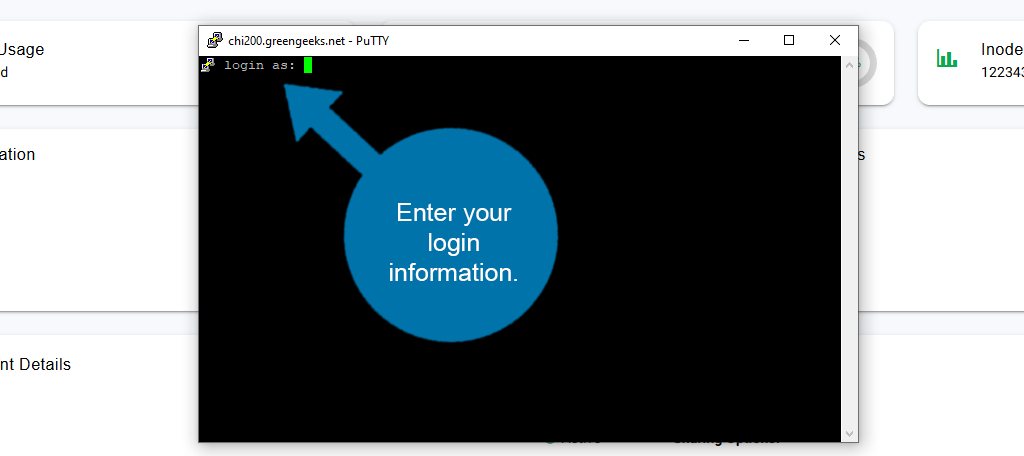
A shell window will open. The “login as” username is your cPanel username, and the password is the password or passphrase you specified during key generation.
WARNING: Exercise caution when accessing your account via the command line. Incorrect or incorrectly used commands can permanently change or delete permissions and files. If you do not have command-line experience or are uncertain about a command, we suggest exploring alternatives to using the command line.