The Softaculous Apps installer is an easy way to install applications on your domain. It can be accessed through the cPanel and supports over 300 applications. While the GreenGeeks App Installer is quicker and easier to use, Softaculous supports more applications.
This guide will cover how to find and use the Softaculous App Installer.
How to Find the Softaculous App Installer
Start by logging into your GreenGeeks account and accessing the cPanel.
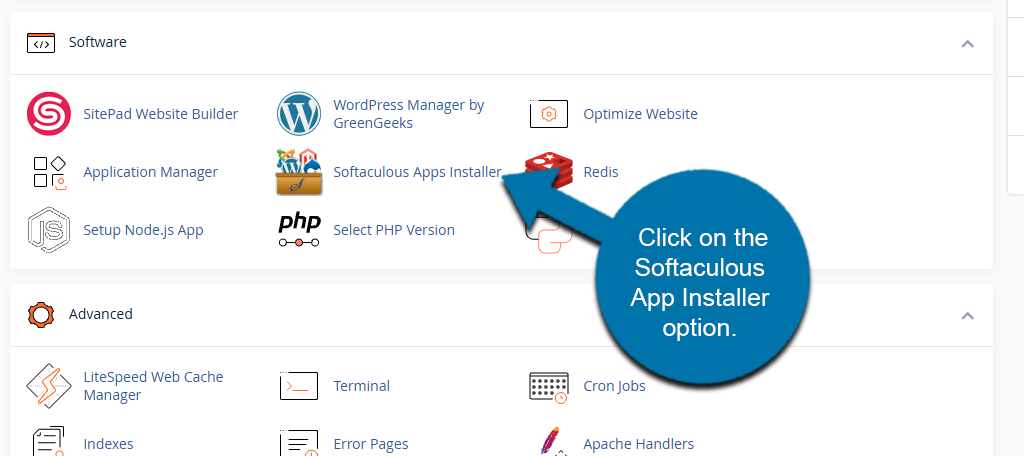
The Softaculous App Installer can be found in two locations in the cPanel. The first location is to scroll down to the Software section of cPanel. Click on the Softaculous App Installer option.
Alternatively, if you scroll to the bottom of cPanel, you will see the Softaculous App Installer section. Here, you can select from some of the more popular options, like WordPress or Joomla, to quickly install them.
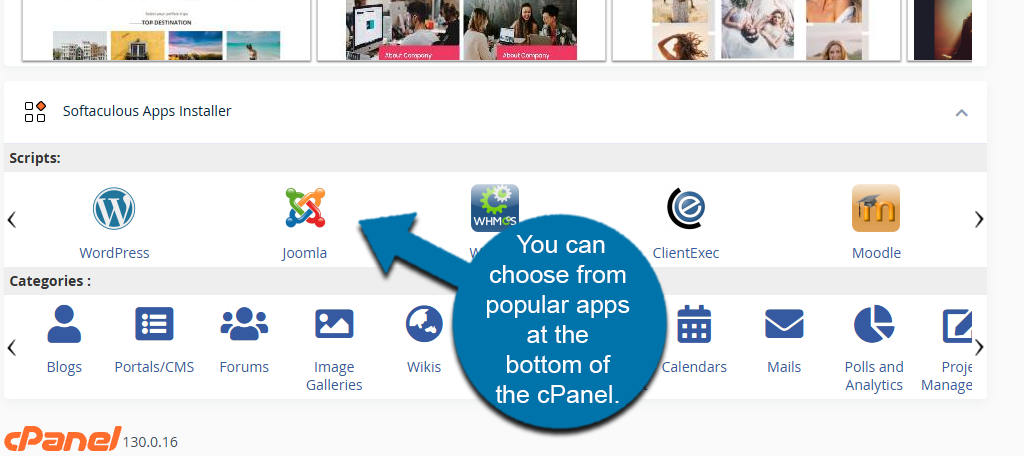
This is quicker if the app you are looking for is here, but if not, you will need to search for it in Softaculous.
How to Use Softaculous
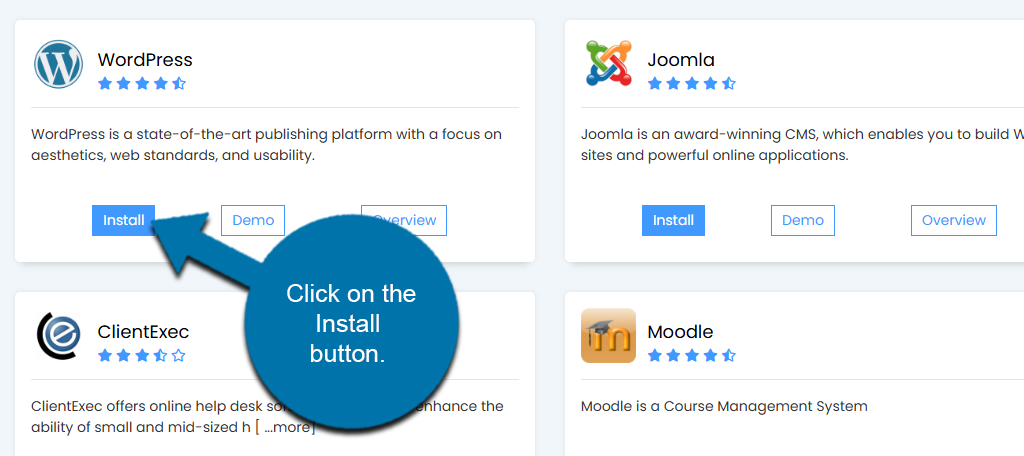
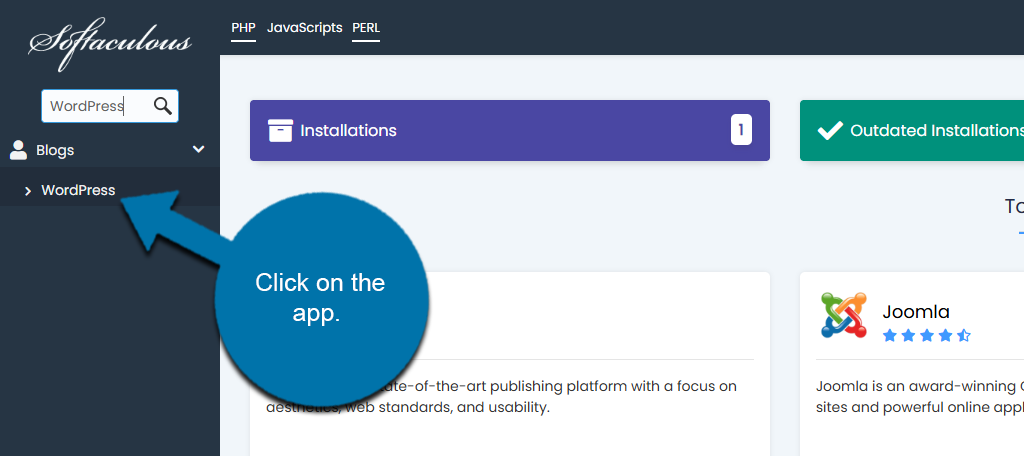
Softaculous is very easy to use and just involves locating the app you want to install. When you first enter Softaculous, you will see the most popular apps like WordPress front and center. You can click on the Install button under them to start the process.
If the app you are looking for is not there, then use the search feature to search for the app.
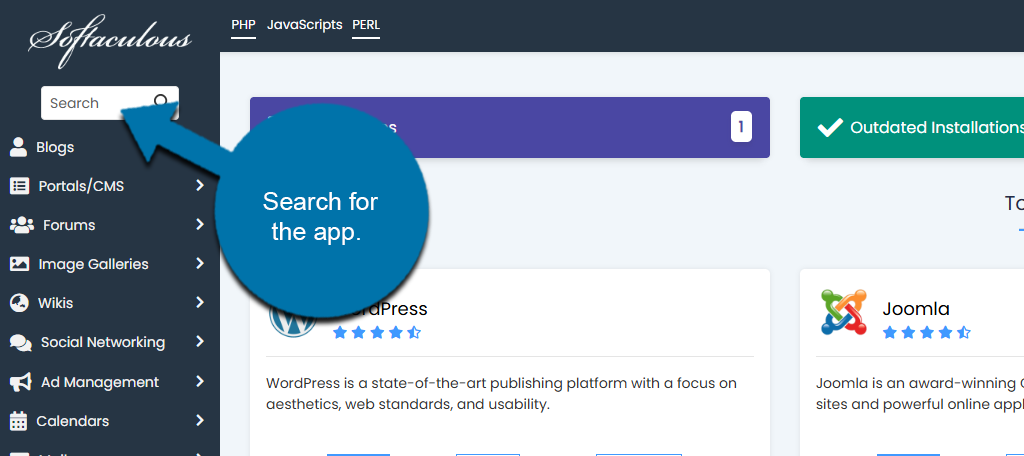
If the app is in the library, it will appear under the search bar like so:
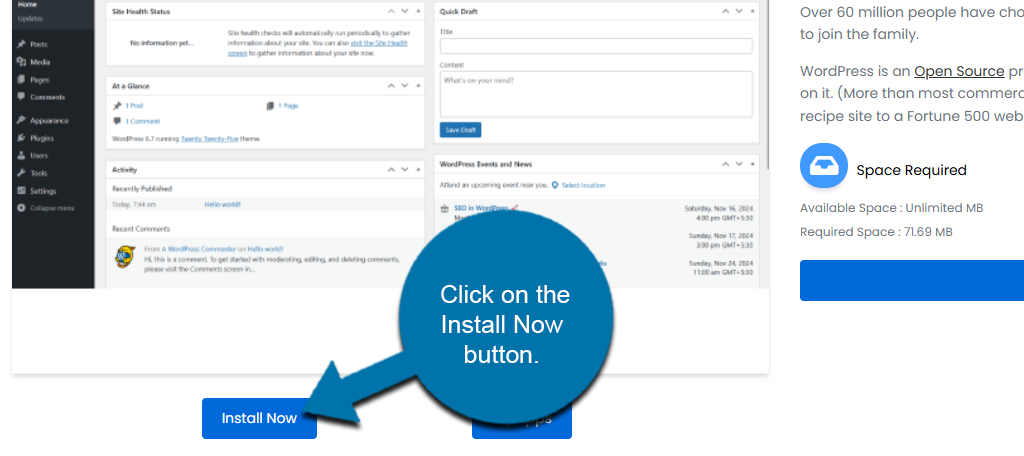
This will bring you to a detailed page that contains all of the app information. This includes an overview of what the app is used for, a feature list, ratings, reviews, and more. In some cases, a demo may also be available so you can test out the app before installing it.
If you want to install the app, click on the Install Now button.
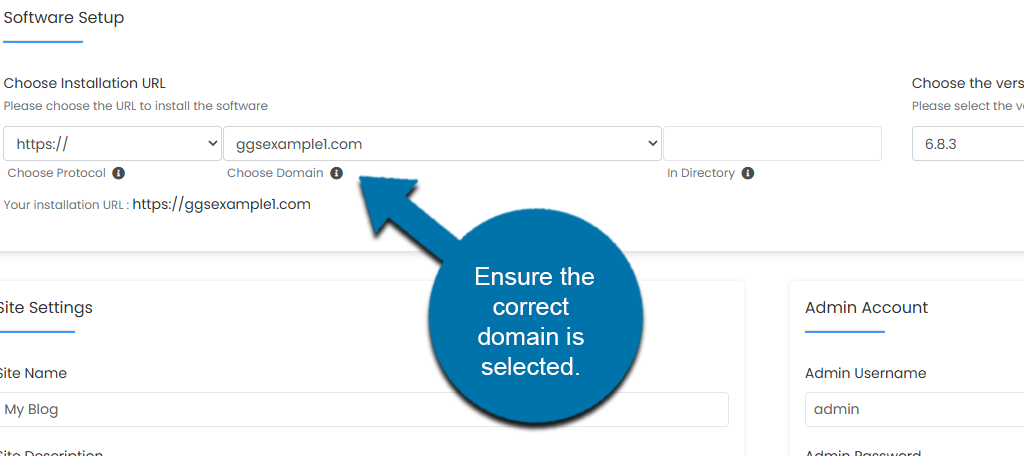
The installation process is straightforward and only requires a few options to select. Just keep in mind that different applications will have different fields to fill out. In this example, I chose to install WordPress.
At the top is the Software Setup section. Here you can enter the protocol, domain, and select which version of the app to install.
Note: It is always recommended to install the latest version, which should be selected by default.
The Site Settings section allows you to enter the site name and create a site description. You can also choose to disable WordPress Cron.
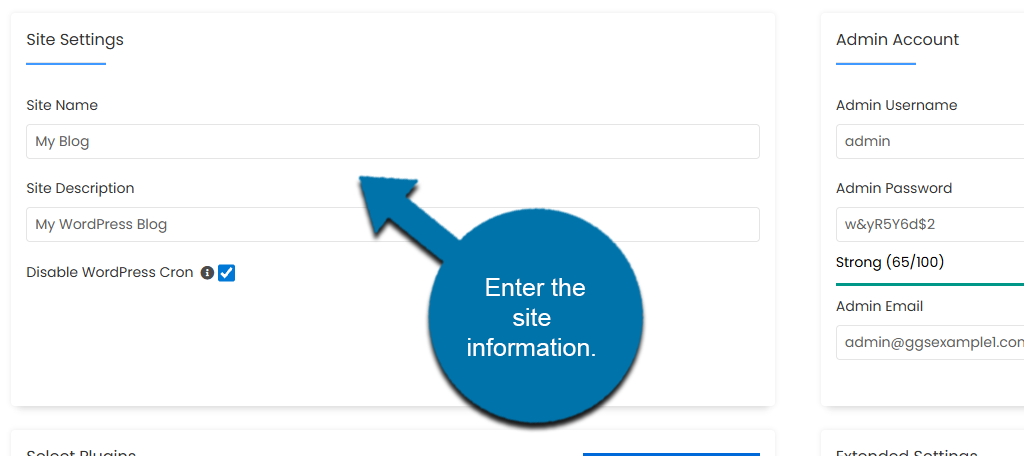
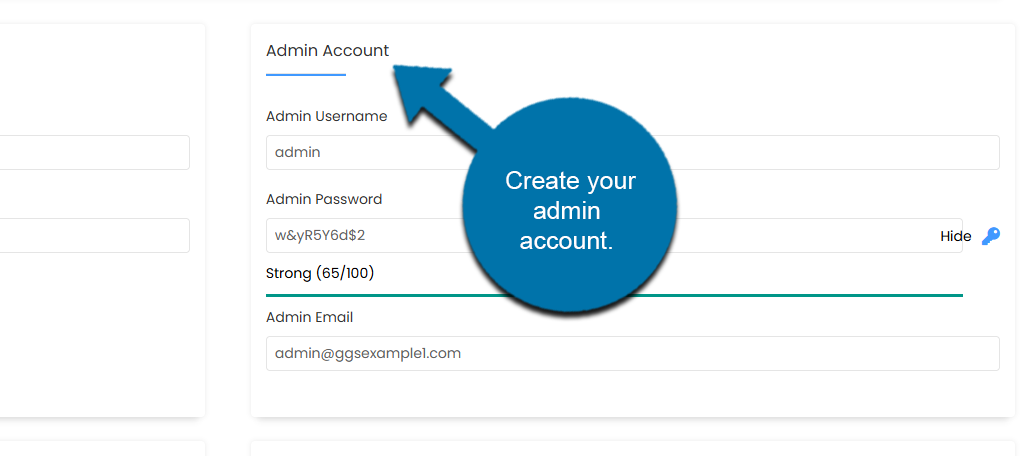
To the right of this is the Admin Account creation. Enter the Admin Username, create the Admin Password, and choose an Admin Email. Be sure to write this down, as you will need it to access your installation.
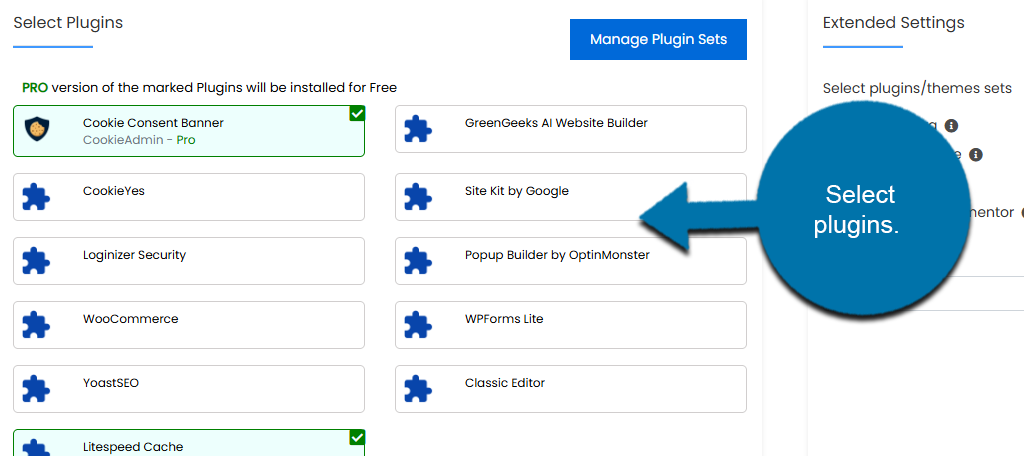
Next, use the Select Plugins section to choose what plugins to pre-install on WordPress. By default, the Cookie Consent Pro and Lightspeed Cache plugins are already selected. You can choose other popular options like Yoast SEO, or choose not to install these plugins by unselecting them.
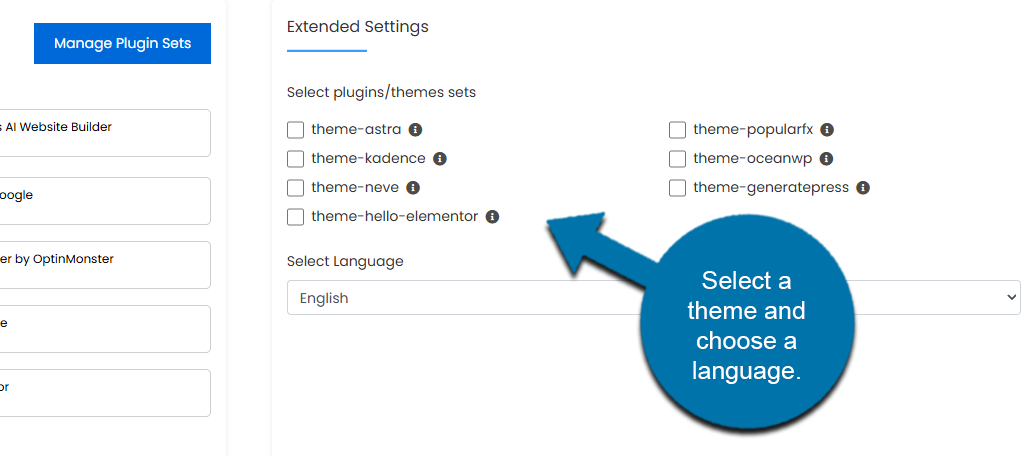
To the right of this is the Extended Settings section. Here you can choose a theme to start with and select what language the installation uses.
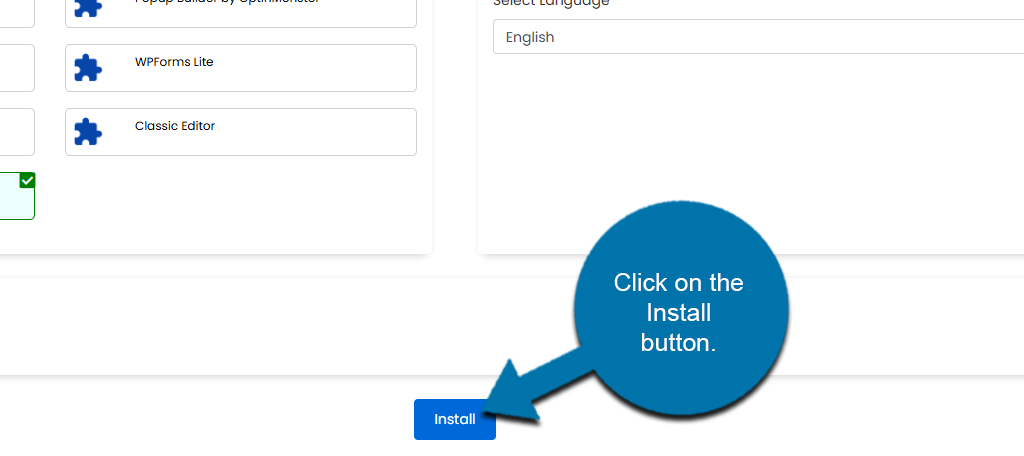
Once you are finished, click on the Install button to finish the process.
The installation process will now begin. The time will vary depending on which app you are installing. Once the process is complete, a success message will display with a link to the app you installed.