Cron jobs are an essential part of running a successful website. They allow you to automate many tasks behind the scenes with a few simple commands. The GreenGeeks dashboard allows you to set up cron jobs directly from it, thus streamlining the process.
This tutorial will demonstrate how to set up cron jobs for the GreenGeeks Dashboard.
Accessing Cron Jobs
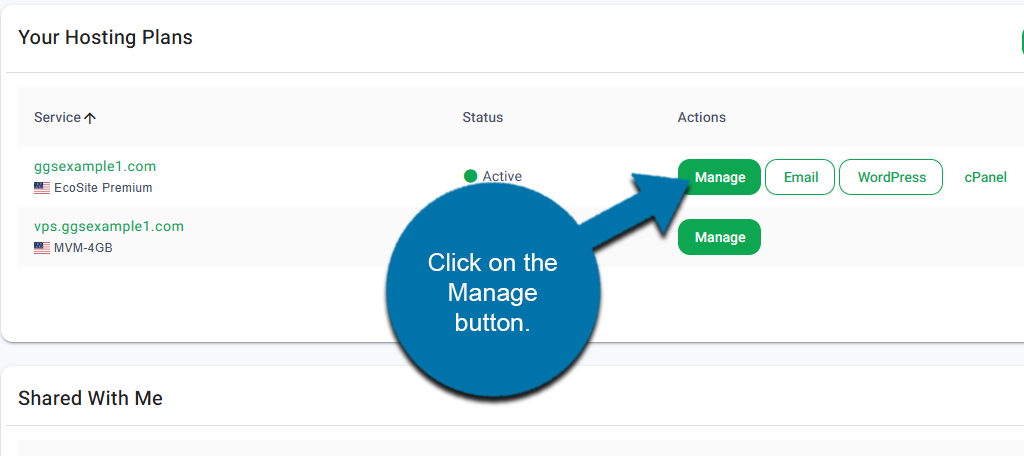
Start by logging into your GreenGeeks account. Locate the domain you want to set up Cron Jobs for and click on the Manage button next to it.
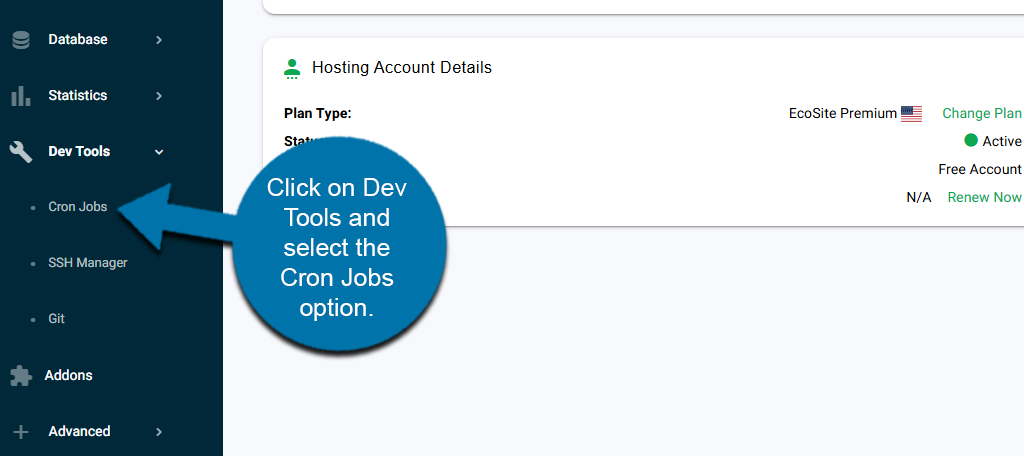
On the left-hand panel, click on Dev Tools and select the Cron Jobs option.
This will take you to the Cron Jobs area of the GreenGeeks Dashboard.
How to Create A Cron Job
The Cron Job area allows you to manage existing cron jobs and create new ones.
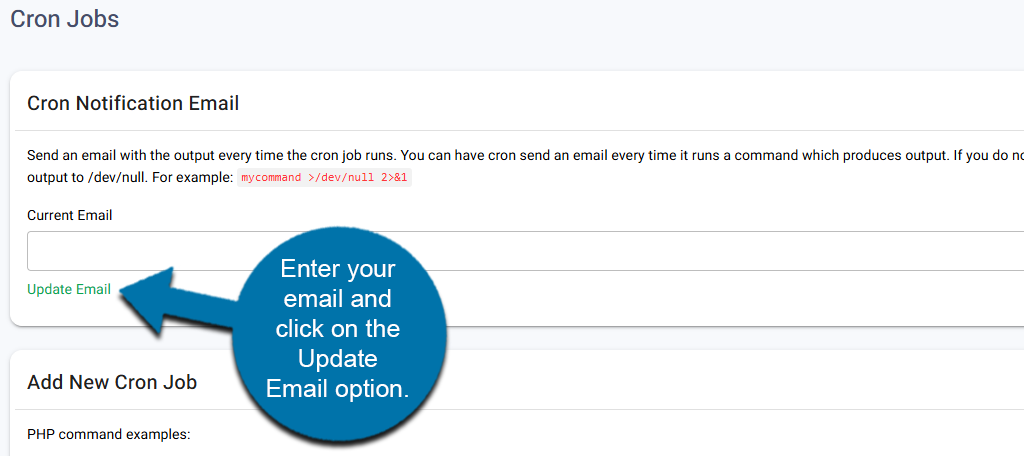
At the top of this area is the Cron Notification Email section. You can enter an email address, and it will receive a notification whenever the cron job runs. You may want to create an email exclusively for this, as the number of emails you will receive could bury other emails in your inbox.
This is optional, but it is a great way to determine whether a Cron Job is causing an error, so it is highly recommended. Enter your current email and click on the Update Email link below.
Below this is the Add New Cron Job section. Here you can enter the details for a new cron job, which comprises of entering how often it will run and entering the command itself.
To enter how often the Cron Job will run, use the drop-down boxes to customize the time. You can use the common options dropdown to select the most common options. These include things like once every hour, once every day, and so on.

Alternatively, you can customize a specific time using the options below.
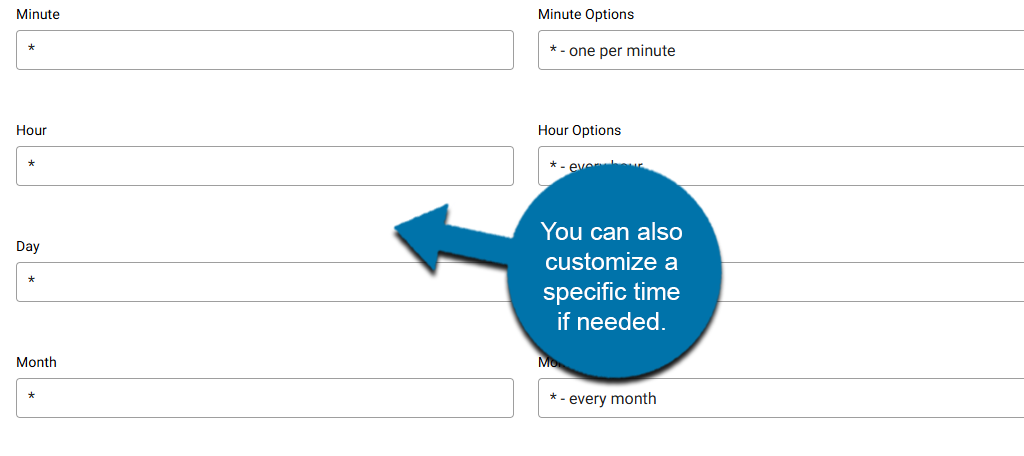
The times you select ultimately depend on the kind of cron job you are setting up. For example, consider a backup cron job. How often this runs depends entirely on how active your site is. In many cases, you may want to back up certain pieces of information every 15-30 minutes.
For instance, if you run an active eCommerce site, you may have new listings every minute, and customers entering new data in their accounts, thus backing that up often is very important.
There is no one-size-fits-all for cron jobs; you’ll need to carefully monitor the task to make that decision.
Finally, enter the cron job command in the appropriate box and click on the Add New Cron Job button.
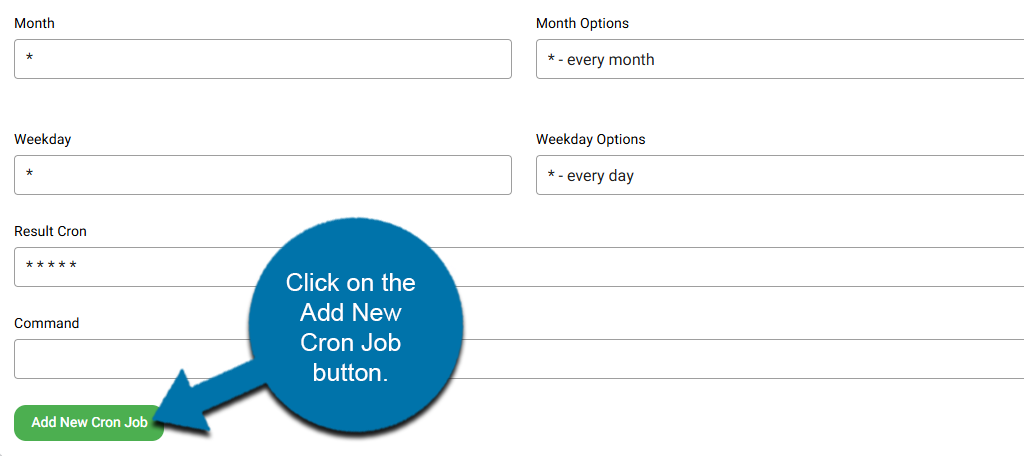
The Cron Job will be created and added to the list below.
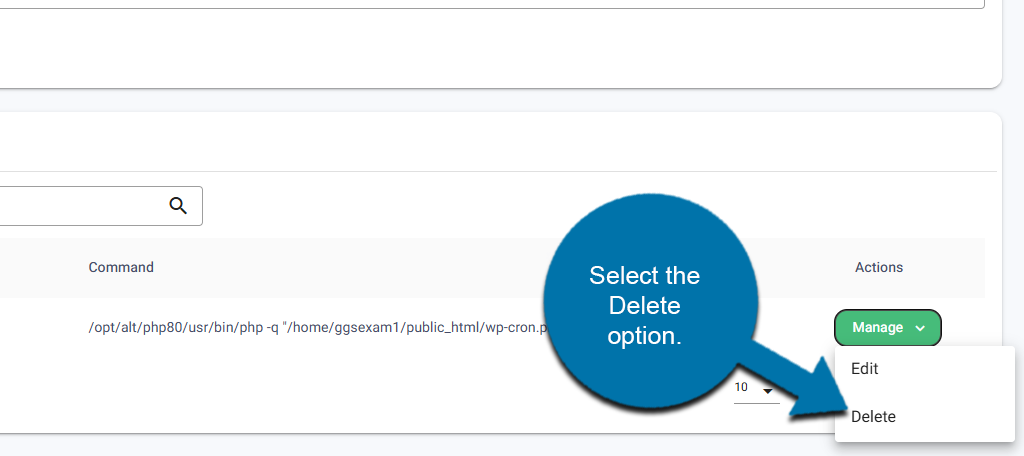
How to Delete A Cron Job
If you need to delete a Cron Job, simply check the list of current cron jobs, locate the one you want to delete, click on the Manage button next to it, and select the Delete option.