It’s not difficult to create a new subdomain for your GreenGeeks website. There are two main ways to do it. The first is to do it directly from the GreenGeeks dashboard, while the second uses the cPanel. Both have the same result, so it comes down to preference.
All it takes is a few minutes of your time, so let’s begin.
Method 1: Create A Subdomain From the GreenGeeks Dashboard
Click on the Hosting Option.

Click the “Manage” button next to the domain name you wish to create a subdomain for.

Click on the Domains tab and select the Sub-domains link.

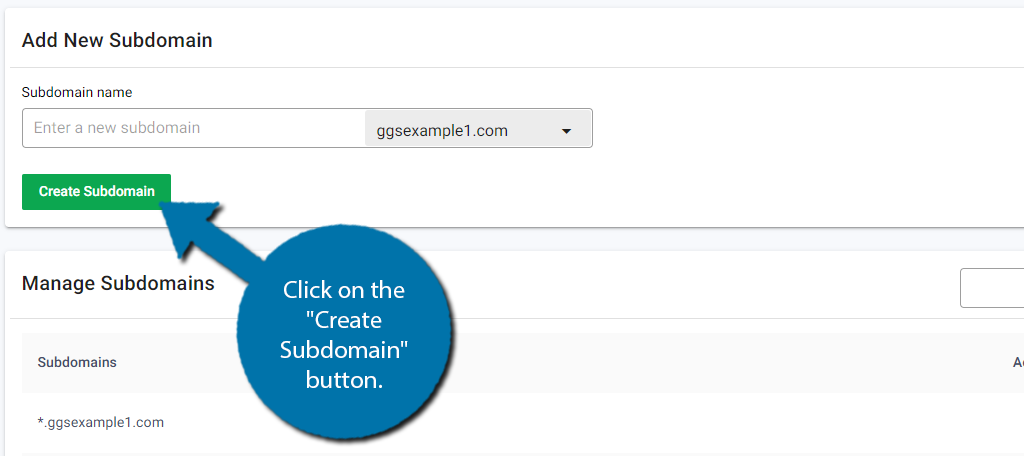
Enter the subdomain name.
NOTE: For those who have more than one domain on the hosting account, you’ll need to use the drop-down box next to the subdomain name field and pick the correct primary domain name.

Click on the “Create Subdomain” button.
It will take 60-120 seconds for the sub-domain creation process to finish.
Congratulations! Your subdomain will be ready for use immediately, once the DNS is pointed.
If your domain is not pointed to the GreenGeeks nameservers, you will need to create the A records for the new sub-domain within your existing nameservers, or update the domain to point to the GreenGeeks nameservers, before you’ll be able to visit the sub-domain in your web browser.
Method 2: Creating A New Subdomain with cPanel
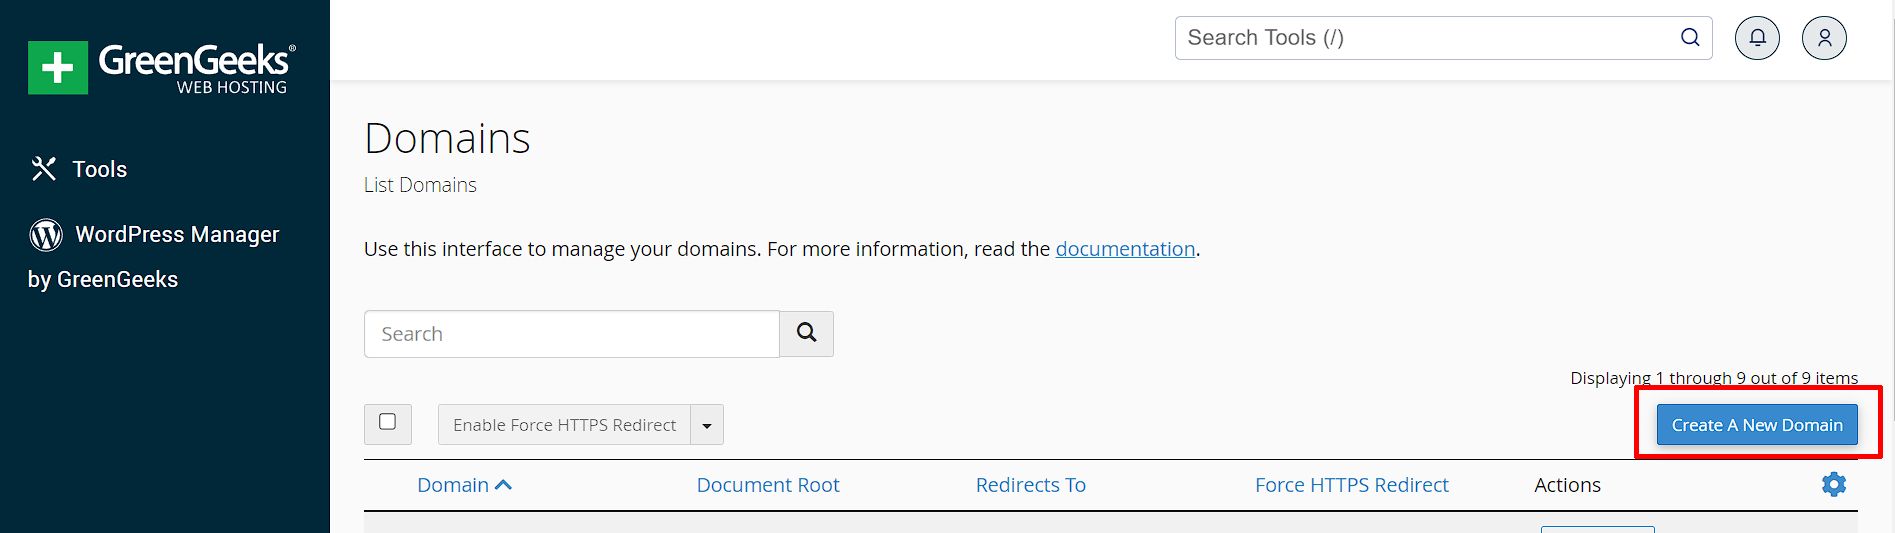
Access your cPanel and scroll down to the Domains section of cPanel, click on the “Domains” link/icon.
On the Domains page, click the “Create a New Domain” button to add a new sub-domain.
Within the new domain page, enter the new sub-domain name in the Domain field. Enter the full sub-domain, i.e. sub-domain.domain.com
Deselect the “Share document root” check box.
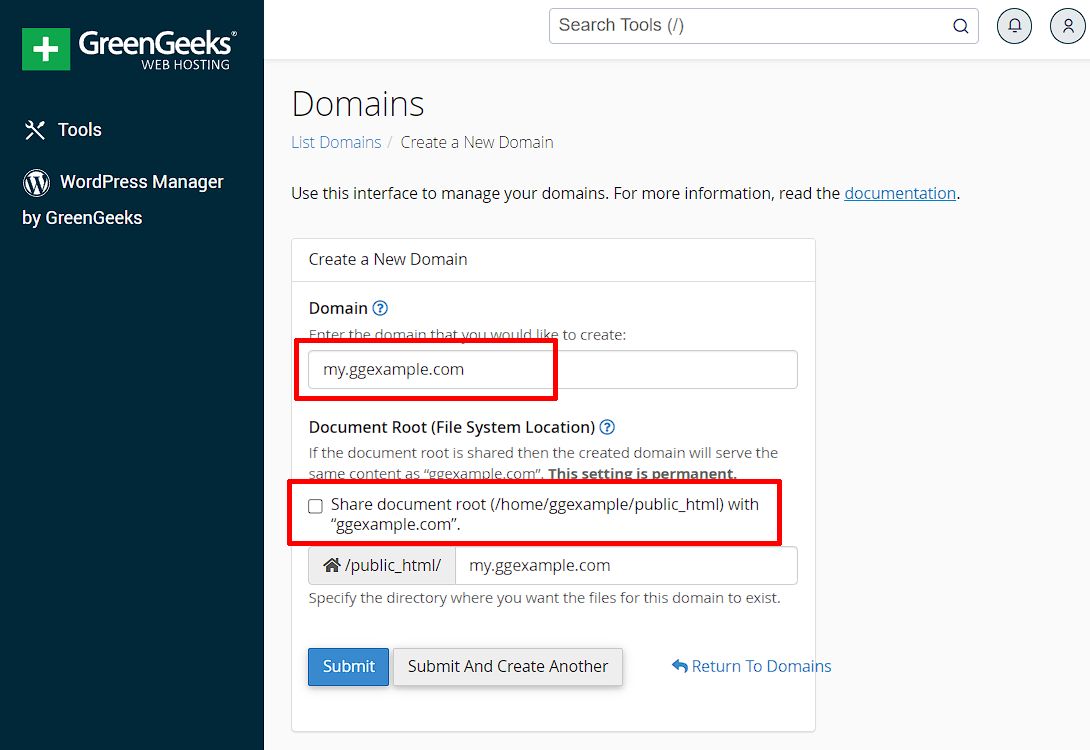
Take a moment to double-check the information is accurate & the “Share document root” option is not checked.
Click Submit to create the new sub-domain in cPanel.

It will take 60-120 seconds for the sub-domain creation process to finish.
Once the sub-domain has been created, you’ll be redirected to the Domains page and a Success notification will be shown along with the domain name & the document root path.
Congratulations! Your subdomain will be ready for use immediately, once the DNS is pointed.
If your domain is not pointed to the GreenGeeks nameservers, you will need to create the A records for the new sub-domain within your existing nameservers, or update the domain to point to the GreenGeeks nameservers, before you’ll be able to visit the sub-domain in your web browser.
Note that no FTP accounts associated with the sub-domain will be created; if you wish to have an FTP account restricted to the sub-domain folder, create a new FTP account for this purpose.