You can easily manage renewal, cancellation, and other options in a few simple steps. Use a combination of GreenGeeks and the self-cancellation service provided by GreenGeeks.
Managing Renewal Options
In order to manage renewal options, you want to sign in to GreenGeeks.
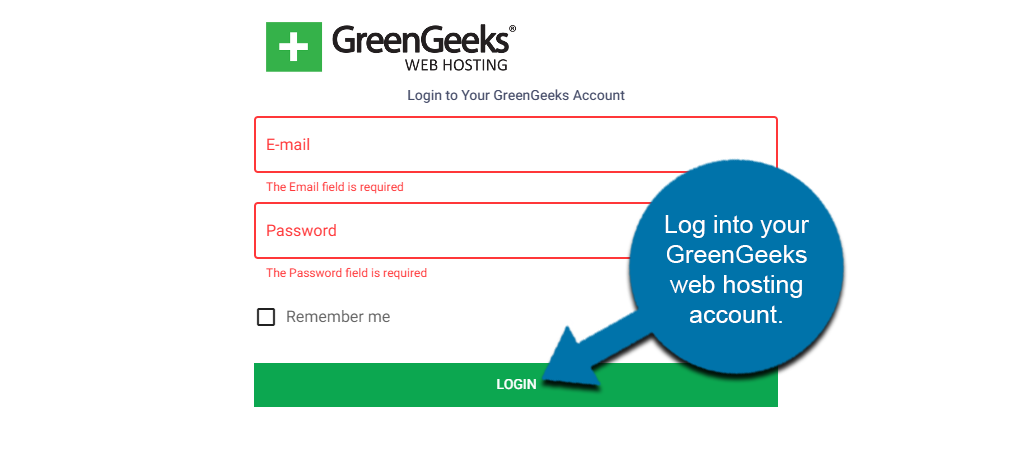
By default, all of the services you have with GreenGeeks will renew automatically. However, you will be sent emails leading up to the renewal process. This is to let you know when the auto-renewal will occur.
You can see all your account details by clicking on the “Manage” button in your GreenGeeks Dashboard.
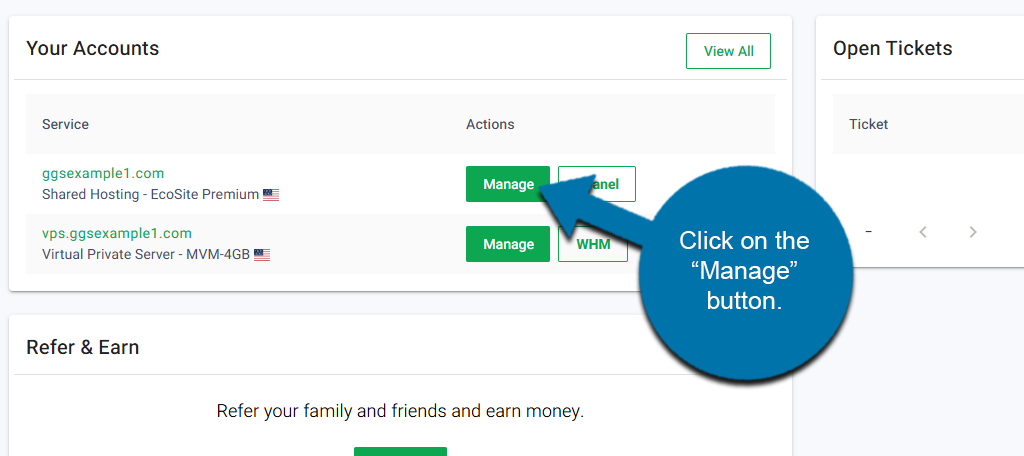
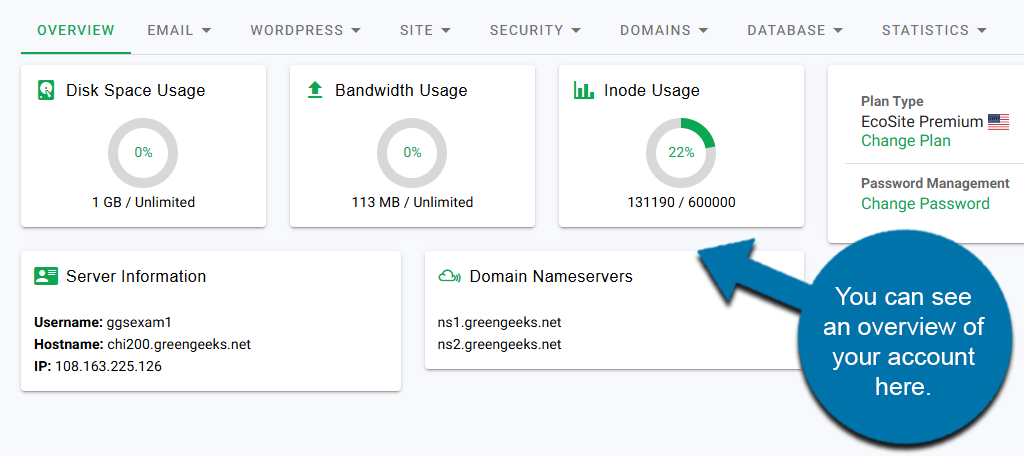
This will take you to a view with all of your account info and links to manage everything, including all your add-ons.
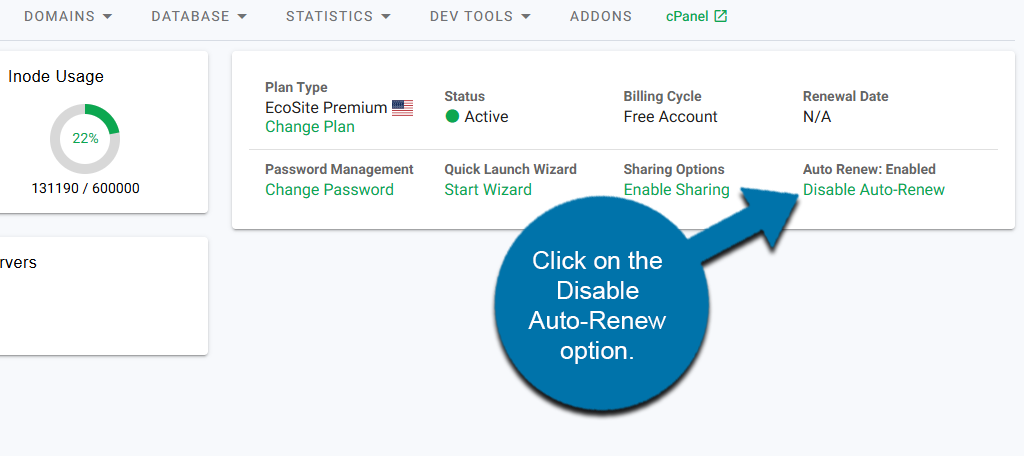
Canceling any hosting service or add-on that you have with GreenGeeks is simple. To begin, you’ll need to first disable auto-renew. On the overview screen, click on the Disable Auto-Renew option.
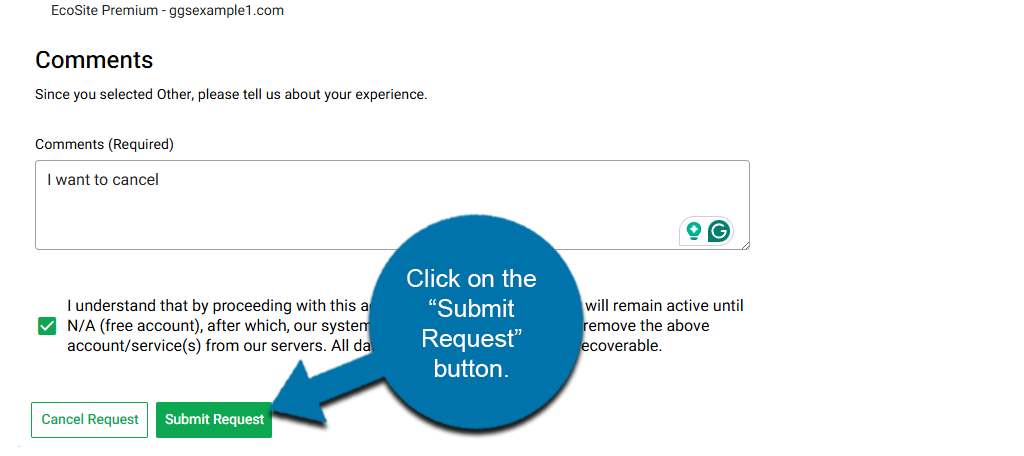
You’ll be prompted to enter the reason why you are canceling. Once you do this, you can submit a cancellation request by clicking on the “Submit Request” button.
We will send you a confirmation email, asking you to verify that you want the selected services canceled. Respond to that email, and your selected services will be canceled immediately.
If you have any trouble, don’t hesitate to Contact Support, and we will be happy to assist you.
Other Recommended Help Resources
These resource articles might be helpful to you as well.
- Canceling Prior to Your Account Renewal Date
- Acceptable Forms of Payment
- How Do I Remove a Credit Card
- If I Want to Cancel My Account, What Are My Options?
- Does GreenGeeks Offer a Grace Period
Or, you can view the entire GreenGeeks Knowledgebase for Billing, Renewals, and Cancellations.