You can edit the files in your GreenGeeks account using a text editor and upload them with an FTP program, but if you prefer a web-based alternative, there is a File Manager built into cPanel.
To access the File Manager, log in to GreenGeeks and access your cPanel.
Locate the Files section and click on the File Manager option.

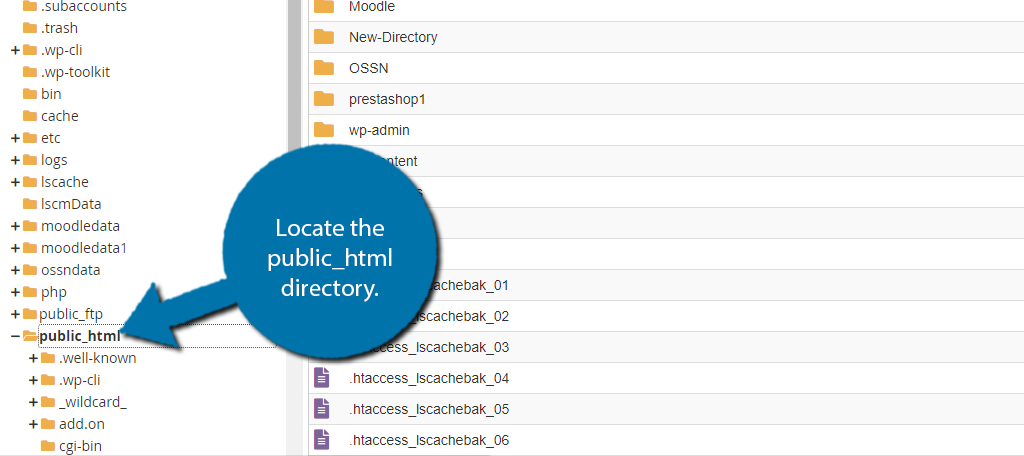
When you enter the File Manager, you will be in your root directory. Your WordPress files are located in the public_html directory, so locate that in the directory list.
To Edit a File in the Cpanel File Manager
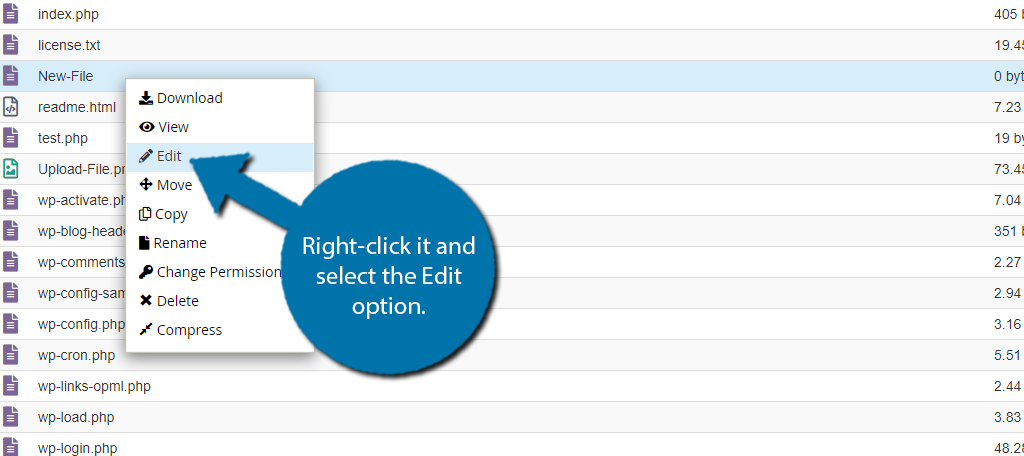
Now that you are in the public_html directory, locate the file you want to edit. Once you have found it, right-click it and select the Edit option.
A small pop-up will appear. It will explain what file you are entering and remind you to create a backup of your website. This ensures that if you make a mistake, you can easily restore your website.
Click on the “Edit” button to continue.

This will open up the editor itself. At the top, you can select the language you are writing in by using the drop-down. You can also adjust the font size with the option next to it.

In this case, I am using a blank file, but if there were text in this, the language would already be set for you. At this point, you can just edit the code in the file as you see fit.
When you are done making changes, make sure to click on the “Save Changes” button.

You may also be interested in these other tutorials: