Once your website goes live, it will be accessible to anyone who knows the URL. However, there are multiple situations where you may want to restrict access to the website. One of the best ways to do this is to restrict users by using the IP address.
An Internet Protocol (IP) address is a unique numerical label assigned to every device connected to a computer network that uses the Internet. As such, you can restrict access by restricting certain IPs from accessing the content on your website.
What Is IP Access Restriction?
IP access restrictions are a security method that blocks access to a website or specific content on that website if your IP address is not on an approved list. It gives the website complete control over which users can access their website and from which devices they can access it.
For example, if you are testing a new web page, you can make it so it is only accessible by approved testers by whitelisting their IP addresses.
It is also possible to use IP restrictions as a way of reducing spam. For example, if you notice that your site gets accessed by spam bots from China, you can set up an IP restriction that blocks all devices from China from accessing your site.
Benefits of IP Access Restrictions
Naturally, there are several advantages that IP access restrictions offer sites.
1. Improved Security
By restricting who can access your website, you are reducing the chance of malicious users accessing your website. This can help prevent data from being stolen, prevent DDoS attacks, or reduce the amount of spam your website receives.
2. Test Pages on Live Sites
If you are adding a new page to your site, you can test it on the live site by limiting access to it through IP restrictions. This allows you to test new content and features without having to take your site down for maintenance.
3. Geographic Content Control
In some cases, certain content is not permitted in specific countries or regions. As such, you can set up IP access restrictions that block an entire region from accessing the content, thus ensuring that your site complies with the law.
Limitations or IP Access Restrictions
IP access restrictions are not perfect; as such, they have limitations that you should be aware of.
1. Can Block Regular Users
If you set up too many IP access restrictions, you may block normal users from accessing your site. This can negatively affect your site traffic and other metrics, thereby reducing your site’s ability to earn money.
2. VPNs Circumvent IP Access Restrictions
A Virtual Private Network (VPN) allows users to easily get a new IP address that can circumvent any IP Access Restrictions you set. This can allow users to access content that was not intended for them, with a popular example being getting more shows through streaming platforms.
3. IP Addresses Are Not Static
IP addresses for residential users are changed regularly (days or weeks); as a result, you’ll need to monitor IP address changes in regions that you are trying to block to keep the restriction in place. Expect to update them weekly for the best results.
How to Block IP Addresses
Setting up an IP address block is very simple and should only take a minute. Naturally, if you want to block multiple IP addresses, the process will take longer.
Method 1: GreenGeeks Dashboard
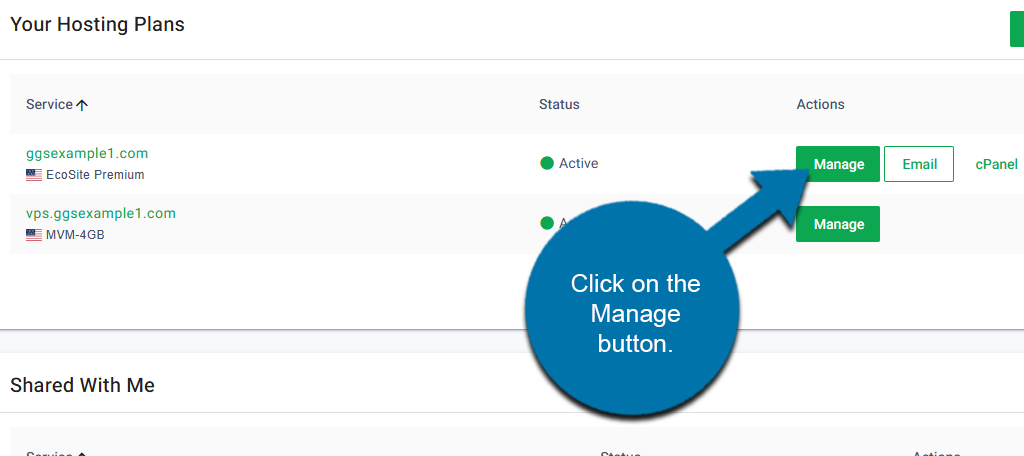
Log in to your GreenGeeks account and locate the domain for which you wish to block IP addresses. Click on the Manage button next to it.
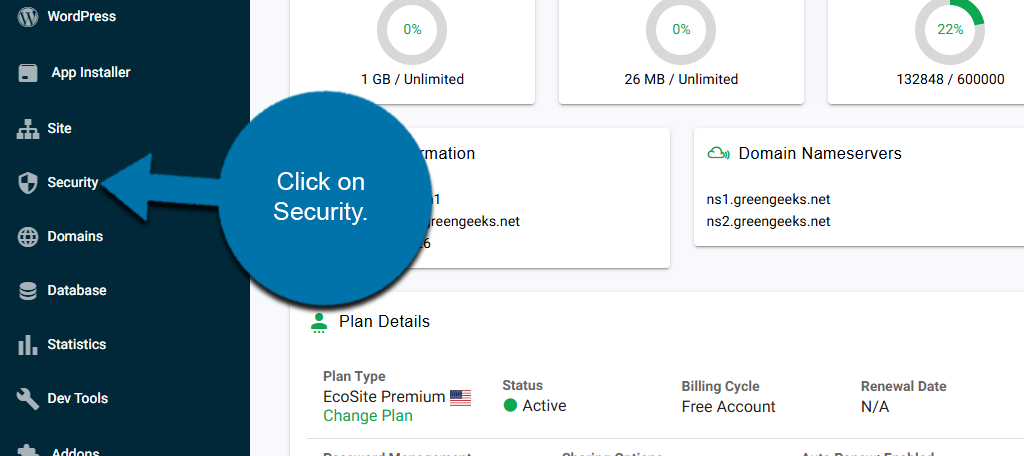
On the left-hand panel, click on Security.
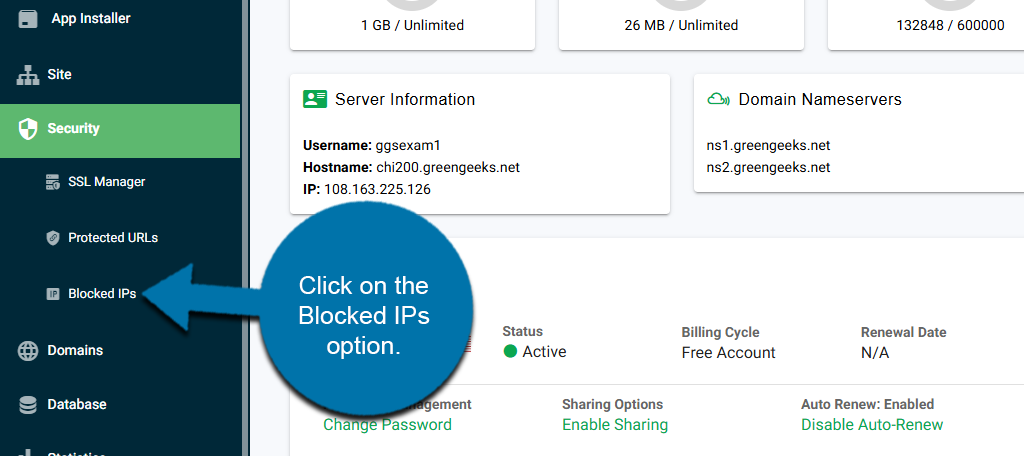
This will reveal additional options. Click on the Blocked IPs option.
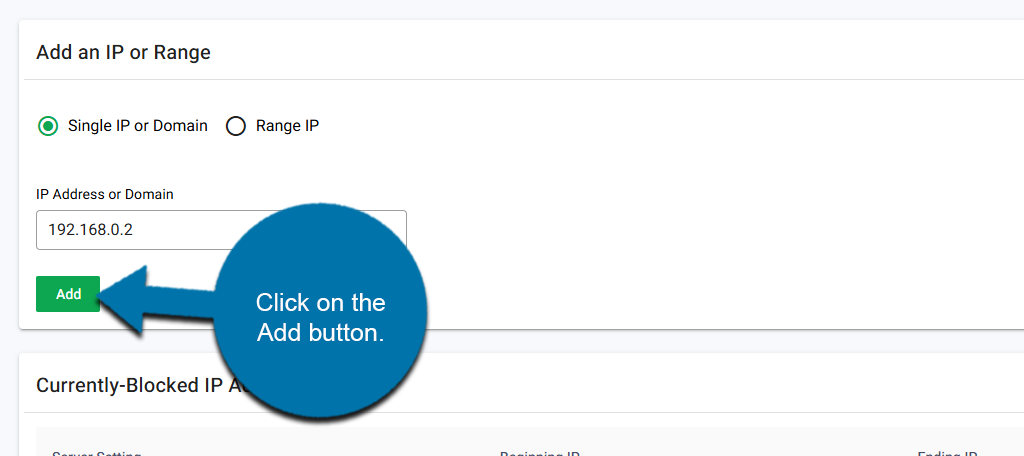
In the Add an IP or Range section, use the radio button to select if you are adding an individual IP address or if you are entering a range.
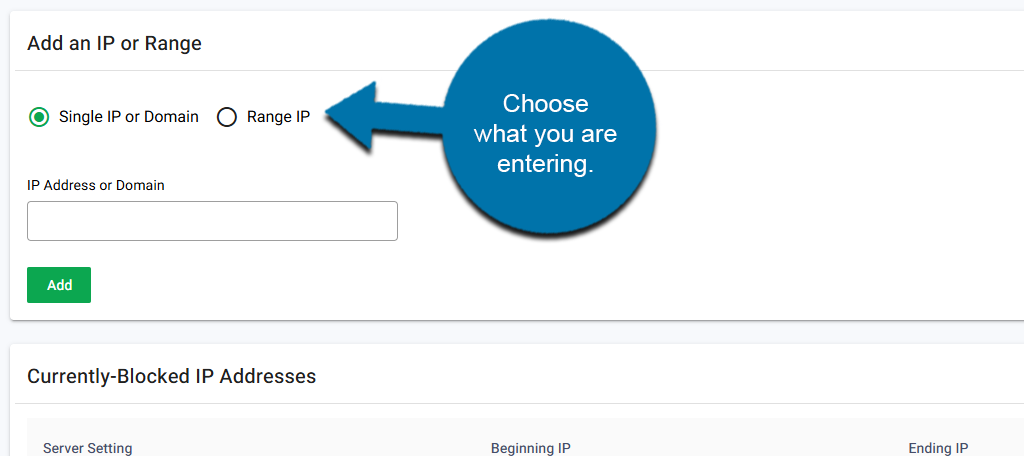
If you chose a single IP, simply enter the IP address into the available box and click on the Add button.
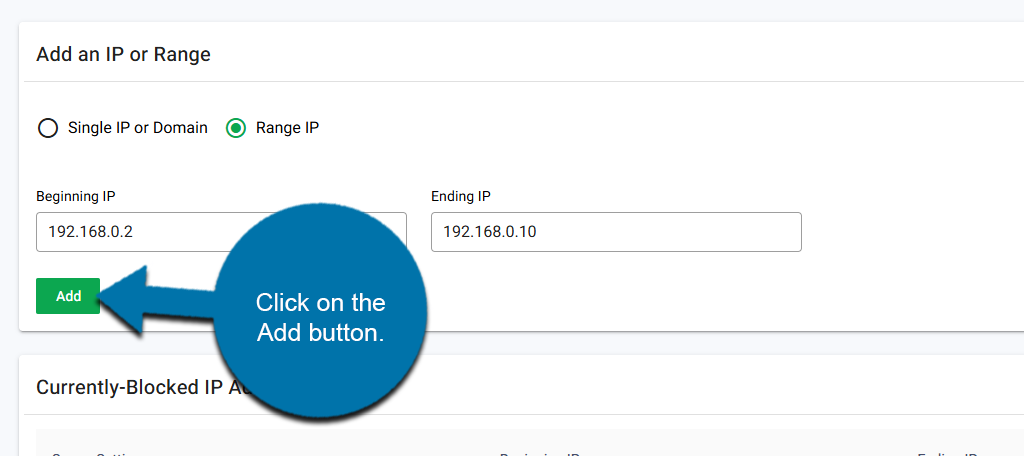
If you choose to enter a Range of IP, then you simply need to enter the beginning of the range and the end of the range into the appropriate boxes. This will block all IP addresses that fall within this range.
Click on the Add button.
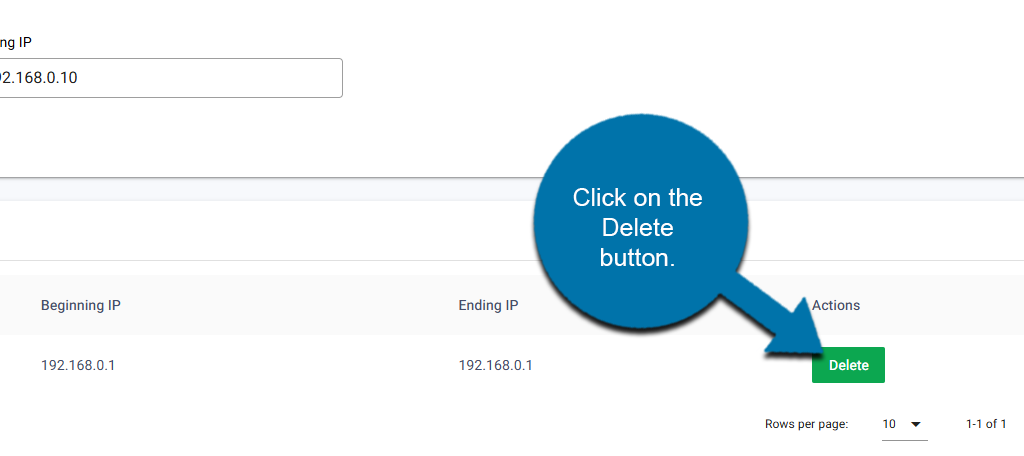
Below this, you can see a list of the currently blocked IP addresses. If you would like to remove one, simply click on the Delete button next to it.
Method 2: cPanel
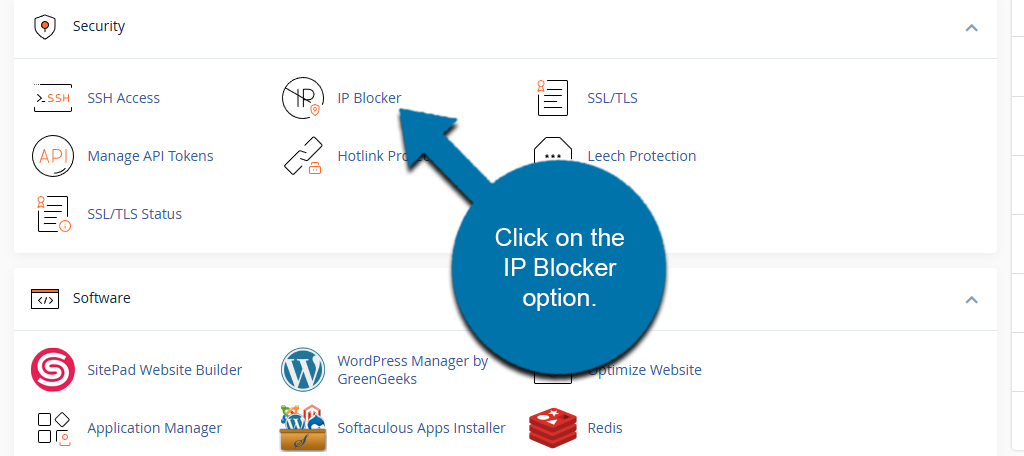
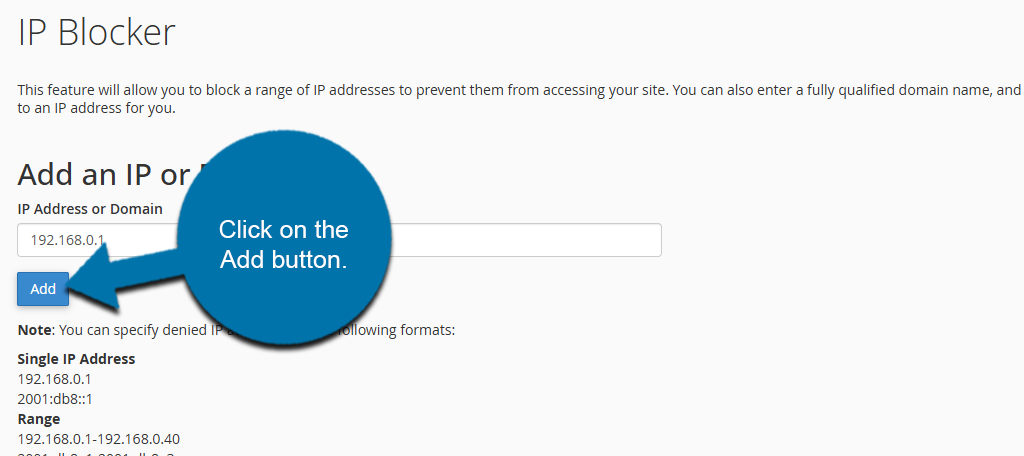
Start by logging into your GreenGeeks account and then accessing your cPanel. Scroll down to the Security section of the cPanel and click on the IP Blocker option.
You will see a text box where you can enter the IP addresses you wish to block; however, you have several ways to enter them. The first is to enter a single IP address. This is the simplest way to block an IP address and avoids mistakenly blocking others.
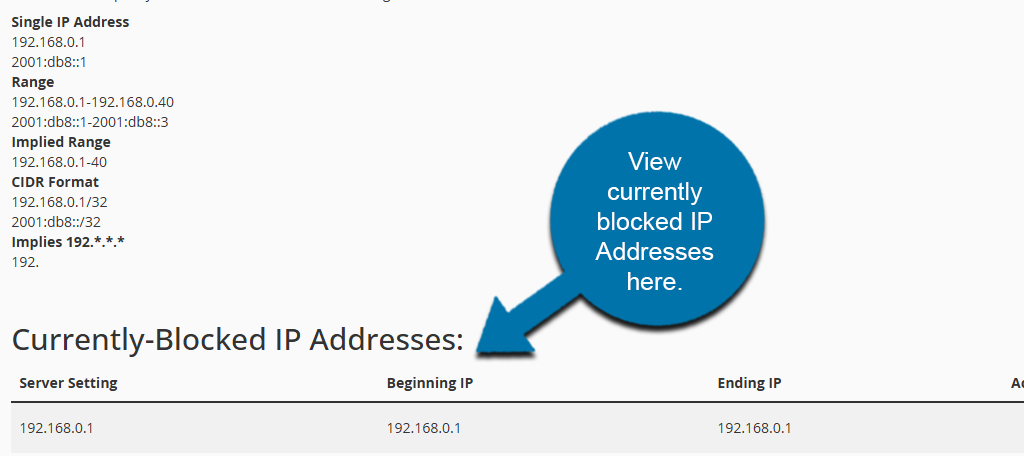
The second method is to add a range of IP addresses. For example, if you entered “192.168.0.1-192.168.0.40”, that would block every IP address between them. It is an effective way of blocking an entire region.
There is also an implied range method that works identically to the second method, except it is easier to input. Instead of entering the full IP address, you would just enter “192.168.0.1-40”. This will have the same effect as the second method and block all IP addresses in between.
There are other methods, but these are the most commonly used.
Click on the Add button to block the IP address.
You will see a success message indicating that the IP address is blocked. If you return to the IP Blocker section, you can enter additional IP addresses to block them. At the bottom, you will see a list of the currently blocked IP addresses.
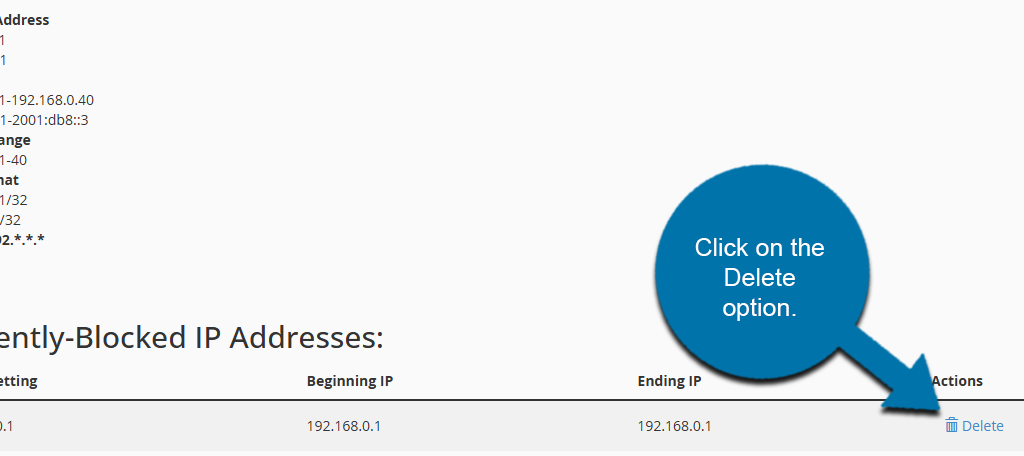
If you wish to remove an IP address from the blocked list, simply click on the Delete option next to it.
And that covers the basics of blocking an IP address from accessing your website.
Keep Your Website Secure
Setting up IP restrictions for your site is a great way to improve security measures and limit the amount of spam your website receives. That said, maintaining your blocked IP address list requires constant work as these addresses change over time.
Be sure to have other security tools in place to prevent threats on your site.