DNS records are sets of instructions stored on DNS servers that map out domain names to numerical IP addresses, thus acting like a phone book of sorts. This is used by web browsers, mail servers, and other online resources to help find the website.
When websites are moved from one server to another, switch web hosts, or in any instance where the website traffic is directed to a new location, the DNS record must be updated. As a reseller, you will need to be able to make these changes for customers.
This tutorial will show you how to manage the DNS records for an addon domain.
Method 1: GreenGeek Dashboard
The GreenGeek dashboard gives you access to the DNS Zone Editor tool. This allows you to edit all DNS records for every customer as a reseller. To access this, log into your GreenGeeks account.
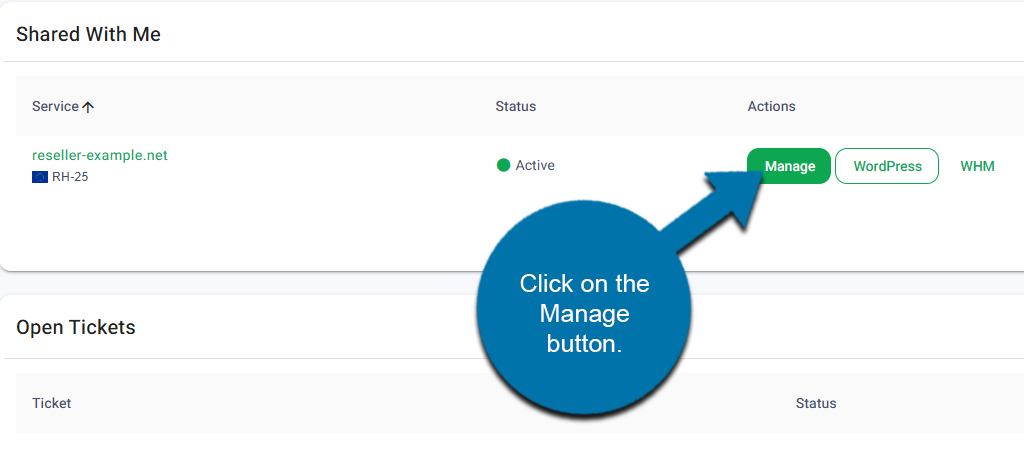
Click on the Manage button next to your reseller account.
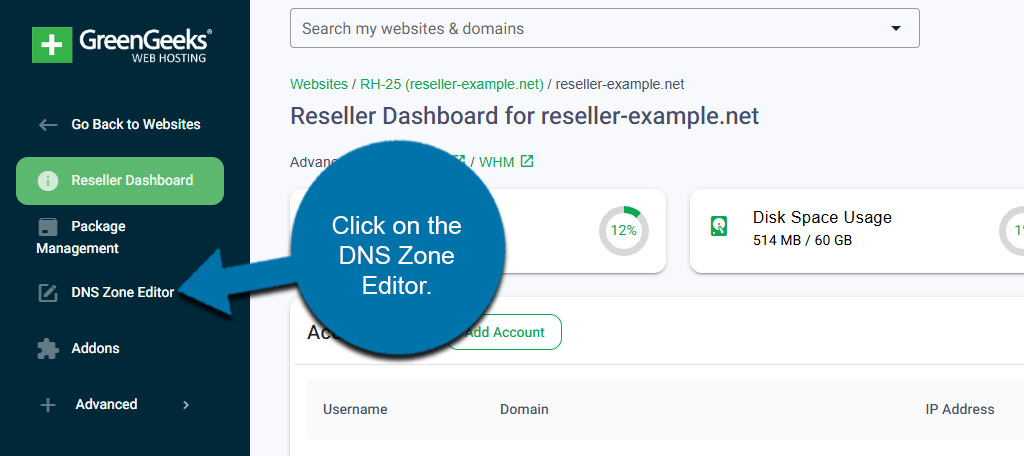
On the left-hand panel, click on the DNS Zone Editor.
The zone editor may take a few moments to load all of the domains you can access. The more you have, the longer it takes to load. Once the full list is visible, locate the customer’s domain name that you wish to manage the DNS records for.
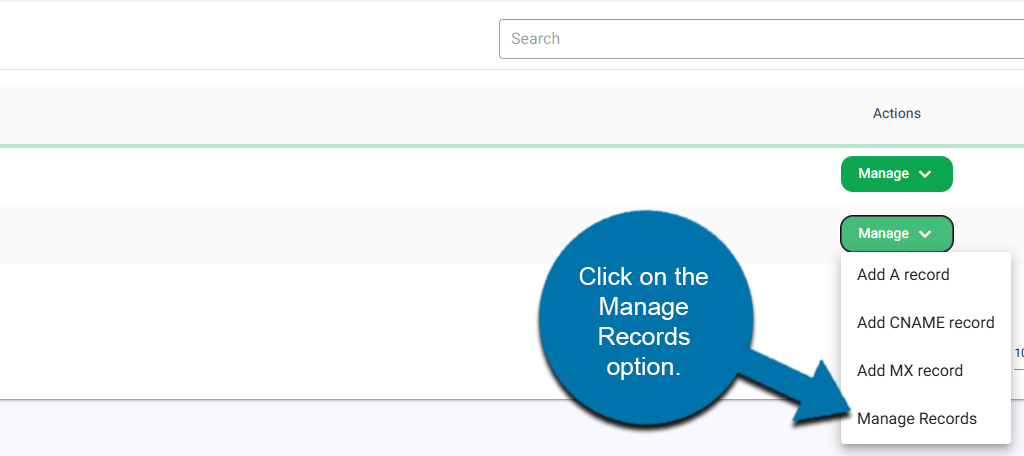
Next to it is a Manage button; click it. This will reveal a series of drop-down options that include Add A Record, Add CNAME Record, Add MX Record, and Manage Records. The first three are shortcuts for adding new records. Click on the Manage Records option.
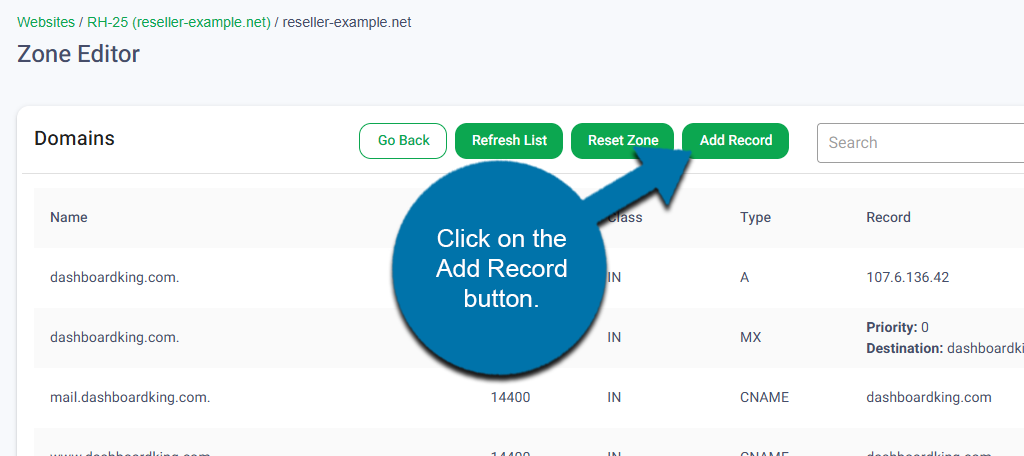
A full record of the domain’s DNS records will be on display. You can click on the Edit button next to them to edit it, or the Delete button to delete it.
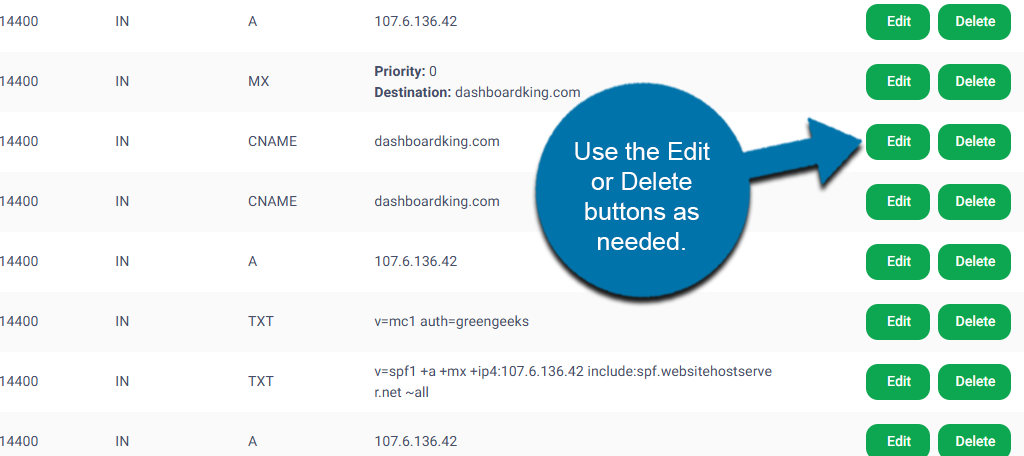
At the top, you can click on the Add Record button to add a new record if needed.
The GreenGeeks Dashboard is a quick and easy way to manage customer DNS records at anytime.
Method 2: cPanel
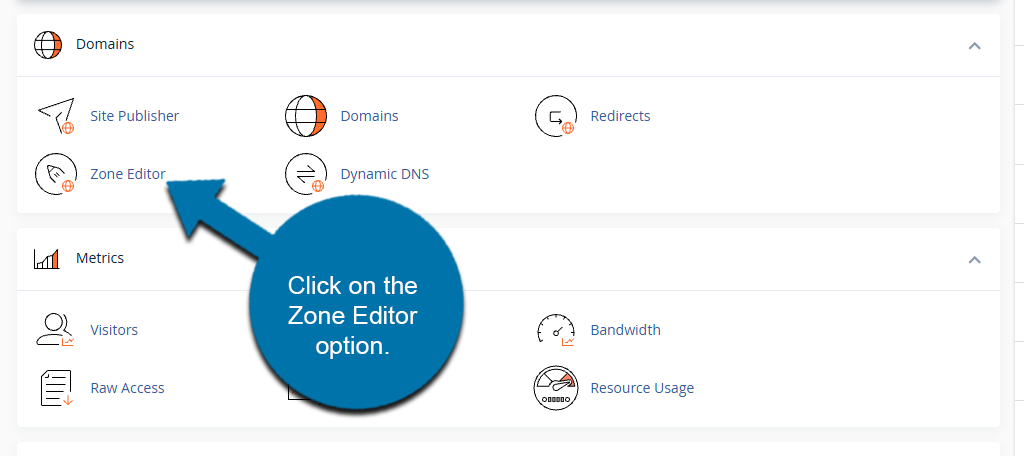
Alternatively, you can access the customer’s cPanel and use the Zone editor to get the same results. Start by accessing the customer’s cPanel and locate the Domains section.
Click on the Zone Editor option.
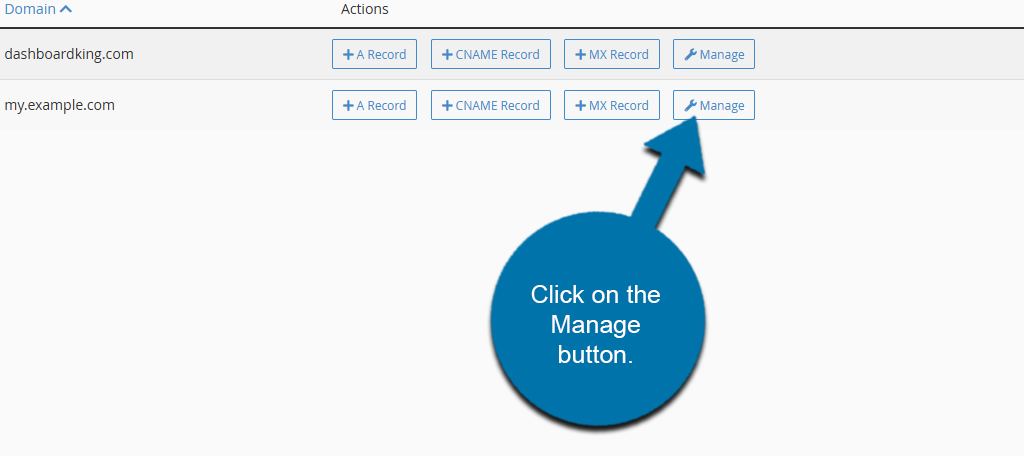
Here, you will see a list of the domains associated with the account. Locate the add-on domain and use the buttons next to it to manage the DNS records. These include buttons for A Record, CNAME Record, MX Record, and Manage. The first three are options to add new records.
Click on the Manage button.
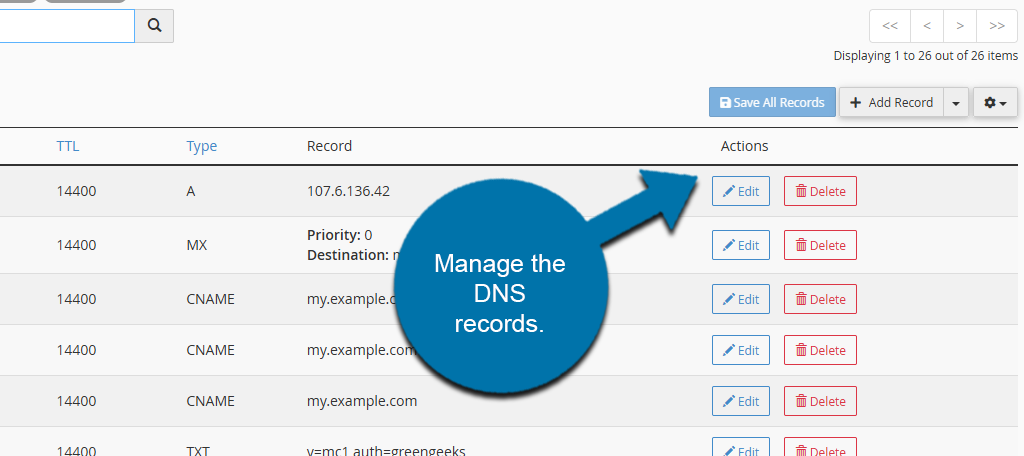
This will pull up a full list of the DNS records for that add-on domain. Use the Edit or Delete buttons to either edit the record or delete it. You can use the Add Record button to add a new record if needed.
Use these options at any time to manage an add-on domain’s DNS records.