The File Manager in cPanel is one of the most useful tools for developers. This is because you can directly access and edit files on the backend of your website.
While you can run a successful WordPress website without ever writing a line of code, that doesn’t necessarily mean that is the best strategy for running one.
Thus, for those instances where you want to edit code, you’ll need the File Manager in cPanel. This guide will show you everything you need to know.
- Using the cPanel File Manager
- How to Access the File Manager
- Locate Your Root Directory
- How to Create a New File
- How to Upload a File
- How to Download a File
- How to Delete a File
- How to Restore a File
- How to Move a File
- How to Edit a File
- How to Copy a File
- How to Rename a File
- How to Compress a File
- How to Extract a File
- How to Add Permissions to a File
- Master the cPanel Today
Using the cPanel File Manager
The file manager is quite a simple tool, but it offers users a lot of options that may or may not come naturally. Individually, none of the File Manager features is complicated.
Yet there are so many that it can be a bit overwhelming when starting.
Today, I will break down everything you need to know about the File Manager in cPanel.
How to Access the File Manager
The first step is to access your cPanel.
The cPanel is full of all types of options and features you can take advantage of. In this case, we are looking for the File Manager option.
To find it, locate the Files section and click on the File Manager option.

And that’s it. You are now in the File Manager.
Locate Your Root Directory
Before I demonstrate the individual features in the File Manager, you need to make sure you are in the right directory. In this case, we need to enter the root directory of the site.
This contains all of the files for your WordPress install; thus, it is where you must go to edit them or add additional files to your site.
On the left-hand side, there is a list of directories available on your web server.
Locate and select the public_html directory.
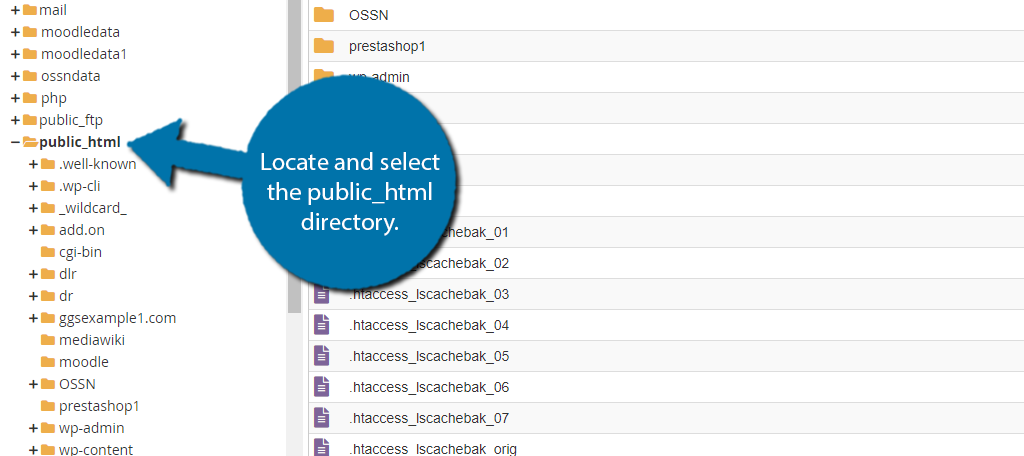
Here you will find every file in your WordPress install.
How to Create a New File
On the top toolbar, you can click on the “+ File” button to add a new file.
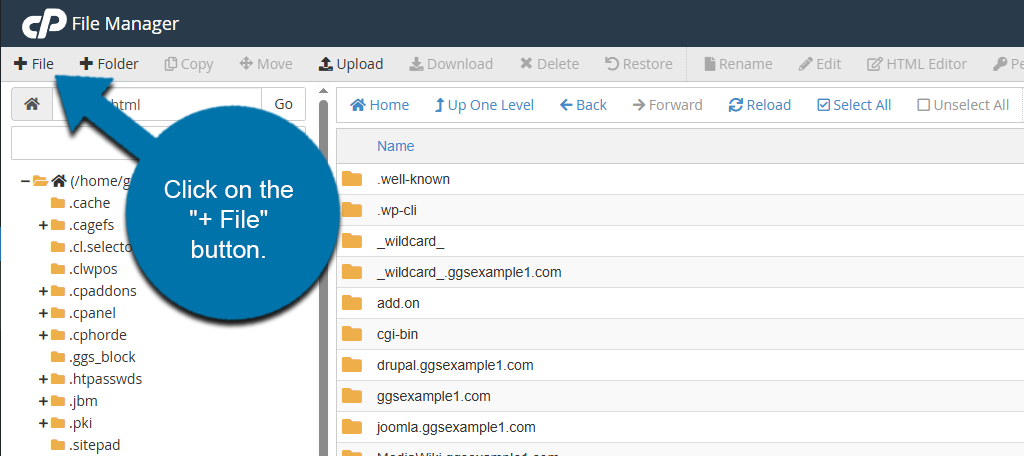
This will open a small window where you can enter the file name.
It is one of the first things you’ll want to learn. Luckily, it is a simple process that allows you to add a new file to your current directory.
You can decide what kind of file it is by adding a .txt, .html, or .php file extension after the name. This will determine what language you will use to write in it.
A common reason to add a file is that WordPress didn’t generate one you need to edit. A great example of this is the .htaccess file that isn’t always generated.
How to Upload a File
On the top toolbar, click on the “Upload” button.
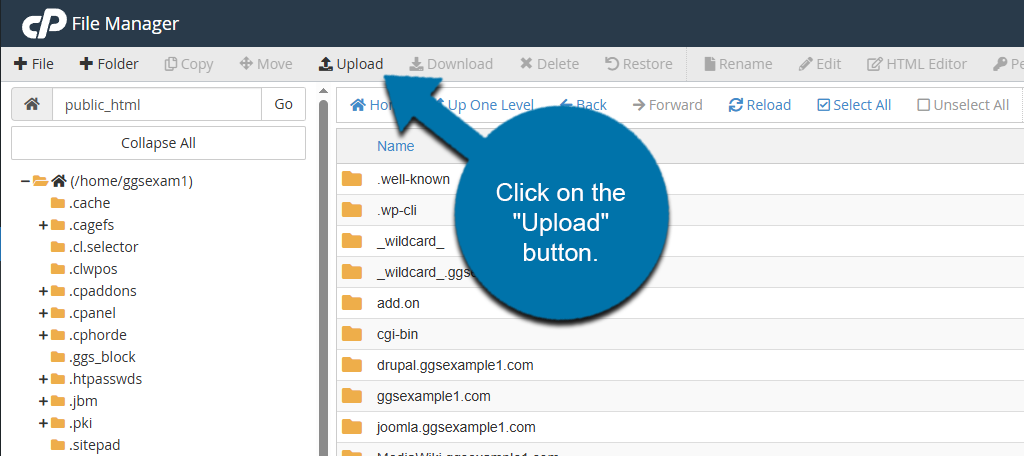
This will open up a new tab, where you can select a file from your computer to upload to the File Manager.
This is great for situations where you already have the file constructed, or when you download a pre-made file that you want to use.
For example, if you choose to manually update WordPress, then you need to replace certain files in WordPress with the new ones from WordPress.org.
In this case, you would simply delete the original ones and upload these new versions of those files. This is just one example, as there are countless reasons why you may upload a file.
How to Download a File
To download a file from the File Manager, select the file and click on the “Download” button on the top toolbar. You can also right-click it and select the Download option.
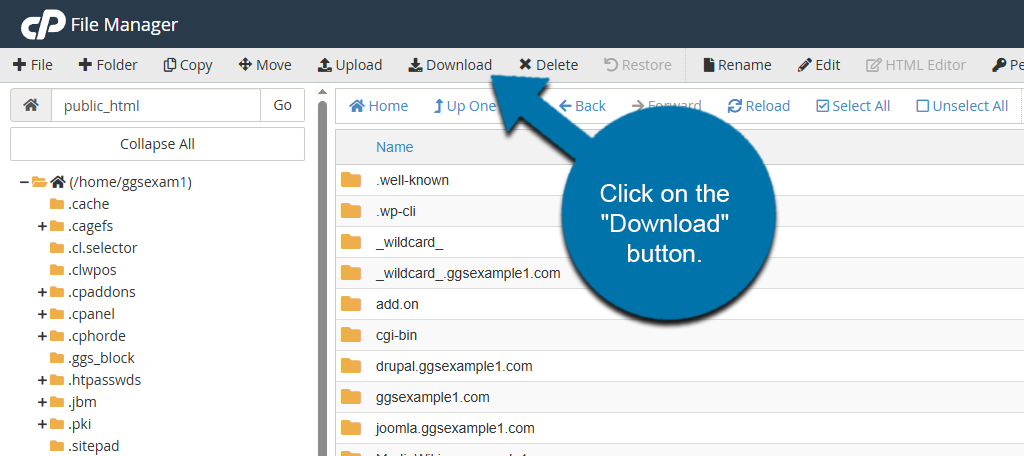
The download command allows you to download a file from the file manager to your computer. This is important if you wish to store that file somewhere else.
Doing so does not impact the original file on your cPanel. This is commonly used as a way to manually back up a file before it is edited. That way, you can just upload that file if something goes wrong.
It is also useful if you are planning on moving the file to a different web server to use again. It is quite common for users who own multiple sites to reuse assets to save time and homogenize their WordPress environments.
How to Delete a File
To delete a file in the File Manager, simply select the file and click on the “Delete” button on the top toolbar. Alternatively, right-click the file and select the Delete option.

Naturally, if you are creating or uploading files, there is a time when you may need to delete old files or files that were added to the wrong location.
The Delete command allows you to do this, and there are countless examples I can give, but one example would be when you install a new plugin, activate it, and realize it broke your site.
In some cases, you may even lose access to your website. To correct this, you would need to delete the plugin file from the File Manager.
How to Restore a File
To restore a file, you must first view the Trash on your site. Then select a file within the trash section and click on the Restore button on the top toolbar.
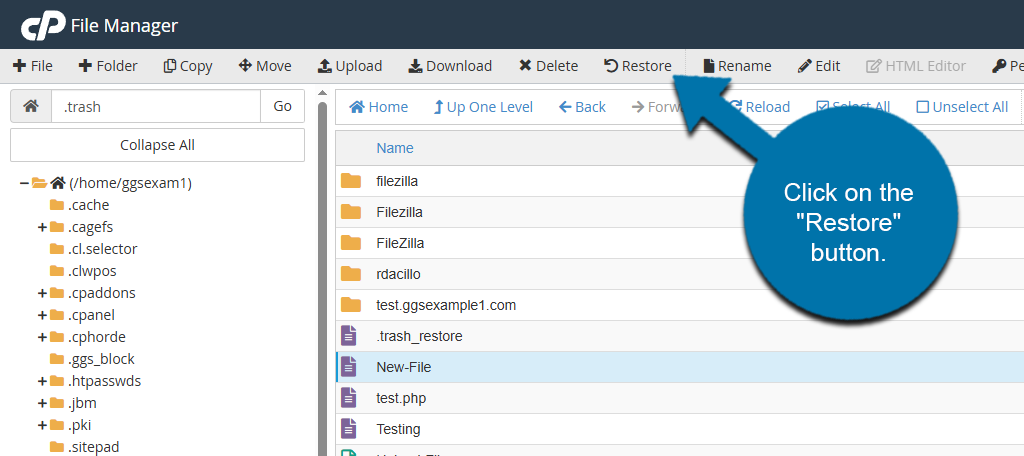
As such, you must have a file located in the trash section for this option to be available. It is worth noting that if you choose to permanently delete a file, it cannot be restored.
This is mainly used when a file is deleted by mistake. After all, human error is at the root of most problems within WordPress.
When a file is restored, it is done so in its original location. Thus, simply check that directory to view the restored file.
How to Move a File
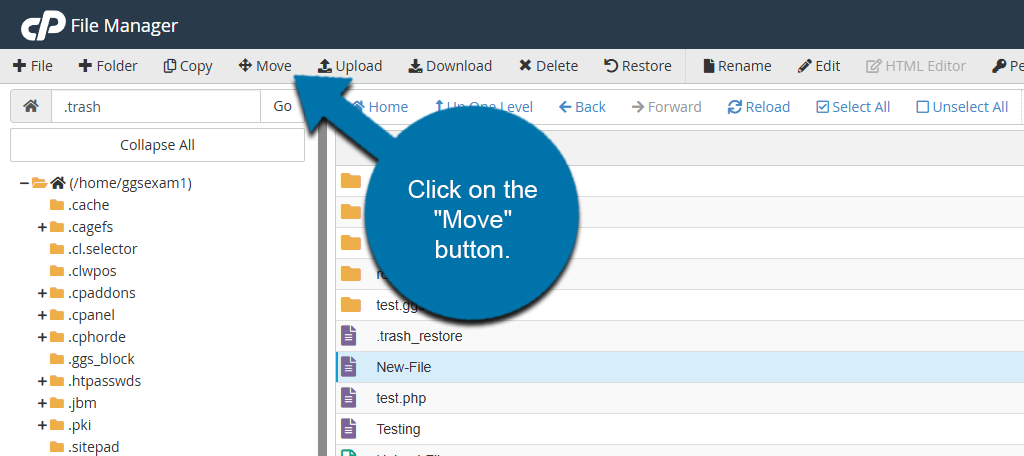
Select the file you wish to move and click on the “Move” button. This will open up a small window where you can enter the file path to transfer the file.
This is easier than deleting a file that was placed in the wrong location because you can simply move a file to the correct directory using the Move command.
Sadly, you cannot drag and drop files in the File Manager; the Move command is the only way to do so.
The only other option would be to copy a file, delete that file, and paste it in the desired location, but that is just more work.
How to Edit a File
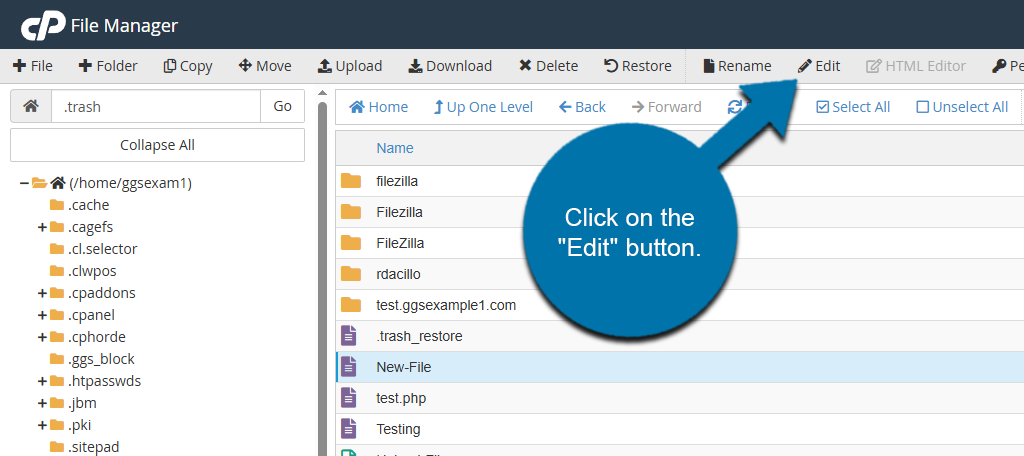
To edit a file, simply select the file and click on the “Edit” button on the top toolbar. Alternatively, you can right-click the file and select the Edit option.
It is the most common command you will use when accessing the File Manager. This allows you to alter the contents of the file you are accessing.
This means you can add new content, delete content, or edit content in a file. This can be used for anything, like increasing the upload limit in WordPress.
Just remember that you do need to save the changes you make after editing the file, or they will not work. Also, keep in mind what coding language the file uses.
How to Copy a File
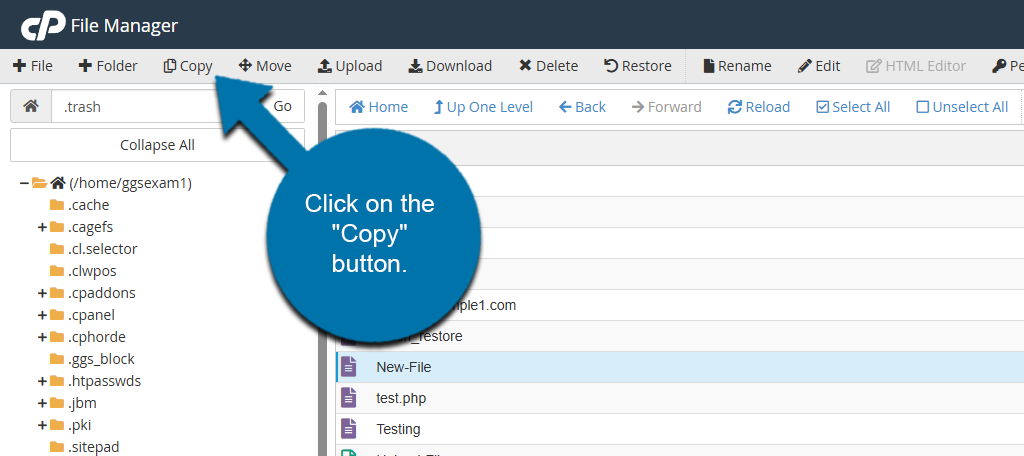
To copy a file from the File Manager, simply select the file and click on the “Copy” button on the top toolbar. Alternatively, you can right-click the file and select the Copy option.
This option is less efficient when it comes to moving files around your directory when compared to the Move command. Instead, it is mainly used to move files off the web server.
For instance, perhaps you want to make a copy of a file and store it on your computer so you can tweak it, or perhaps you want to use it for another site.
While there are backup solutions that are more efficient at cloning sites for moving them, the Copy command is a great option when it is only a handful of files.
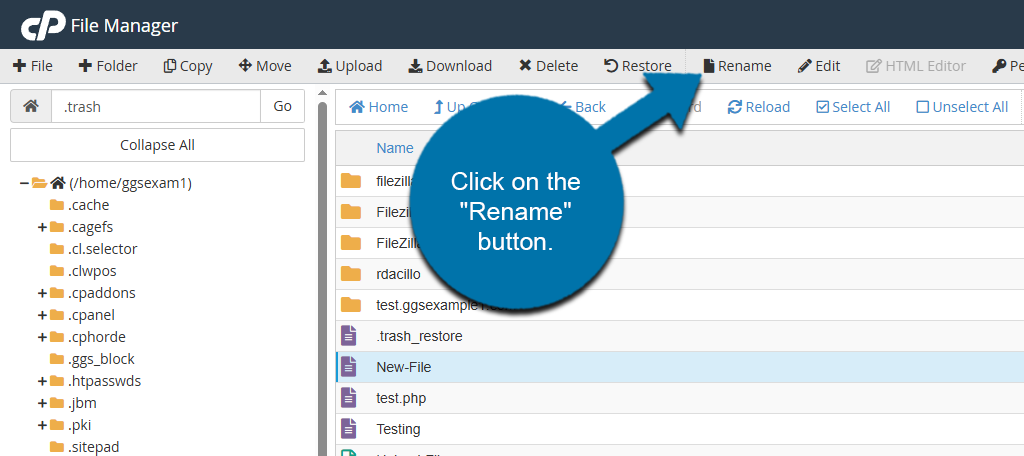
How to Rename a File
To rename a file, select the file and click on the “Rename” button on the top toolbar. Alternatively, you can select the file and right-click it to select the Rename option.
In many cases, you will want to leave files the way they are named, as changing one name could cause an error if you do not update files that call on that name.
However, there are advantages to changing a file name. One of the most common reasons it is done is for security. WordPress is a popular platform.
As such, it is the target of a lot of hackers, who memorize the default file names. Thus, changing those file names makes it harder for them to identify certain files, which improves security.
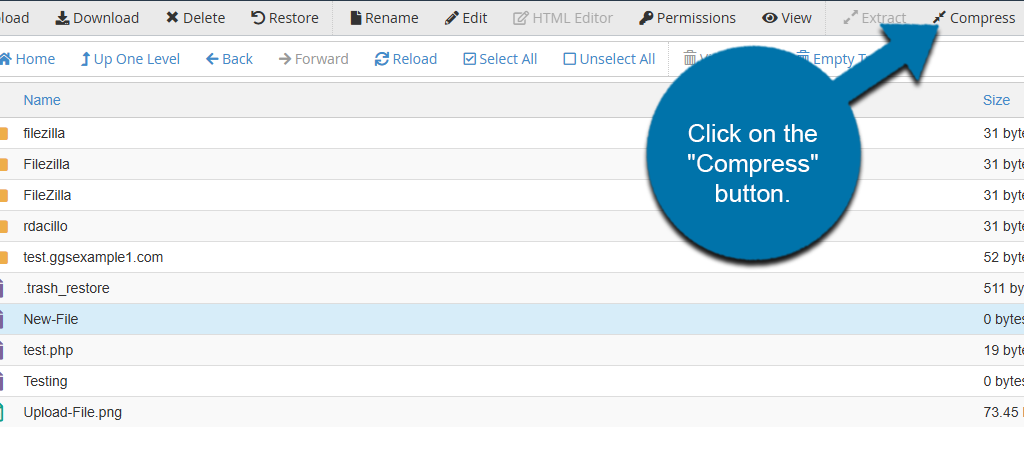
How to Compress a File
To compress a file in the File Manager, simply select the file and click on the “Compress” button on the top toolbar. Or you can just right-click the file and select the Compress option.
Compressing the file is just another way of saying you are zipping the file. This is used mainly when you want to transfer data, as the larger the file, the longer it takes.
It is important to note that you cannot just compress your files to save space. WordPress cannot read compressed files; thus, it is only for transfer purposes.
You have three options in the File Manager when it comes to compression. They include Zip, GZip, and Bzip2. Simply select the option to finish the compression.
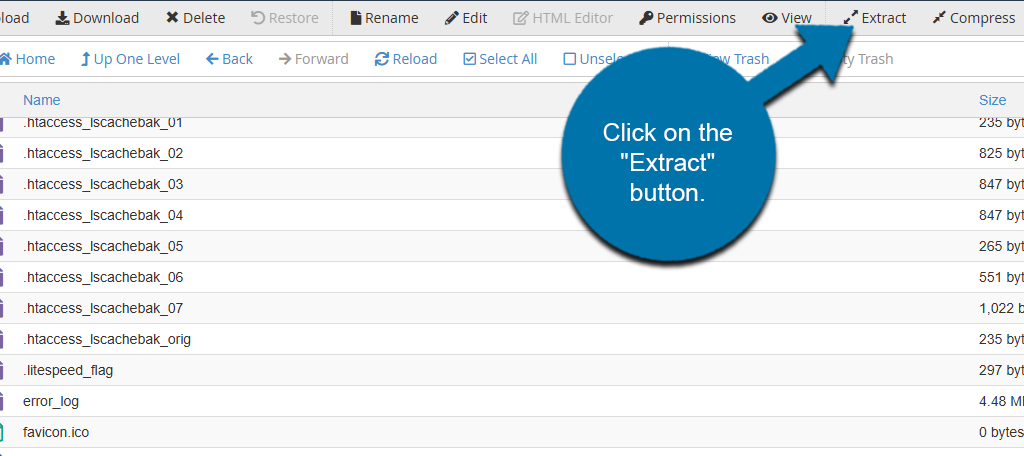
How to Extract a File
To extract a file in the File Manager, select a zipped file and click on the “Extract” button on the top toolbar. Or you can right-click it to select the Extract option.
Extracting is necessary whenever you add a zipped file to your WordPress directory. WordPress is incapable of reading zipped or compressed files.
Thus, you must always unzip them to use the file in question. Typically, you will only ever add a zipped file and extract it immediately.
And be aware that the Extract option is only available if you have a compressed file selected. Otherwise, it is not selectable.
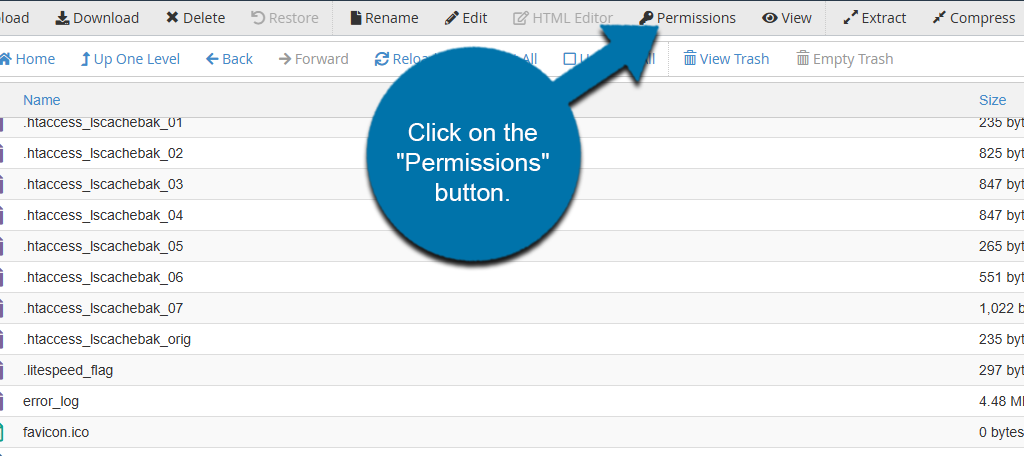
How to Add Permissions to a File
To add permissions to a file, simply select a file and click on the “Permissions” button on the top toolbar. You can also right-click the file and select the Permissions option.
Permissions decide what users can access a file, and which cannot. This helps improve the security of your site by ensuring only certain users can access it.
In most cases, this should just be limited to key staff outside of the site owner. The fewer people who have access to a file, the less risk it will be compromised.
In general, it is only recommended to give users access to things they need. Experienced users can make massive mistakes without even realizing it. Thus, limiting that chance is a key strategy for any site.
Master the cPanel Today
As you can see, the File Manager in cPanel gives you a ton of options to work with. While none of them are overly complicated, it can be a little overwhelming when you start.
The real mastery of this tool is to understand when each command is most useful to save time. A great example would be the Move command.
It is much quicker to move a file to the desired location using that when compared to copying the file, deleting the file, and pasting the file in the desired location.
Thus, mastering it will save you a lot of time in the long term.