A business directory in WordPress can do wonders for the right website. Not only will they give you something more to do on the site, but they can also improve traffic as well as visitor engagement. Fortunately, it’s not difficult to add a website directory to WordPress.
In this tutorial, I’m going over a couple of methods to create an online directory using WordPress plugins. Instead of manually creating tables and organizing links on a page, these tools help you create a list quickly and with ease.
You’ll need to install plugins to benefit from these tools. It’s a simple process that requires a couple of clicks of the mouse.
How to Build A Business Directory in WordPress
Method 1: Business Directory Plugin
The first tool I’ll demonstrate is simply named, “Business Directory Plugin.” It has an exceptionally high rating among those who are building a directory in WordPress. It comes with an array of features including accepting payments for paid placements.
Step 1: Create A Page
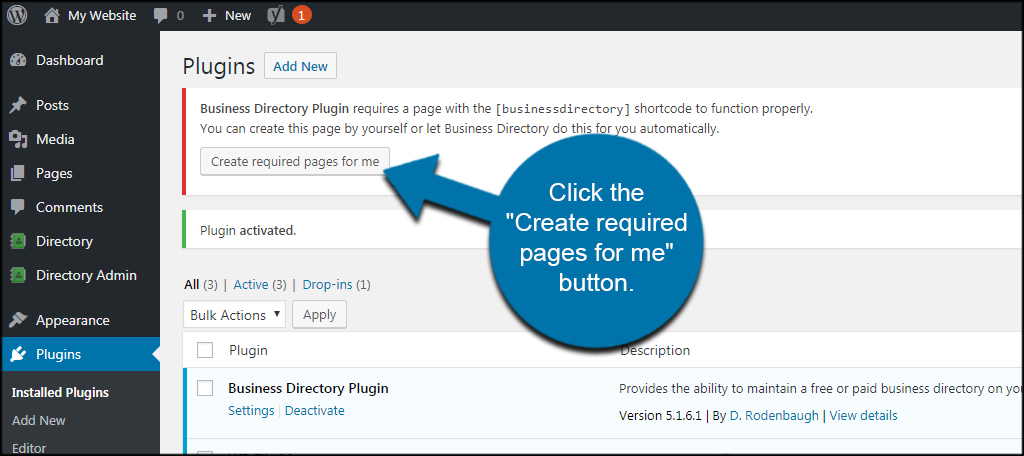
After activating Business Directory Plugin, you’ll see a message above your plugins. The plugin is informing you that you’ll need a page with the plugin’s shortcode available for it to work.
Essentially, you’ll need to create a page in WordPress to show visitors the business listing. You can create these manually, but it’s probably easier to just let the plugin to do it for you. Click the “Create required pages for me” button.
After WordPress creates the page for you, click the “Directory Admin” function in the left column.
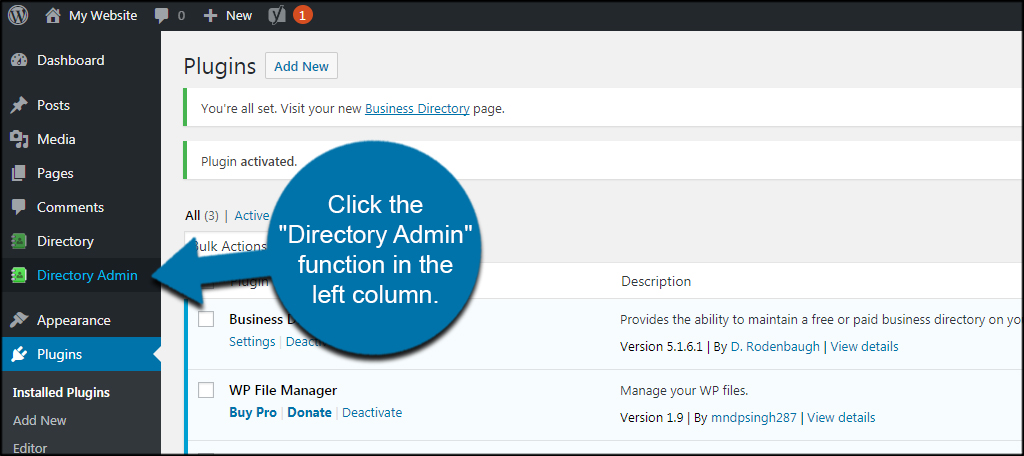
You can manage options, form fields, and fees from this screen. Let’s go over what you can find in each of these segments.
Step 2: Manage Options
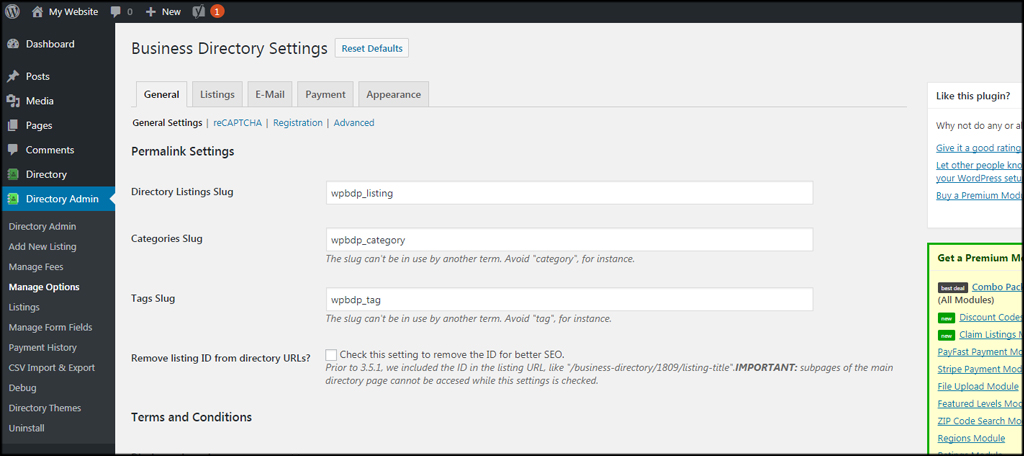
In the “Manage Options” section, you can control how permalinks are used, terms and conditions, and how directory searches are made. It will also have tabs available to manage how listings are displayed, email notifications, payment information, and the appearance of the listing page itself.
Step 3: Manage Form Fields
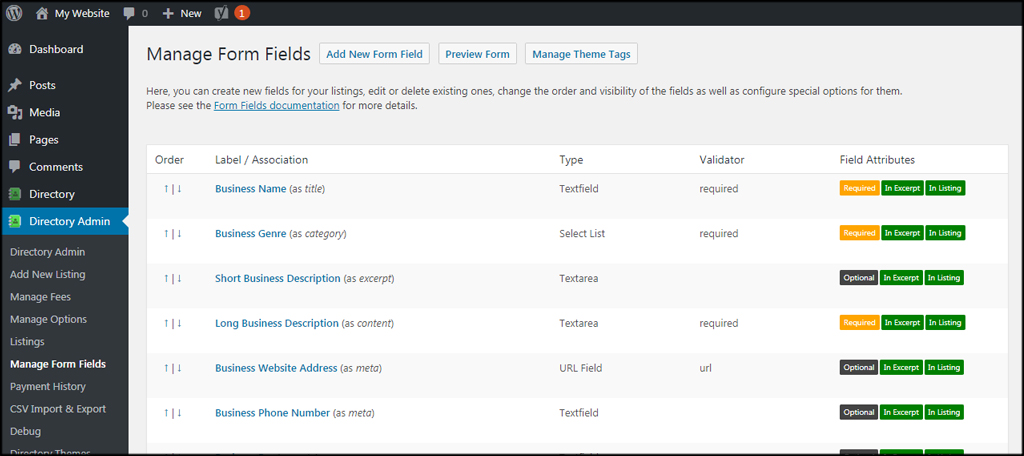
The Manage Form Fields option gives you access to what elements the submission form uses in the plugin. For example, you can edit the “Business Name” field and change the option to be required or not. You can also add fields if you want to collect more information from those who want to list their site or business in your online directory.
Step 5: Manage Fees
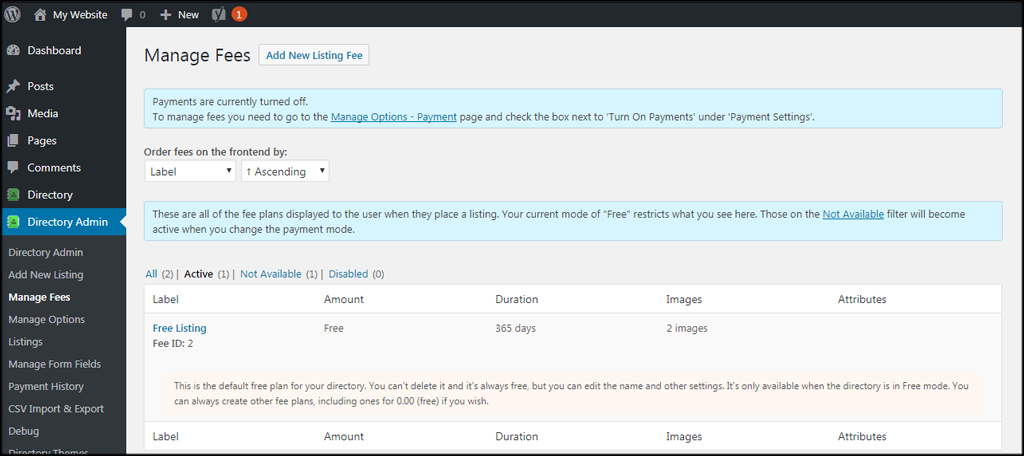
If you want to charge users to post their businesses, you’ll need to set up how fees are handled. This option gives you the ability to modify terms and how much each option is charged. For example, you can make a “free listing” offer for 30 days and charge $10 if someone wants to be listed for a year.
The system comes with Authorize.net as a default payment gateway. You’ll have to purchase other options from the developer if you want to use something like PayPal or Stripe.
Step 6: Adding a New Listing
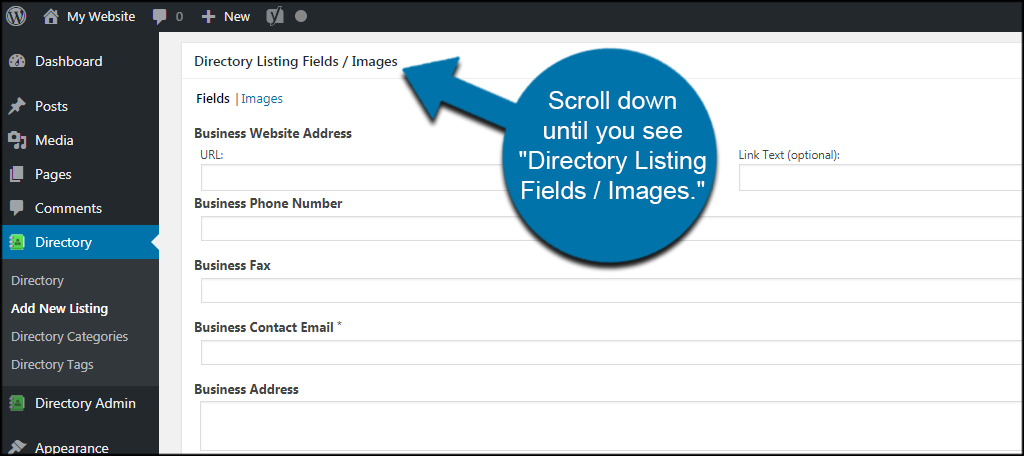
Adding a listing is quite easy with Business Directory Plugin. Go to the Directory area and click, “Add New Listing.”

In the new listing area, you’ll see that it looks like a standard WordPress post or page. You can enter some information about the listing here. However, scroll down until you see “Directory Listing Fields / Images.” This is where the bulk of the business information will go for the plugin to work.
After you input the business information and perhaps a short blurb in the text editor, simply click “Publish” as you would any WordPress post or page.
This plugin is full of tools and functions, and you should spend time getting familiar with each. For instance, you can set up directories with specific tags and categories if you want to fine-tune how the businesses are organized.
Method 2: Connections Business Directory

Connections Business Directory is another exceptional plugin with high praise. It also contains a slew of options for building a directory in WordPress. It also has several extension plugins you can add at a later date such as Open Hours, Local Time, and Login.
For now, I’m focusing on the main plugin itself.
Step 1: Set Up the Directory Page
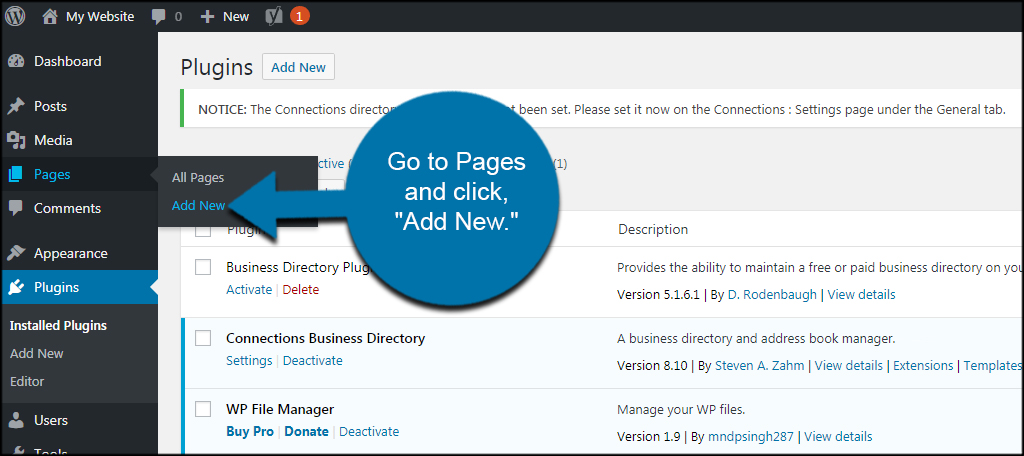
After activating the plugin, you’ll need to set the home page of the directory. While the above plugin did this for you automatically, you’ll need to create this one yourself.
Go to Pages and click, “Add New.”
Give this new page a name for the directory. For this example, I’m just going to keep it basic and call the page, “Directory.”

In the text area, put the shortcode, “[connections].”
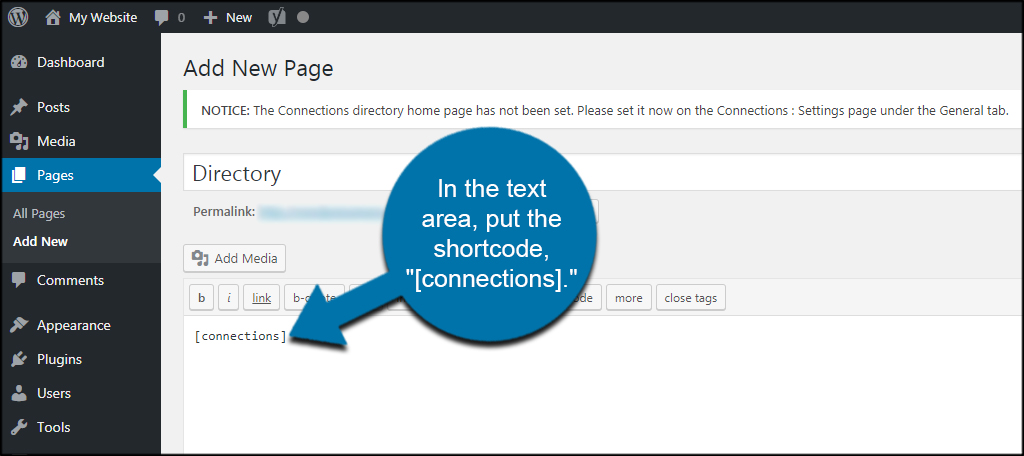
Shortcodes are elements of WordPress and various plugins that tell the system to perform certain actions. In this case, the shortcode is telling the website to display the layout of the business directory.
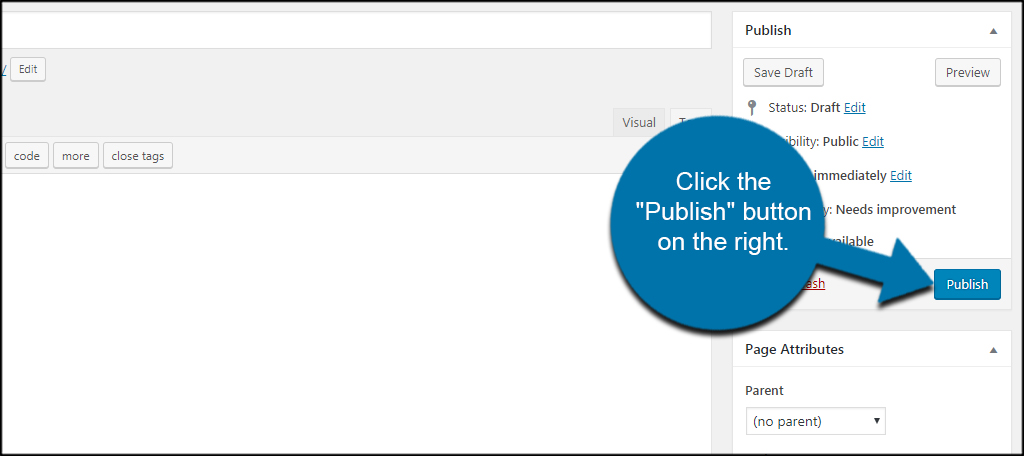
Click the “Publish” button on the right.
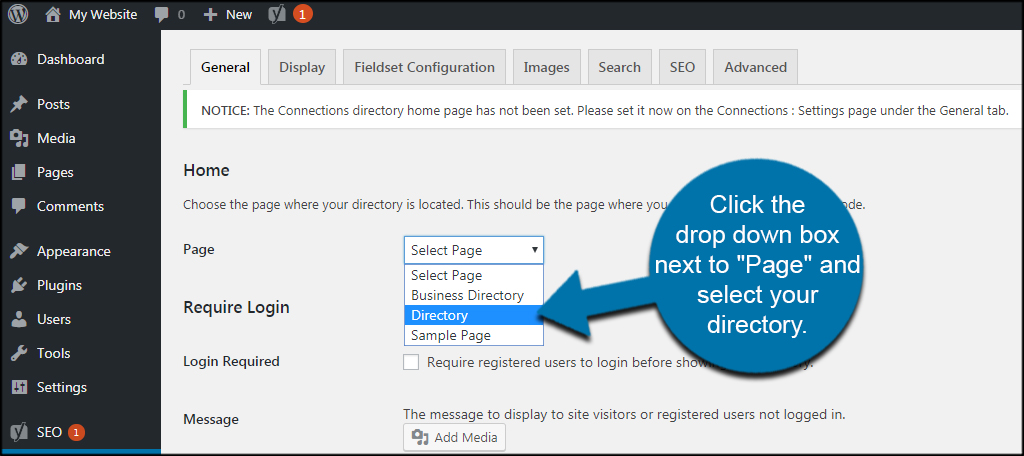
Go to Connections and click, “Settings.”

Click the drop-down box next to “Page” and select your directory.
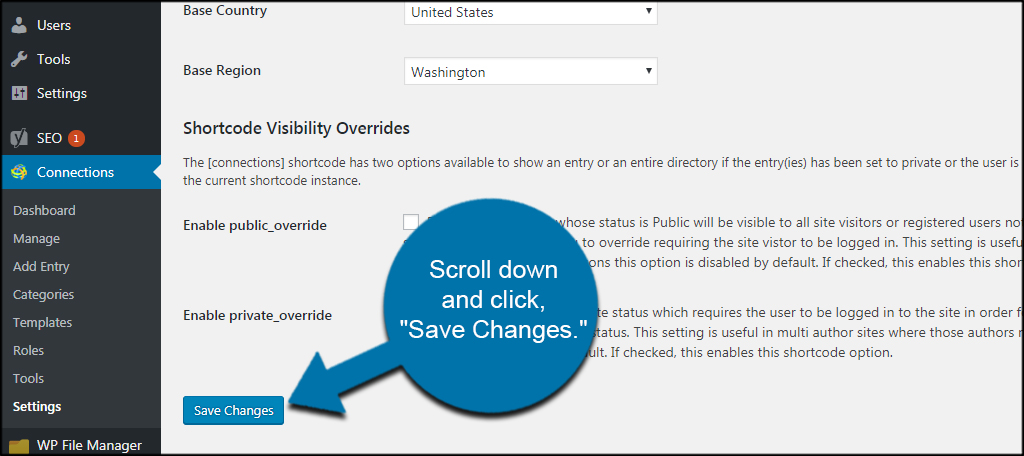
Scroll down and click, “Save Changes.”
Now you’re ready to customize the directory and add business listings.
Step 2: Roles and Capabilities
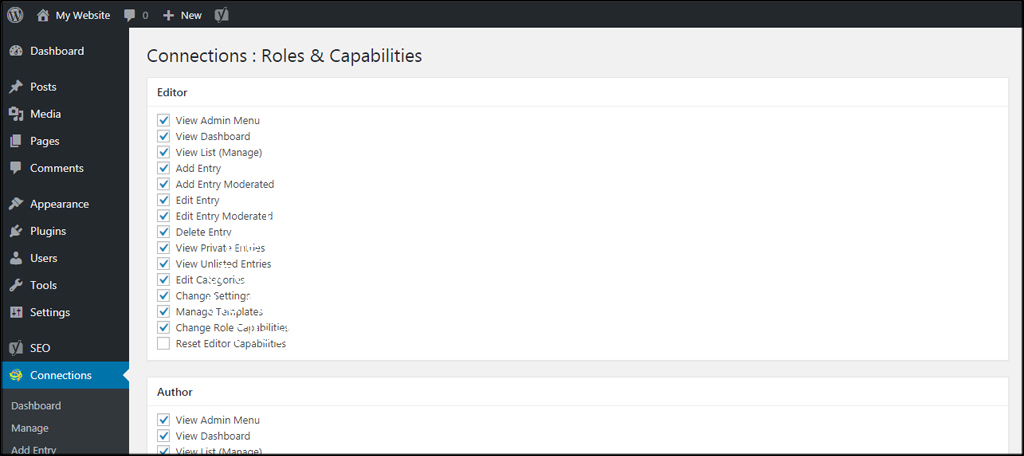
Connections Business Directory comes built with an editor for user roles. This means you can change who has access to what with a click of the mouse. For instance, you can set an SEO Manager to be able to edit an entry but not delete it.
The roles you can edit are pulled from WordPress itself. If you have other plugins or if you add custom roles, you will find them in the Roles section of Connections.
Step 3: Add Entry
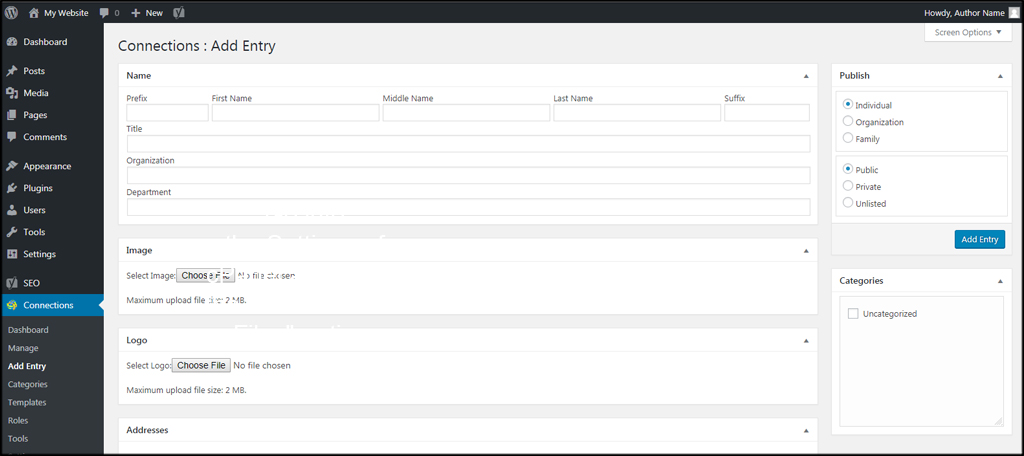
In the Add Entry section, you can manually input a business into the online website directory. Names, images, logos, addresses, and more are available to deliver a complete overview of the business. This includes adding social media links to things like Facebook pages or even Twitter accounts.
Another element that may interest you is the ability to make entries private. As a result, you can hide the directory behind a paywall or require website registration to view it.
Step 4: Import and Export
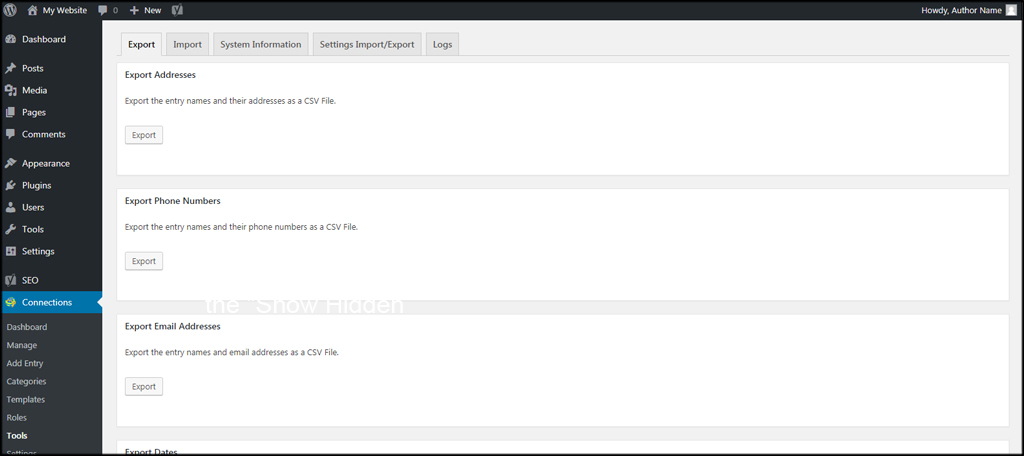
Do you have a list of business contacts saved in a CSV file? Connections give you the ability to import those spreadsheets directly into WordPress. You can also export important information if you want to create a backup of contact data.
You can find this function in the “Tools” area of Connections.
Step 5: Settings
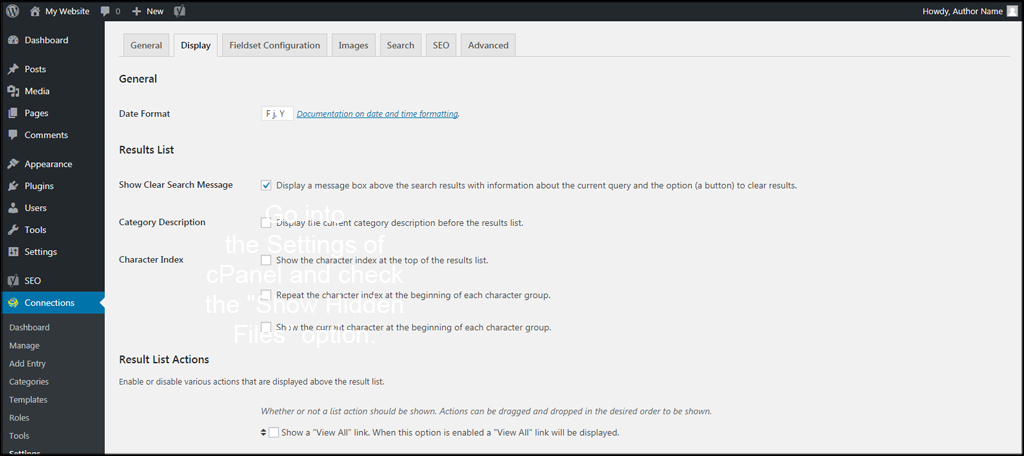
Perhaps one of the most important parts of Connections is the Settings screen. We’ve already viewed this when changing the directory page, but there is far more to it than that. For example, you can change the display, images, search, and modify the SEO of the entries.
You have access to a lot of options in the Settings screen. I suggest you spend time configuring and fine-tuning the system to fit your specific needs.
Engaging Your Visitors
Adding a website directory in WordPress is only one of many ways to engage your audience. If you have a popular website, it may also be one of the many ways to make money online. Whatever the reason, directory listings are helpful for you as well as your guests.
What kinds of things do you offer your visitors from your website, outside of content? Have you noticed a traffic boost after adding a business directory in WordPress?
Nice