Search Engine Optimization. If you want anyone to be able to find your website, SEO is a big deal. There are many services and plugins for WordPress that claim to give you a leg up in your SEO efforts. Today, we’re going to use a plugin called SmartCrawl to optimize SEO. The full name is “SmartCrawl WordPress SEO checker, analyzer, and optimizer,” which is a mouthful, so we’ll stick with “SmartCrawl” for simplicity’s sake.
How to Install the SmartCrawl Plugin
Log in to your WordPress admin panel.
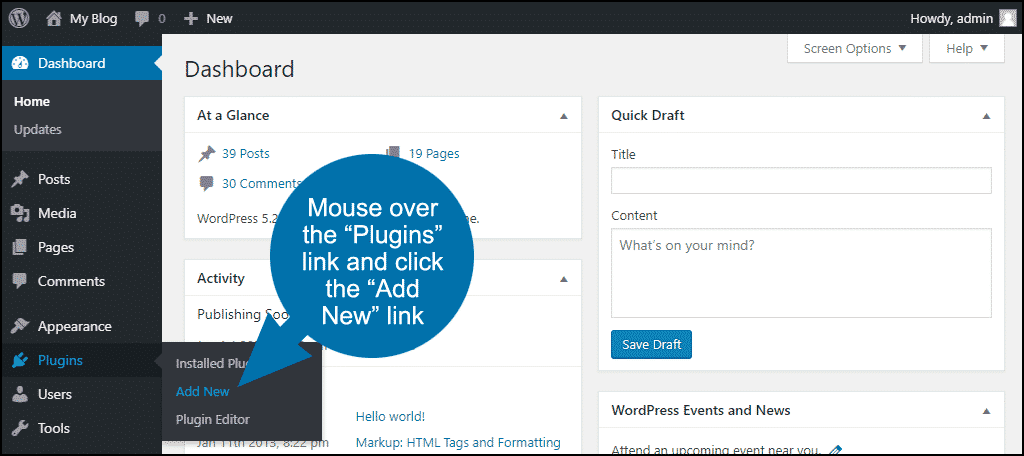
In the left column navigation, mouse over the “Plugins” link and click the “Add New” link.
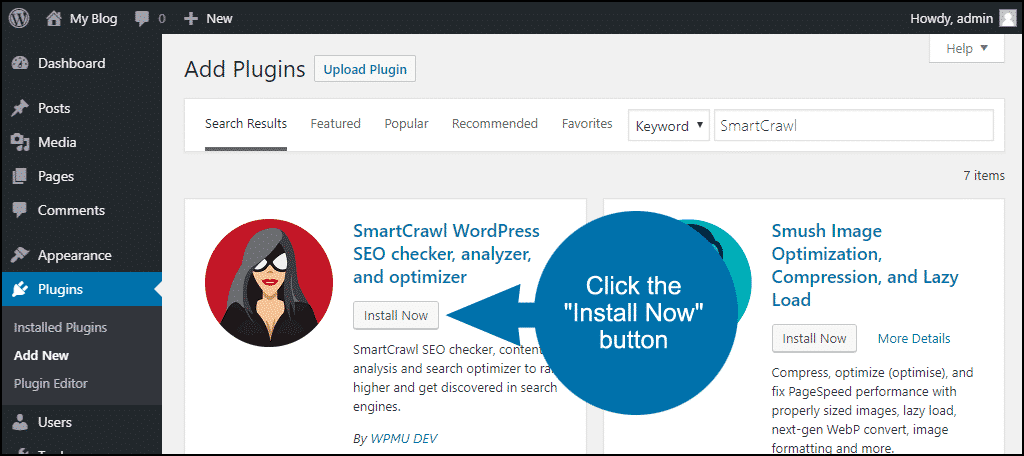
In the “Search plugins…” box, enter “SmartCrawl.”

Once you have located the plugin, click the “Install Now” button.
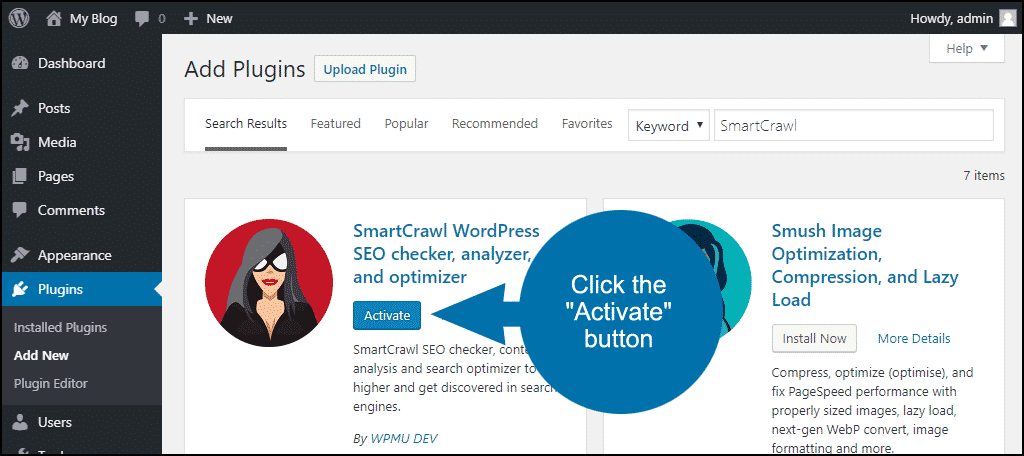
When the plugin has been installed, click the “Activate” button.
Running SmartCrawl for the First Time
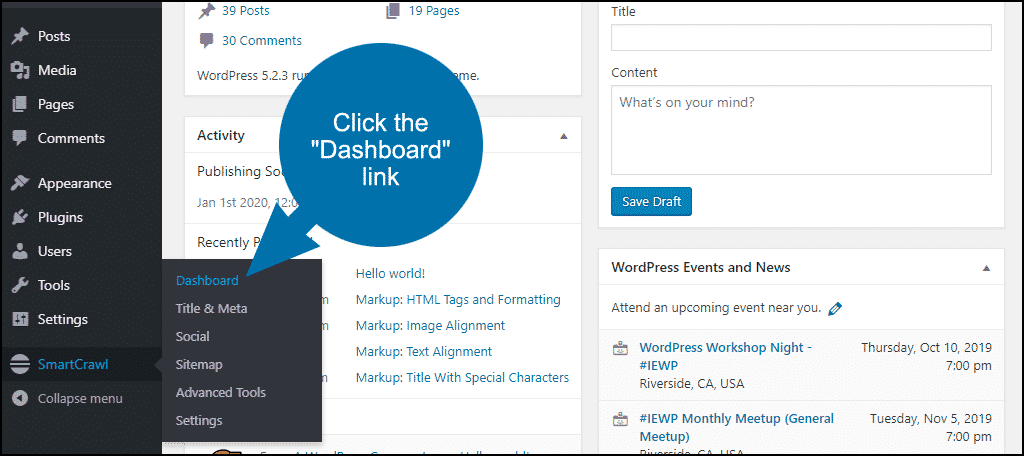
In the left column navigation, mouse over the “SmartCrawl” link and click the “Dashboard” link.
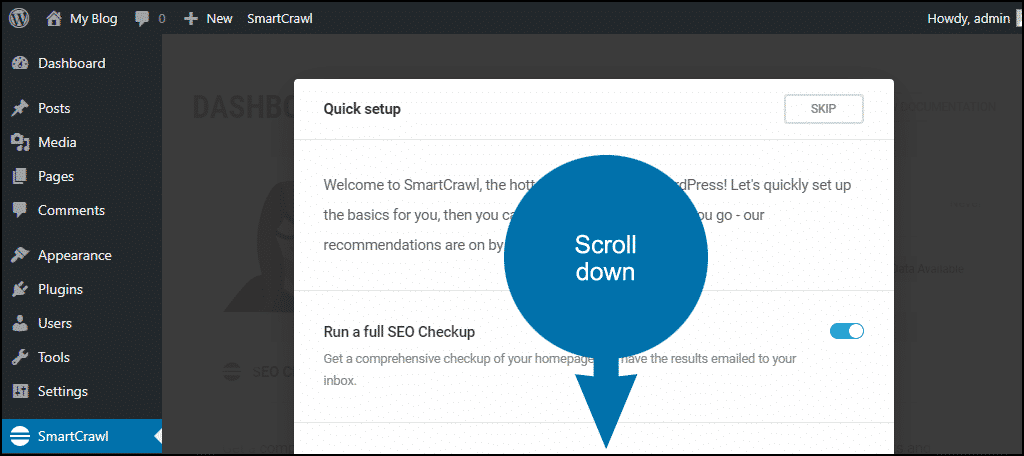
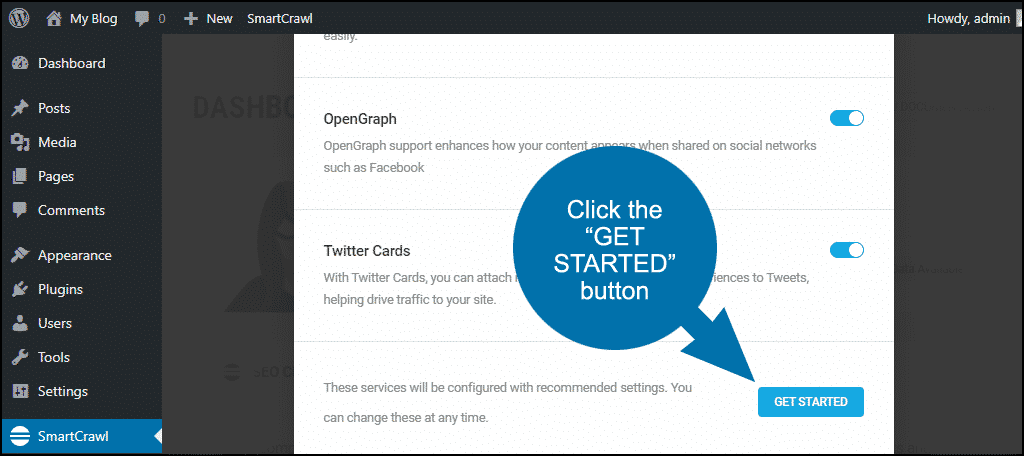
If this is your first time using the plugin, I’d suggest accepting all of the “Quick setup” default settings. To do that, just scroll down and click the “GET STARTED” button.
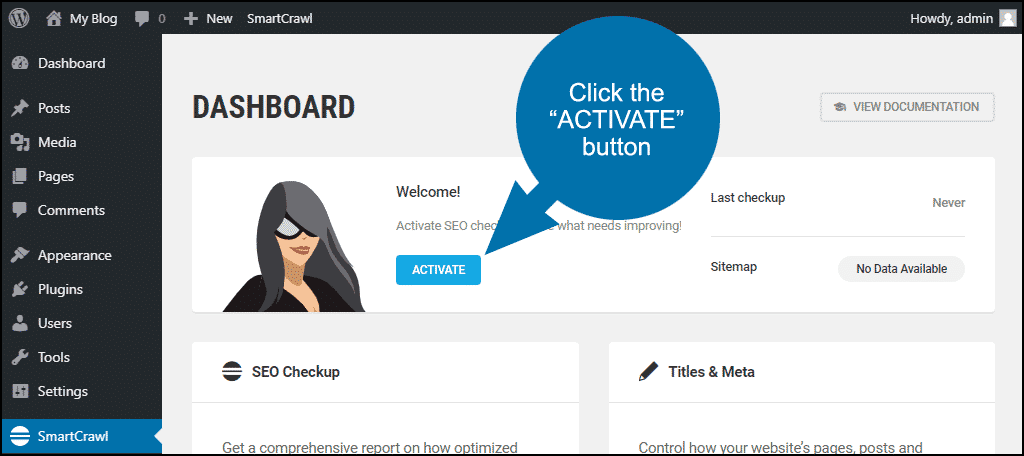
Click the “ACTIVATE” button to start the initial “SEO Checkup.” The checkup will take a few minutes (or longer if you have a lot of content) to scan for suggestions to optimize SEO.
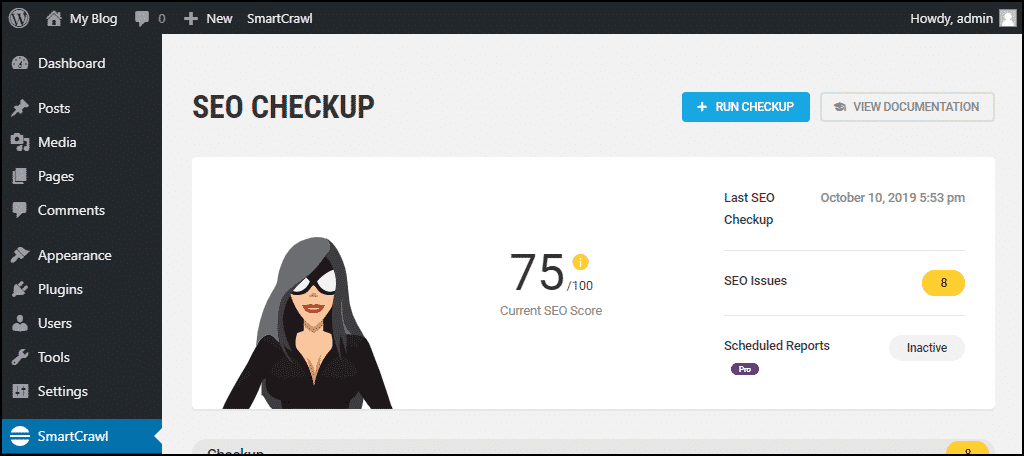
When the checkup is complete, it will present you with an overall SEO score based on a scale of 100. The “Checkup” section below the score will give you a lot of good recommendations for SEO improvement.
The Best SEO Settings for SmartCrawl
There are a lot of options available in SmartCrawl. We’re going to do an overview and talk about where settings are made. As far as what the “best” settings are, the fact is, there are no general best settings.
What’s best for your site depends on which keywords you want the site to rank for. If you have a pretty good idea of where you want to show up, some keyword research will sharpen your focus and lead you to what’s best for your site.
An SEO tool like SmartCrawl can help you find what’s missing, but it can’t fill in those blanks for you. Blog optimization and great SEO for a food blog cannot be transferred to a music blog. They will be completely different.
The advantage that a plugin like SmartCrawl provides is that it points out where you need to apply your keyword research to be the most effective.
That being said, let’s go over the main settings that are available to optimize SEO.
SmartCrawl Title & Meta Settings
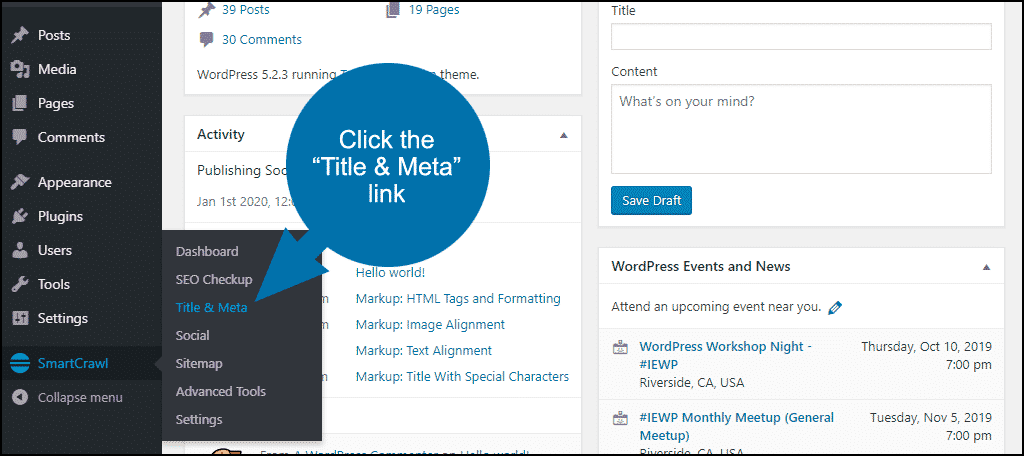
In the left column navigation mouse over the “SmartCrawl” link and click the “Title & Meta” link.
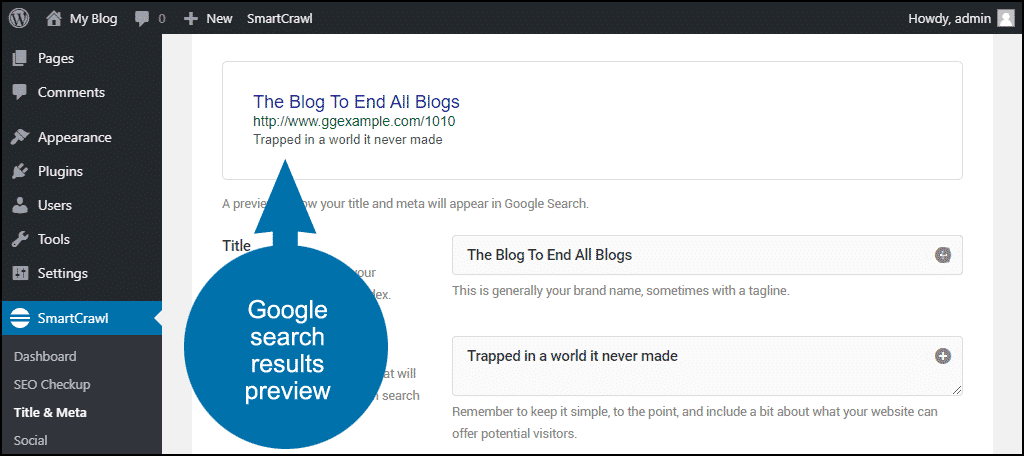
Homepage
Here’s where you set your site title, description, and keywords. When you make changes in the fields, the plugin will show you an example of how your listing might look in Google.
The other options on the page are for social media sites if you want to provide different titles and descriptions. You can duplicate your entries for those or leave the defaults.
If you have a logo or other identifying image, you may want to add that in the “Default Featured Images” option for Open Graph and Twitter Cards. That will serve as a default, but you can always choose a unique featured image for each post or page when you are creating them to really optimize SEO.
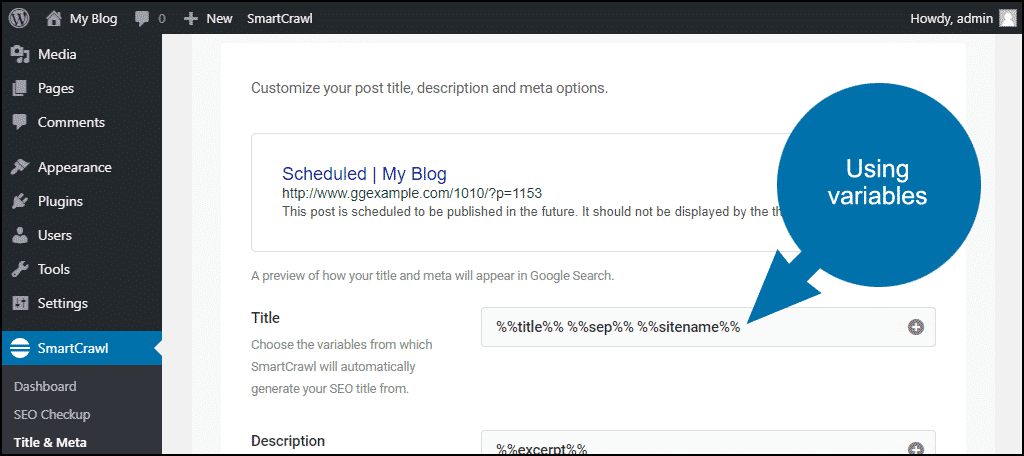
Post Types
As you can probably see, the settings here are virtually the same as those for the homepage. But since these are general settings, we’re not going to enter a specific text title and description as we did for the homepage. We’ll use the variable placeholders, like %%title%%.
Click the + icon to list available variables.
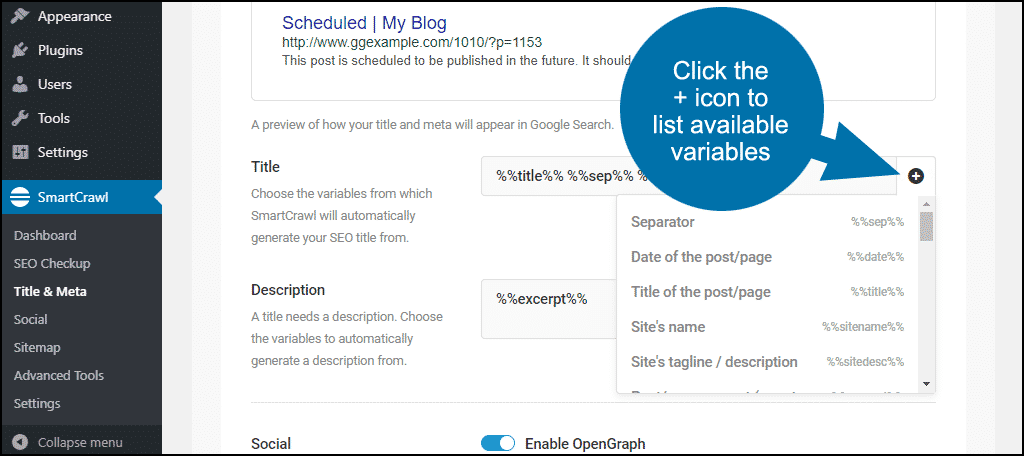
What the placeholders do is control how the information for the post or page will be presented. So, for example, everywhere we use the %%sitename%% variable, the name of your website that you specified in the general WordPress settings will be displayed.
Similarly, any time we use %%title%%, the title of the post or page will be displayed. The variables are useful for things like titles since they’re different for every page.
You can set the variable for posts, pages, and media. Unless you have a compelling reason to change the defaults, I would suggest leaving them as they are. When you get deeper into methods to optimize SEO, you may want to experiment with the variable placement and use.
Taxonomies
Taxonomies are tags and categories. Follow the same format for these as you did for the previous settings.
Archives
If you are the only author on your site, you’ll want to disable the author archive. You do that by clicking the toggle switch and the “SAVE SETTINGS” button.
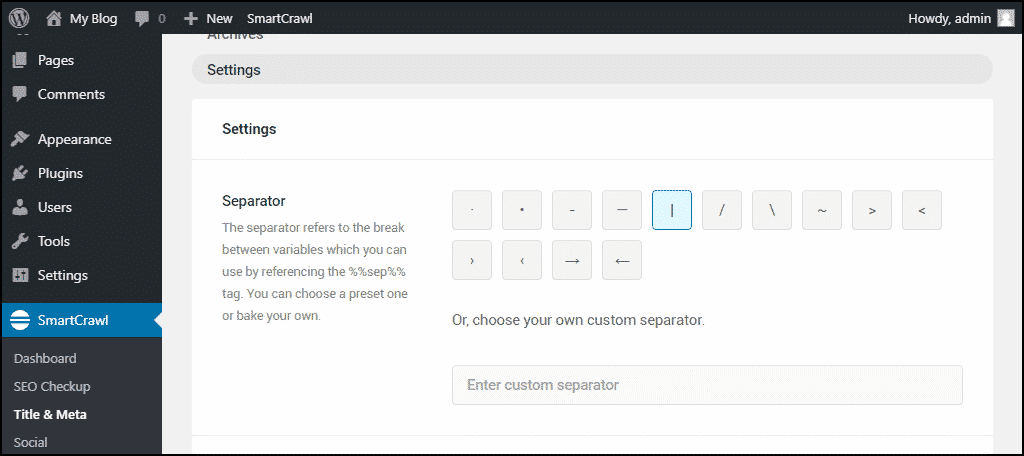
Settings
Here’s where you set the separator that’s displayed wherever the %%sep%% variable is used.
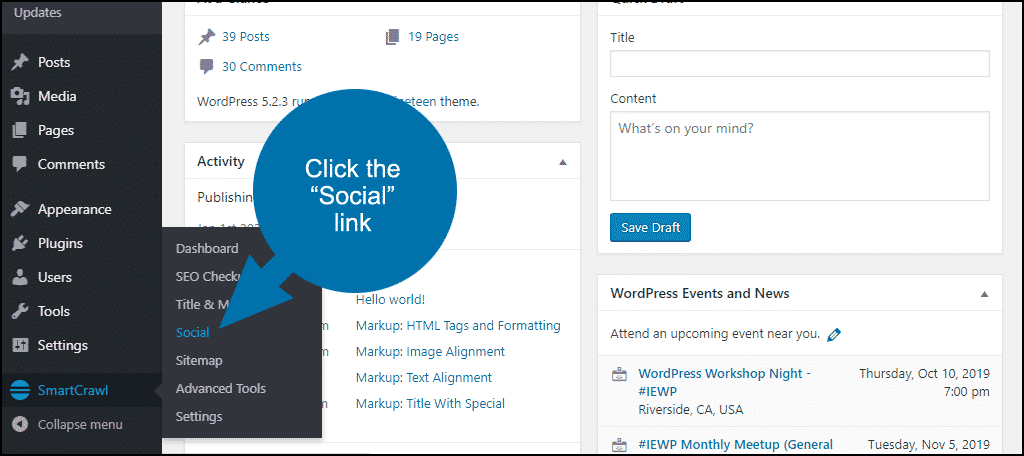
SmartCrawl Social Settings
In the left column navigation mouse over the “SmartCrawl” link and click the “Social” link.
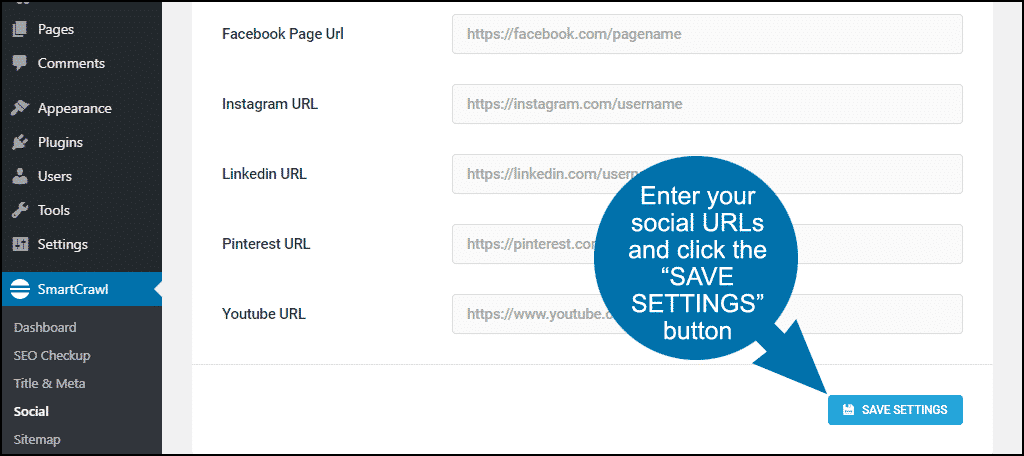
Accounts
From the “Type” dropdown, choose an account type, person, or organization. “Person” requires only your name. If you select “Organization,” you can also specify a logo image.
In the “Schema markup” section, leave “Enable schema markup output” checked.
Enter your Twitter username and the URLs for your Facebook, Instagram, Linkedin, Pinterest, and Youtube accounts, then click the “SAVE SETTINGS” button.
OpenGraph
This should be enabled by default, and you want to leave it enabled. It manages how social media sites collect data from your own.
Twitter Cards
This should be enabled by default, and you want to leave it enabled. You have an option for how links will be displayed on Twitter, either with or without images. If you change the default setting, click the “SAVE SETTINGS” button.
Pinterest Verification
To get your Pinterest Meta Tag, log in to Pinterest. In the Account Settings area, scroll to the “Website” field. Add your website URL and click the “Confirm website” button. The meta tag will be displayed.
Enter the Pinterest Meta Tag in SmartCrawl and click the “SAVE SETTINGS” button.
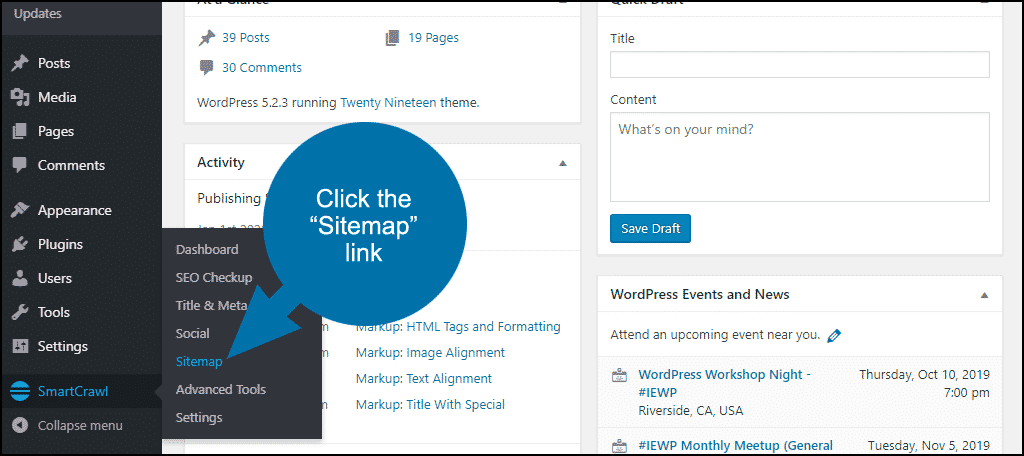
SmartCrawl Sitemap Settings
In the left column navigation, mouse over the “SmartCrawl” link and click the “Sitemap” link.
Sitemap
This section controls what is included and excluded from the sitemap. By default, everything the plugin can crawl on your site is included. In most cases, that’s what you want to optimize SEO in WordPress.
If you do want to exclude pages or posts from your sitemap, you can enter the IDs in the “Exclusions” section and click the “SAVE SETTINGS” button.
Crawler and Reporting
These are not available in the free version of this WordPress SEO optimizer. You’ll need to upgrade to the paid version.
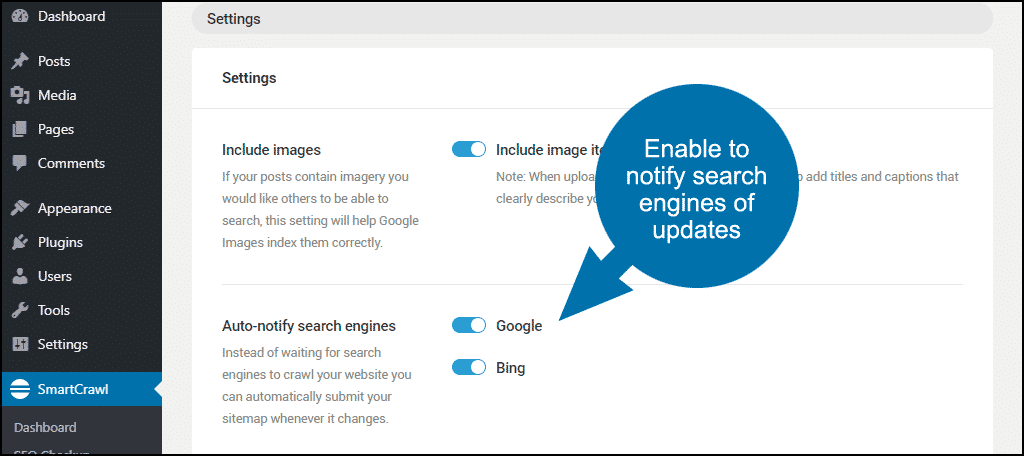
Settings
Toggle on “Include images” in the “Include images” section if images are an essential part of your site and you want people to be able to find them in a Google search.
Toggle on “Google” and/or “Bing” in the “Auto-notify search engines” section. When those are active, the search engines will be notified any time your sitemap changes.
This does not submit your site to the search engines. If you haven’t done that yet, you’ll have to do that before this auto-notification is effective.
Leave “Style sitemap” enabled if you want the page styled if someone views the sitemap in a web browser.
Leave “Automatically update my sitemap” enabled in the “Automatic sitemap updates” section.
If you are using a different method to generate and manage sitemaps, click the “DEACTIVATE” button. Deactivating sitemaps removes all of the options we discussed here.
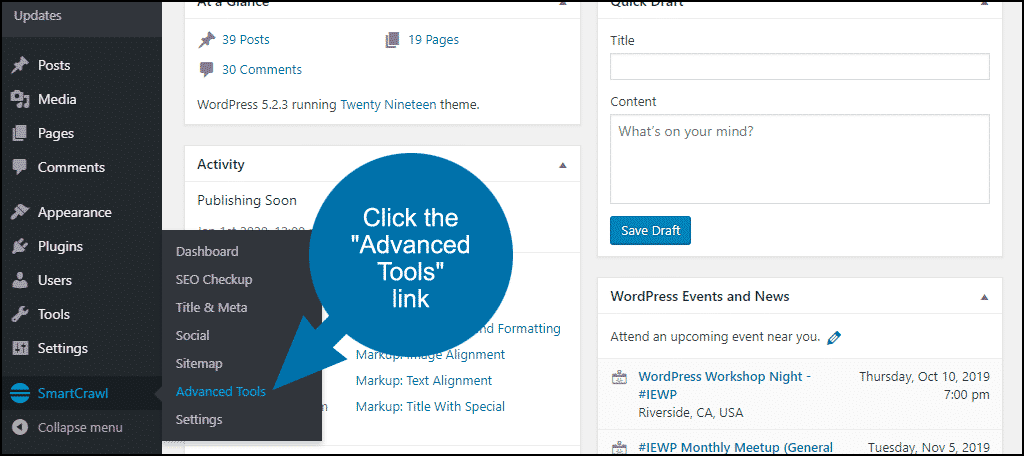
SmartCrawl Advanced Tools
In the left column navigation, mouse over the “SmartCrawl” link and click the “Advanced Tools” link.
The most interesting thing here is “Automatic Links,” but the feature isn’t available in the free version of the plugin.
The “URL Redirection” section lets you set up 301 redirects for pages that have moved to a new URL. I wouldn’t advise using a plugin like this to manage redirects.
I prefer to enter them directly into a .htaccess file. That way, they can’t be inadvertently deleted if a plugin is disabled or removed.
The “Moz” section connects the plugin to your Moz account. A handy feature, but if you have a Moz account, you probably aren’t’ reading this. 😉 But by all means, check out Moz and sign up for a free account over there. There is much to be learned from the data it can provide.
SmartCrawl General Settings
In the left column navigation, mouse over the “SmartCrawl” link and click the “Settings” link.

Most of these settings can be left as they are by default. If you use another SEO analysis tool like Yoast, disable “Readability Analysis” in the “Builtin modules” section.
In the “Search Engines” section, you can add verification links from Google and Bing if you haven’t already done that as part of your site setup and launch.
No need to change anything in the “User Roles” section.
The “Import / Export” section is used to transfer all the settings you’ve changed to a new installation, or to import settings from another SEO plugin like Yoast.
That’s how to set up SmartCrawl for the best results
It’s not the end of the SEO road by any means, but it’s a good start, and infinitely better than most of us could do without the plugin. Search engine optimization is one of those subjects that is difficult to master because the playing field is continually changing.
But keep yourself reasonably up to date with what’s going on, and check back into SmartCrawl from time to time to make adjustments. It may help you stay ahead of the pack.
Have you used other SEO plugins for WordPress? How much manual work do you do for SEO (if any)? Let me know in the comments.
I think rank math is better than SmartCrawl .
Rank Math is a pretty good tool. I’m also partial to Yoast SEO and AIO SEO. You just gotta pick the one you like most and roll with it. 😉