Every website strives to have the best performance because it directly impacts how much traffic it gets. For this reason, WordPress is full of plugins that can help improve performance, and Asset Cleanup is one of the best.
That’s because Asset Cleanup focuses on minifying your JavaScript and CSS files and, even more importantly, preventing non-essential ones from loading. After images, scripts are the biggest culprits in slowing down a website.
Because scripts are lines of code, many beginners who choose WordPress because they do not need to code cannot do anything about them. As such, many turn to plugins that are designed to optimize them at the click of a button.
Today, I will demonstrate how you can speed up your website by using the Asset Cleanup plugin.
This tutorial is for:WordPress 6.8Plugin: Asset Cleanup v1.4.0.3
How Do Scripts Slow Down Websites?
After images, scripts are the biggest files that need to be loaded, thus, they are one of the biggest factors that contribute to a slow page.
This is for several reasons. The first and foremost reason is the size of a script. Large scripts can take up a lot of space; thus, when a page is loading, the browser needs to not only load the scripts but also execute them.
As such, many plugins focus on minifying these scripts to help reduce load times.
However, another major reason why scripts slow down a page is that many unoptimized themes and plugins often have their scripts running even when they are not necessary.
For example, imagine a form builder plugin. You would probably only assume that the scripts related to a form builder would load when a form is present on a page. Well, some of these plugins load the scripts regardless of whether they are needed, thus adding to the loading time for no reason.
This issue can get out of hand quickly as you install more plugins in WordPress, thus, you need to trim the fat.
How to Improve Site Speed With Asset Cleanup
Asset Cleanup is a plugin that aims to improve site speed by addressing problems related to scripts. It not only helps minify essential ones but also prevents non-essential scripts from loading.
While this might sound complicated, you have nothing to worry about. The plugin does all of this for you. All you’ll have to do is install and activate the plugin and configure a few settings. There are more advanced options, but those are best ignored by beginners.
Step 1: Install Asset Cleanup
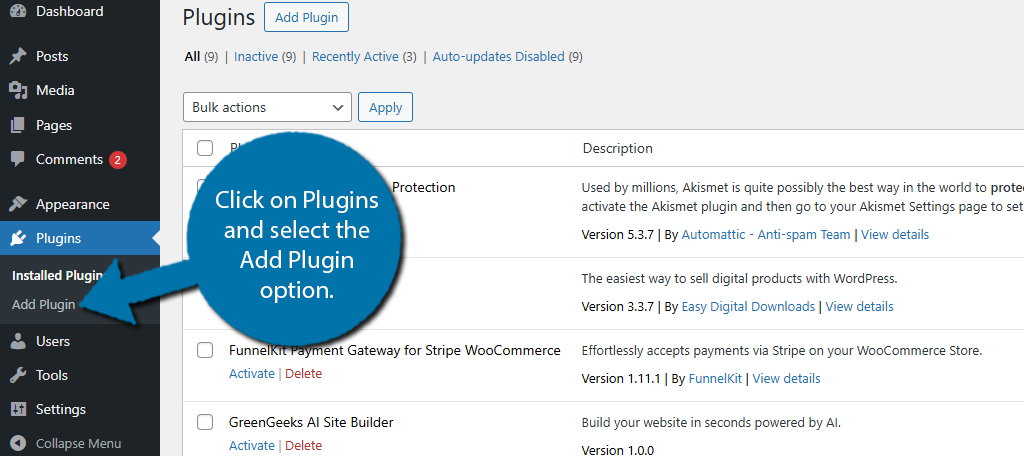
Let’s start by clicking on Plugins and selecting the Add Plugin option on the left-hand admin panel.
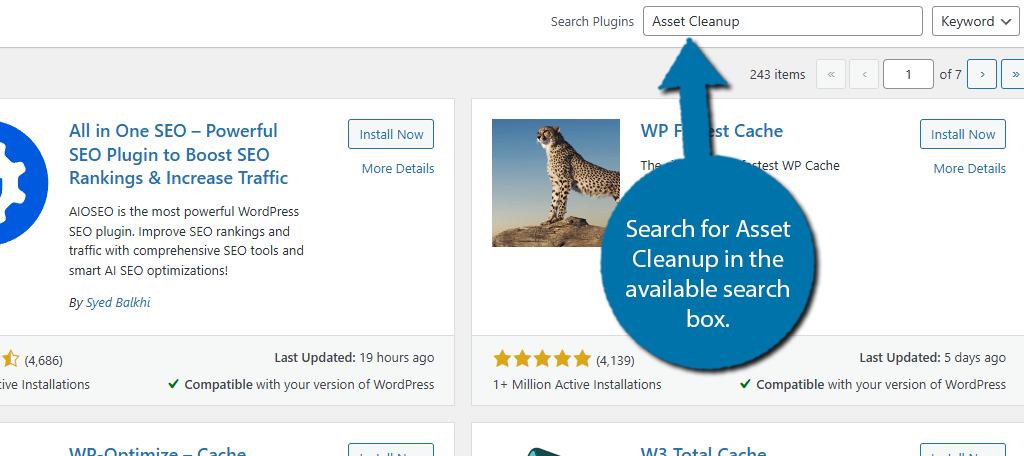
Search for Asset Cleanup in the available search box. This will pull up additional plugins that you may find helpful.
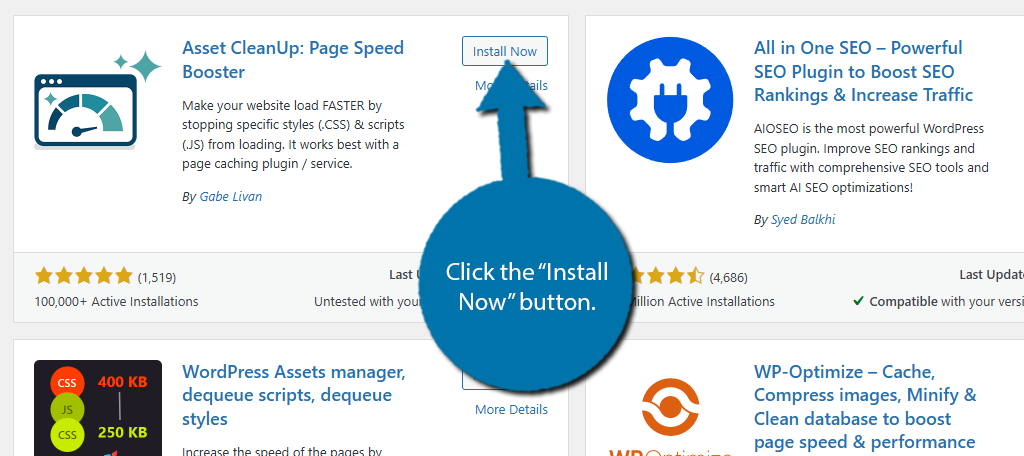
Find the Asset Cleanup plugin, click the “Install Now” button, and activate the plugin.
Step 2: Minify CSS and JavaScript
With the plugin installed and activated, you are ready to begin. There are multiple ways to use the plugin. However, let’s start with the simplest way to improve speed: minify your scripts. By reducing the file size, they will load faster.
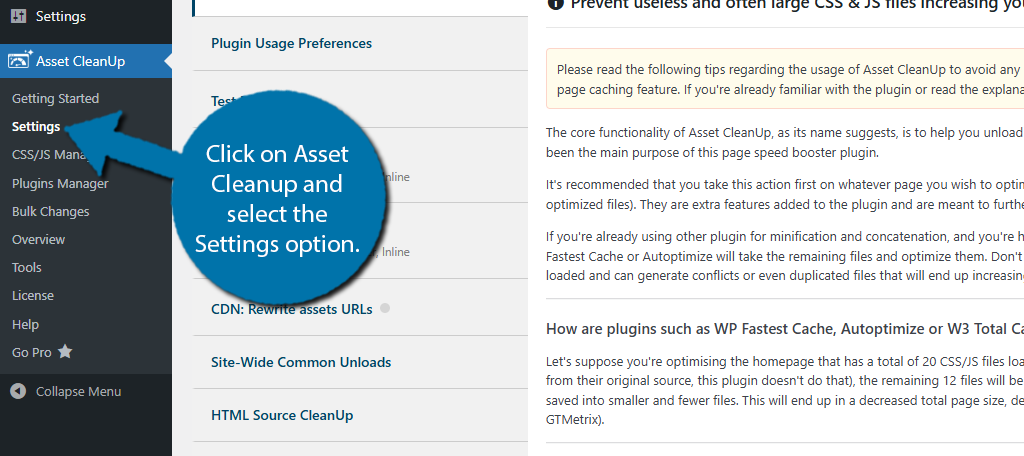
Click on Asset Cleanup and select the Settings option.
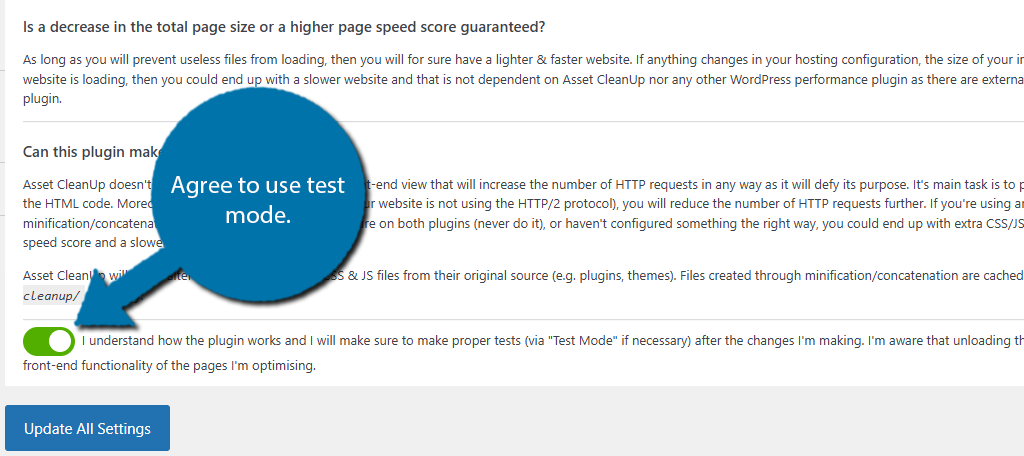
The first thing you will see is an agreement of sorts. This explains the importance of trimming the fat and highlights that it is easy to make a mistake. By preventing critical scripts, you can cause your site to fail.
As such, you need to be very careful, but there is a safe way: Test Mode. This mode allows you to see how changes impact your site before they go live. As long as you have test mode on, you can test how your site behaves with certain scripts being blocked.
This is very important for the next step, but I figured I would say it now since it is the first thing you see. Feel free to agree that you have read the statement and agree to use test mode.
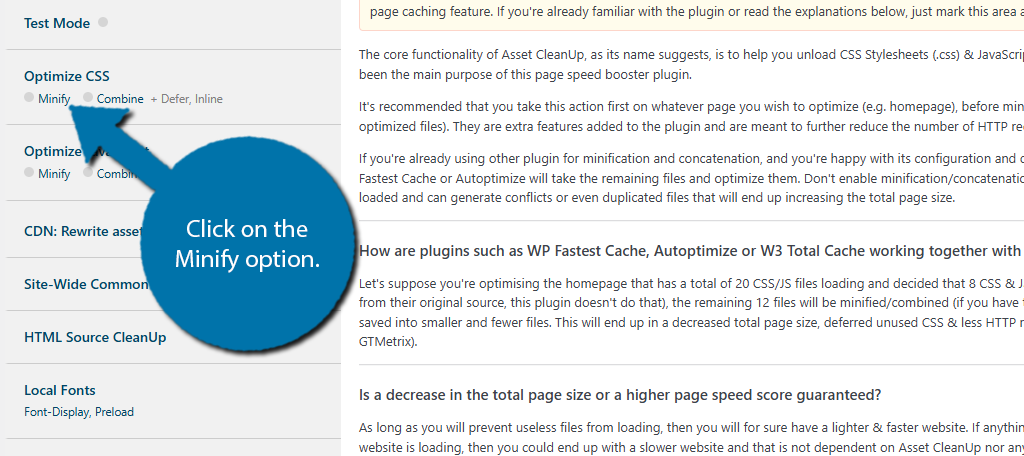
To minify CSS, locate the Optimize CSS option on the left-hand side and click on the Minify option underneath it.
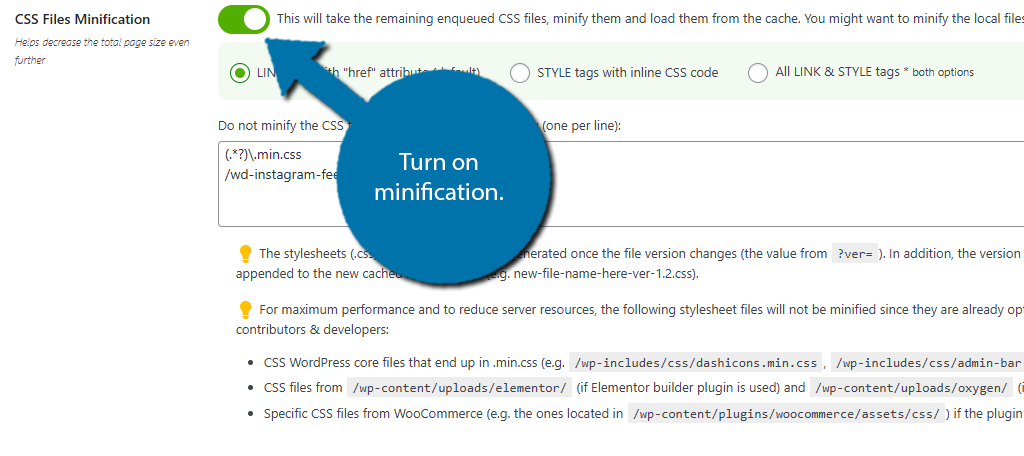
Flip the switch to enable minification.
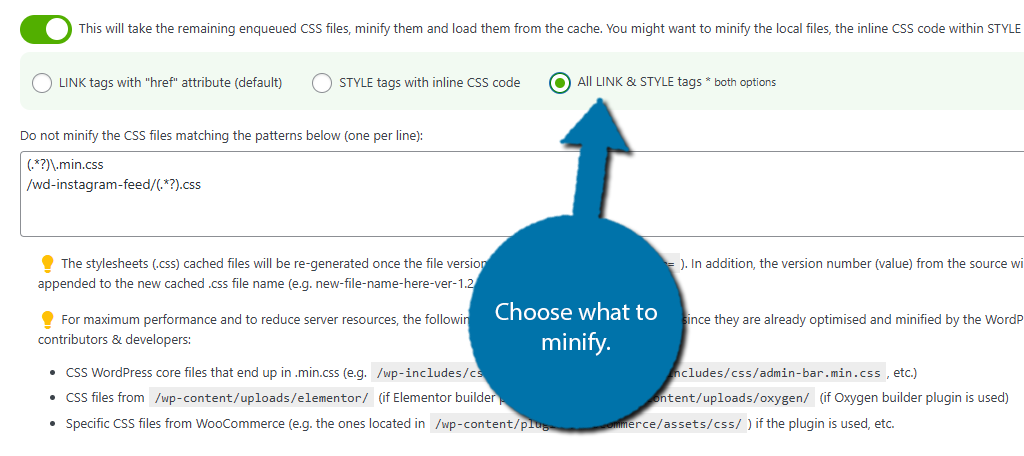
Below the switch, there are three options. These options determine what is minified by the plugin. The first option, on by default, is to minify Link tags, the second is to minify Style tags, and the third is to do both. I would choose the last option to minify both.
Below this is a text box that allows you to exempt certain scripts. This is an advanced feature, so feel free to ignore it if you are unsure of how to do this. The other options provide additional ways to optimize your CSS.
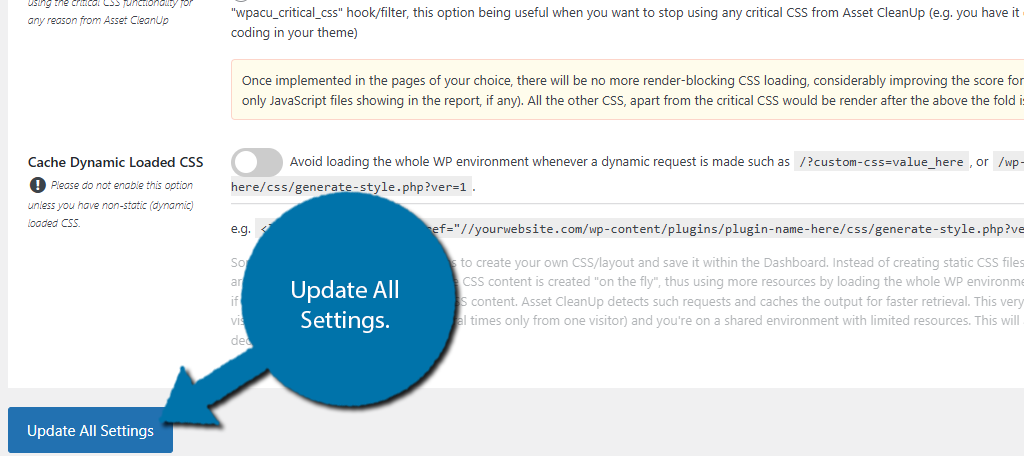
However, they are more complicated to use, thus, I would encourage beginners to ignore them. When you are done, scroll down to the bottom and click on the “Update All Settings” button.
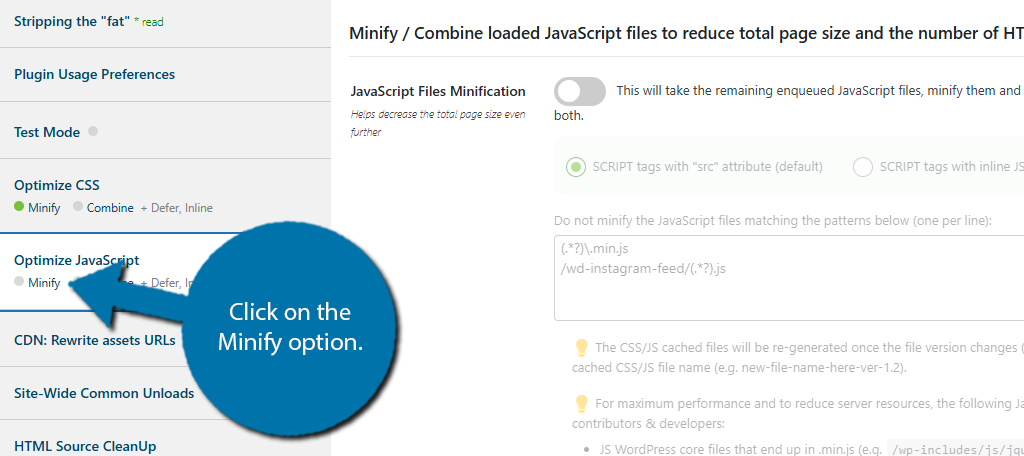
Minifying JavaScript is almost identical to CSS. On the left-hand side, locate the Optimize JavaScript option, and click on the Minify option beneath it.
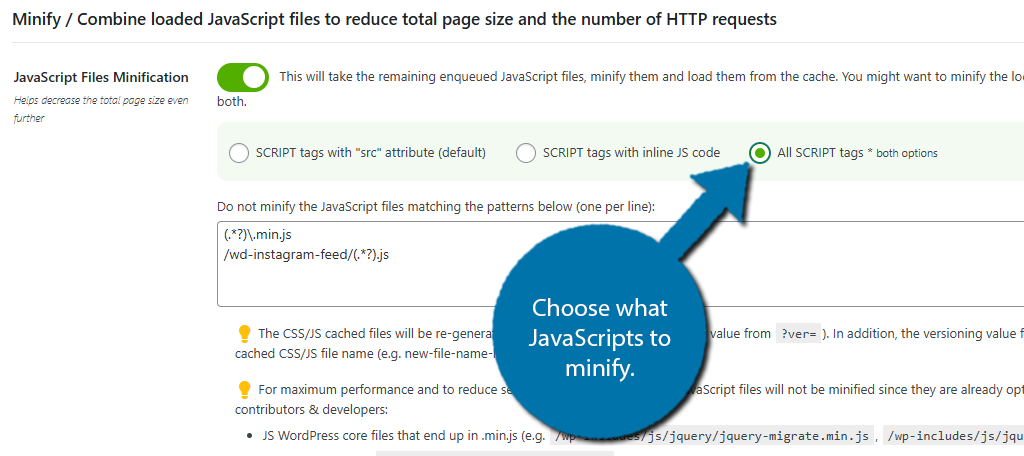
Once again, flip the switch to enable JavaScript file minification. Below this, there will be three different options. The first is to minify scripts with the “src” attribute, the second is to minify scripts with inline JS code, and the last is both.
My recommendation is once again to pick the third option to do both.
There is a box below where you can exempt certain JS from being minified if you want. The rest of the settings can help but should be avoided by beginners. Remember to scroll down and update the settings when you are finished.
Step 3: Prevent Unnecessary Scripts
Another way to use the plugin is to prevent unnecessary scripts from loading entirely. This step is best avoided by beginners as if you are not sure what scripts are necessary, you will end up causing more harm than good.
That said, as long as you enable test mode, you can freely see how the changes you make impact your site without breaking it.
As such, let’s start by enabling test mode. To do so, go to settings and select the Test Mode option.
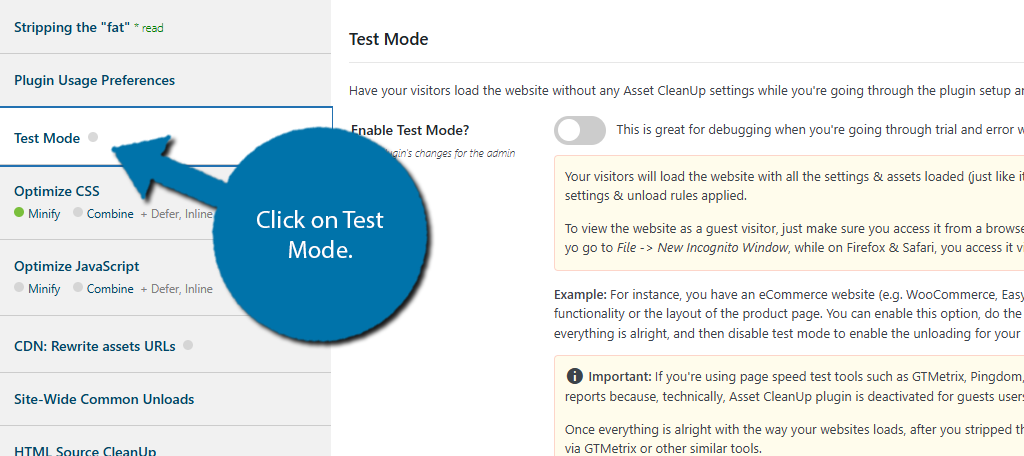
Flip the switch to enable Test Mode.
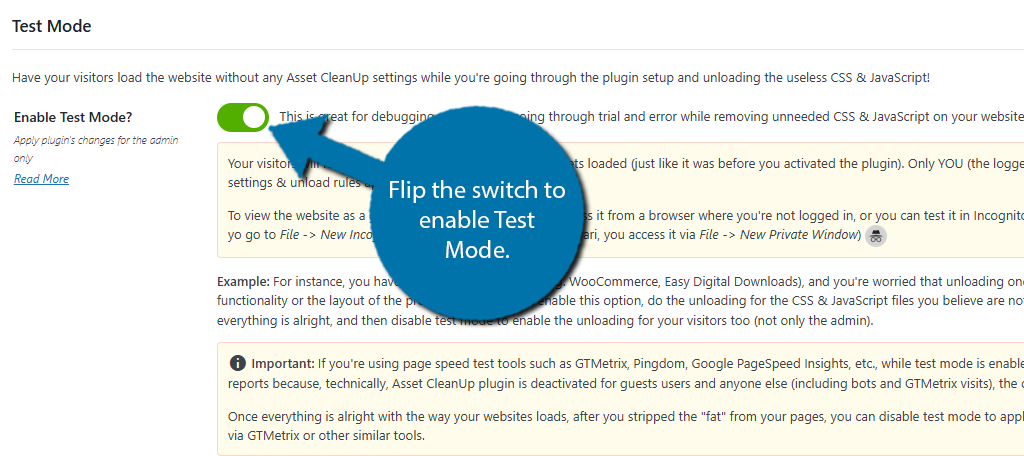
While Test Mode is enabled, visitors will be able to use the site as normal. The only user impacted by test mode is the site administrator. This allows you to test if a page loads correctly or if a core feature still functions.
For example, if you run an eCommerce site, you would want to ensure that the cart functionality still works. One shortcoming of using test mode is that you cannot test site speed while it is active.
This is because, for regular users, the site will not have any of the changes you made live. As such, when a speed test is performed, the scripts you prevented are still working on the site. Thus, you can only check the impact when you push the changes to the live site.
With that said, let’s look at how blocking scripts works.
Click on the CSS/JS Manager option.
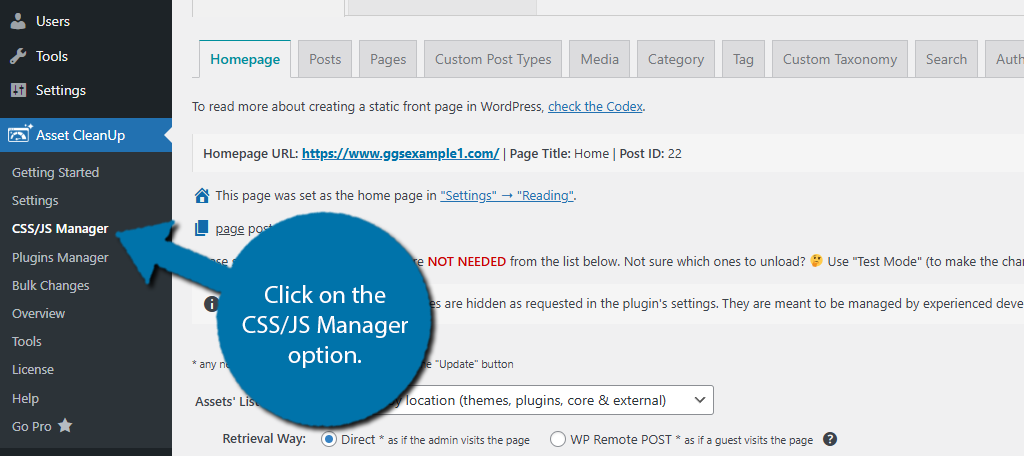
Here, you can choose how scripts work virtually anywhere on your site. This is done by selecting the appropriately named tabs. For example, if you want to block scripts on your homepage, you would click on the Homepage tab.
If you wanted to do so for a page, you would pick the page tab and then enter the URL for the page. I’ll be using the homepage in this example, but the process is nearly identical in the other tabs after you select an exact post or page.
If you scroll down the Homepage tab, you will see a list of what scripts are running. These are broken down into categories like plugins, themes, WordPress core, and so on. That said, the plugin will hide the WordPress core scripts so you don’t accidentally break your site.
Once you find a script you want to prevent, simply flip the Unload on This Page switch.
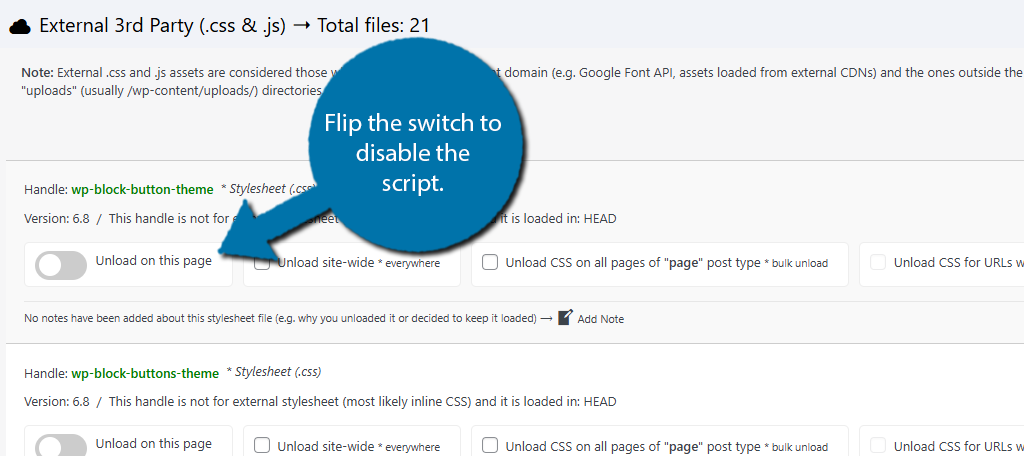
You should then click on the “Update” button at the bottom and investigate if the site is still functioning correctly with that script blocked. If you verify it is, you can exit test mode and apply the changes for real.
Don’t forget to run a speed test to verify positive changes to performance. There are other ways to boost your speed with this plugin, but this covers the two major ways that will lead to the most improvement. Refer to the plugin documentation for more information.
Improve Your Site Speed With Asset Cleanup Today
Asset Cleanup is a great way to improve your site’s performance by optimizing your scripts. The plugin itself is easy to use, and the test mode helps you prevent making mistakes that could harm your site.
That said, there are a lot of advanced options we did not cover today. That’s because they are very dependent on your site, thus I can’t provide a one-size-fits-all solution. As you gain more knowledge, those options will be very handy to take advantage of.
I hope you found this tutorial helpful in learning how to use the Asset Cleanup plugin.
How easy did you find Asset Cleanup to use? Did you use any of the more advanced features?