Drupal is one of many popular CMS (Content Management System) platforms available today. It is a pretty popular setup, but with WordPress becoming more and more popular, website owners are looking at ways to migrate their website from Drupal to WordPress.
There are a couple of different ways to migrate from Drupal to WordPress. There are certain companies that will do it for you, though there will be a price involved. Or, you can do it yourself if you have the right tools and steps.
In this article, I am going to show you how you can perform a Drupal to WordPress migration without having to pay someone.
Why You Should Migrate Drupal to WordPress
There are a number of reasons why a website owner may want to migrate their site from Drupal to WordPress. Perhaps the biggest reason to do this is that WordPress is the most popular CMS out there and continues to grow in strength.
Furthermore, the ease of use provided by WordPress makes it very appealing, especially for those website owners who want simplicity and the ability to change their sites without having to know or handle any type of code.
Whatever the reason may be, you need to know that you are able to do this on your own. You just need to have a couple of things in place first and then know what steps to take to get it done.
Let’s take a look at the plugin we are going to use today and see what it has to offer. After that, we will review the steps together and get your Drupal site migrated over to WordPress.
FG Drupal to WordPress
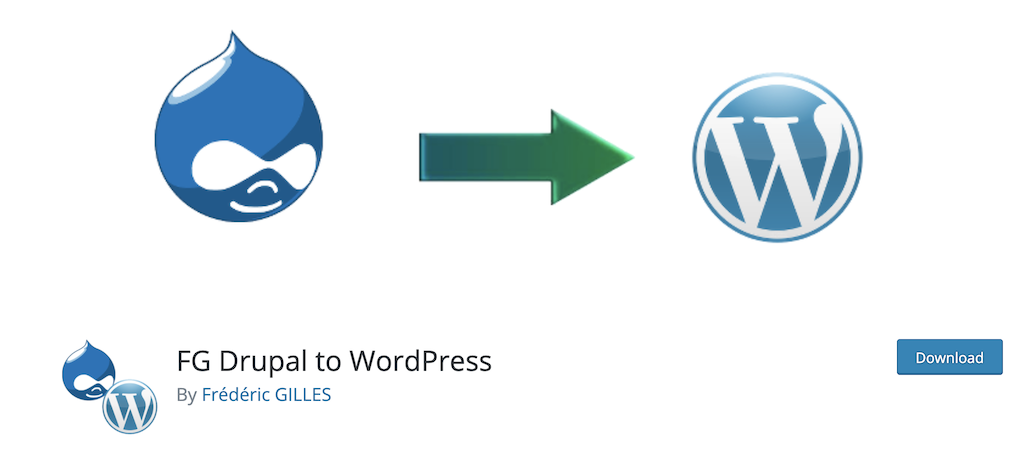
FG Drupal to WordPress is a plugin that allows you to easily migrate articles, stories, pages, categories, tags, and images from Drupal to WordPress. The plugin is very reliable and is compatible with Drupal 4, 5, 6, 7, 8 & 9 and WordPress 5.7. It is also compatible with multisite installations.
With this plugin, you will be able to use a Drupal export content function that will help you migrate your entire site to WordPress. The plugin has a clean interface and is not difficult to use, as you will see below.
The free version of FG Drupal to WordPress is packed with a lot of great features. First off, it allows you to migrate Drupal articles, stories, basic pages, categories, tags, and images. Other features include:
- Ability to upload post media into WP Directories
- Upload external media
- Modifies post content to keep links
- Resizes images according to what is defined in WP
- Defines featured images
- Keeps all alt image attributes
- Modifies internal links
- Is compatible with the MySQL, PostgreSQL, and SQLite Drupal database drivers
If you are a DIY person and you want to migrate your website from Drupal to WordPress on your own, this is the exact plugin to have.
Let’s run through the steps together so you can see how easy it is to migrate your site over.
Note: This plugin does have a pro version. You might need it, so give it a look to make sure. The pro version gives you the ability to migrate more things over. That being said, the tutorial below is based on the free version of the plugin, as the steps are the same either way.
Migrate a Drupal Site to WordPress
Step 1: Have WordPress Hosting and a WordPress Installation
Other tutorials on this subject may assume you already have hosting and a WordPress installation in place. However, I just wanted to remind you that both of these things need to be in place before you can properly migrate your website.
So, go ahead and grab some excellent WordPress hosting.
Once you have that, you want to create your domain name and then go ahead and install WordPress through your cPanel.
Step 2: Install and Activate the Plugin
Now the real fun starts. From your WordPress website, go ahead and install and activate the FG Drupal to WordPress plugin.
You can do this by going over to the main Plugins page in the admin dashboard.
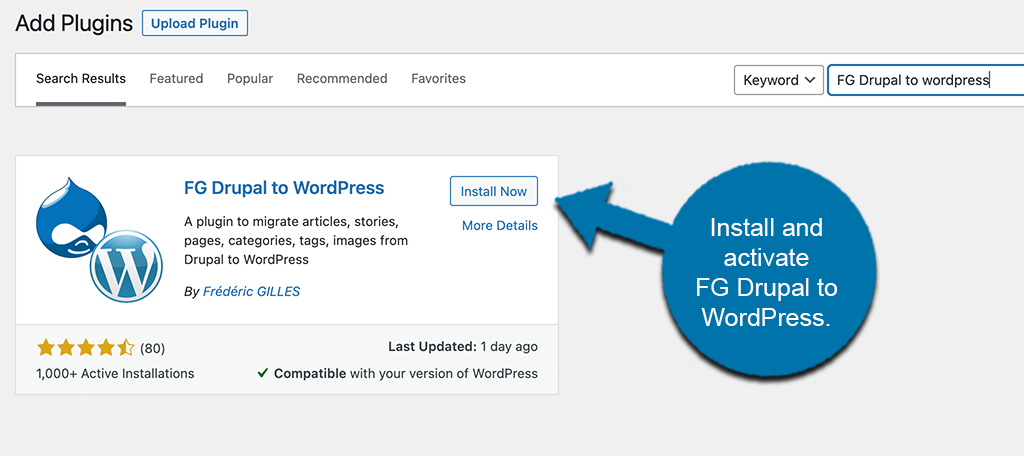
On this page, you will notice a search field. Use that field to search for the plugin by name. Once you see it pop up, install and activate it right from there.
Step 2: Run the Drupal Importer
Now that the plugin is installed and activated, you can immediately run the available Drupal importer.
To get to where you need to be, click on Tools > Import, located on the left side menu area of the dashboard.
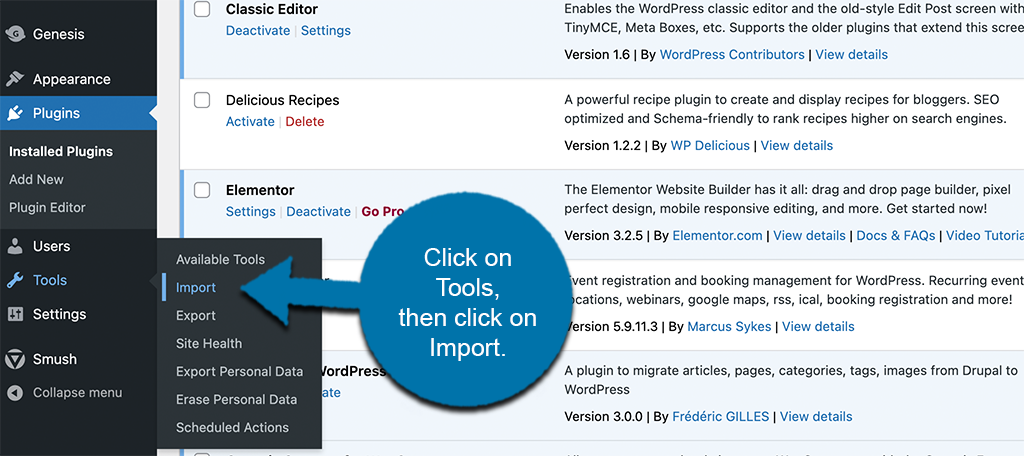
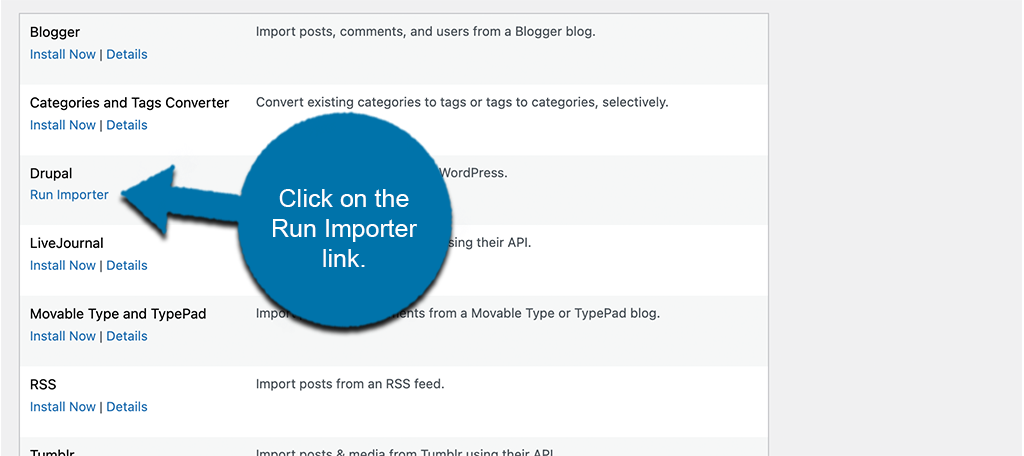
This takes you to the import tools page. Scroll through the list of available import tools. When you see Drupal, go ahead and click on the blue “Run Importer” link.
Step 3: Get Relevant Drupal Information
Running the importer takes you to the main configuration and settings page for the plugin. This is where you can fill out all the relevant information needed to migrate your site from Drupal to WordPress.
Scroll down some on the page and you will see a section titled “Drupal Database Parameters.”
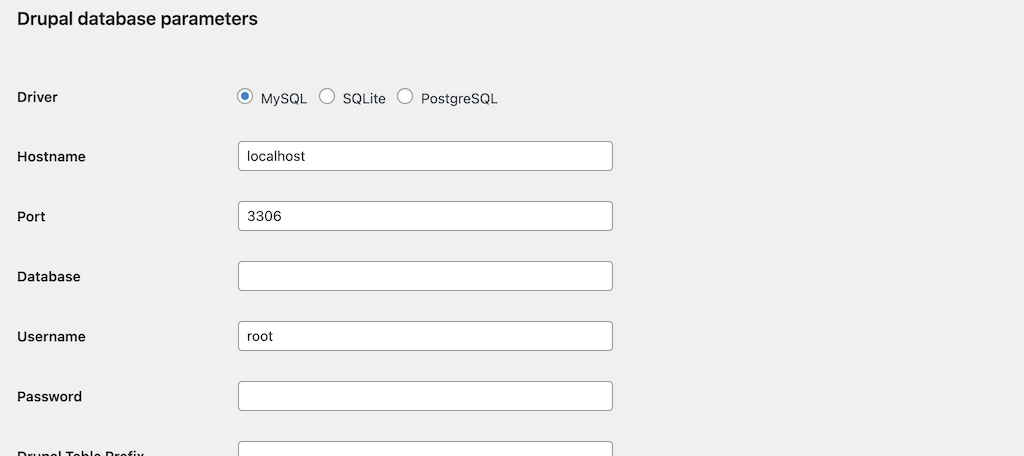
You may not know the parameters of your site. If you do, great, go ahead and plugin them in. If not, we need to go get the right parameters to plug into the relevant fields.
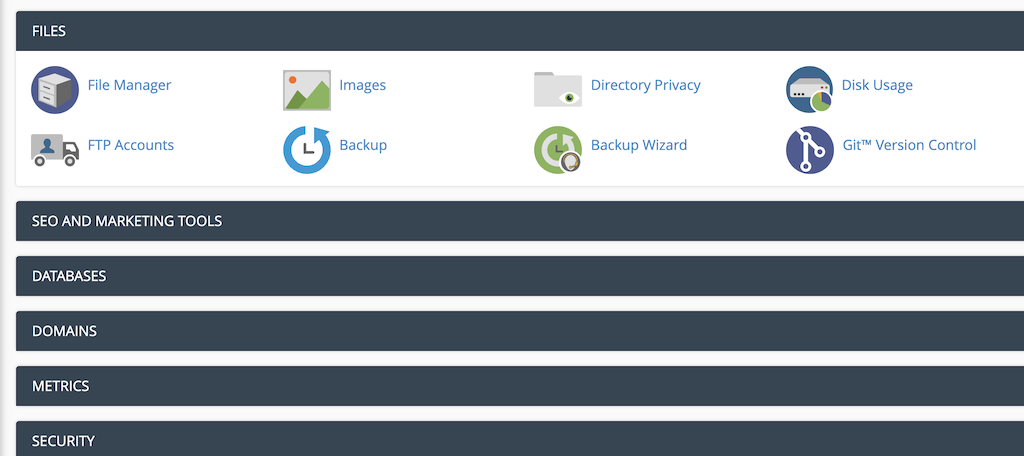
You can get this information in one of two ways. You can use an FTP Client, or you can access the same info through your cPanel. For this tutorial, let’s find it through the cPanel dashboard.
Click on the “File Manager” icon in your cPanel.
When the file manager opens, click through the following folders to get to the main Drupal settings file:
public_html > drupal > sites > default.
Inside the default folder, you will see that there is a file called settings.php. Double click on it to open it up.
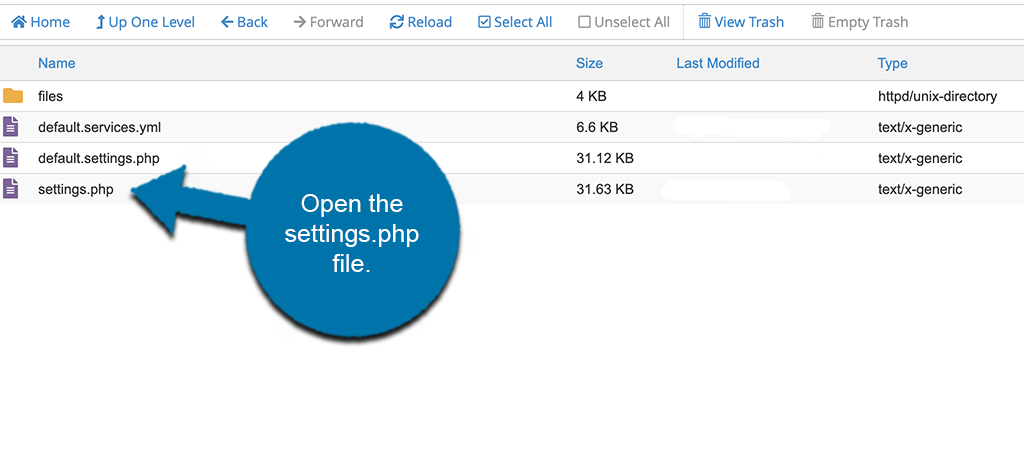
When the file opens, you can see that all the relevant Drupal database parameters are displayed.
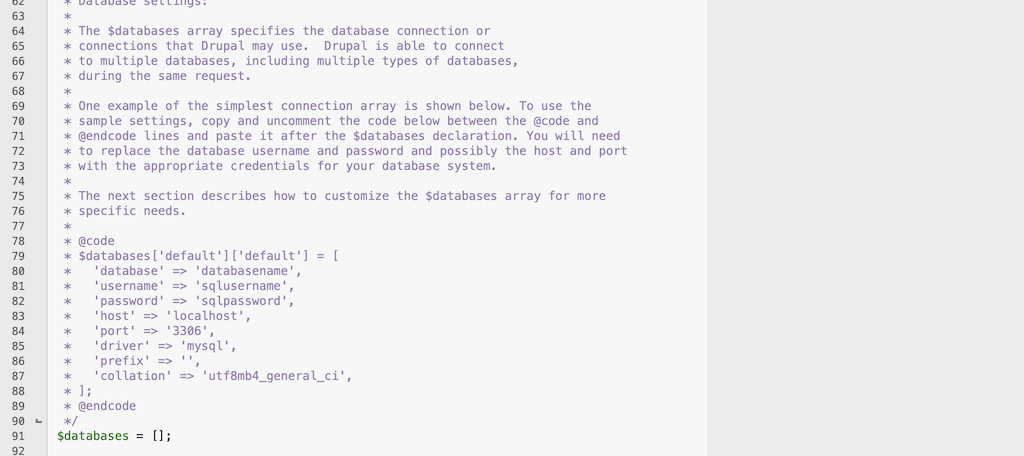
Copy and paste the relevant parameters into the fields on the WP plugin page. Once you have the correct info added, go ahead and click on the “Test Database Connection” button.
If the connection is successful, you will get a green “Connection Successful” message. If the connection is not successful, simply double-check your inputs and see what you may have missed.
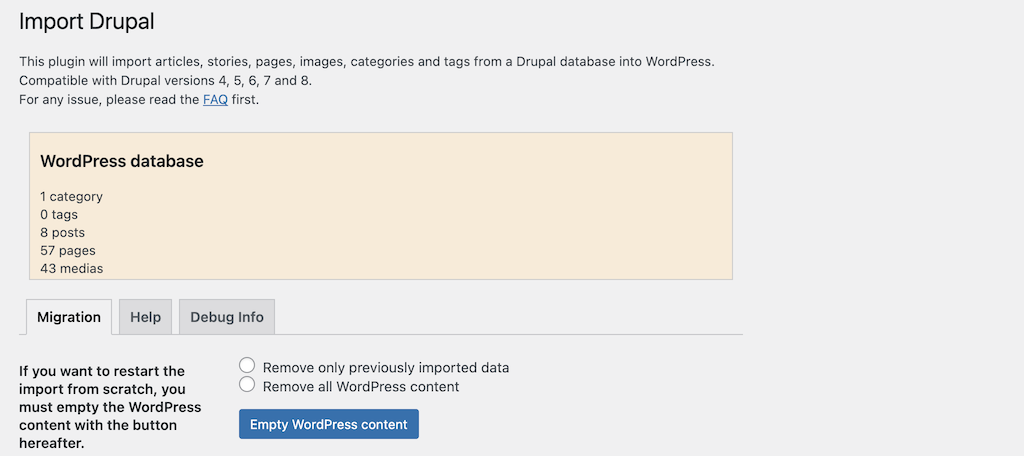
Step 5: Customize the Migration and then Migrate Your Site
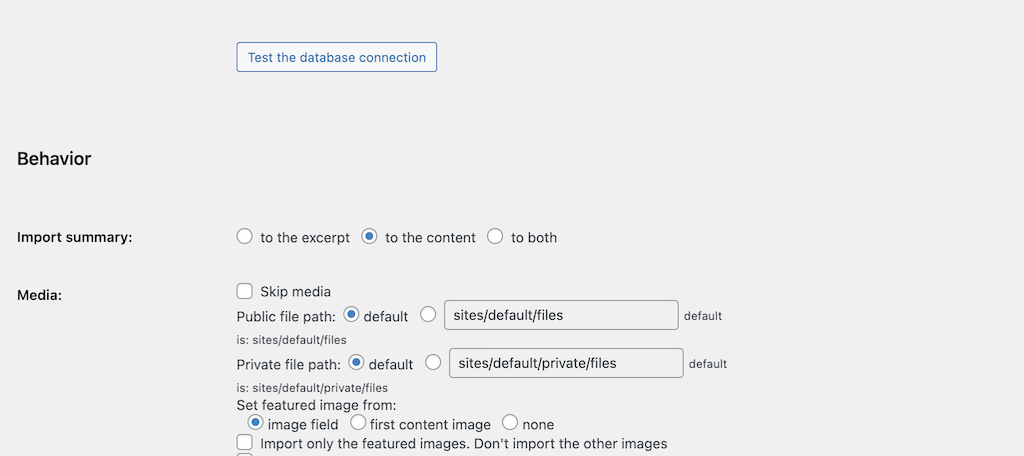
The last thing you want to do before actually starting the migration process is to fill out the “Behavior” section of the configuration.
Go ahead and fill all of this out how you want.
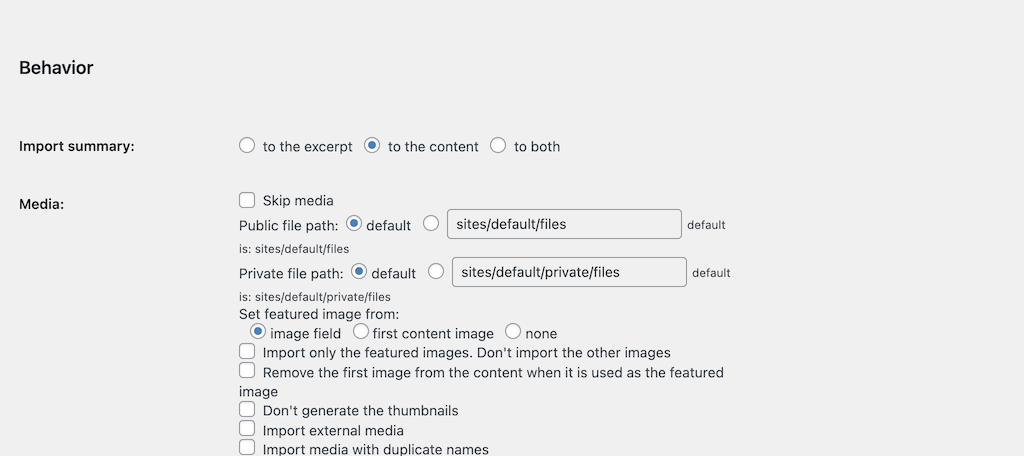
When you are ready, click on the “Start / Resume the Import” button.
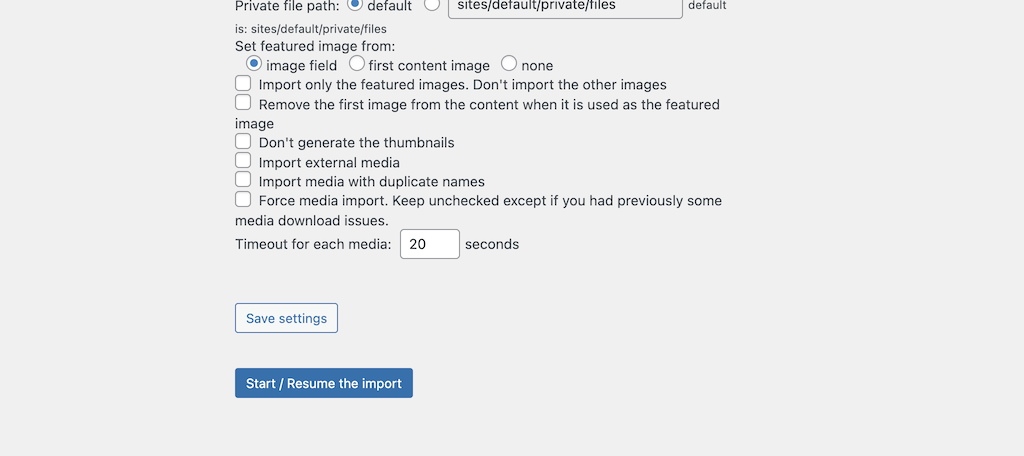
The amount of time that it takes the migration to complete will depend on a number of things, most notably, website size.
That’s it! At this point, you should be in a place where the migration has started or is complete.
Modify Internal Links
There is another optional step you can take once your Drupal website has been fully migrated. You don’t have to do this, but I recommend doing it just to make sure all your links are functioning properly.
At the bottom of the configuration page, you will see a “Modify Internal Links” button.
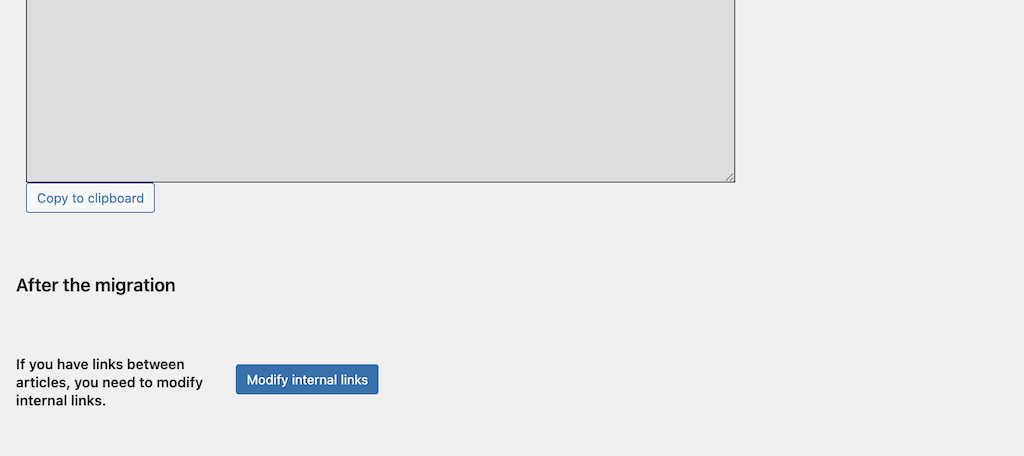
Go ahead and click on that and run it. Again, this is optional but highly recommended.
Final Thoughts
Migrating a Drupal site to WordPress does not have to be an overly difficult task. Making sure you have the right tools and steps in place makes the entire process much easier.
I hope this article was able to show you how easy a Drupal to WordPress migration can be. Enjoy your new site, and from here just keep building.
Have you ever tried to migrate a Drupal site to WordPress before? Did you do it more manually or use a plugin to help?