Do you want to add timed content in WordPress? Timed content is a form of content that doesn’t initially appear on a post or page. Instead, it appears after a set amount of time has passed, which you can set.
This has a plethora of uses in WordPress, and many websites utilize this kind of content. However, WordPress does not have this feature built-in. Instead, you will need to use a timed content WordPress plugin.
Today, I will demonstrate how to accomplish this by using the Timed Content plugin.
Why Use Timed Content In WordPress?
So you know what timed content is, but you are still unsure about when and why you should use it. Don’t worry, it’s actually very tricky to use correctly, but can have a huge payoff.
For example, let’s look at a landing page. This is a standalone page and its purpose is to help “land” customers, but you can significantly enhance it with timed content.
Without a doubt, video content is one of the most effective marketing tools available. And they should be the center of attention on a landing page. Timed content can help accomplish this allowing the video to be the only content visible.
You can then make the other content appear after a certain amount of time has passed. It’s a very popular choice, and the concept can be applied to almost any page that has a video on it.
Installing Timed Content
The Timed Content plugin does exactly what you would expect, create timed content. It accomplishes this with a series of simple shortcodes that are quite easy to understand and use, which makes it a perfect choice for beginners.
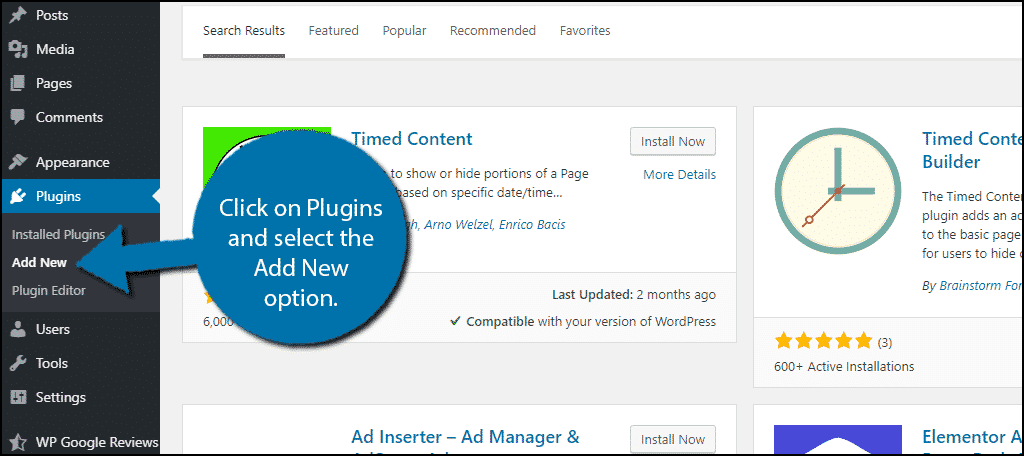
To start, click on Plugins and select the Add New option on the left-hand admin panel.
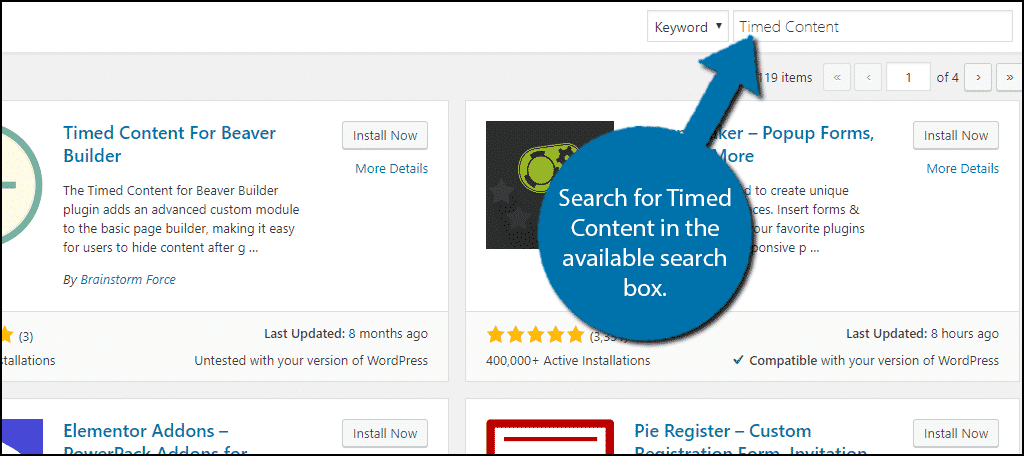
Search for Timed Content in the available search box. This will pull up additional plugins that you may find helpful.
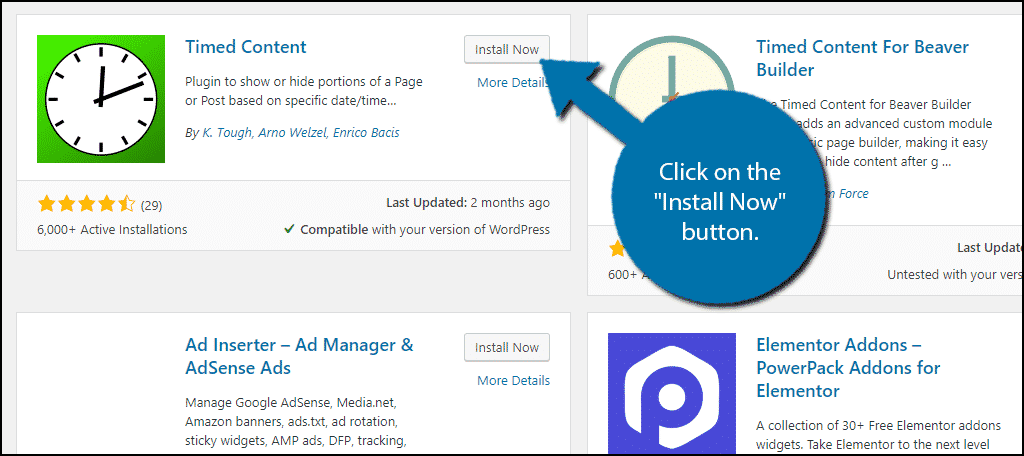
Scroll down until you find the Timed Content plugin and click on the “Install Now” button and activate the plugin for use.
Using Shortcodes
Realistically, you have two ways to use this plugin. The first is to utilize shortcodes. The second is to create your own rules for content. Let’s explore the first option.
For example, here is one of the shortcodes you can find on the plugin’s page:[ht_message mstyle=”info” title=”” show_icon=”” id=”” class=”” style=”” ][timed-content-client show=”1:00:500″ hide=”5:00:2000″]Show me after one minute with a 500 millisecond (a half-second) fade-in, then hide me after five minutes with a 2000 millisecond (2 seconds) fade-out.[/timed-content-client][/ht_message]
This will show a piece of content one minute after one minute has passed, with a half-second fade-in. Once five minutes have passed, it will become hidden with a fade away. However, you can probably see that from how the shortcode is written.
The shortcodes this plugin utilize use the TinyMCE dialog. Thus, if you have previous knowledge, you can get started immediately by creating your own shortcodes. Luckily, even if you do not, the shortcodes are pretty straight forward.
If you do not have much knowledge, the plugin does an excellent job of describing how to create shortcodes on the plugin’s page. You will need to master this if you want to create fancier content on your pages.
Just remember since it is a shortcode, you are not just limited to a post or page, you can add it into a text widget on your sidebar.
Setting Up Rules
The other way to use the plugin is to set up rules. Although it is limited when compared to what you can do with a shortcode. They are easy to create.
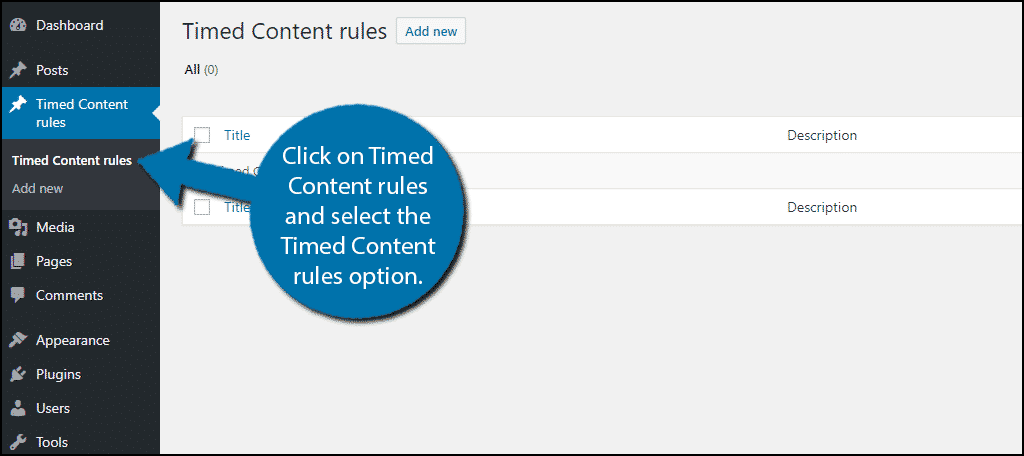
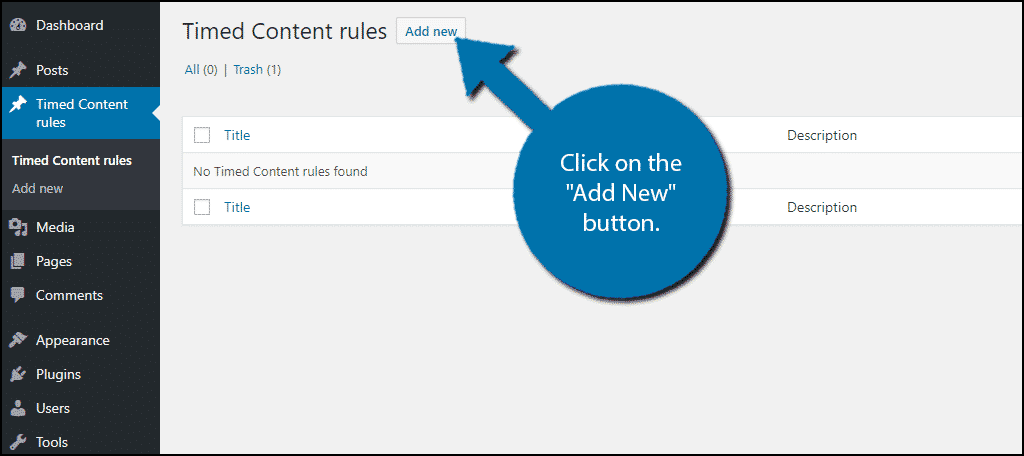
On the left-hand admin panel, click on Timed Content rules and select the Timed Content rules option.
Here you can create the rules for when content appears on your website.
To begin, click on the “Add New” button.
While there are many settings to configure, they are pretty straightforward, and when compared with the custom shortcodes you can make, extremely limited.
The very first section is what your current rules do. This isn’t very useful at the moment, but I highly recommend revisiting this section at the end. It will let you make sure the rules are working as intended.
Now for the real settings.
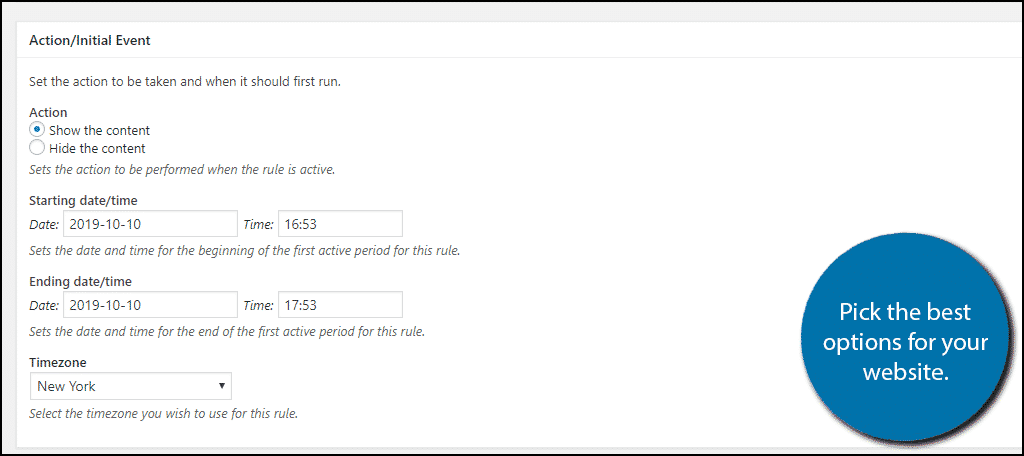
In the Action/Initial Event section, you will be able to choose if the rule is for hiding content or making content appear. You can do this by either selecting the “Show the content” or “Hide the content” option.
Underneath that, you can select the starting time and end time. And of course, make sure to pick the appropriate timezone.
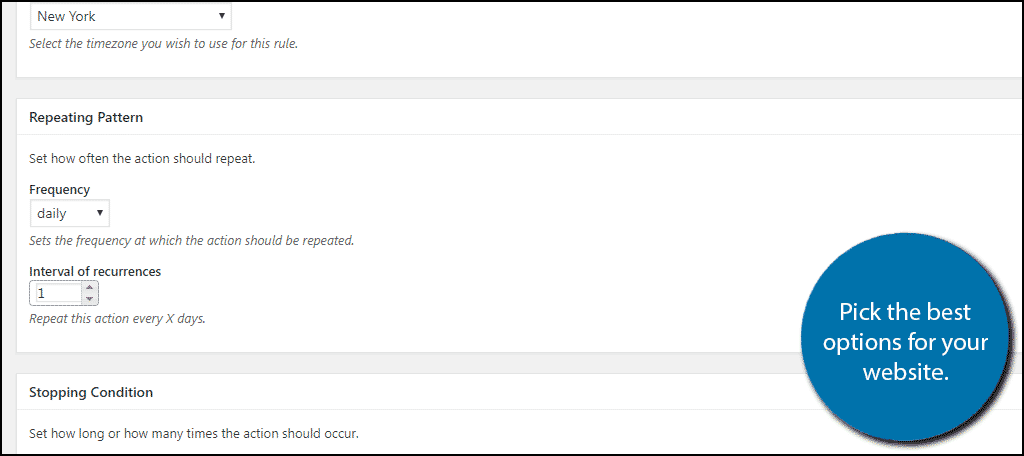
The next section is the Repeating Pattern. Here you can choose how often it reoccurs (daily, weekly, monthly, etc.) and the interval at which it occurs at.
The Stopping Condition section allows you to set when the rule will end. You can do this by setting a date or setting a limit on how many times it can run.
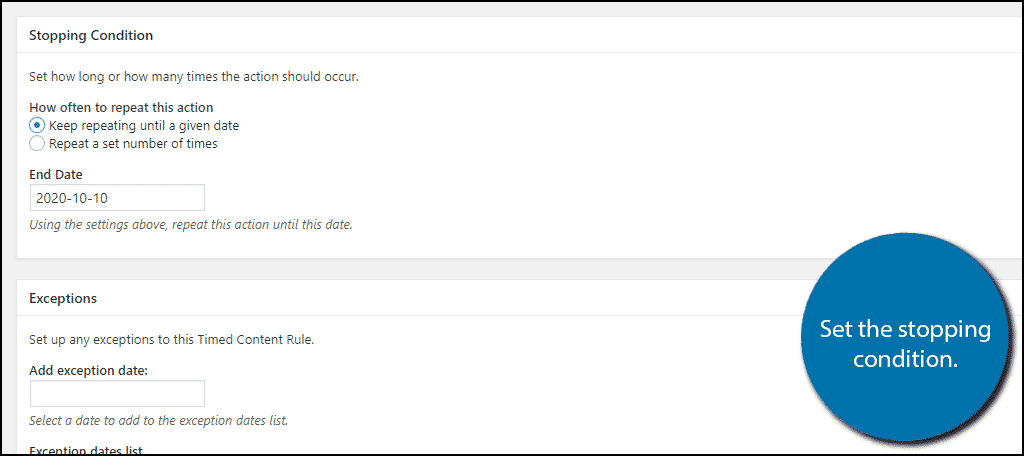
The last section is the Exceptions. Here, you can set a date when the rule will not work. Once you are done, scroll back up to the top and click on the “Publish” button.
If you go back to the Timed Content rules page, you will see your newly created rule. Copy the shortcode on the right-side and paste it where you want this rule to apply.

Congratulations, you have learned how to create timed content rules.
Use Sparingly
While you can certainly do a lot of cool things with timed content, it should be used sparingly. The more often you use it, the less impactful it becomes. And using it too much can become very annoying, very fast.
How easy do you find making shortcodes? Do you think the plugin should offer more options for creating rules?
Hey hi once we get a shortcode can I have the next step on how to proceed further.
Paste the shortcode into the desired location.