One of the biggest reasons why so many people prefer using WordPress is because of customization. Widgets are only part of that, but often play a pivotal role for the success of a website. Unfortunately, not all themes deliver enough sidebars to accommodate design ideas. This is when you would create custom sidebars in WordPress.
Adding custom sidebars with dynamic widgets in WordPress delivers integration, engagement and helps keep content organized.
In this tutorial, I’m going to show you how to display sidebars in WordPress to hold widgets you want to use.
Using the Custom Sidebars Plugin
While some people choose to disable the sidebar to deliver a flat appearance, others like to customize the layout. It’s a good way to add small features and tools the visitors may like.
Today, I’m going to demonstrate how the Custom Sidebars plugin could be of use to you. It’s perhaps one of the best sidebar plugins for WordPress with more than 200,000 active installs and a great review rating.
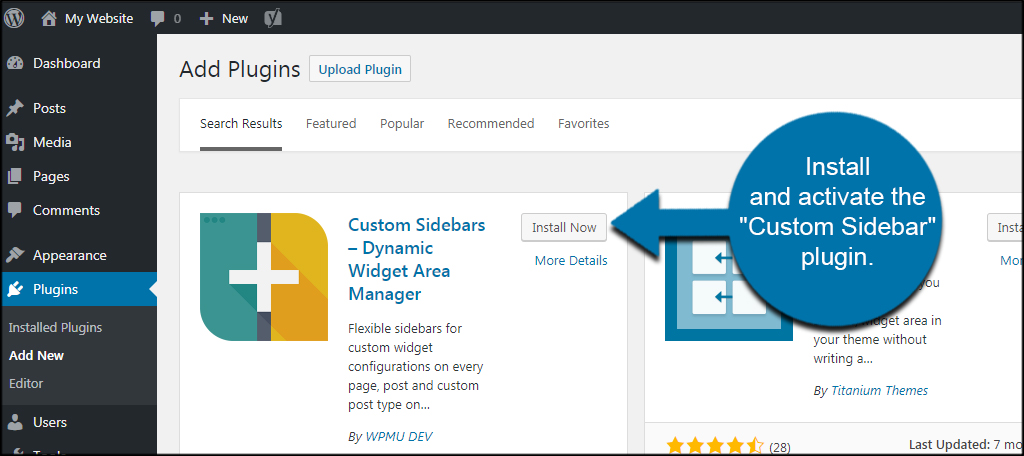
First, install and activate the “Custom Sidebar” plugin. There are quite a few of similar plugins, so you want to make sure you install the correct one. I’m using the tool developed by “WPMU DEV.”
Changing the Site’s Appearance
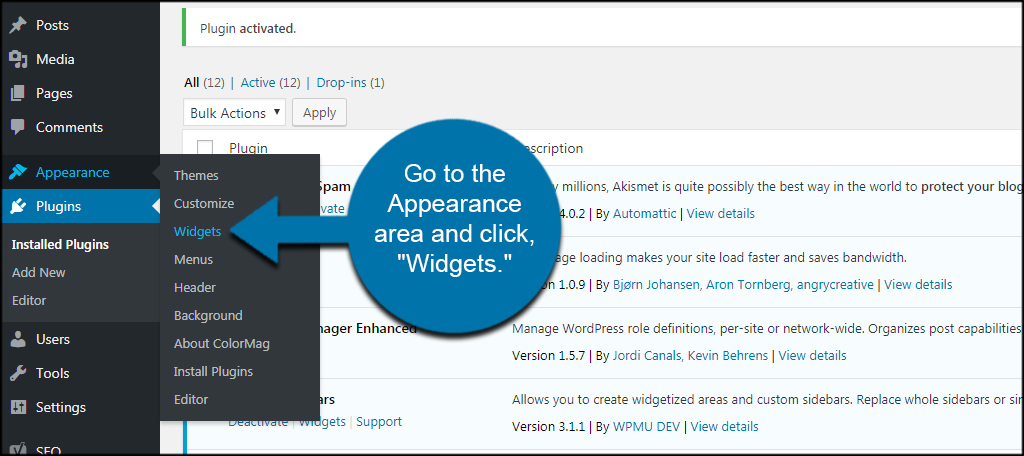
Go to the Appearance area and click, “Widgets.”
You will see “Custom Sidebars” at the top on the right. Your original sidebars will be moved below this section.
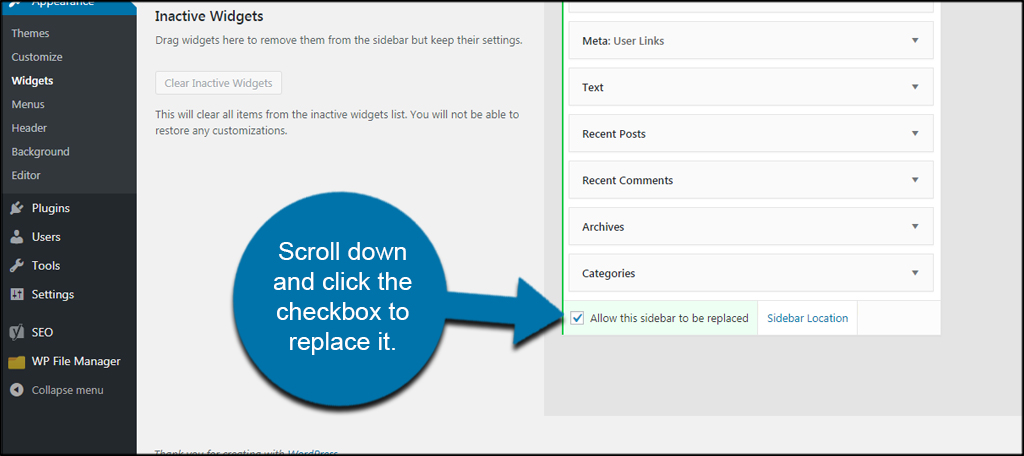
Custom Sidebars can either work alongside the existing sidebar, or you can choose to overwrite. If you want to swap out the original theme’s sidebar, scroll down and click the checkbox to replace it.
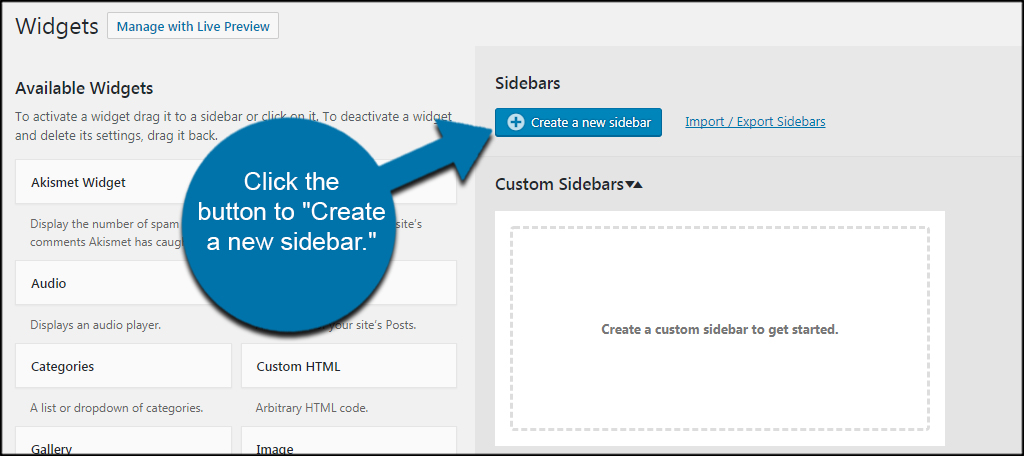
Click the button to “Create a new sidebar.”
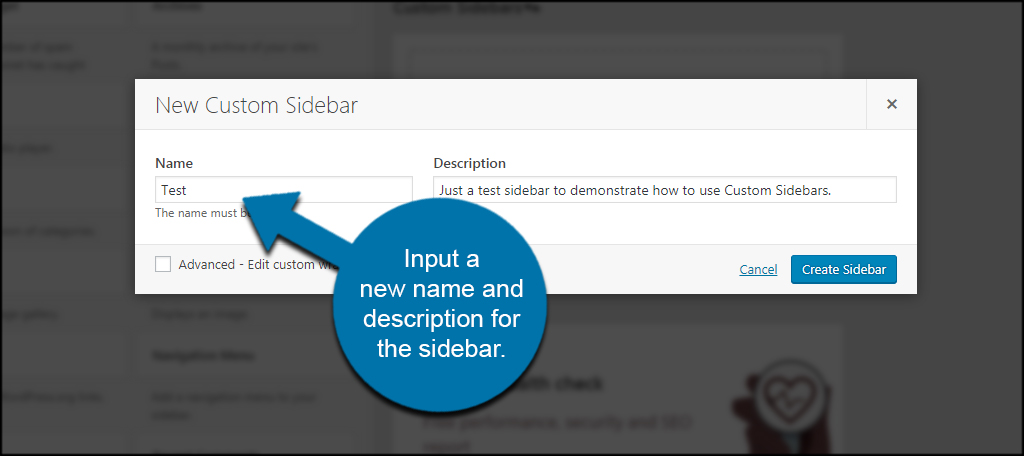
Input a new name and description for the sidebar. Make them something you’ll easily identify. The description is basically for you so that you can keep track of what you’re creating for specific purposes. In this instance, I’m simply going to name it “Test.”
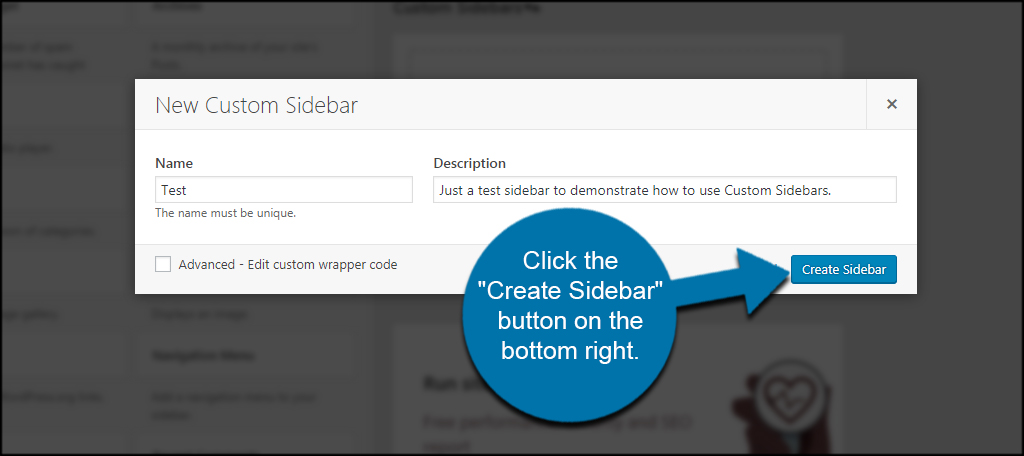
Click the “Create Sidebar” button on the bottom right.
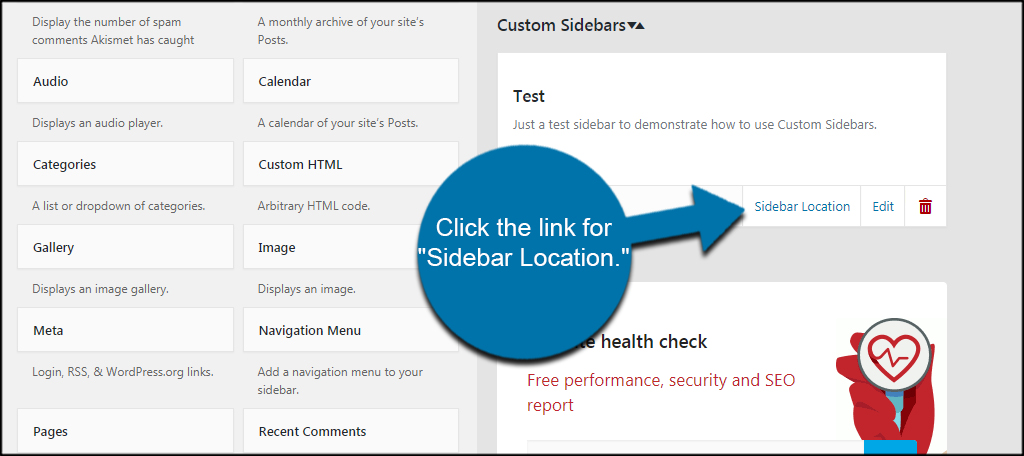
Now, we have a testing sidebar ready for content. However, it’s not going to be visible just yet. Before the new custom sidebar is available, we have to assign a location.
Click the link for “Sidebar Location.”
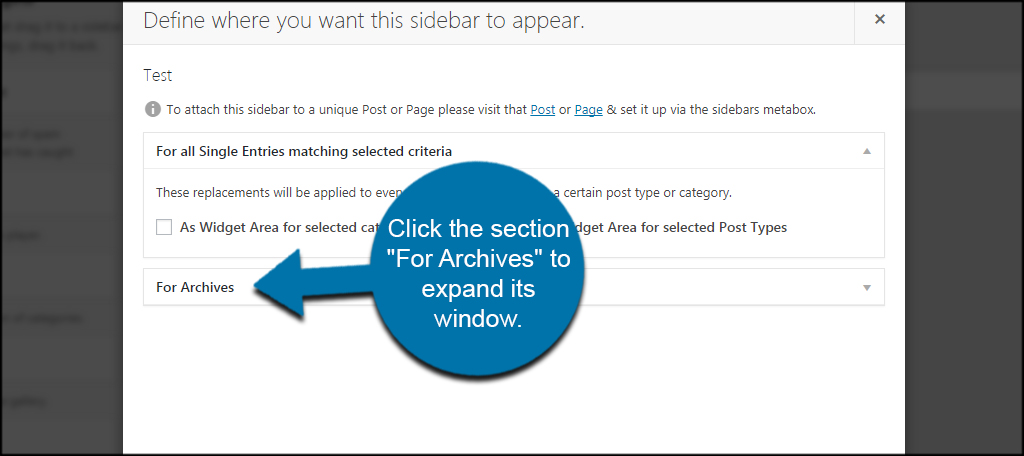
Custom Sidebars gives you the ability to place the new widget area in a myriad of places on the website. You can assign it to only show for specific categories or as a widget area for posts or pages.
In this instance, I’m only setting it to show on the front page of the website.
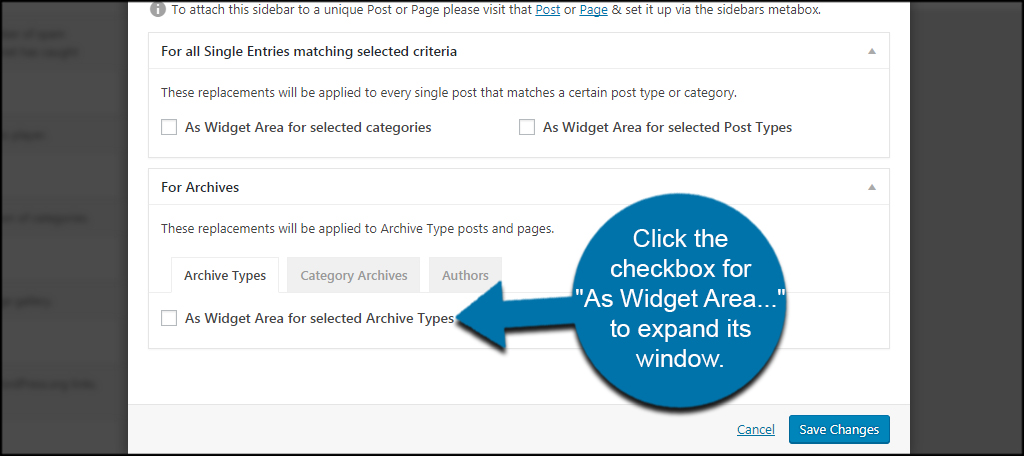
Click the section “For Archives” to expand its window.
Click the checkbox for “As Widget Area…” to expand its window.
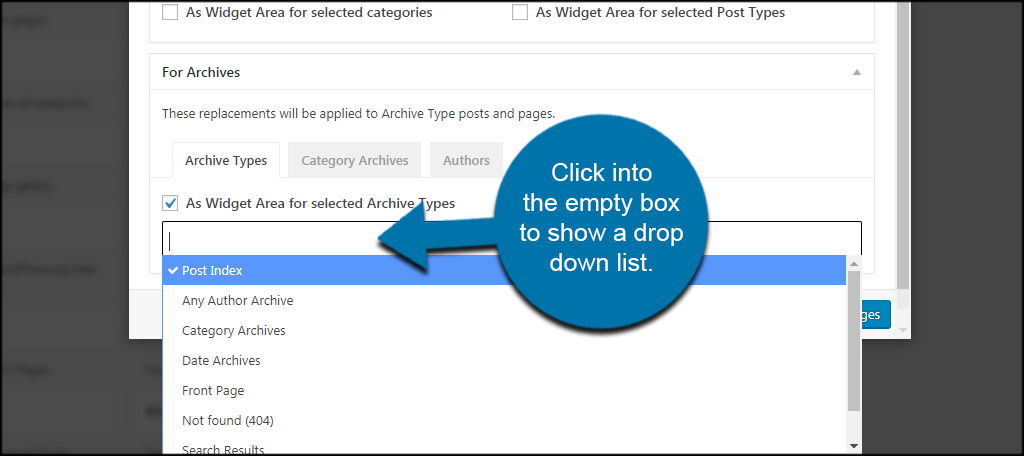
Click into the empty box to show a drop down list.
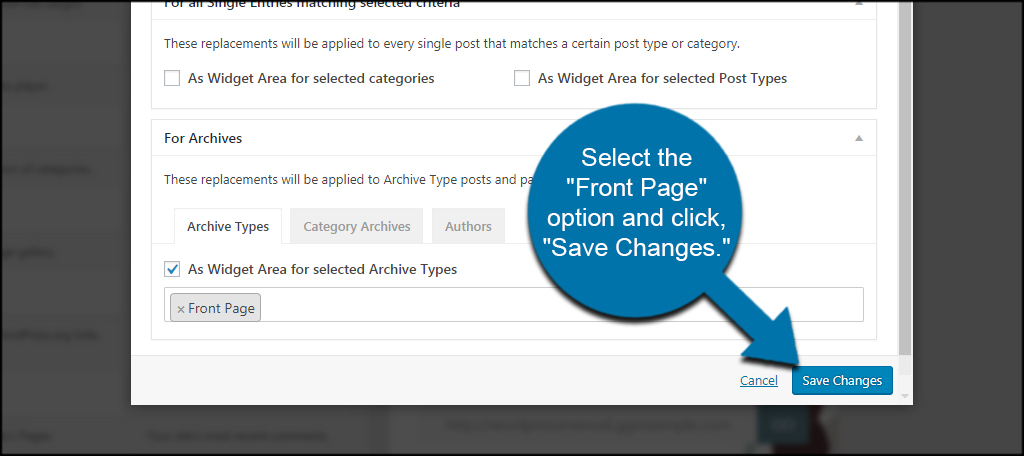
Select the “Front Page” option and click, “Save Changes.” You can add more by clicking each element in the drop down list to add it to the archive type. For instance, you can add “Any Author Archive” and “Search Results” to where the sidebar will be displayed in addition to the Front Page.
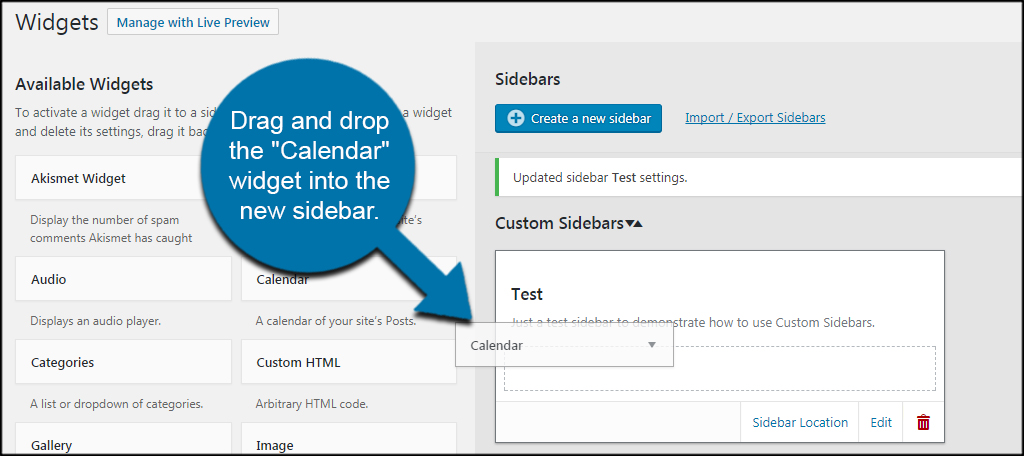
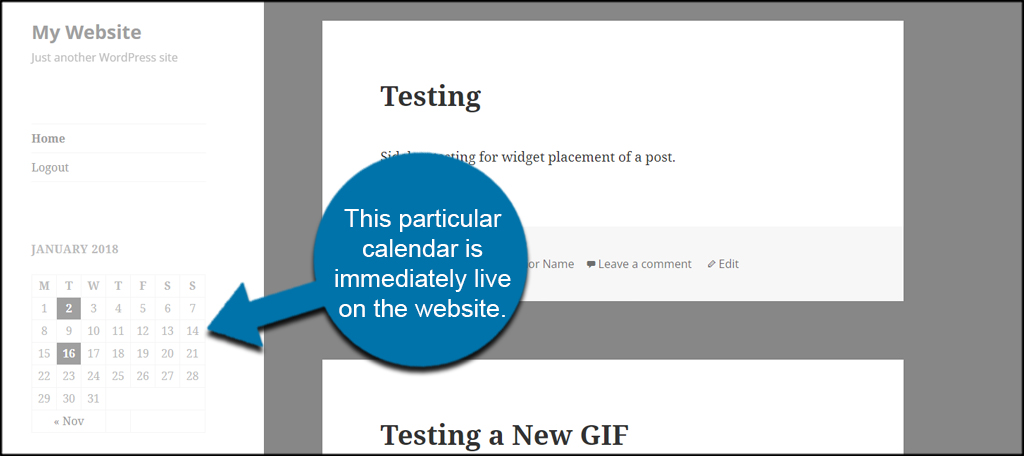
The custom sidebar is now ready for a widget. For this tutorial, let’s add something simple. Drag and drop the “Calendar” widget into the new sidebar.
When it comes to widgets and sidebars, WordPress will automatically save when you drag and drop a new component. It’s when you make adjustments to the widgets that you have to click the save button on them. Otherwise, this particular calendar is immediately live on the website.
Because I had the checkbox selected to replace the old sidebar, this new one took its place. Remember, though, you can use new custom sidebars with the ones that already exist.
You could also place a sidebar login form to show on the front page only. This would keep the login field separate from the other content on the site. The possibilities are near endless for what you can deliver to guests.
Using Specific Sidebars in Post and Pages
What if you want a custom sidebar to show up on specific posts or pages? This is actually a great way to include various types of marketing. For instance, you can show relevant affiliate banners that are connected to the content of the post or page.
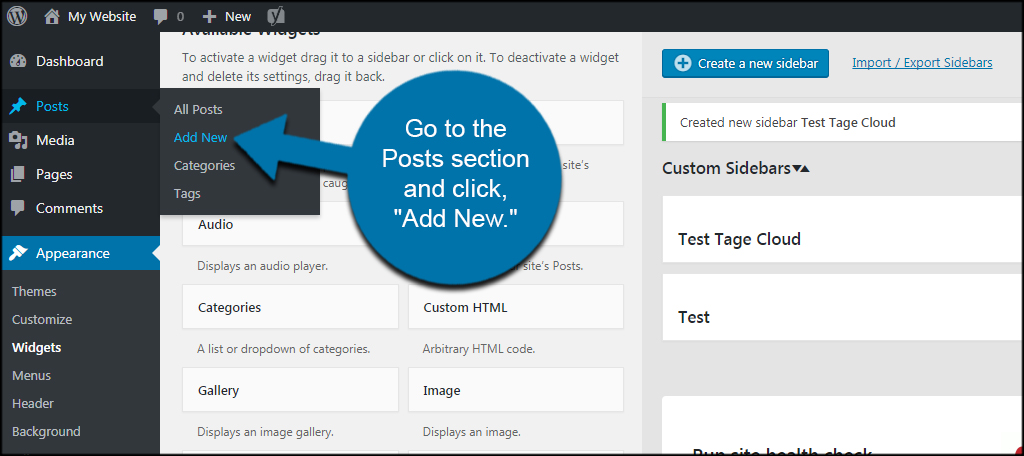
At any rate, Custom Sidebars gives you this ability. Go to the Posts section and click, “Add New.” This also works if you want to create a new page instead.
On the right side, you’ll see a window labeled, “Sidebars.” Click the “Widget Area” drop down window and select one of your sidebars.
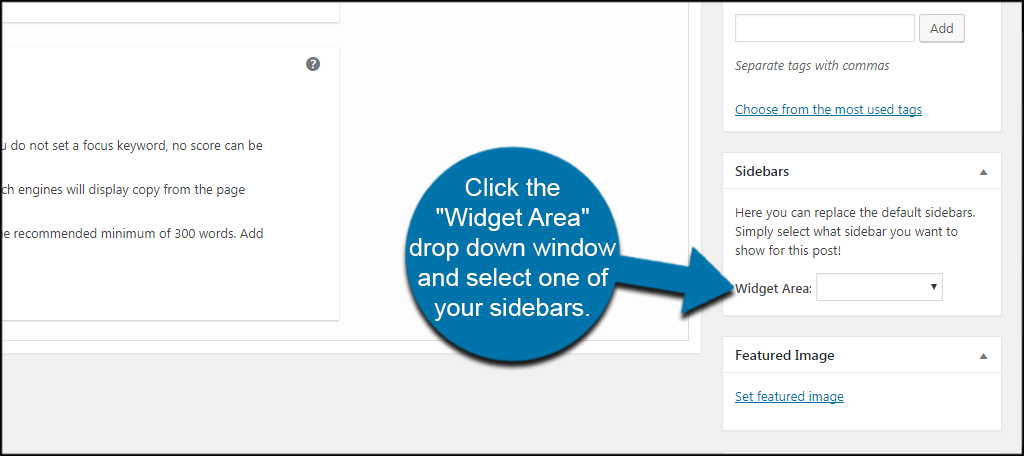
This list will include your original theme’s sidebar as well as any others you create. It will also show sidebars you haven’t assigned to a location yet.
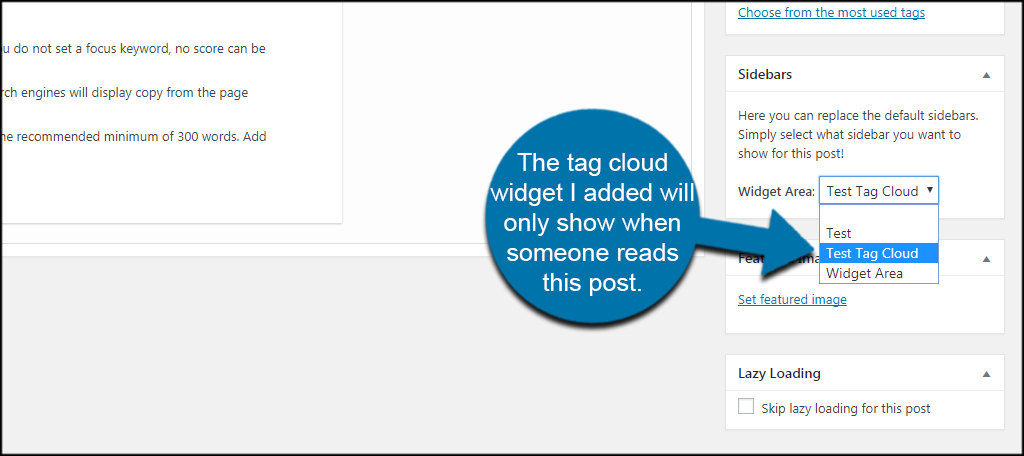
For this article, I created the “Test Tag Cloud” sidebar. It’s not assigned to any other location. However, the tag cloud widget I added to the sidebar will now only show when someone reads this particular post.
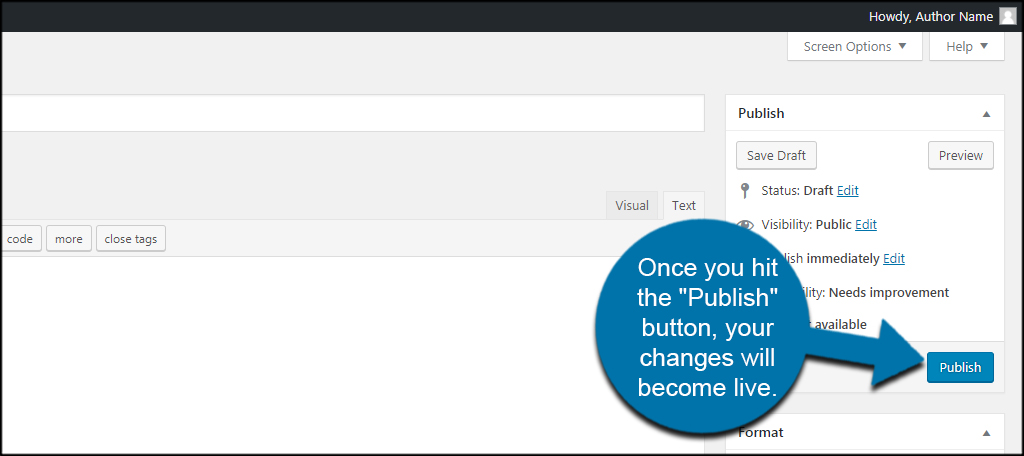
Once you hit the “Publish” button, your changes will become live.
Customize the Appearance of WordPress
Displaying a custom sidebar in WordPress is only part of changing its appearance. However, it’s often a vital one if you have precise information to share. It’s also convenient to keep your content organized. Give people a reason to enjoy your content and keep coming back.
What kind of things do you offer on your site to engage the visitor? What fun widgets do you have in place on your homepage?