An incredibly useful aspect of WordPress is being able to integrate it with social media. This helps you create an intricate web of engagement as your readers may also turn into followers. Adding Instagram photos to WordPress is only one such method.
In this tutorial, I’m going to show you how to embed Instagram in WordPress. The end result is a feed of your photos automatically being shared on your website. Let’s take a look at two methods we can use to embed an Instagram feed in WordPress.
The Importance of Using Instagram
Instagram is one of the main social hubs many people use for sharing imagery. With a quick snap from your camera, you can update a large audience using things like hashtags and locations. In reality, Instagram marketing plays a big role for many brands on the Internet.
One of the reasons why Instagram may be so engaging is because of the basis of its content: pictures. While text can be helpful to deliver information, people will retain as much as 65% of the information several days later if paired with a graphic of some kind.
Let’s take a look at the Instagram feed plugin we are going over today in order to get a feed on your website and show Instagram photos to everyone.
How to Show Instagram Photos in WordPress
In this tutorial, I’ll go over two ways to display your Instagram photos. These are two of the more popular methods and should serve you well.
Method 1: Use Smash Balloon
Smash Balloon Social Photo Feed
The Smash Balloon Social Photo Feed will give you the ability to easily display Instagram posts from any one of your accounts. You can do this within a single feed, or multiple ones.
The plugin is lightweight but powerful. It is easy to set up and configure and gives you a ton of functionality for displaying Instagram posts. It is also mobile-friendly, responsive, and completely customizable.
Once you set it all up, you display your feed settings using a shortcode. They can be displayed on and post, page, or widget area. Let’s take a look at how to get the plugin installed and setup.
Note: There is a pro version of the plugin as well. However, this tutorial is based on the free version. it gives you all the tools you need to display Instagram feeds on your WordPress website.
Step 1: Install and Activate the Plugin
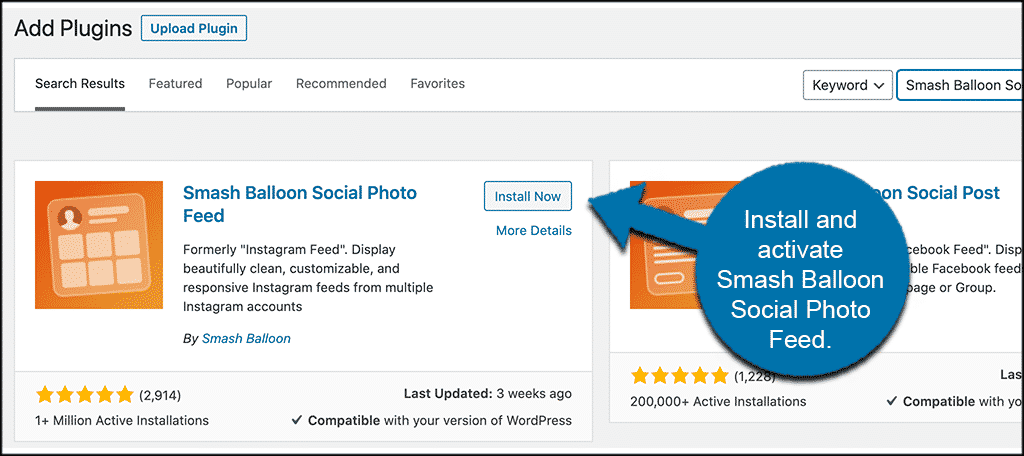
Before you can display an Instagram feed on your WordPress website, you first need to install and activate the Smash Balloon plugin. You can do this by going to the Plugins page of your WordPress admin dashboard.
Once on that page, just search for the plugin by name and install it directly from there.
Step 2: Access the Main Settings Page
Once the plugin has been installed and activated, you want to access the main settings page. You can do this by clicking on the “Instagram Feed” function located in the left menu panel area of the dashboard.
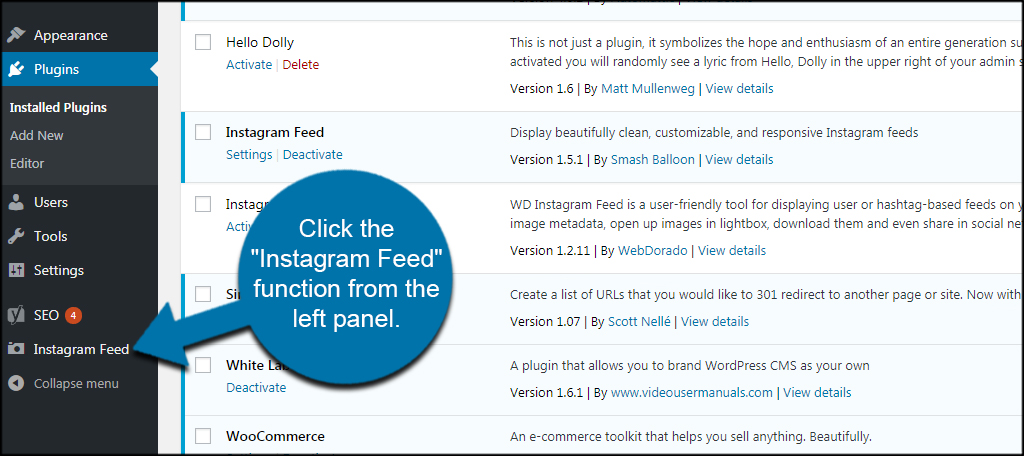
This will take you to the main setup page where you can configure everything. You can see this is now an available option on the left-side menu because you have activated the plugin.
Step 3: Get Your Access Token
Click the blue “Instagram” button to get your access token. This is required if you want to embed Instagram photos into WordPress.
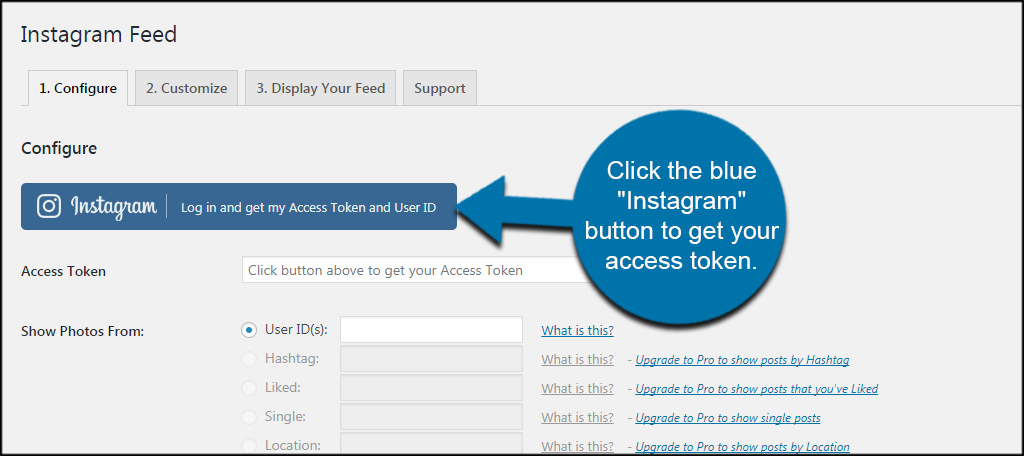
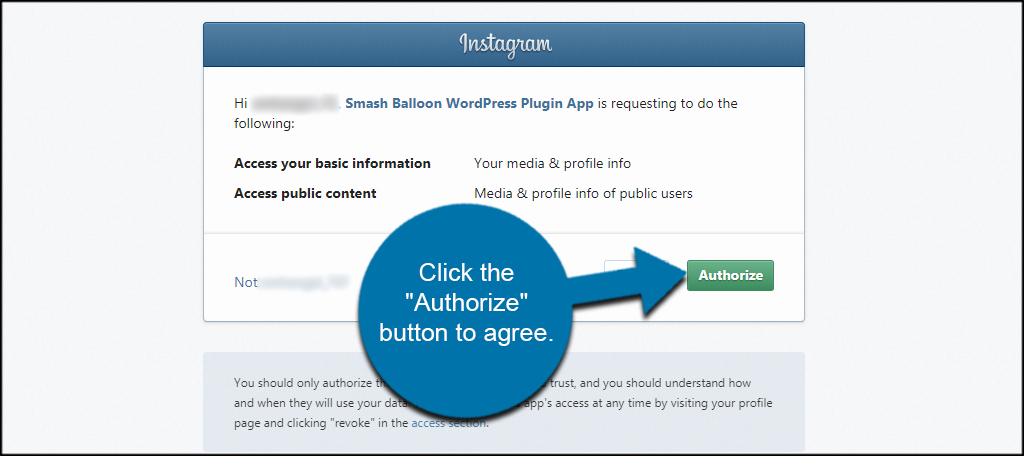
You will see a message from Instagram regarding the plugin’s request to access your feed. Click the “Authorize” button to agree.
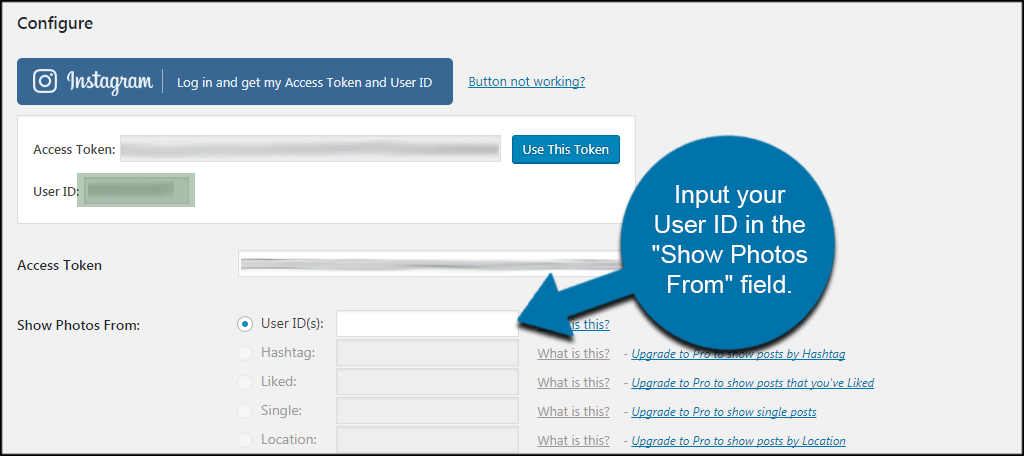
Input your User ID in the “Show Photos From” field. This can be seen in the Token section of the screen. The reason why this is blank to begin with is because you can use another ID to show their photos on your website.
This has potential if you have a secondary Instagram account you want to show off.
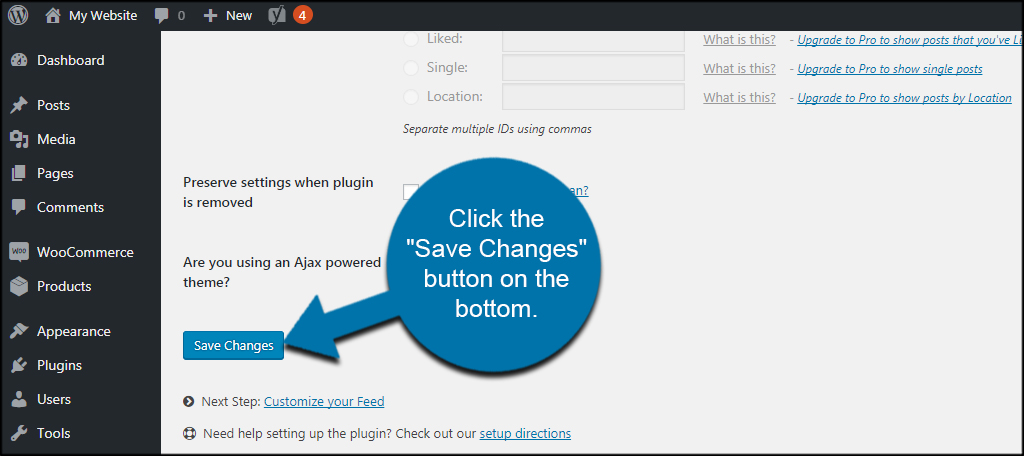
Click the “Save Changes” button on the bottom.
Step 4: Using the Available Shortcode
This plugin uses a shortcode to display the Instagram feed in WordPress. This is located below the general settings. You can copy and paste this code to put it into pages, posts, or widgets.

Step 5: Customize Instagram Feed
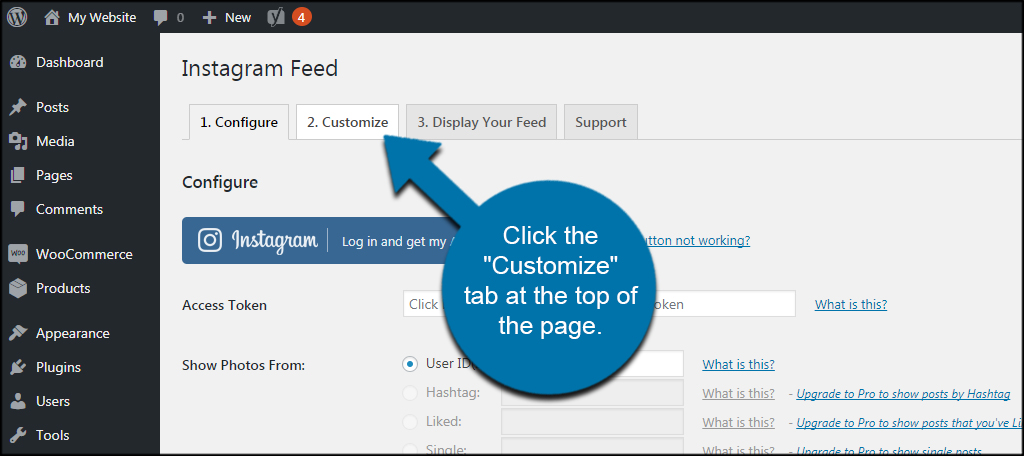
Let’s change how the Instagram feed appears on the site. Click the “Customize” tab at the top of the page.
This section is full of tools to alter the appearance of your photo feed. For example, you can change the layout of how many pictures are shown in columns. You can also add like and comments if you upgrade to the paid plugin instead of using the free version.
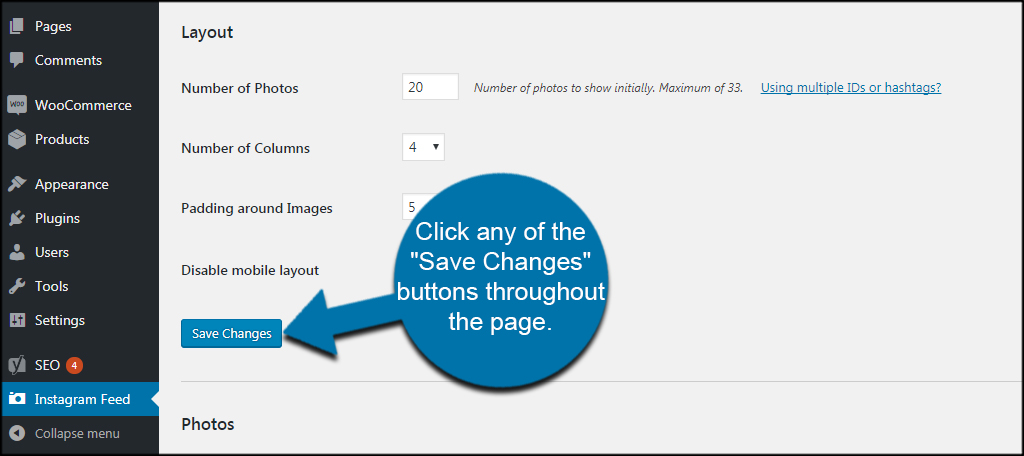
Make your changes according to where you plan on displaying the feed. For instance, you probably don’t want to show 20 photos if you are going to use the shortcode as a widget. It will affect how your sidebar will appear.
After making adjustments, click any of the “Save Changes” buttons throughout the page.
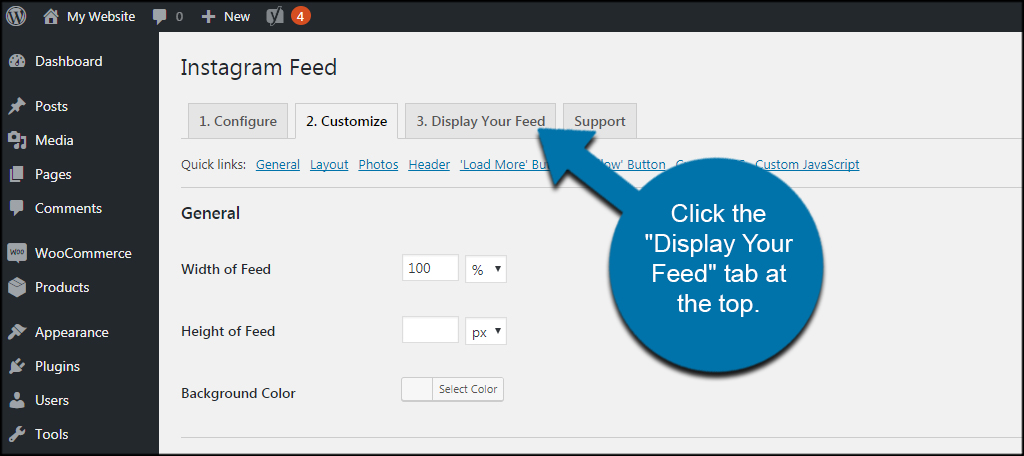
Want to have more flexibility when controlling your Instagram feed? You can do this by using variations of shortcodes in your pages, posts, or widgets. Click the “Display Your Feed” tab at the top.
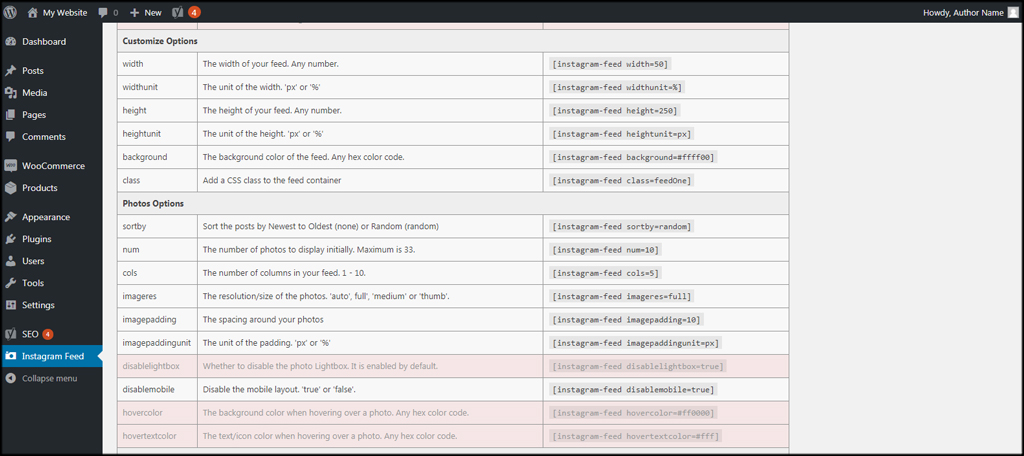
This page is a complete list of all the shortcodes that come with Instagram Feed. While half of them are locked beyond the Pro version of the plugin, you can see there are still quite a few you can use for free.
Sorting, showing headers, show the follow button, and more are available. Simply copy and paste the code and make your own modifications.
Now, you can automatically show Instagram photos in WordPress without doing anything extra. Each time you take a picture, your site will do the rest.
Method 2: Using IFTTT
Step 1: Go to Website and Create Account
This method requires the use of a third-party application. To use this platform, you need to visit the IFTTT website and create an account.
Not everyone likes the idea of connecting another app to their website. The more systems you use, the more haphazard maintaining the site becomes. However, IFTTT has a lot of flexibility when it comes to integrating social media into your brand and it may be worth the effort to invest some time into it.
Step 2: Create New Applet
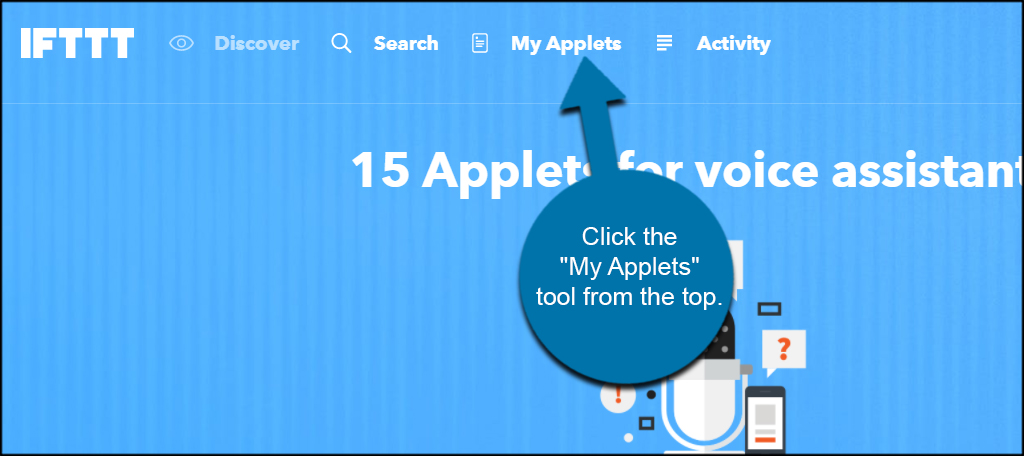
From the IFTTT dashboard, click the “My Applets” tool from the top.
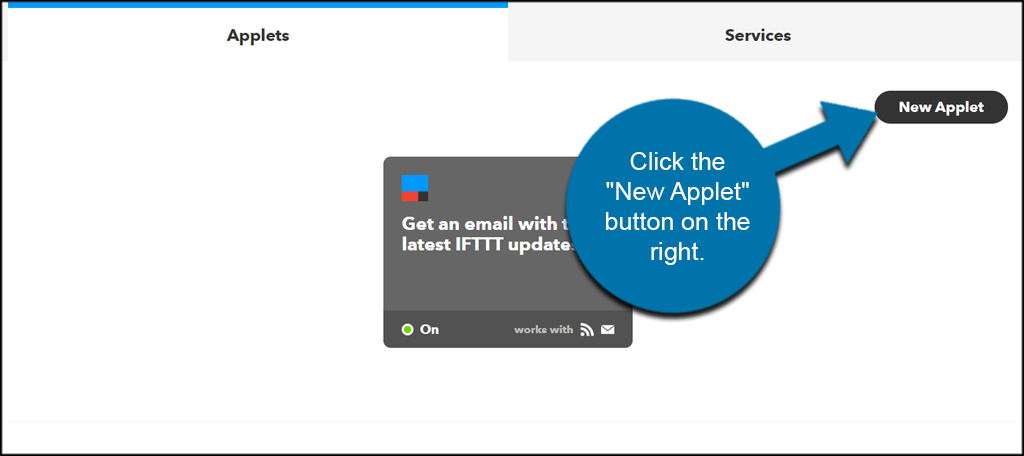
Click the “New Applet” button on the right.
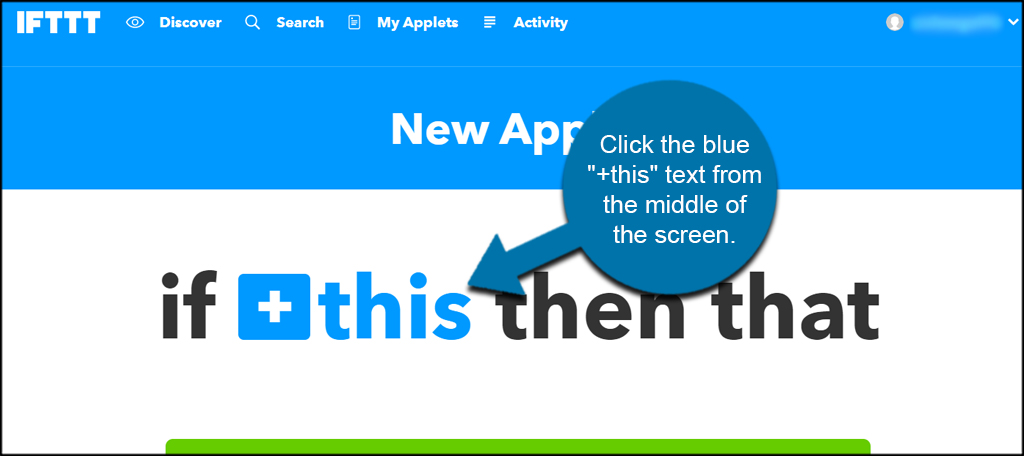
Click the blue “+this” text from the middle of the screen.
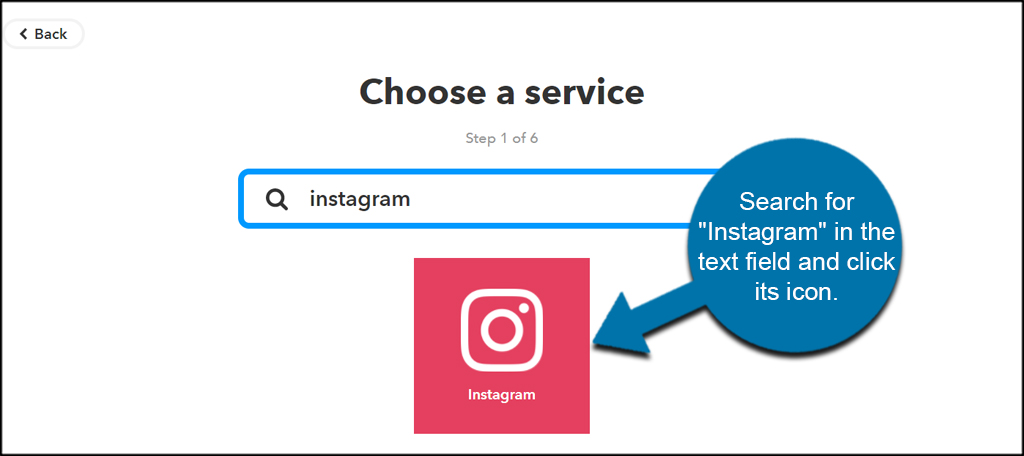
Step 3: Search for Instagram
Search for “Instagram” in the text field and click its icon when it shows up.
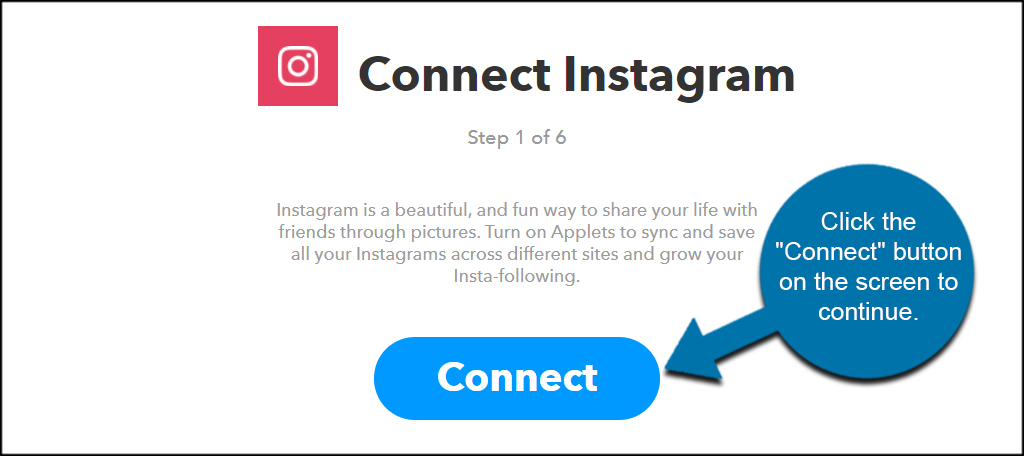
Step 4: Connect it to Your Instagram Account
Click the “Connect” button on the screen to continue.
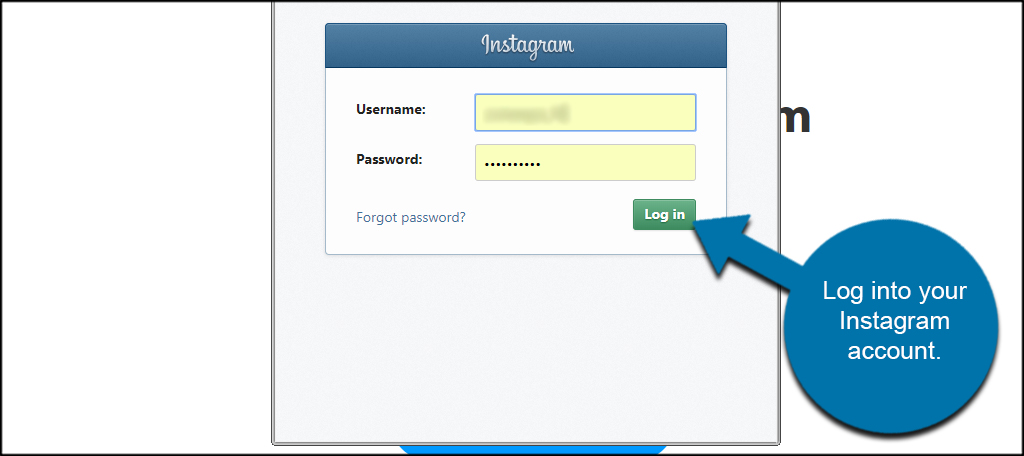
Log into your Instagram account.
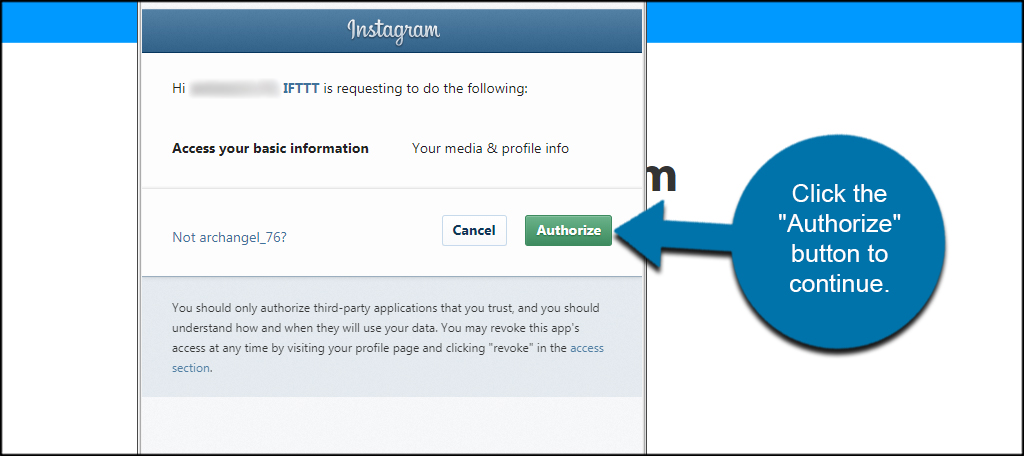
This will load up the authorization screen. This tells IFTTT that it’s OK to pull content from your Instagram feed and use it elsewhere. Click the “Authorize” button to continue.
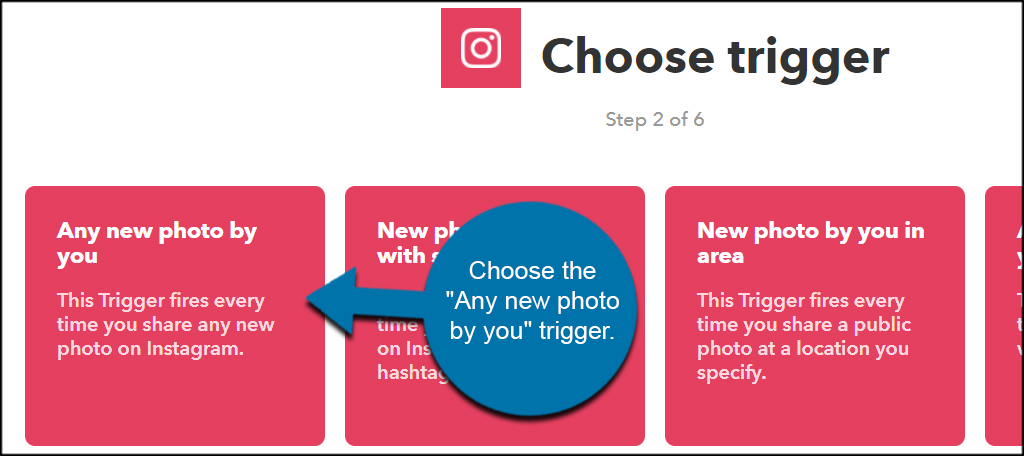
Now, choose the “Any new photo by you” trigger. As you can see, there are several ways you can set up this feed. For now, just focus on new photos.
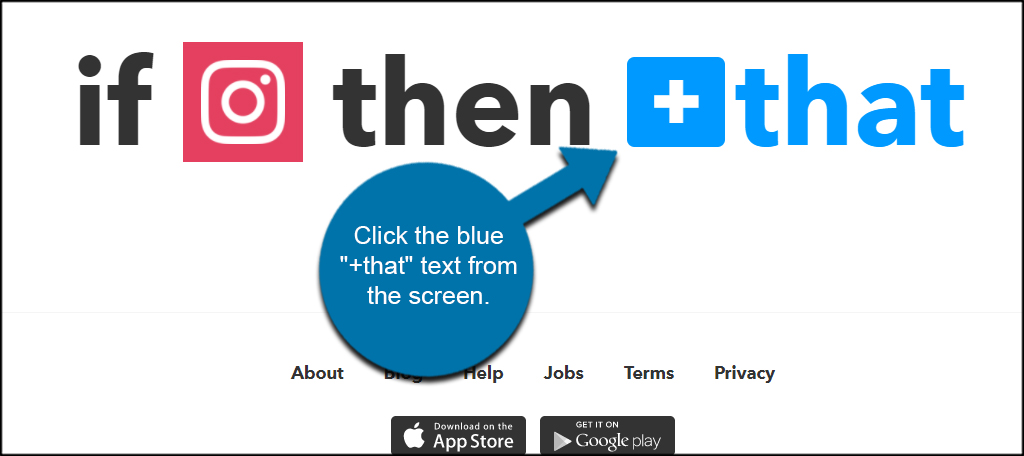
Click the blue “+that” text from the screen.
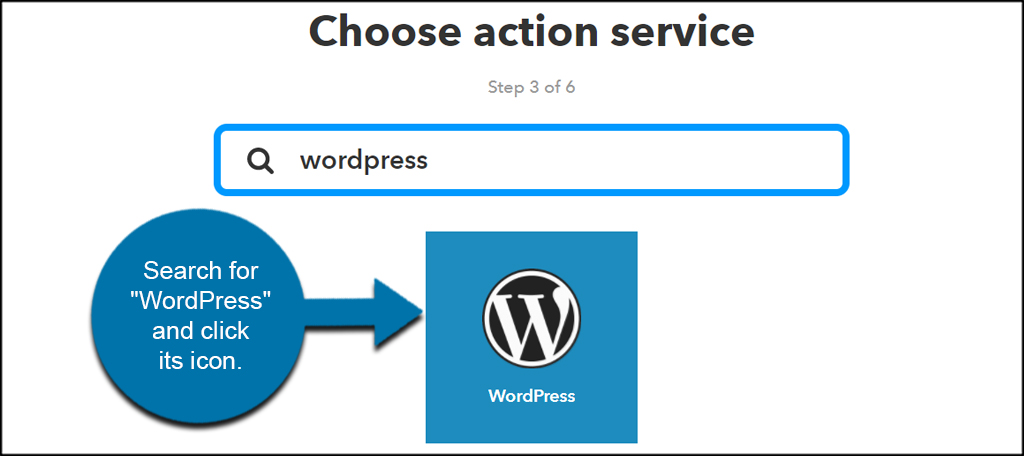
Search for “WordPress” and click its icon.
Step 5: Connect to WordPress
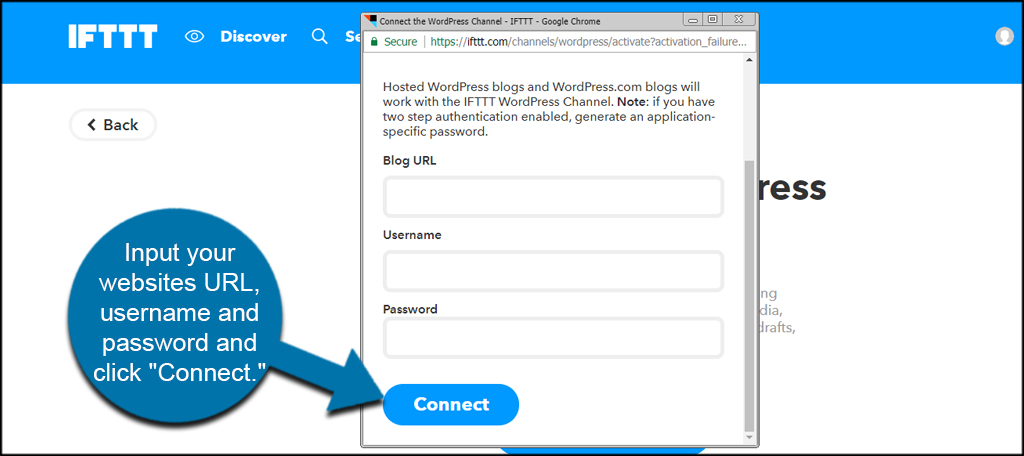
Click the “Connect” button to integrate your website.

Input your website URL, username, password, and click “Connect.” This allows IFTTT to automatically create new posts on your website using your Instagram photos.
You can log in as your admin account for WordPress. This will show you as the “author” of the post. You can also customize user roles if you want to keep the Instagram feed separated from your regular text-based content.
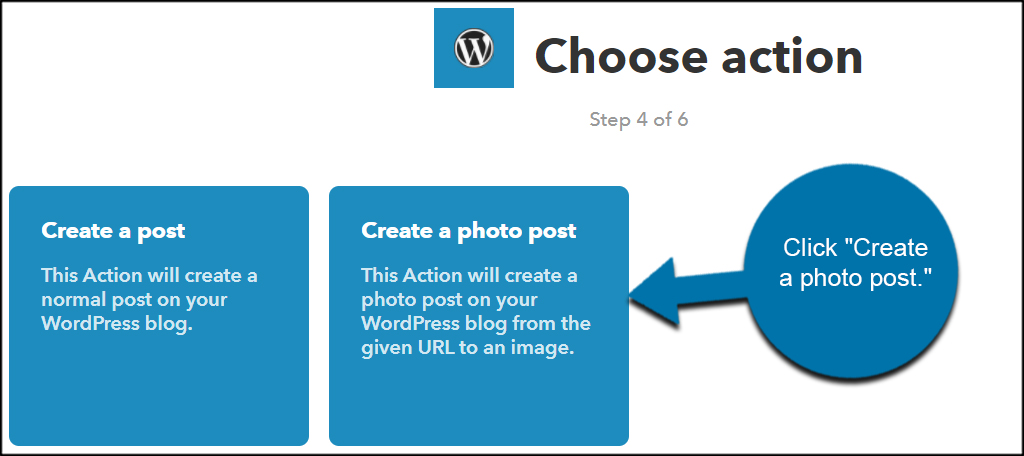
You have two options currently available: creating a new post or creating a photo post. This depends on how you want your website to behave. For now, let’s click “Create a photo post.” You can change this any time if you want to go a different route.
It’s important to note that selecting “Create a Photo Post” will store the image and your Instagram text as a different kind of content. Instead of saving a post like your other materials, it’s only visible if you use your Categories to search for it.
This can be helpful if you snap a lot of photos and have push notifications activated. Otherwise, your followers will get a browser notification each and every time you add a new picture, which may become overwhelming for some.
I would suggest creating a separate menu item for Instagram posts that is easy to find for new visitors.
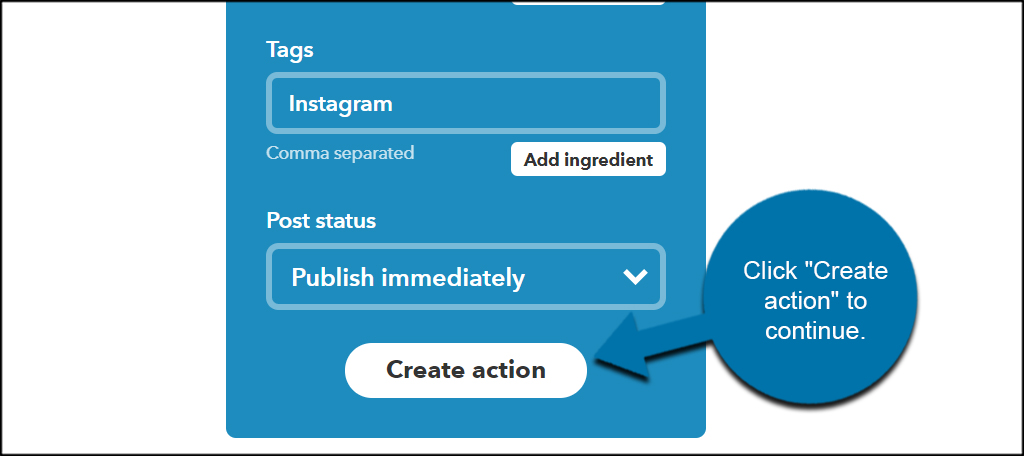
Complete the action fields for IFTTT. You can change titles, photo URLs, captions, categories, tags, and post status. Click “Create action” to continue.
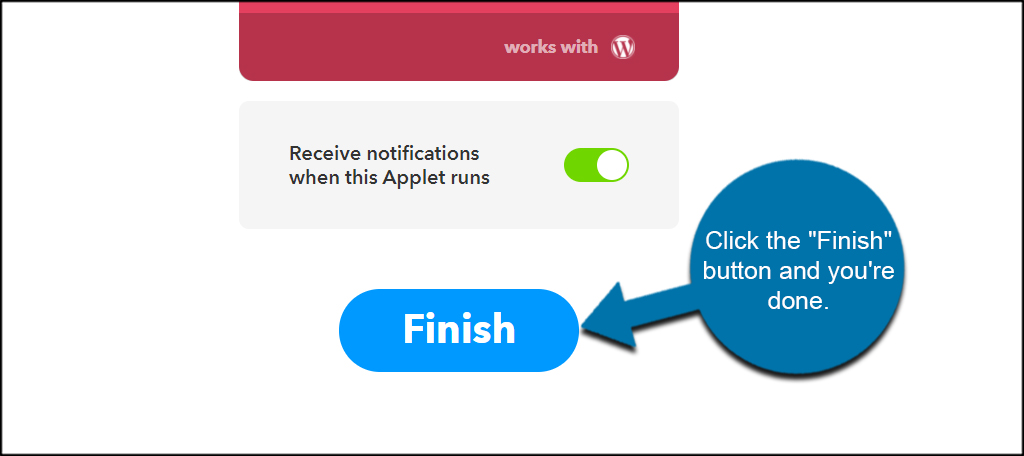
Choose where to receive notifications when the applet runs. This means you will be informed each time an Instagram image is sent to your website. Click the “Finish” button and you’re done.
Final Thoughts
It doesn’t take but a few moments to snap a picture to engage your audience. Using the tools above, you can share those moments with your website’s readers as well. At this point, you should know exactly how to embed an Instagram feed on WordPress.
The more interactive your website becomes, the more engaging it appears to visitors. This merely automates the process and saves you time and keeps the content moving for guests and search engines.
I hope this tutorial showed you how easy it is to add Instagram photos to your WordPress site.
What kind of social platforms do you display on your website? Is there another plugin or method you use to accomplish a WordPress Instagram embed?