Before you take advantage of your new CubeCart store, you should spend some time getting familiar with the settings. There is a lot of information that needs to be filled in if you really want to take the eCommerce site to greater levels. Things like store location, currencies and even shipping all need adjusted to provide accuracy when shopping.
In this tutorial, you’ll learn how to configure currencies and more in the CubeCart system. The more detailed the online store is, the better it will perform.
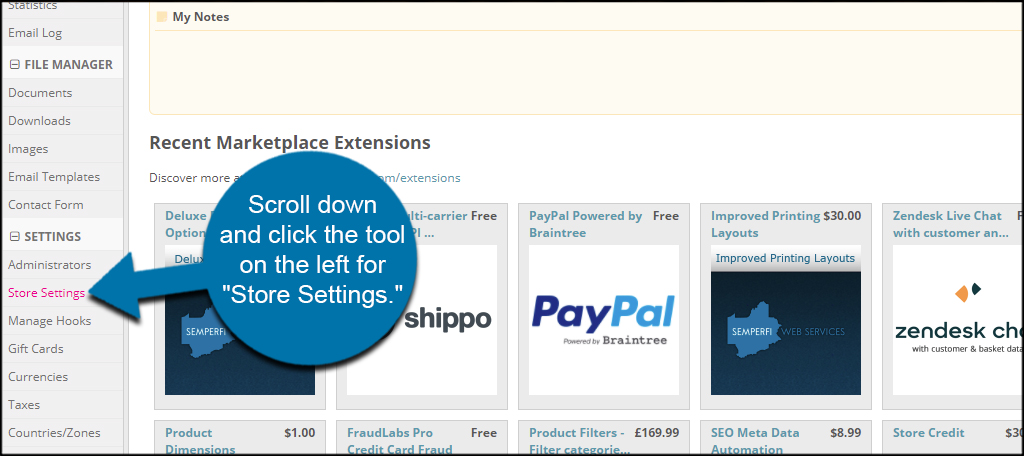
Accessing Settings
From the CubeCart dashboard, scroll down and click the tool on the left for “Store Settings.”
There is quite a bit of information in this screen. Make sure you fill out the sections as complete as possible. Let’s take a look at each tab that is available.
General
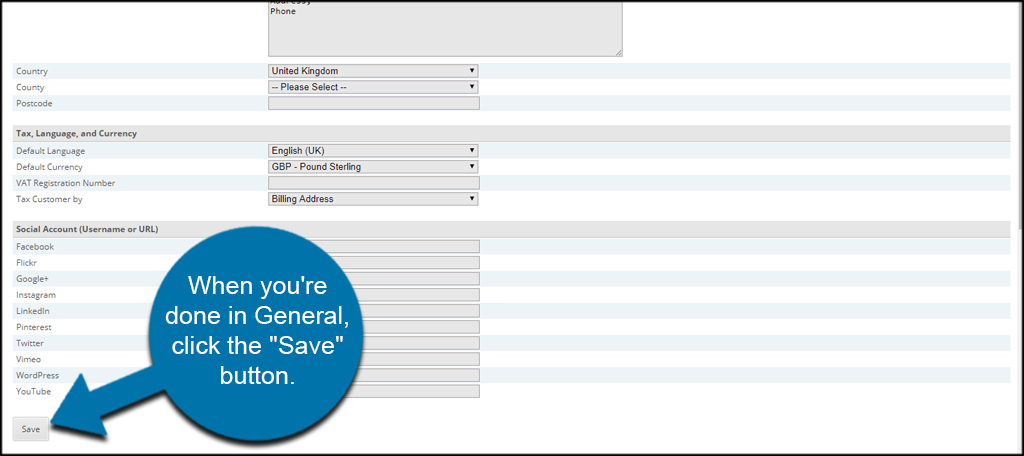
This is the general information for your store. Things like the store name, address, country and more can be changed here. Using the drop down windows, you can select language, currencies and how customers are taxed. Having the correct currencies and location assist the payment gateway by charging the right amount.
CubeCart also comes with social linking for the most popular websites. You can enter the username or URL of your store’s profile page allowing visitors to follow the business.
When you’re done in General, click the “Save” button.
Features
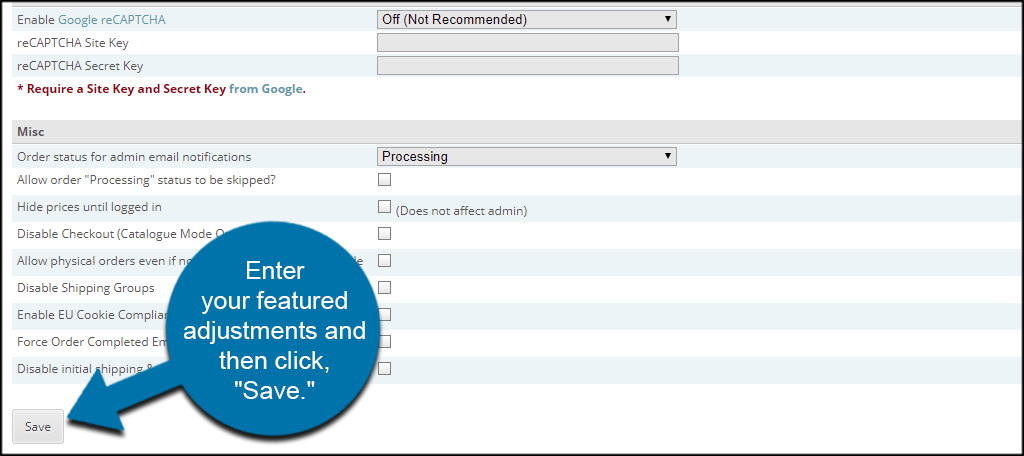
The next tab is the Features section. This is where you can add your Google Analytics ID number, enable reviews, how sales are conducted, bot protection and other miscellaneous adjustments. CubeCart also includes the framework to support reCAPTCHA using your accounts site and secret keys.
Many of these settings are optional, but most are very helpful. This is especially true of the Google Analytics integration and reCAPTCHA. Enter your featured adjustments and then click, “Save.”
Layout
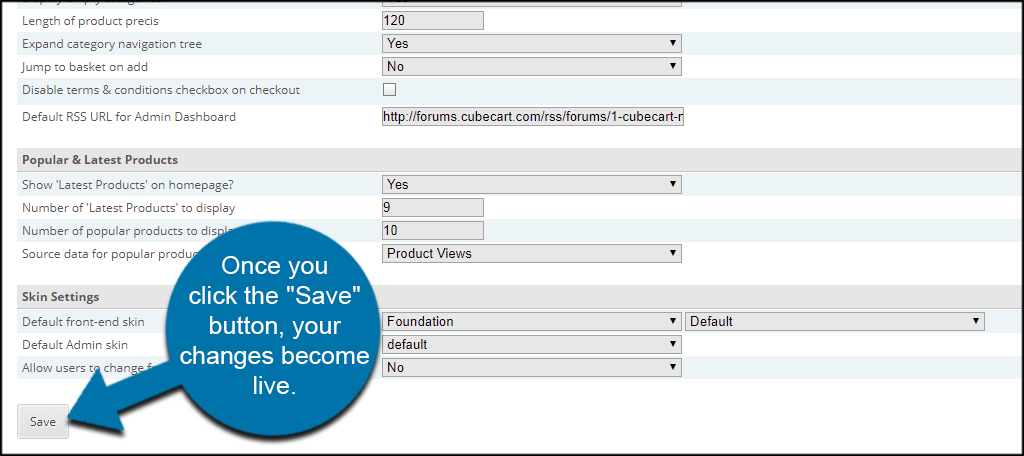
Clicking the “Layout” tab will open your settings for the appearance of the site. You have control over how many products are displayed per page, how categories are viewed, changing the skin of your site and more. This will be completely up to you regarding how you want the store to appear to users.
Once you click the “Save” button, your changes become live.
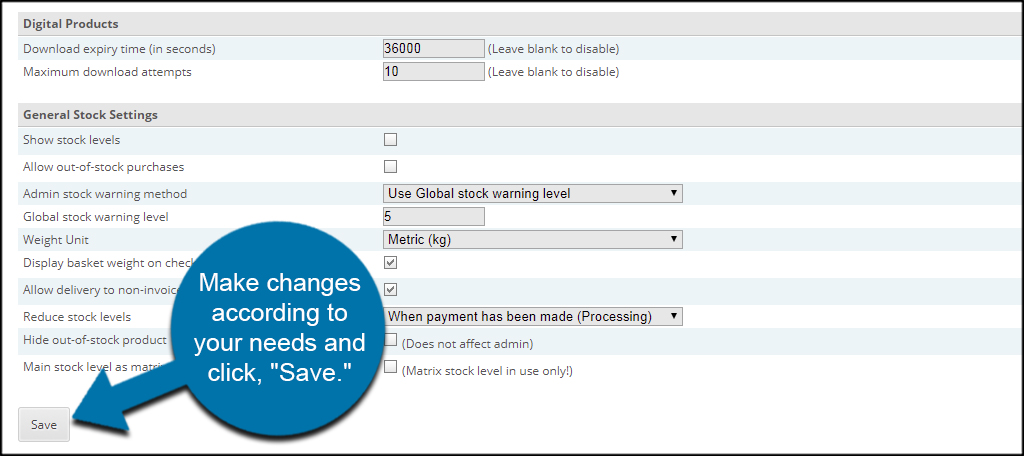
Stock
The “Stock” tab is where you control how your inventory behaves. This also includes digital download adjustments such as download attempts and expirations. You can choose to show stock levels, change how the weight of products is displayed and hide items that are out-of-stock.
Make changes according to your needs and click, “Save.”
Search Engine Settings
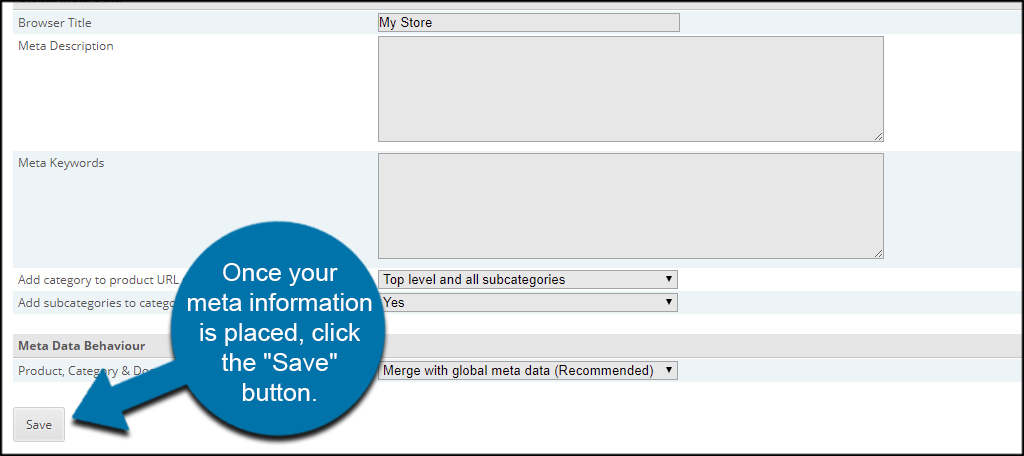
In the “Search Engines” tab, you’ll find the general meta information for your store. This includes the description, keywords and how URLs on your site connect to product categories. Make sure you use relevant descriptions and keywords to your site in this section. Otherwise, you might be penalized by sites like Google.
For example, putting in the keyword, “Xbox Games” when you clearly don’t sell Xbox Games will hurt your scoring in Google Search.
Keep your meta description under 155 characters including spaces. This is a universal best practice and keeps the site optimized for SEO.
Once your meta information is placed, click the “Save” button.
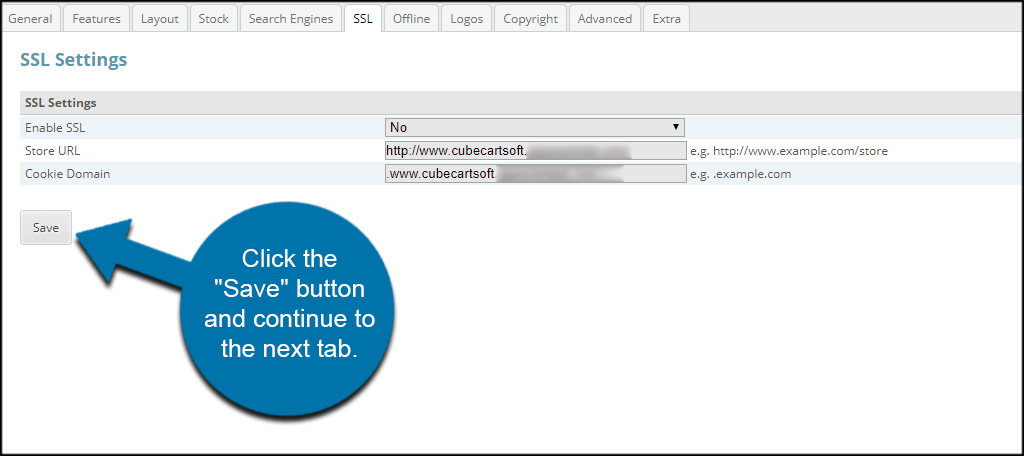
SSL
Install a Secure Sockets Layer encrypts your site for visitors. This means hackers are far less likely to steal information when someone is making a purchase. You can always add an SSL to your account if you don’t have one right now. Otherwise, this area is where you would make adjustments for how your site appears.
For instance, you would use “https://” for a site with an SSL.
The SSL is one of the first lines of defense for any eCommerce site. Aside from protecting your visitors, it also contributes to how your site ranks in engines like Google. This is because Google holds secure websites in higher regards.
Click the “Save” button and continue to the next tab.
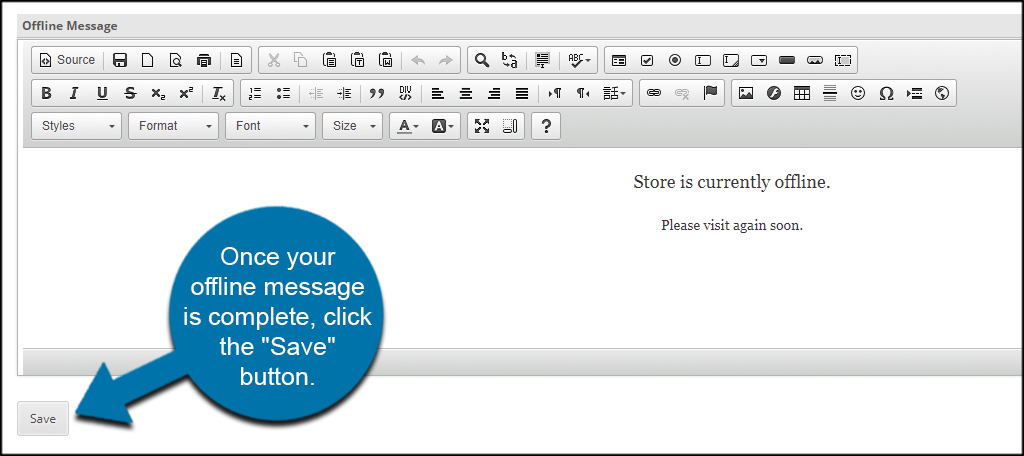
Offline
The “Offline” tab is simply a message that displays to your visitors should you take the site down. You would use this during maintenance or while making adjustments that may interfere with shopping. The Offline editor is similar to that of a standard word processor application. Bold, HTML, images and much more are available to give it a unique and engaging appearance.
Keep in mind you want people who read this message to come back as soon as your site is live again.
Once your offline message is complete, click the “Save” button.
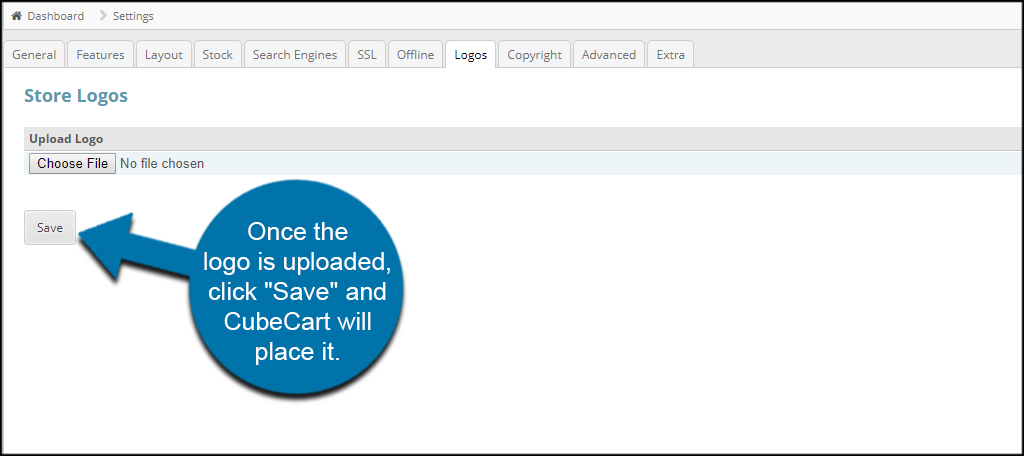
Logos
In the “Logos” tab, you’ll find a simple file upload button. All you need to do is add your online store’s logo and CubeCart will do the rest. The logo will be used on the home page as well as many other locations around the site.
If you don’t have a logo yet, don’t worry. You can always add it later.
Once the logo is uploaded, click “Save” and CubeCart will place it.
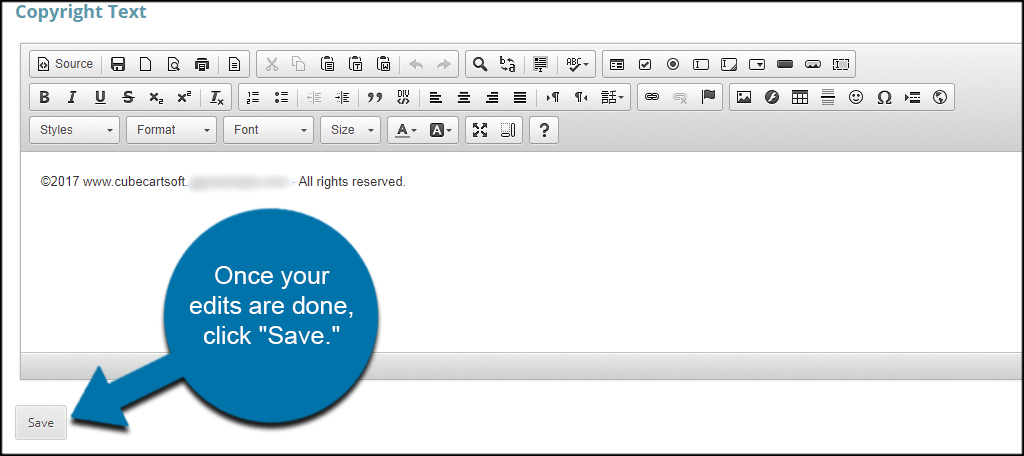
Copyright
The “Copyright” tab has the same editor as the Offline section. Here, you can add your copyright message or alter it any way you see fit. This is the text that will appear at the bottom of your homepage, so you might not want it to be too long or flashy.
Once your edits are done, click “Save.”
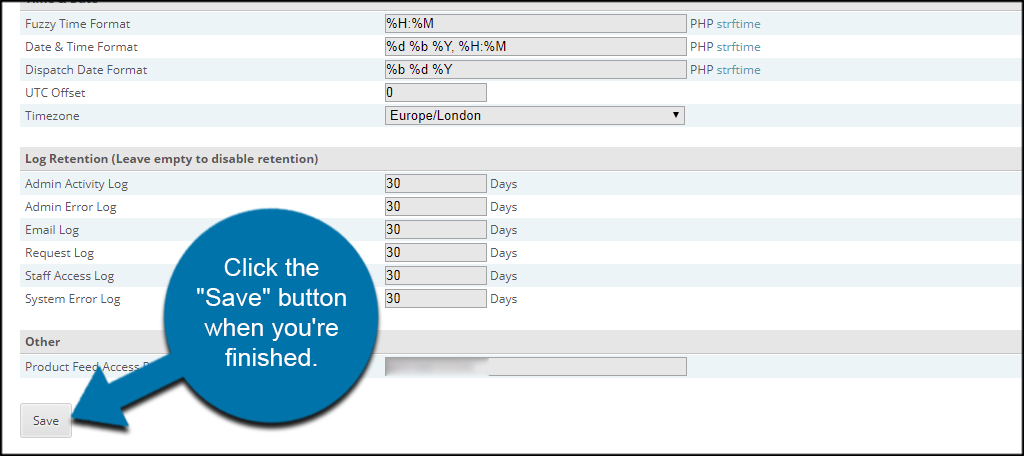
Advanced
The “Advanced” tab has quite a few more settings in it to change compared to the other sections. This houses your email properties, performance settings, time and date displays and how logs are displayed. If you’re not sure about any of these properties, it’s safe to leave them be for now.
However, I would suggest learning the elements in this section. It may be quite useful later on. For example, setting up an email account specifically for the store is often better than using your administrative email address when people buy something from you. It helps reduce spam.
Click the “Save” button when you’re finished.
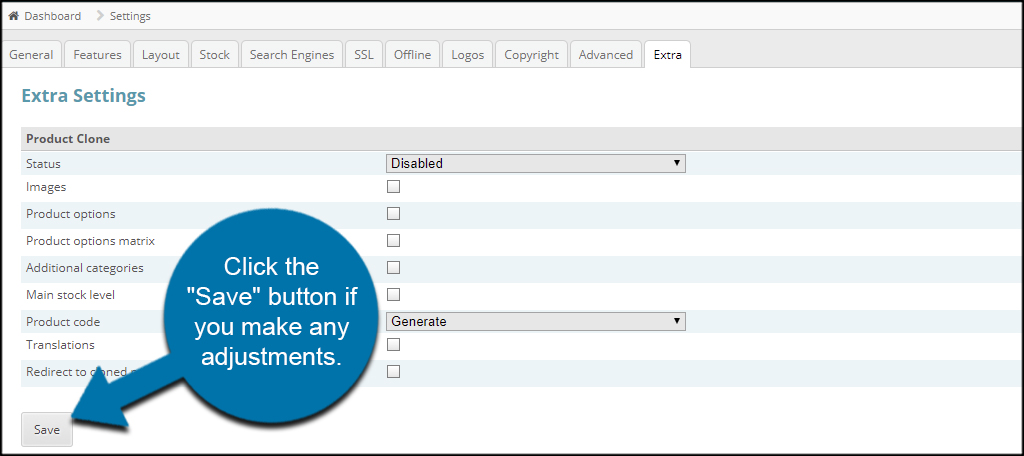
Extra
You’ll find a collection of various settings in the “Extra” tab. These are all optional and only affect product cloning in this version of CubeCart. If you don’t plan on using the feature, then you can skip this tab.
However, click the “Save” button if you make any adjustments.
Customizing Your Store
Configuring your CubeCart store is only the beginning of customizing the experience. The system still has a variety of tools to learn such as catalog adjustments, product data and setting up email templates. However, the above step is absolutely necessary to the functionality of your online store. Spend time making it your own.