
Many websites today are embracing the paywall model where the site will lock content. It’s become one of the best ways for your website to make money, but it requires a special set of tools to implement.
Its popularity is on the rise as a result of adblocker. Many websites block entry to their website if you have this tool installed. Instead, they offer a paid experience with no ads to compensate.
Of course, there are more traditional membership websites like online courses, online magazines, and much more. The possibilities are really endless.
Today, I will demonstrate how you can begin locking content on your website and charging users money to access it.
Should I Lock All Content Behind A Paywall?
Not all, but most.
If you are committed to creating a membership model for your website, you still need a way to attract users. And that’s usually through free samples and trials. Even online magazines often let you read an article or two for free.
That’s because if everything costs money, people want to make sure it is worth paying for. Thus, they need to actually see the content. You are going to have to invest resources into implementing such systems.
That said, some websites still keep a free version of their website enabled, while also having an ad-free membership available. Of course, this does mean you need a way to detect and block users who have ad-blocker.
In any case, be prepared to make content that works as a sales pitch. It needs to make people see the value in the content you are producing. If not, your member site won’t have any members.
How to Lock Content In WordPress
Step 1: Install Membership & Content Restriction
There is a great selection of membership plugins in WordPress and one of the easiest to implement is the Membership & Content Restriction plugin. It provides a great variety of customization options that help grow your member list.
It also includes access to payment processing so your website will be able to accept payments to access the content. In this case, the plugin focuses on PayPal, which helps make paying simple and secure.
Other payment options are available by upgrading to the Pro version.
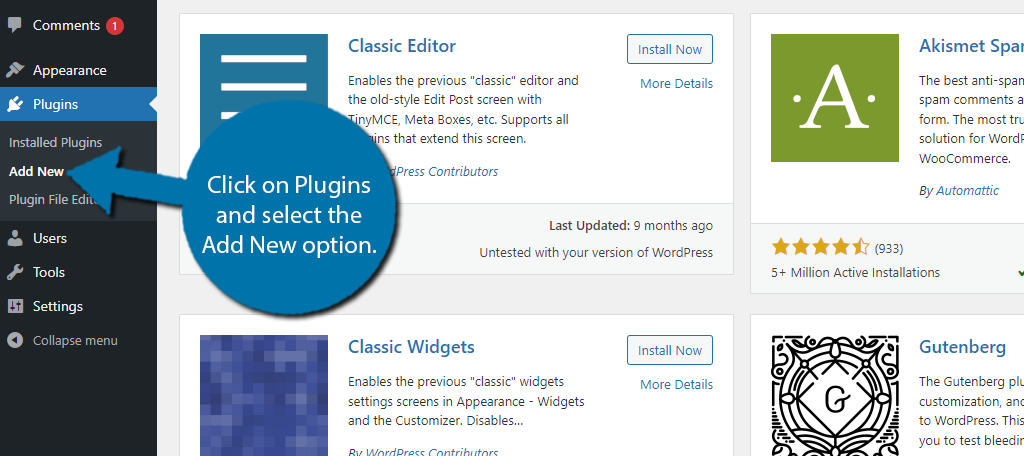
Let’s start by clicking on Plugins and selecting the Add New option on the left-hand admin panel.
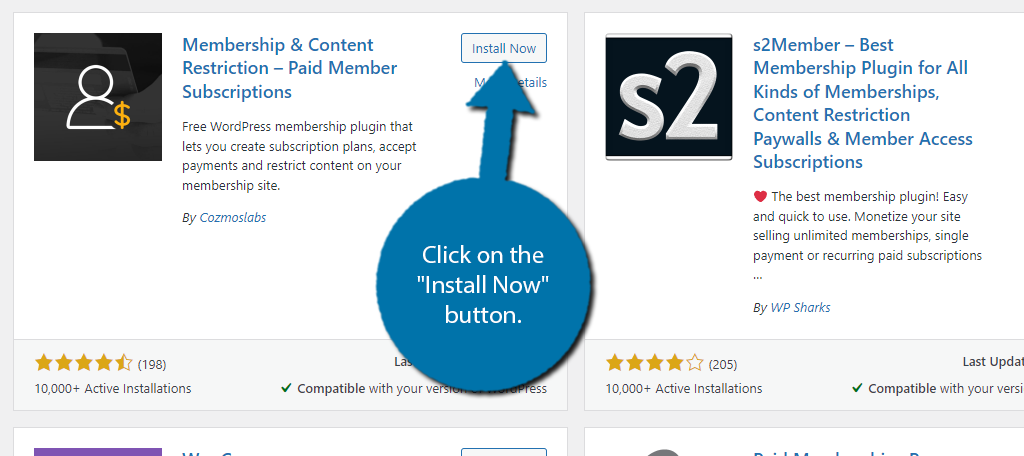
Search for Membership & Content Restriction in the available search box. This will pull up additional plugins that you may find helpful.

Scroll down until you find the Membership & Content Restriction plugin. Click on the “Install Now” button and activate the plugin for use.
Step 2: Use the Setup Wizard
Upon activation, the plugin will start the setup wizard and you can choose some initial options to configure the plugin for use. All of the options can be changed later, so don’t worry too much if you are not sure about an option.
The first option you will have is to let the plugin create registration, login, reset password, and account pages for you automatically. All of these pages can be customized, so there’s no harm in letting the plugin generate them for you and editing them later.

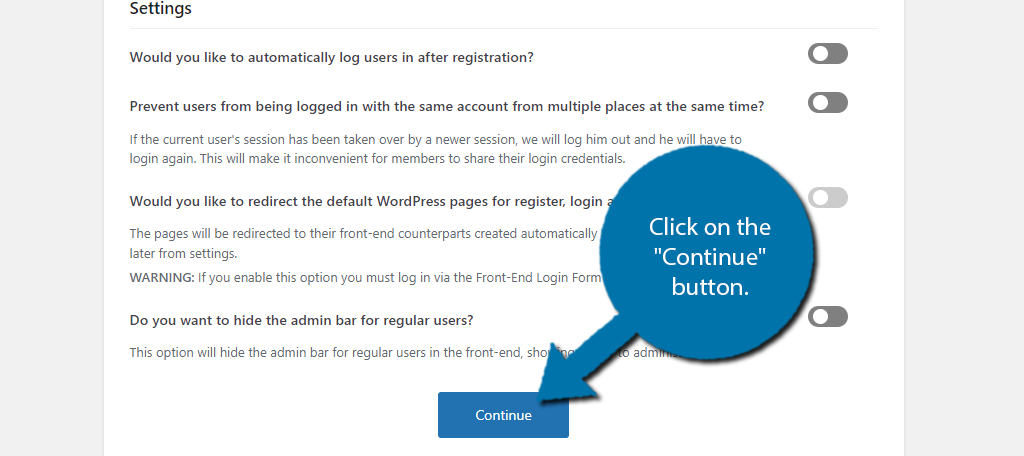
Below this, you will find a variety of settings that can be toggled on by flipping the switch next to them. You can change all of these later, so don’t worry too much. Just pick the options that best suit your site.
Click on the “Continue” button when you are done.
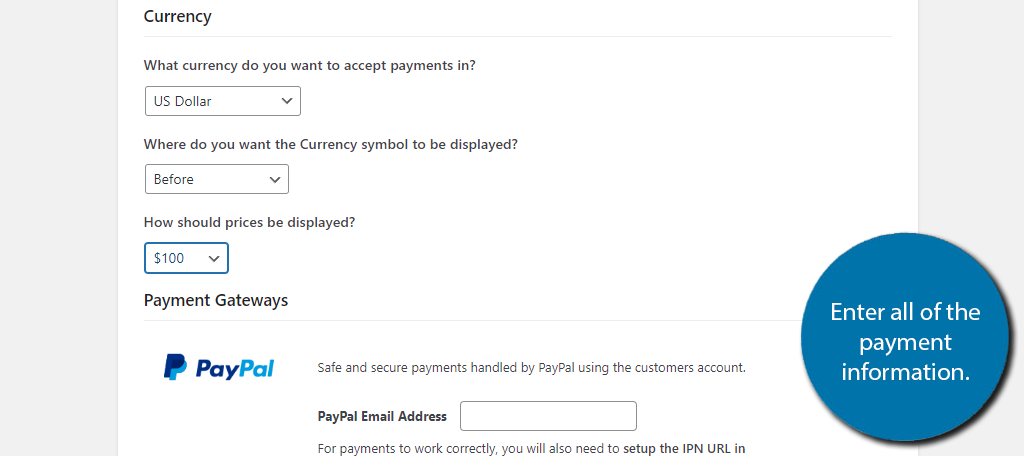
Next, you can fill out the payment details of your website. This includes things like selecting the currency, where the currency symbol is located, how numbers are displayed, and entering your PayPal email address.
Continue on after making your choices.
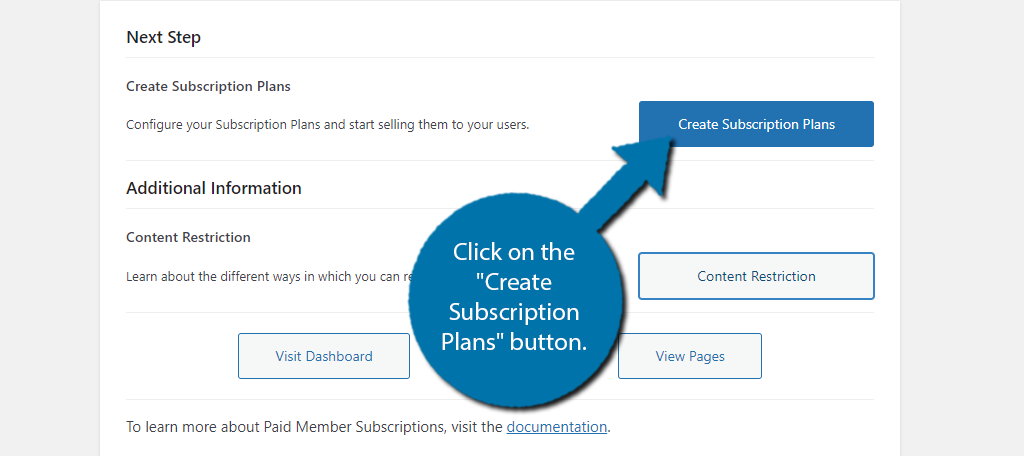
The last part of the setup is to create your subscription plans. Click on the “Create Subscription Plans” button.
Step 3: Creating Subscription Plans
Clicking the button will take you to the subscription plans section of the plugin. Click on the “Add New” button at the top.

Note: You will see a variety of messages in WordPress. You will need to add the PayPal API credentials and you will see an option that allows you to allow tracking on the plugin to better help improve its performance of the plugin.
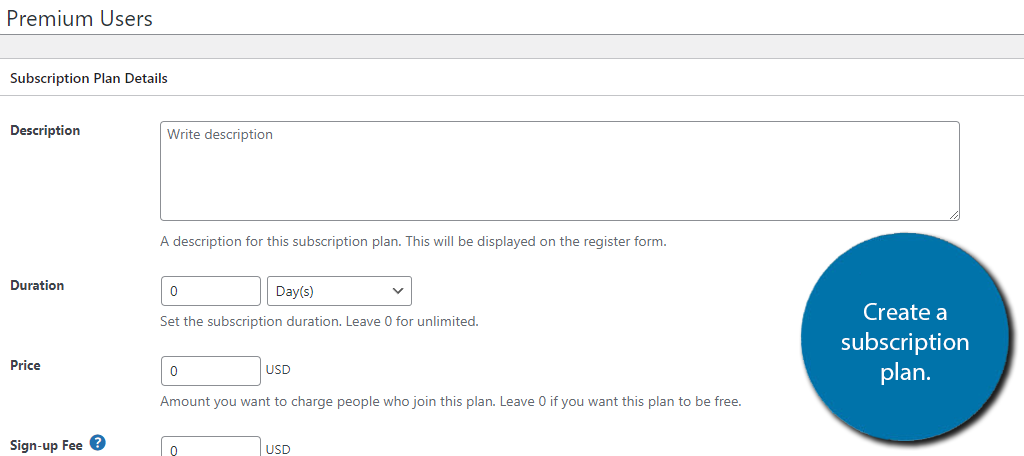
At the top, you can give the subscription a new name. For instance, you could name it Premium Users.
Next, fill out the rest of the information for the plan. This includes everything like pricing, subscription duration, free trials, user roles, and more. Simply go through each option and pick the things you want to use.
When you are done, be sure to save the changes.
You can repeat this step to create more plans.
For instance, perhaps you want the same plan but for a different duration like 1 year, 3 months, 1 month, 1 day, etc. Just be sure to name them differently to avoid confusion.
Step 4: The Finishing Touches
Depending on how thorough you were with the setup wizard, your website could be ready to go. If you still need to customize anything, simply visit the Settings section of the plugin.
All of the options from the setup wizard are there, plus a few extra you can configure.
In particular, I would highlight the Content Restriction settings. These allow you to decide how the content will be viewed by both members and non-members.
For instance. if a non-member accesses a page, you can either redirect them to another page or display a message that the content on this page is locked and possibly provide a link to the registration page.
Most importantly, make sure you’re actually locking the content on your website.
You can find an option to lock any piece of content when editing. It will be located at the bottom of the post or page in the Content Restriction section.
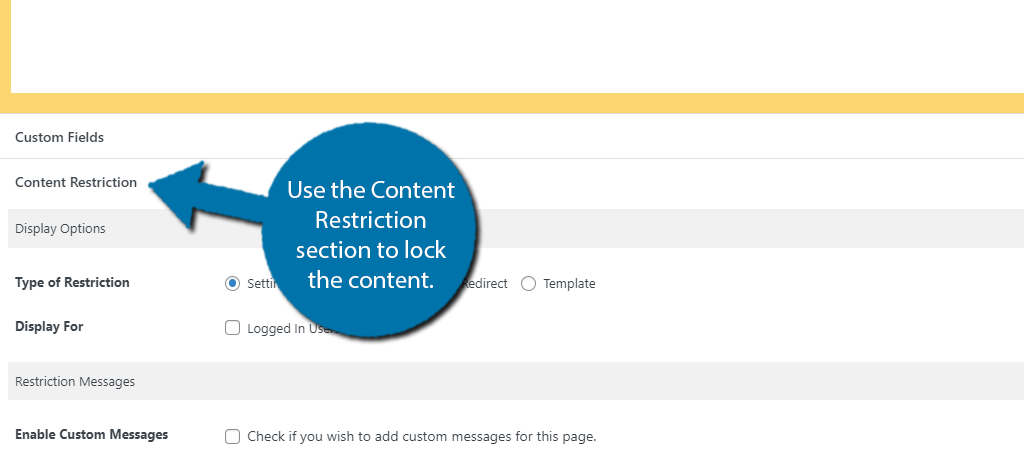
You can choose the kind of restriction and what users it is enabled for. You’ll have to do this for every piece of content on your site.
At this point, you have successfully learned how to lock content in WordPress, congratulations! Remember that you can make changes to any of the settings or subscription plans you have created at any time.
Just be sure to inform your members of any changes to their accounts.
Lock The Content On Your Website Today
As you can see, locking content in WordPress is quite easy. What’s even more important is making sure that content is worth the paywall that you’re using. Let’s face it, the quality of free content available is insanely high.
If you want to charge users for the content you are providing, it needs to be better than the free alternatives. And that just isn’t an easy thing to do. Of course, making sure the content you write is unique is equally important.
Think about it, there are hundreds of websites that provide content around video games and entertainment, But how many websites create content on underwater basket weaving? Well, I’m sure they exist, but the answer is not many.
My point is that when content isn’t readily available, it’s much easier to charge money for it.
How easy did you find it to lock content in WordPress? Is locking content profitable for your website?