Do you have a website URL that shows “wordpress” as part of the domain? This is somewhat common. It happens when WordPress is accidentally installed as a subdomain or in a separate folder as opposed to the root directory. For instance, a website could look like “https://www.ggexample.com/wordpress/.”
Instead of reinstalling WordPress altogether, you can easily change how the URL appears in web browsers.
Today in this tutorial, I’m going to show you how to remove the “wordpress” from your domain name. Although it’s not all that difficult, you will have to make a couple of minor changes to the .htaccess and index.php file of your site.
Change the Site Address in WordPress
Before you continue, I strongly urge you to create a backup copy of your site. In the event something goes wrong, you can easily restore your data without causing further problems.
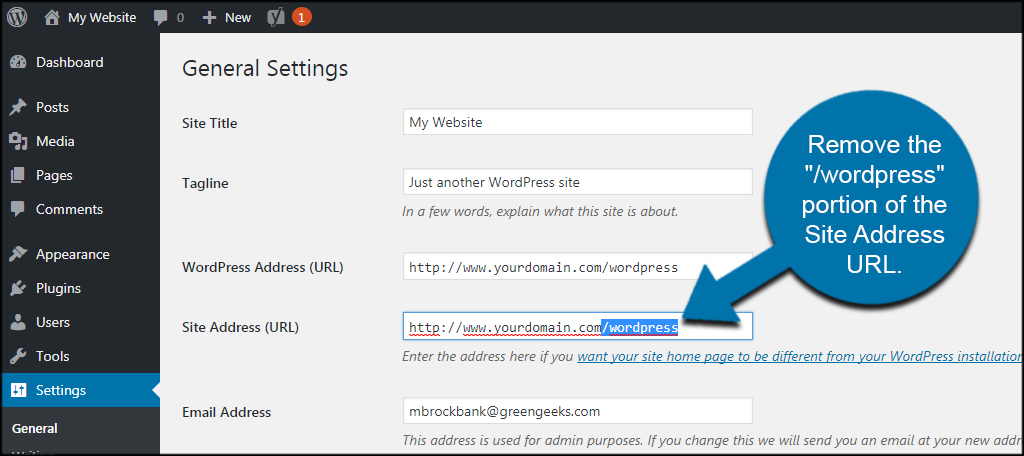
The first thing you’ll need to do is change the “Site Address” in your WordPress admin dashboard.
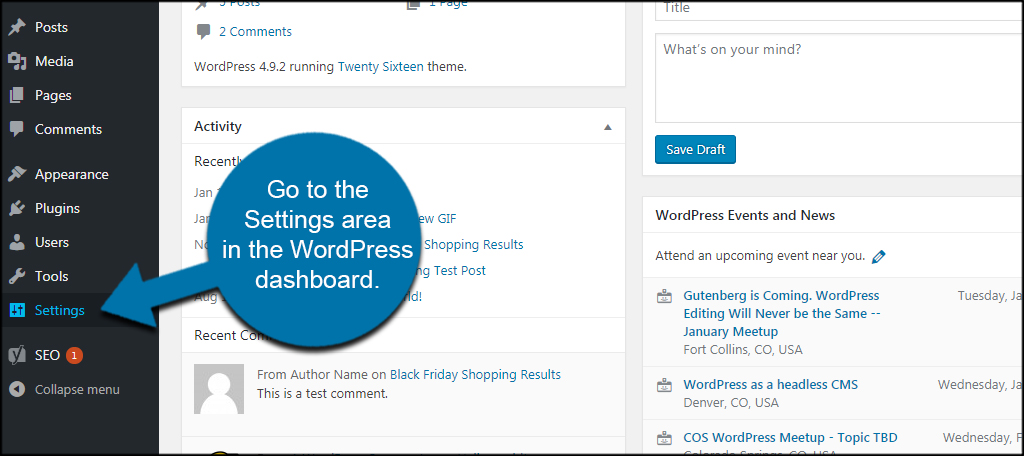
Go to the Settings area in the WordPress dashboard.
Remove the “/wordpress” portion of the Site Address URL.
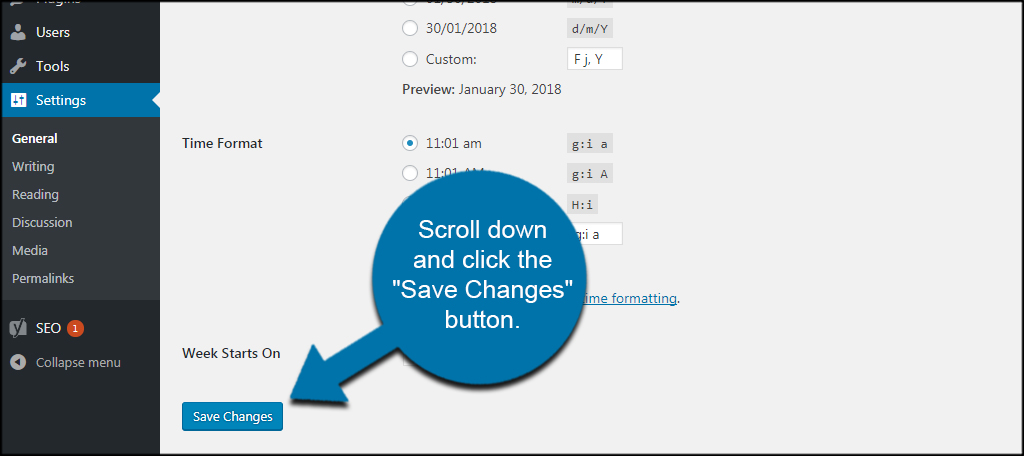
Scroll down and click the “Save Changes” button.
Download index.php and .htaccess
Next, you’ll need to copy the index.php and .htaccess files from the “[your domain]/wordpress” folder from your website.
You have a couple of ways to do this. A lot of people prefer using FTP programs like FileZilla to connect to the web host and download the file. You can also use cPanel’s File Manager to access your website’s directory from a web browser.
For this tutorial, I’m going to use cPanel only because it’s quicker for this instance.
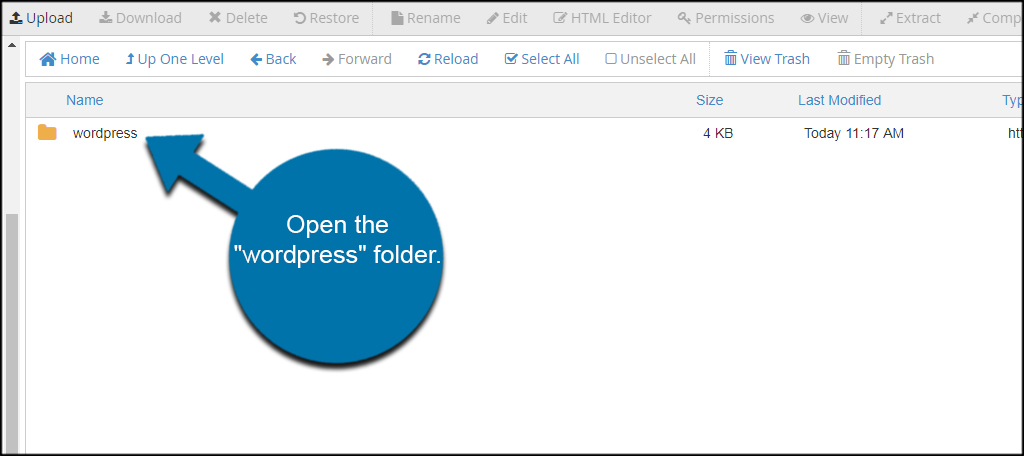
Go to the root folder for your domain. It may be empty except for a folder labeled, “wordpress.” You can access this from the “public_html” directory in your web host.
Open the “wordpress” folder.
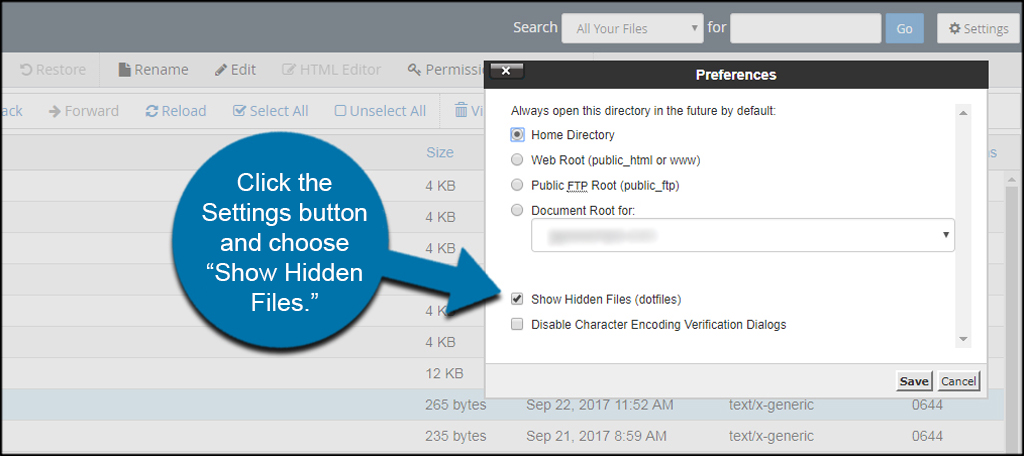
You may have to enable hidden files to see .htaccess. If you’re using File Manager, you can do this by clicking the Settings button and choosing “Show Hidden Files.”
A similar option is available in FileZilla.
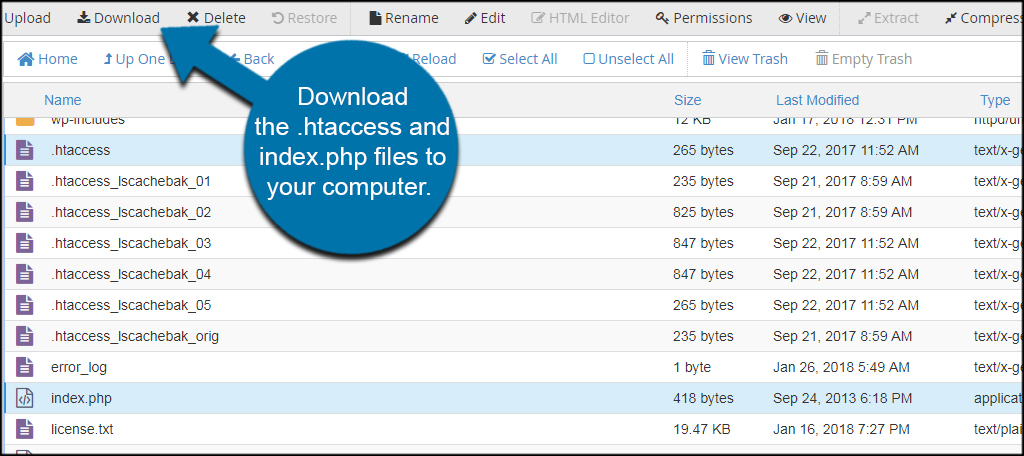
Download the .htaccess and index.php files to your computer.
Although you won’t make edits to the .htaccess file in this tutorial, you’ll need it copied into the root directory. This is because .htaccess is used to control how people and search engines access content. Since you’re removing WordPress from the URL, you’ll need it in the root folder.
I suggest saving the files to your desktop. It makes it easier to find them in the next step. If you don’t have the option to choose where files are saved, look in your “Downloads” folder of your computer.
Editing the index.php File
To make changes in the index.php file, you’ll need a text editor of some kind. For PC users, you can open the file with something like Notepad.
Look for this line in the index.php file:[ht_message mstyle=”info” title=”” show_icon=”” id=”” class=”” style=”” ]require( dirname( __FILE__ ) . ‘/wp-blog-header.php’ );[/ht_message]
Replace the line with this snippet of code:[ht_message mstyle=”info” title=”” show_icon=”” id=”” class=”” style=”” ]require( dirname( __FILE__ ) . ‘/wordpress/wp-blog-header.php’ );[/ht_message]
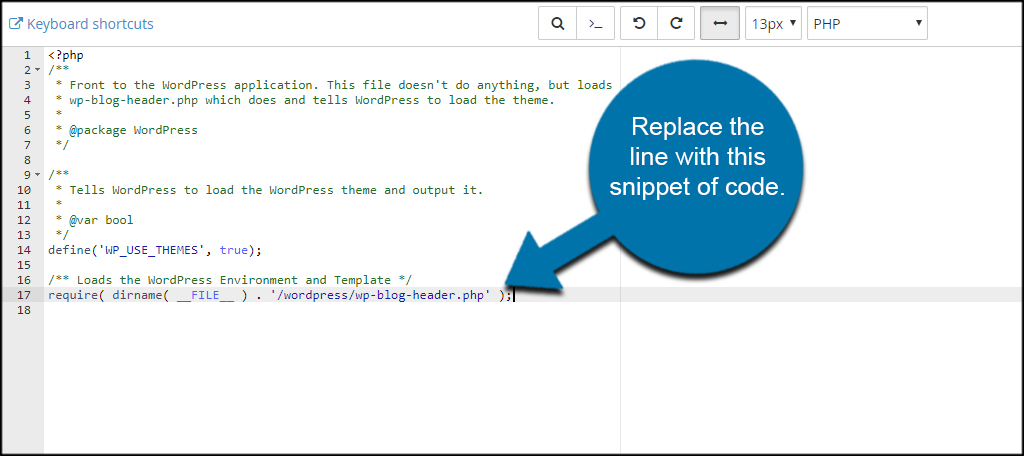
This line tells a visitor’s web browser the actual data it needs is located in the “/wordpress” sub folder. It acts almost like a redirect by pulling information from the WordPress folder without users realizing it.
Once you’ve replaced the code, save the index.php file.
Uploading index.php and .htaccess
Upload the index.php and .htaccess files from your computer to the root directory of your website. DO NOT upload them back into the “/wordpress” sub folder.
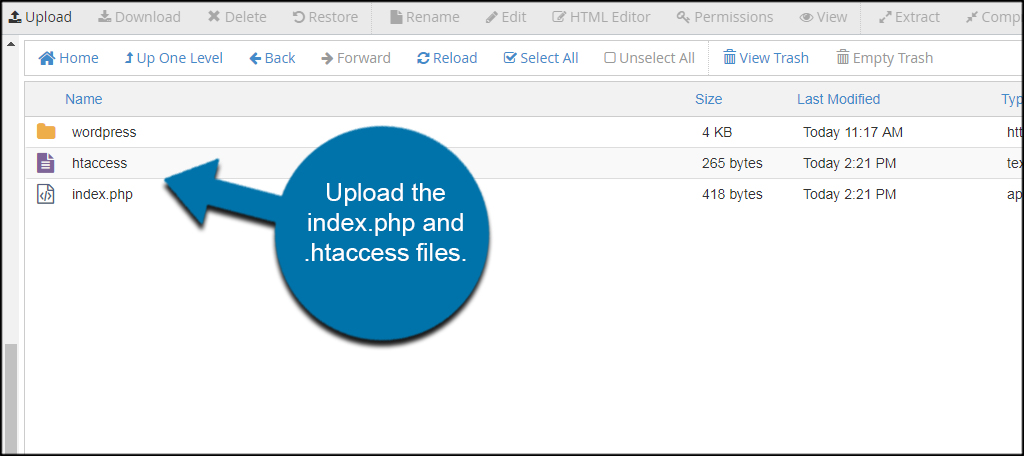
Now with the files in the root folder, your website will look something like “https://www.ggexample.com” to visitors.
However, you will still need to use the “/wordpress/wp-admin” URL to access the admin area of WordPress.
Can you just reinstall WordPress in the root directory?
While you could install WordPress in the near-empty root folder, it’s far more work. This is especially true if you have a database full of content, settings, and modifications. If it’s a new install, then you won’t lose a lot of data and time.
If you decide to reinstall, it’s probably easier to copy WordPress from the subfolder to the root using cloning or copying plugins. Many of these will easily transfer all data and files.
Removing WordPress from the Domain Name
Changing the primary domain in WordPress helps clean up the website. At a glance, people can identify and easily access your site without the “wordpress” folder being involved. This is but a simple solution to give the website a nice appearance.
It’s also a time-saver instead of trying to move a website from one folder to another, which may have a lot of data tied to it.
How often have you made coding changes to customize your WordPress site? Which is your favorite way to access files from the web host?
thanks a lot Mr Alex. for your helpful post. it worked for me
Thanks,but there are some issue.
When go to another, such as About page, it shows 404 not found
Hi Kaumil, I am facing some issues after following, sent you an email, can you help, please? thanks.
Thank you so much, it worked for me
Hi Kaumi
I did this but it seems that I can’t save pages – any chance you could help?
HI, I have more than one wordpress sites with different domain names all running in same server with their own directory (Ex: https://first.com/first, https://second.com/second ..etc). How to remove directory name from url for all sites? (i.e I need first.com, second.com ..etc)
Are you hosting in your own environment?
To do this you will need access to your server directly or via an FTP client such as FileZilla. (to allow you downloading first and then uploading again the “.htaccess” & “index.php”
In your case you will need to remove the directory name of each domain accordingly.
1. One you get into the WordPress admin page select the website which you desire to start with.
2. go to settings, select general
3. delete the directory name at the end of the site address URL and save the settings
Note: The URL directory can come named as “wordpress” or simply “wp”.
4. Download the “.htaccess” & “index.php” files as explained in the Screenshots, perform the changes as explained in the screenshots above but make sure all the folder names match.
for example, if the site directory you deleted was “wp” the folder on the screenshot 8 should have the same name (“wp”). And therefore the modification in the “index.php” file will then be ‘/wp/wp-blog-header.php’
The same applies if the sites directory was named wordpress, the modification in the “index.php” file will then be ‘/wordpress/wp-blog-header.php’
5. Save the changes and Reupload the files like illustrated on screenshot 8.
Refresh your website and i hope that solved your issue, all the best!
I tried it but after the first step I am now completely stuck and cannot return to my wordpress admin site. I get a 404 not found error. please help
Are you using WordPress to build or WordPress to host a blog site?