
Are you looking for a collaborative platform to share files with your team members? Well, I’ve got great news for you, you can actually use WordPress as a file management system with the right plugin.
This plugin will allow everyone to upload, read, and edit documents, as long as they have permission. Thus making it a great tool for collaboration projects if you want to keep everything in WordPress.
/And team projects are something every web developer should be used to. Running a website is not a one-man job, even though some developers treat it like one. It requires teamwork and creating and improving various aspects all at once.
WordPress has all of the features needed to be a successful collaborative platform, but the competition is stiff. Many individuals will opt to use platforms like Google Drive to do collaborative projects.
Today, I will demonstrate how to turn WordPress into a great file management system using the WP Document Revisions plugin.
Why Use WordPress As a File Management System
The world’s most popular website creation platform may not immediately come to mind when you think of a document management system, but it should.
Can WordPress have multiple authors working on a single document?
Yes.
Does WordPress offer a lot of storage capabilities?
Yes, and you can even raise the upload limit.
Can WordPress accept different file types?
Yes.
These are all critical components of a great file management system. WordPress has them all and should be among consideration when choosing one.
How to Use WordPress As a File Management System
This plugin makes tracking, storing, and organizing files extremely convenient. It also supports the WordPress roles system and uses them as permissions systems.
This allows for multiple teams to use the platform at the same team and not interfere with each other.
Step 1: Install WP Document Revisions
Begin with clicking on Plugins and selecting the Add New option on the left-hand admin panel.

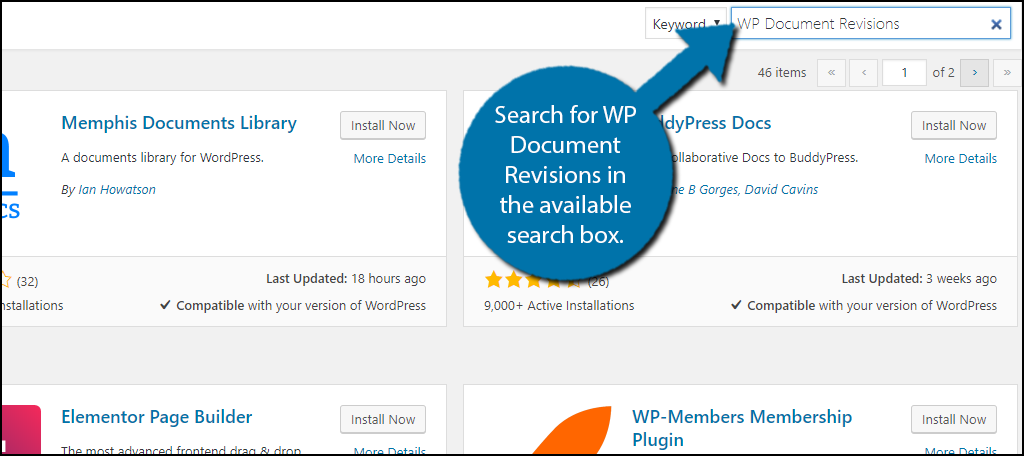
Next, search for WP Document Revisions in the available search box. This will pull up additional plugins that you may find helpful.
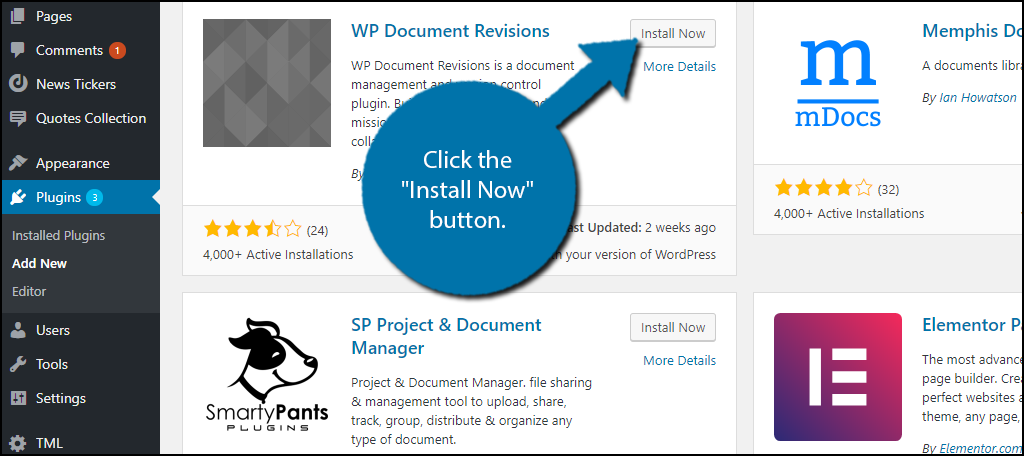
Scroll down until you find the WP Document Revisions plugin and click the “Install Now” button and activate the plugin for use.
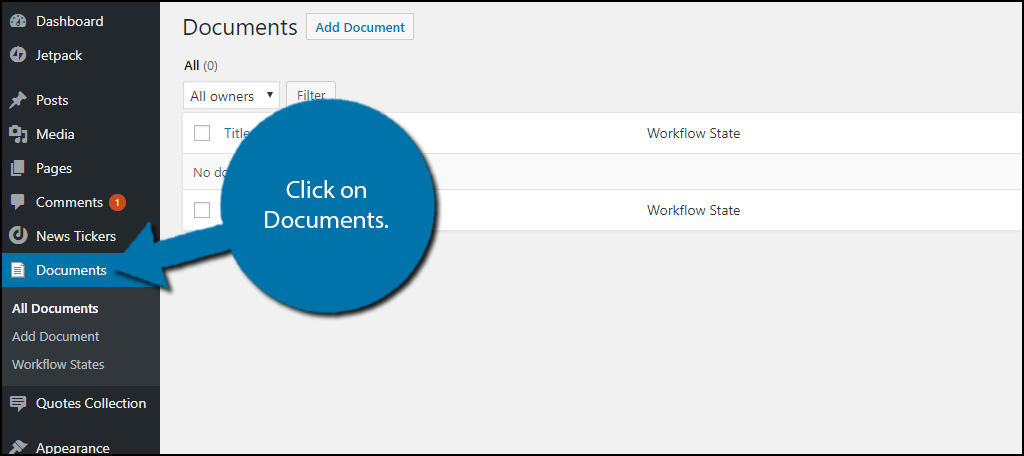
On the left-hand admin panel click on Documents. This will pull up the plugin’s main settings page.
Step 2: Add Documents With WP Document Revisions
Using the plugin is very simple and is nothing new to a WordPress veteran. The plugin uses similar areas but has them better customized for multiple users.
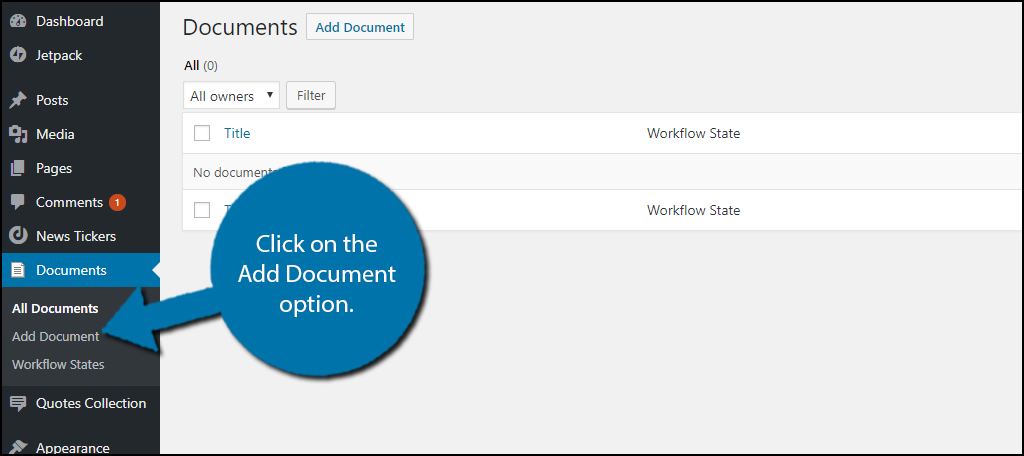
Let’s start with adding content. To add content, click on the Add Document option.
Name your document so you can easily locate it later. Click on the “Upload New Version” button to begin adding content.
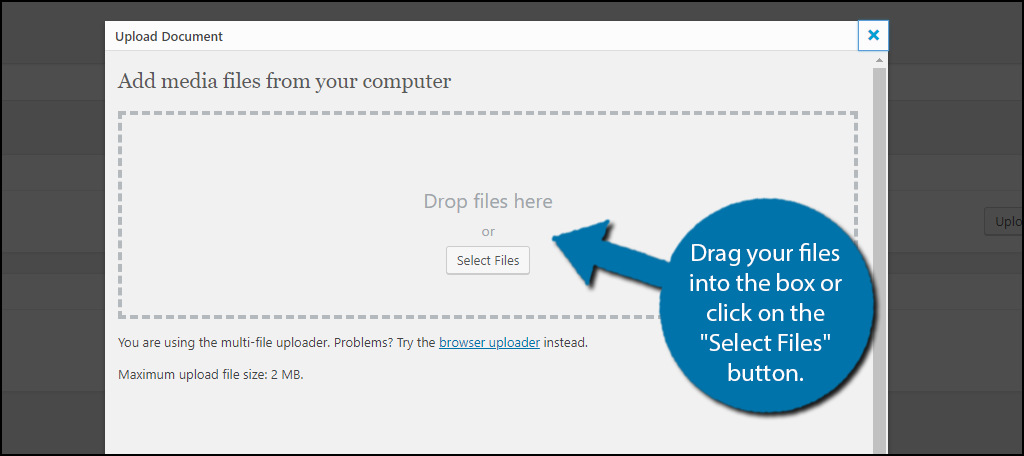
A pop-up window will appear. It should be very similar because it is the same as the Upload tab when you are adding media. Drag your files into the box or click on the “Select Files” button and select your files.
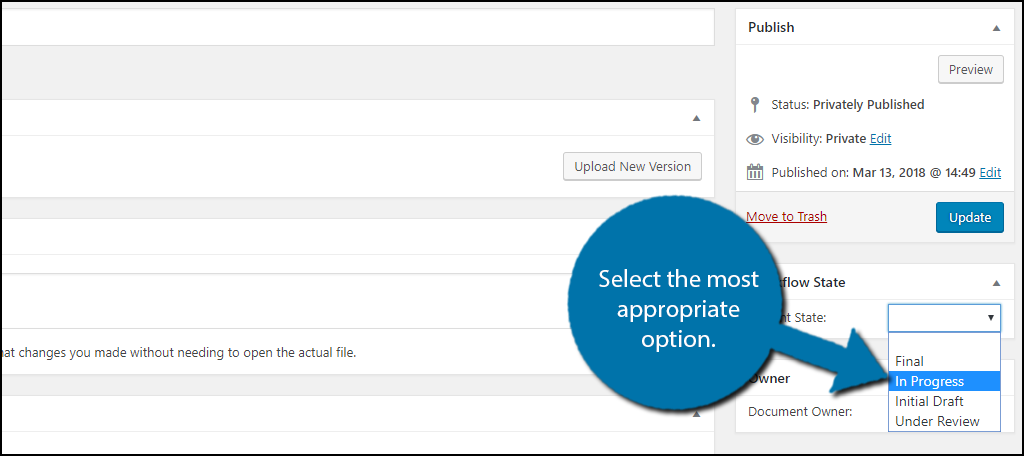
Once you have uploaded the file and named it, you are not done. You should now select what stage the document is in. You should see a Wordflow State box on the right-hand side. The dropdown has four options that include Final, In Progress, Initial Draft, and Under Review. Select the most appropriate option.
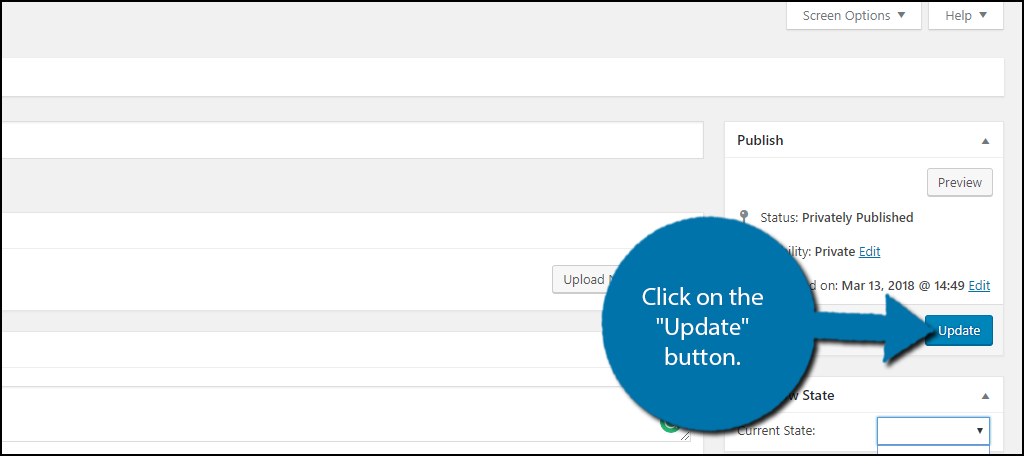
All that’s left to do is to click on the “Update” button.
You can repeat these steps every time you want to add a document.
Step 3: Configure the Workflow States
The Workflow States can be changed at any time. This allows you to create custom statuses.
For example, if you have a writer who goes in to write the document and an editor who goes through it and fixes mistakes, none of the Workflow States will work for that scenario. Instead, you should create a state that says “Ready for Editing” or something similar.
Click on Workflow States.

Here you can edit the existing Workflow States. You can also create new ones by filling out the information and clicking on the “Add New Workflow State” button.
Step 4: Accessing Documents With WP Document Revisions
Now that you have added a document, it is time to access it. To do so, click on the All Documents option.
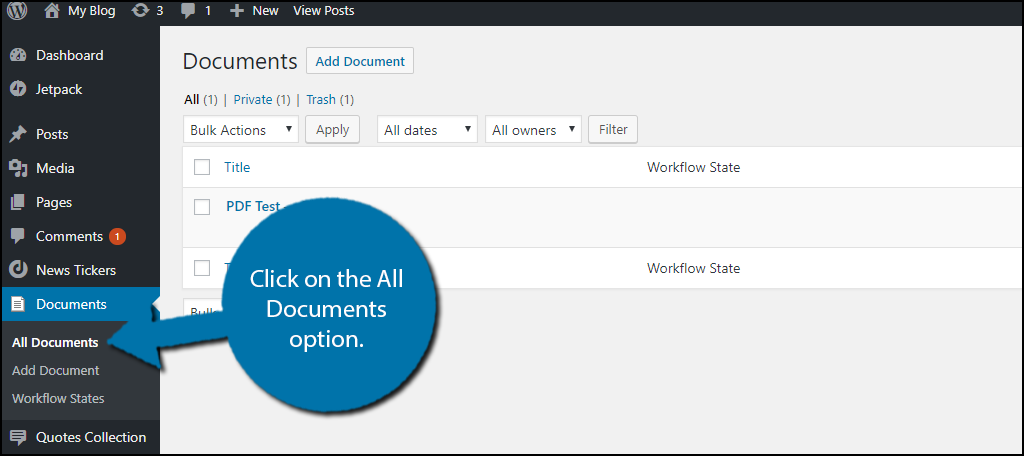
You will see all of the documents you have uploaded on this page. This includes the title, Workflow status, and the person who is currently editing the document. You can click on any document you have access to and edit it.
You may be wondering, how does the plugin know who has permission.? That’s a great question and it has a very simple answer, WordPress User Roles. Roles are used to assign ranks throughout the website and work the same way on this plugin.
There are four roles to be aware of, which include Administrators, Editors, Authors, and Contributors. Administrators, as always, can do anything to a document that is uploaded to the website.
Editors are very similar to administrators because they can also do anything in this plugin, but that only applies to this plugin. Authors are only allowed to upload and download documents.
Contributors can create new documents, but they may not upload them. Understanding what each role does is extremely important to fully utilize WordPress as a document management system.
Congratulations, you have successfully learned how to use the WP Document Revisions plugin.
Is It Really Worth Using WordPress As A File Managment System?
Honestly, in probably 99% of cases, you should stick to Google Docs.
It is easier to use, due to not having to actually set anything up. Instead, you are just a user and all of the tools are available for free. And, unlike WordPress, it is more widely accessible as a collaboration platform.
However, when privacy is a concern, you may want to keep things in a more secure location, and WordPress can be that location.
Use WordPress For Anything
WordPress is responsible for over 20% of all websites that are made. It is easy to understand why many look at WordPress as solely a website-building platform, but it can do so much more.
A file management system is only one of many possibilities that WordPress can create. All it takes is a creative web developer to make WordPress do creative things.
Is WordPress as a file management system a surprise to you? How many files have you uploaded?