
Images play a large role for most websites today, and sometimes, you may want to enlarge certain aspects of your pictures in WordPress for various reasons. Unfortunately, if you are not careful, this can result in a quality loss.
For example, let’s say you took a screenshot from a video game and wanted to zoom in on a small easter egg on a poster in the background. If you lose the quality of the image, you may not even be able to make out what it says.
Luckily, there are several programs you can use to avoid quality loss, and many of them are free to use. That said, each tool is unique, thus the settings you choose and where to find them are all different.
Today, I will demonstrate how to enlarge pictures in WordPress using 5 tools.
How Images Lose Their Quality
Virtually any image used on the Internet is rendered using very small pixels. These ultra-small squares are what provide the color and contrast for any given picture. In fact, you can see these micro boxes when you zoom in to see the details of a graphic.
When an image is enlarged, these pixels become more apparent as they do not adapt to the changing size. They remain the same color regardless of if they are microscopic or three inches across. These bitmap elements are set and viewed in a specific way for display.
When a graphic is rendered on your screen, each pixel is mapped and placed in a specific location. They never alter in texture and will remain the same color whether you are zoomed in all the way or shrink the image down
Replacing some of the quality when blowing an image up is done through a process called fractal interpolation. This means that each pixel essentially takes on some of the properties of nearby pixels in order to smooth out the graphic.
In essence, it removes the box distortion effect when making the picture larger.
It is possible to do some minor image editing within WordPress itself. However, the system doesn’t have the ability for interpolation.
#1 Using Pixlr to Enlarge Pictures For WordPress
Pixlr is a free web-based photo editing tool that you can use to edit any image. You simply need to visit the site, open your image, and begin the editing process. In terms of use, it is quite similar to Photoshop, in fact, most tools like it are.
Step 1: Open Your Image
Start off by visiting the Pixlr website. You do not need an account to use this tool, so you can begin immediately.
Click on the “Open Image” button.

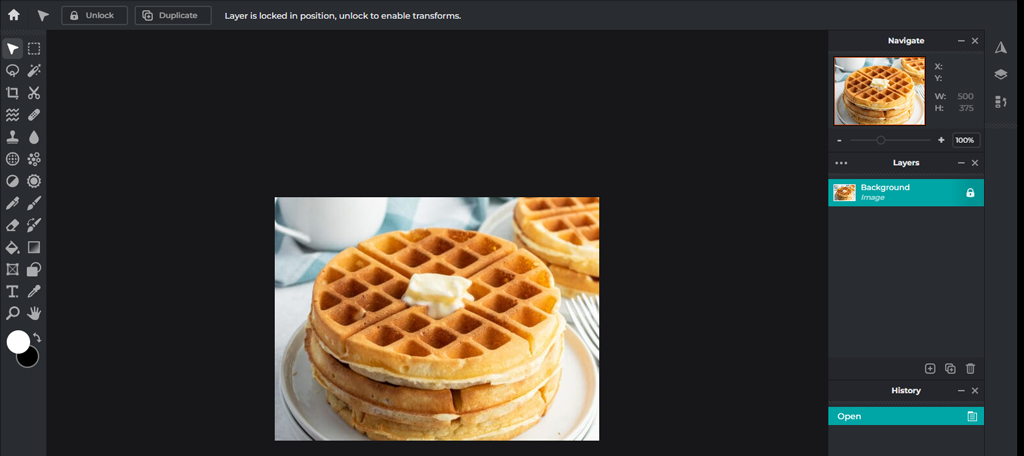
This will open up a small file selector window where you can select the image you want to open from your computer. Once the image is selected it will open in the photo editor.
Step 2: Resize the Image
At the top, you find various options, click on Image and select the Image Size… option.
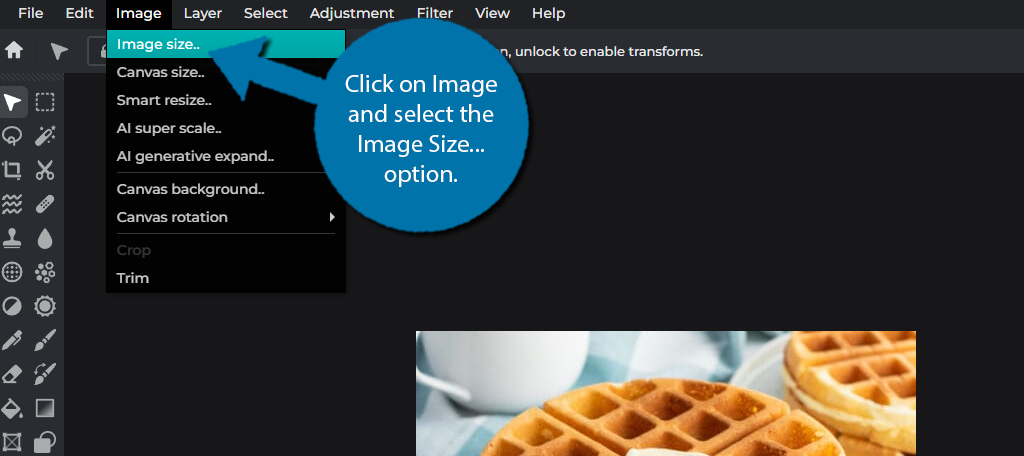
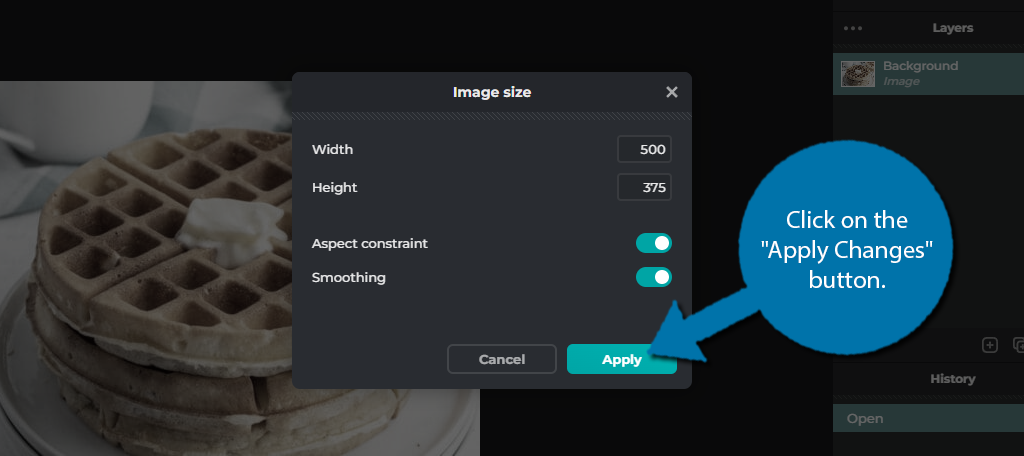
This will open up a small window where you can select the width and height of the image. Simply enter the values that you want the image to be sized to. There are also two options below the width and height.
The first one is the Aspect Constraint option. This ensures that the image’s dimensions are never changed. Simply put, it avoids the image looking squished, or elongated and should be left on.
The second option is Smoothing. As the name suggests, it will also help keep the quality of the image by smoothing out any issues. Both of these should remain checked for the best results.
Click on the “Apply Changes” button to finish.
And that’s it. The image will be resized according to the values you entered.
Step 3: Export the Image to Use in WordPress
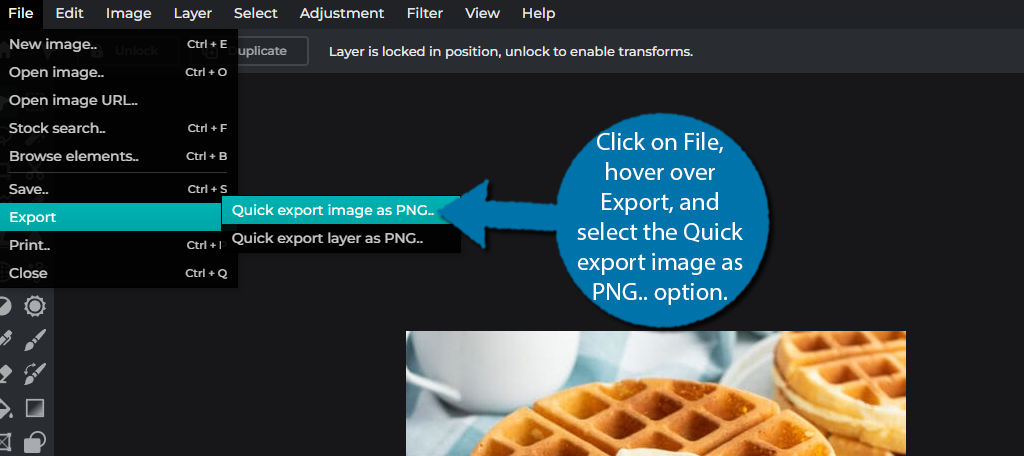
To actually use the picture you enlarged in WordPress, you will need to export it. To do so, click on File, hover over Export, and select the Quick export image as PNG option.
Note: PNG is the only option to export your images.
This opens up a small window where you can choose a folder on your computer to export the new image to. Once you do this, you can go back to WordPress and upload it to your media library for use.
#2 Using IrfanView to Enlarge Pictures For WordPress
IrfanView is another free editing system that works exclusively on the Windows operating system. It even supports older versions of Windows like XP and Vista. If you are using a different operating system, this tool is not for you.
You’ll need to download the tool to your computer, and then you can begin editing the images.
Step 1: Download IrfanView
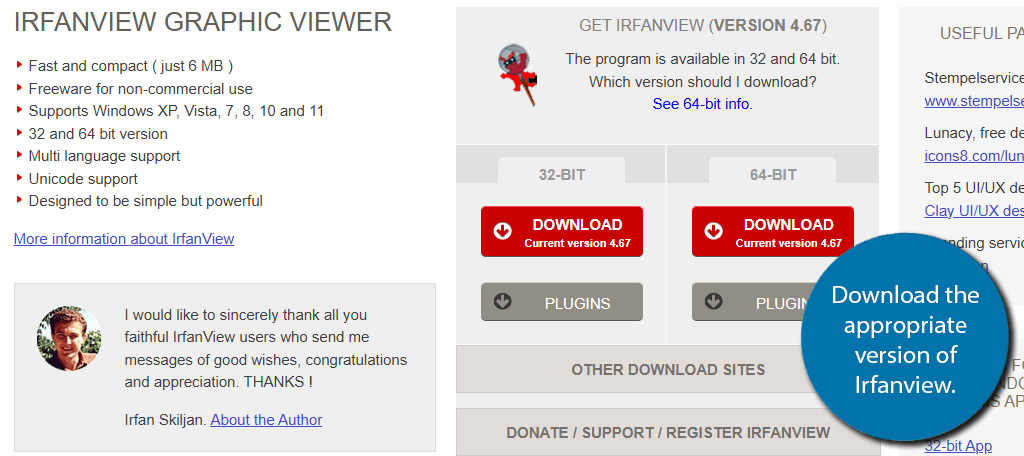
Start off by visiting the IrfanView website. Download the proper version for your computer.
Once you download the file, run it. This will open up a small setup wizard. For the most part, you can just keep hitting the “Next” button. Once the setup is done and the installation is complete Irfanview will open on your computer.
Step 2: Resize the Image
The first thing you want to do is open the image you want to resize. To do so, click on File and select the Open option.

This will open the file selector on your computer. Simply select the image you wish to resize, and it will open within the Irfanview editor. Once that is done, you can begin resizing the image however you like.
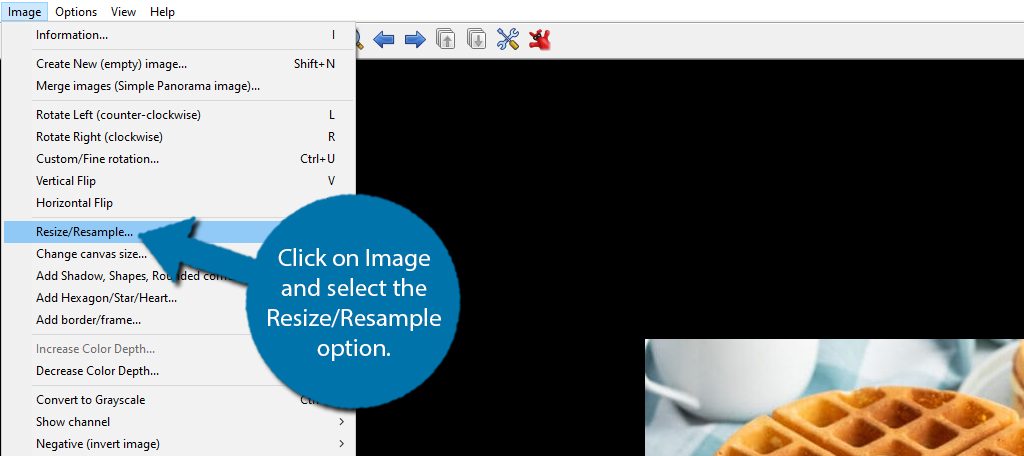
To do so, click on Image and select the Resize/Resample option.
A new window will appear. Here, you can see the current dimensions of the image and change them accordingly. You can do this using two methods. The first is to enter the exact width and height of the image.
The second is to set it as a percentage of the original. For example, if you wanted it to be 20% bigger, you would enter 120% into the height and width boxes. More importantly, there are some options below these size options.
You want to make sure the box to “Apply sharpen after Resample” is checked. This will ensure that no quality will be lost.
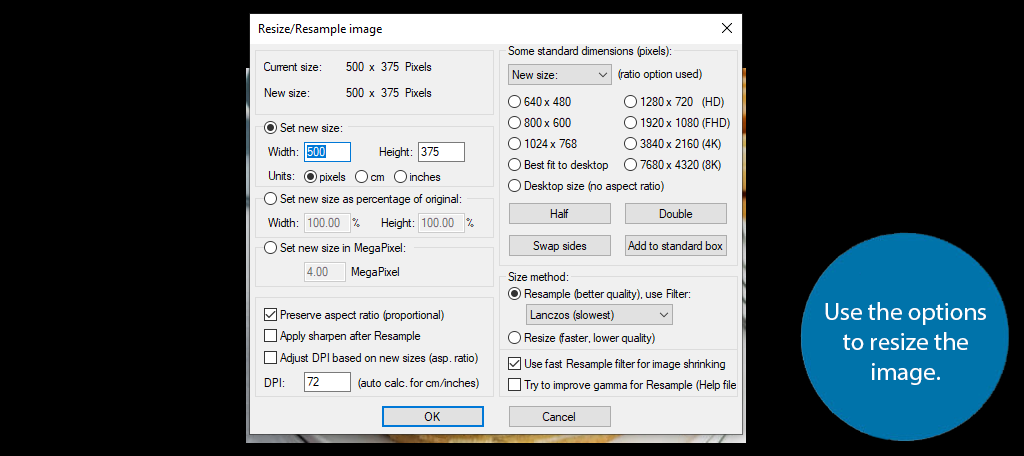
Once you are happy with the options you have selected, click on the “OK” button to apply them. And that’s it.
Step 3: Export the Image
Now that you have enlarged the picture for WordPress, you need to export it. Luckily, you can just save the file as whatever file type you wish, so there’s not much to this.
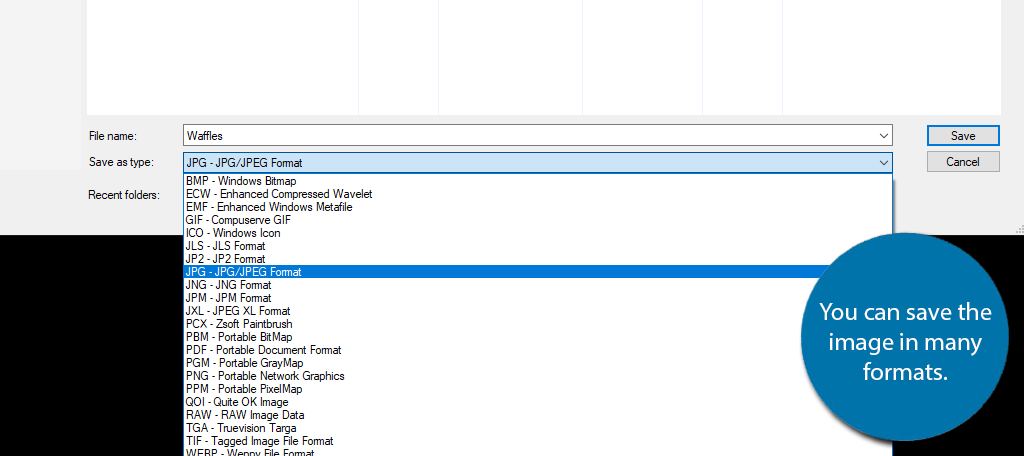
Click on the File and select the Save As option.
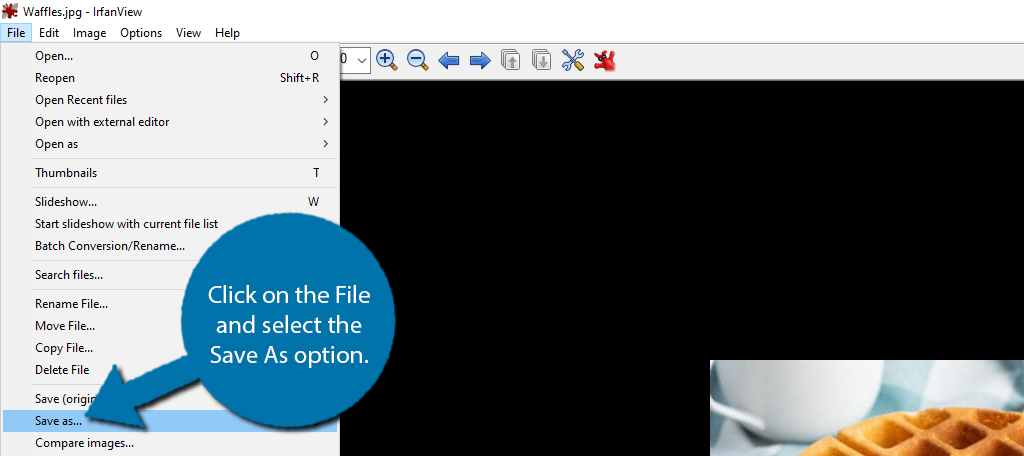
Here you can choose where to save the file, and even select the file type. By default, the image will be a JPEG, but you can use the drop-down menu to choose another that will best fit your needs.
And that’s it. You can open that image in WordPress as normal.
#3 Using GIMP to Enlarge Pictures For WordPress
GIMP is a free, open-source image editor that works for all major operating systems. It is yet another tool heavily inspired by Photoshop that will allow you to easily edit your images in a multitude of ways.
Step 1: Download GIMP
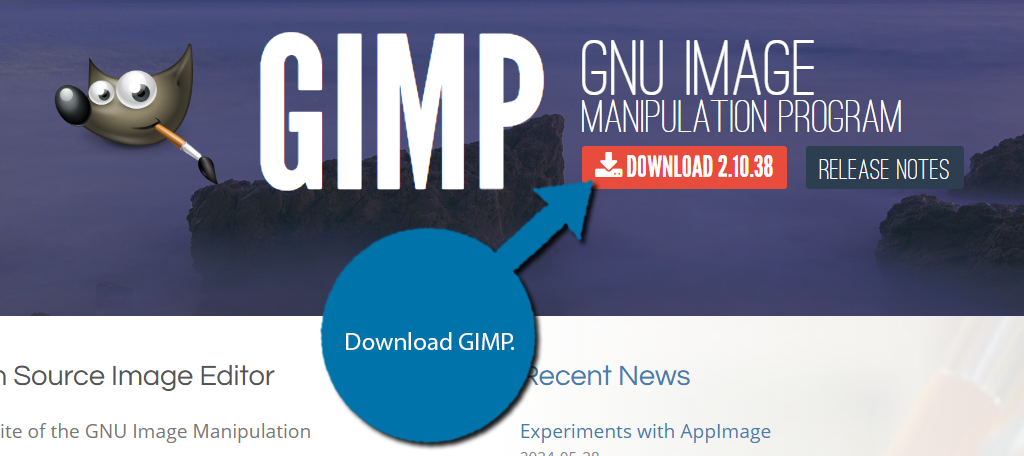
Start off by visiting the Gimp.org website and download the latest version.
Once you finish downloading the file, open it up and run the setup wizard. There’s not much to say, it is your typical wizard where you install the application and choose the location it is saved. Once that is done, you are ready to go.
Step 2: Enlarge Pictures with GIMP for WordPress
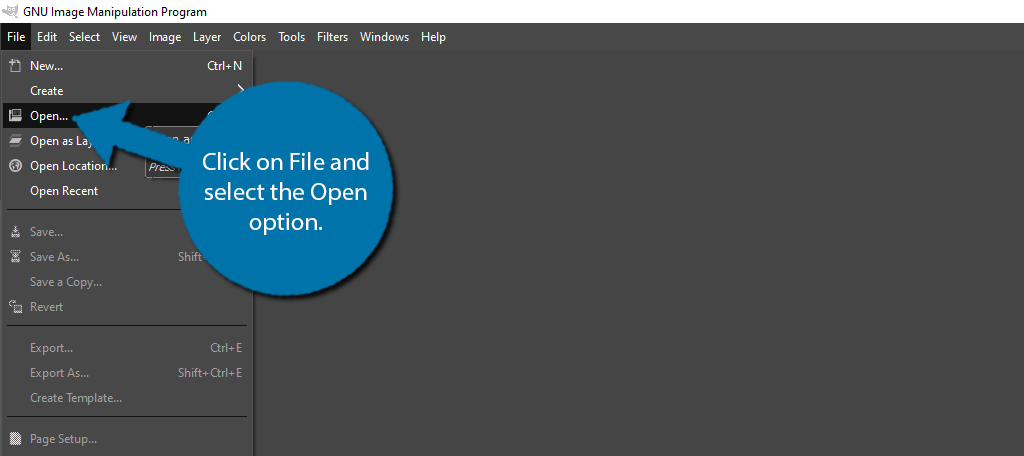
Once you have started the program, you will need to select what image you want to use. To do so, click on File and select the Open option.
Select the Image you want to resize from your computer. When you select it, the image will be placed in the editor. To enlarge the image, click on Image and select the Scale Image option.
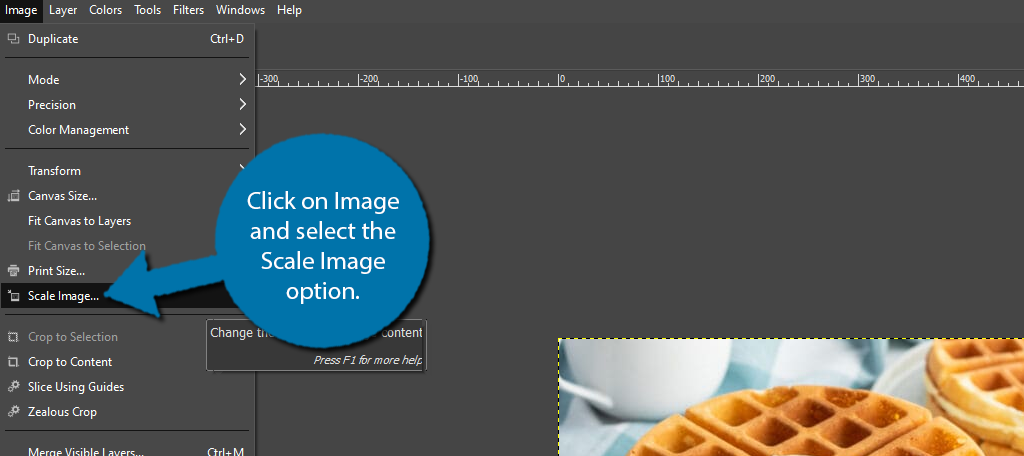
This will open up a small window where you can adjust the image width and height. Simply edit the value to make the image larger. There is also a quality option. By default, it is on Cubic, but I would recommend switching it to NoHalo for the best results.
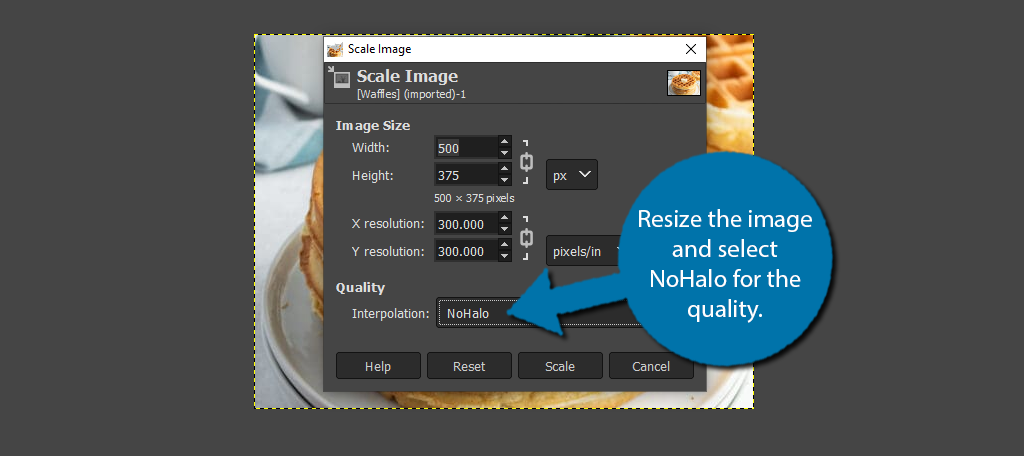
Click on the “Scale” button to apply the changes and your image will be resized accordingly.
Step 3: Export to WordPress
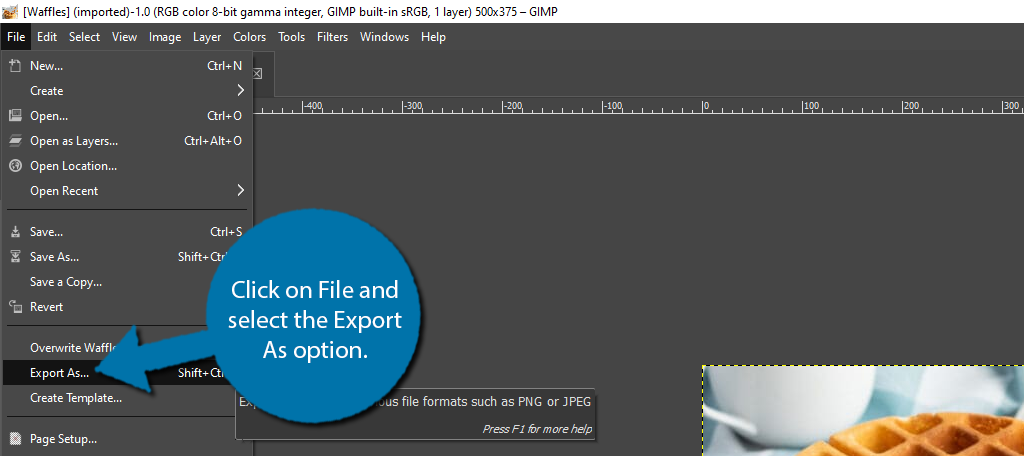
All you need to do now is export the image as the image type you want to use. To do so, click on File and select the Export As option.
This will open up the file selector on your computer. Simply choose where you want to export it to and use the drop-down menu to select the file type. It supports all of the major ones like JPEG, PNG, WebP, and more.
After that, you are free to upload it to your WordPress media library for use.
#4 Using PhotoPea to Enlarge Pictures for WordPress
PhotoPea is another popular web-based photo editor that you can use to enlarge pictures for WordPress without losing quality. It is a straightforward tool you can use to resize images accordingly, and it is completely free.
I would also like to point out that PhotoPea can use Photoshop PSD files without issue. That means the PSD layers will be intact when you use Photopea.
Step 1: Open Your Image in PhotoPea
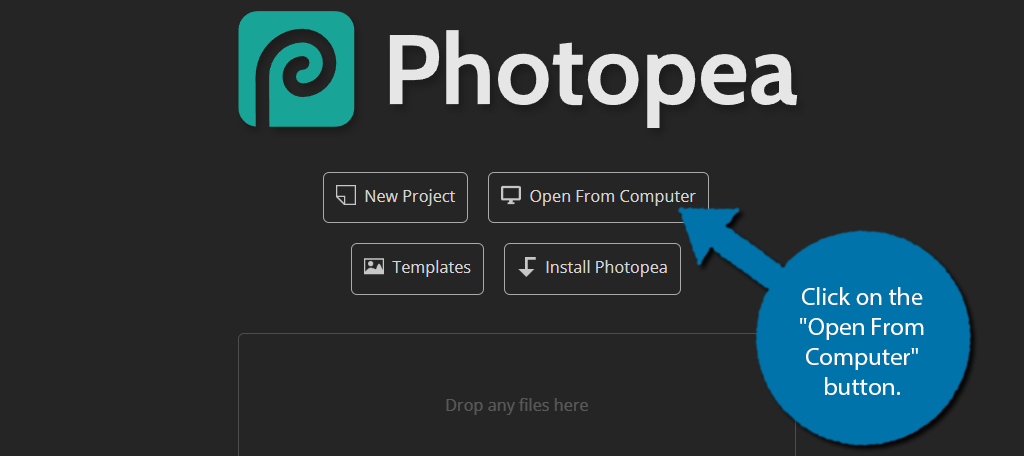
Start by visiting the PhotoPea website. The editor is web-based so there is no need to download anything. Instead, you can immediately select the image you wish to edit. To do so, click on the “Open From Computer” button.
This will open up the file selector on your computer. Simply select the image you wish to enlarge. Click on the “Select” button and it will open within the PhotoPea editor.
Step 2: Resize the Image
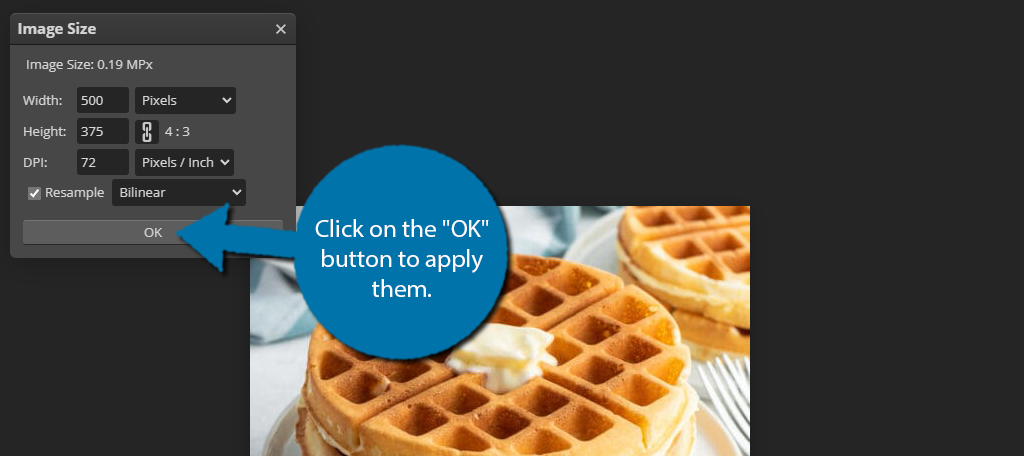
To resize an image in the PhotoPea editor, click on Image and select the Image Size option.
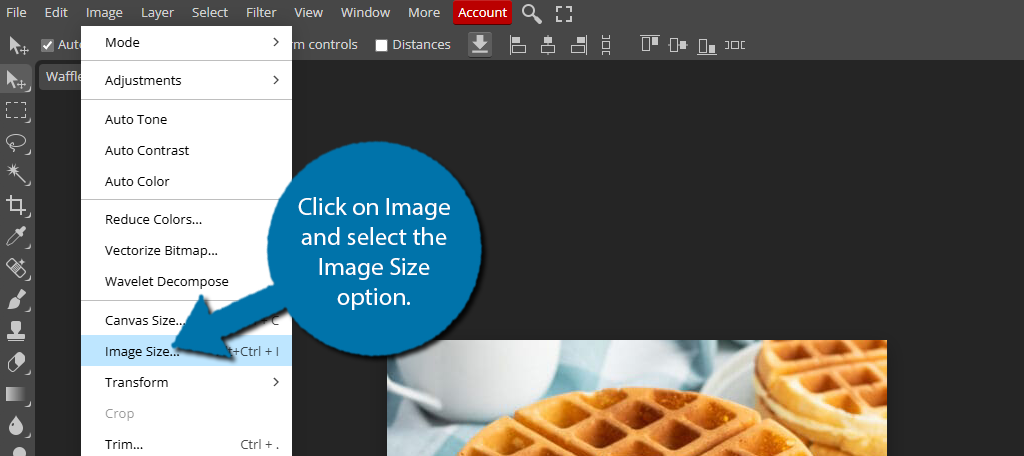
This will open up a small window where you can in out the width and height of the image. By default, the values are in pixels, but you can also change them to percentages. This is a nice option if you want to make the image 50% bigger or something like that.
Once you have made the changes, click on the “OK” button to apply them.
The image will now be resized according to what you entered.
Step 3: Export the Image
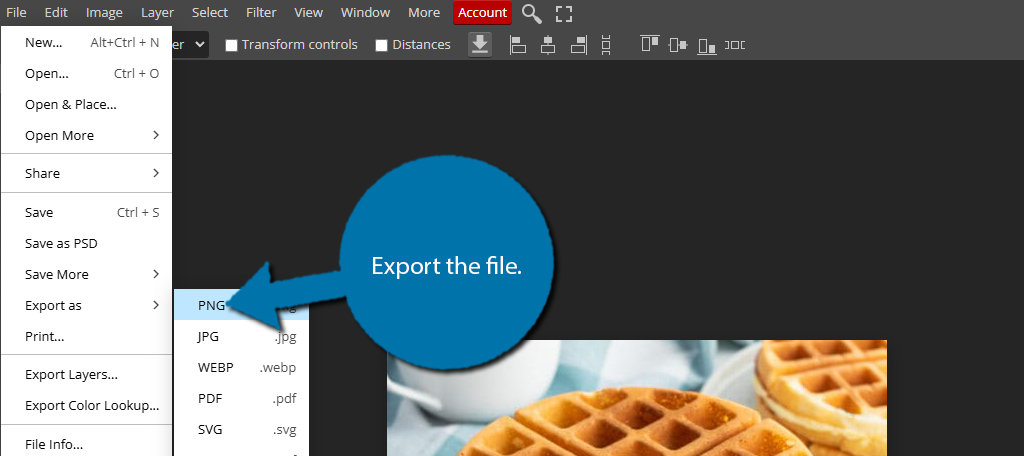
All that is left to do is export the image so you can use it in WordPress. To do this, click on File and hover over the Export As option. From here, you can select the exact file type you want to export.
This will open up a small window, where you can finalize the settings of the image and save it as that file type. Once that is done, you can upload the image to WordPress to use it on your site.
Using Photoshop to Enlarge Pictures for WordPress
Photoshop is perhaps the most popular photo editing software in the world, and for good reason. It gives users unparalleled control over images with hundreds of options. Unlike the others on this list, Photoshop is a paid software.
That said, it is worth every dollar if you need to edit an image.
Step 1: Open the Image
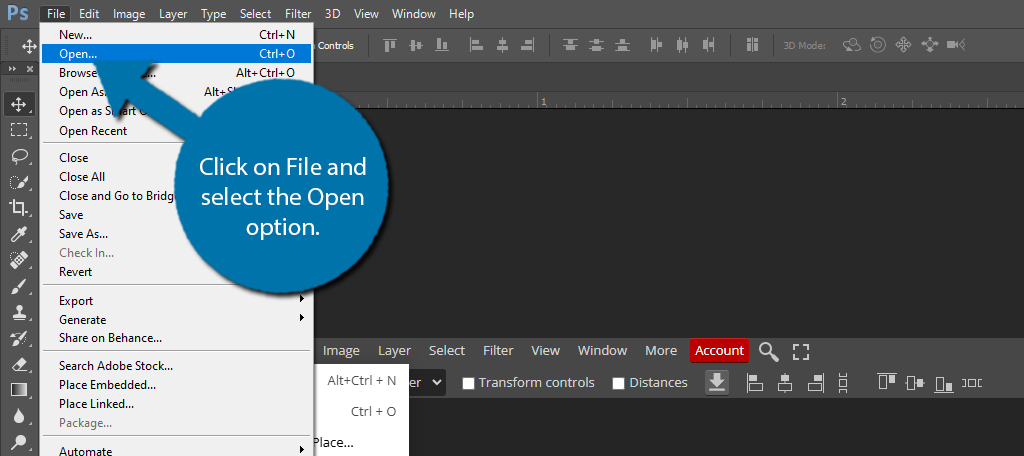
Once you have created an Adobe account and signed up for a plan, open the program. You need to select what image you want to resize. To do so, click on File and select the Open option.
This will open up the file selector on your computer. Simply select the file you want to use, and it will appear in the editor.
Step 2: Resize the Image
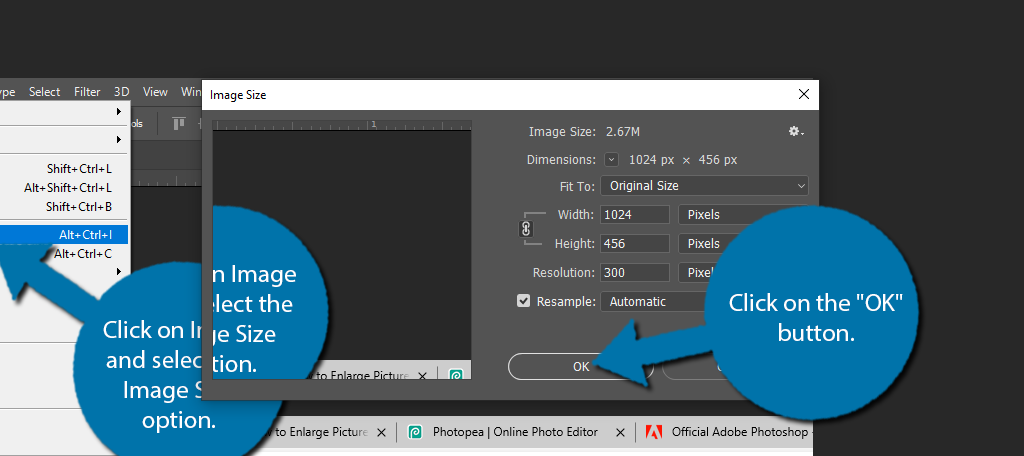
With the image in the editor, you can now resize it as you see fit. To do so, click on Image and select the Image Size option.

This will open up a small window where you can change the size of the image. You can input the height and width as pixels, or you can switch it to percentage to input it that way. Once you enter the values, click on the “OK” button.
The changes you made will then be applied to the image.
Step 3: Export the Image to WordPress
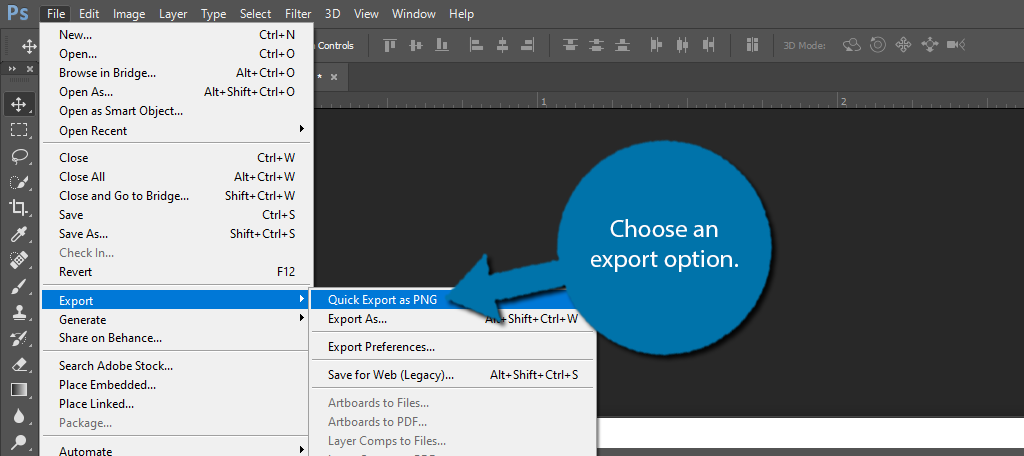
All that is left is to export the newly sized image to WordPress. To do this, click on File, hover over the Export option, and select Quick Export as PNG. Alternatively, you can select the Export As option if you want to use a different file type.
This will open the file selector on your computer where you can select a location to save the image. After that, you can upload it to your WordPress site to use it.
Enlarge Your Pictures Today in WordPress
As you can see, there are multiple tools you can use online to enlarge images for your WordPress site. Many of them are free and work similar to Photoshop. In fact, most work nearly identical as this tutorial has demonstrated.
Having access to photo editing tools is incredibly important as a web developer. As images are one of the most important aspects of websites. Images help capture the attention of visitors and help display relevant information.
In many cases, the reason someone clicks on a page is because of the thumbnail. Being able to edit them freely to make the best image possible is necessary today.
I hope you found this tutorial helpful in learning how to enlarge pictures for WordPress.
Which photo editing software do you use? Why did you want to enlarge an image?
This is a great article and it is helpful. But I think you have missed some powerful AI photo enlargers. I recommend some tools for you to review:
For Win: Gigapixel AI 4
For Mac: Pixelmator Pro
Online: Imglarger
Our graphics in wordpress for our website look great at 75% zoom on a laptop but when you zoom in to 100% or view on a tablet or mobile device the graphics are large and do not show up right. Is there a way to fix this?