Celebrating upcoming events for your business or the industry you belong to is a great tactic. Using an animated countdown timer in WordPress is a great way to keep track of upcoming dates that are important to the site.
For example, perhaps you are going to have a big sale on the fourth of July. Having a big countdown clock to remind users is a great option. Or you can choose to countdown how long the event has left.
Of course, not every site is an online store. You may just want to highlight major events in your community as a blog. For example, if you cover video game news, you may want to highlight when to expect the Summer Games Fest.
Today, I will demonstrate how you can use the Countdown Timer Ultimate plugin to add an animated clock in WordPress.
Why Use an Animated Countdown Timer in WordPress?
Countdown timers are widely used in online stores today. This allows them to show how long a sale has left. This creates a FOMO environment (Fear of Missing Out) that can help increase sales.
Essentially, users become more pressured and likely to make a purchase if they know it is only available for a limited time.
The greatest example of this is Black Friday. We all know every single store will have some amazing deals going on for a very short period. Thus, if you don’t show up for the sale, you have missed out on it forever (or until next year).
A countdown timer helps add the pressure to entice consumers to make a purchase before it goes away.
While the idea is simple, it is highly effective. FOMO tactics are extremely effective. Today 60% of sales millennials make are driven by FOMO. The tactic is widely used and the results speak for itself.
How to Setup An Animated Countdown Timer In WordPress
The Countdown Timer Ultimate plugin is a great choice for adding an animated countdown timer in WordPress. The tool is easy to use, customizable, and free. It’s perfect at any skill level, which is why we are using it today.
Once you make the timer, you can add it to any post, page, or widget area by adding the shortcode.
Step 1: Install Countdown Timer Ultimate
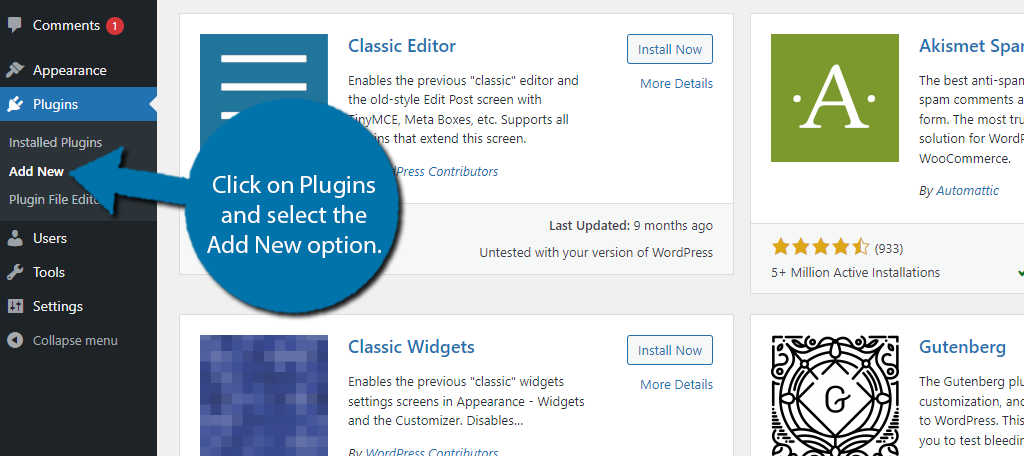
Start by clicking on Plugins and selecting the Add New option on the left-hand admin panel.
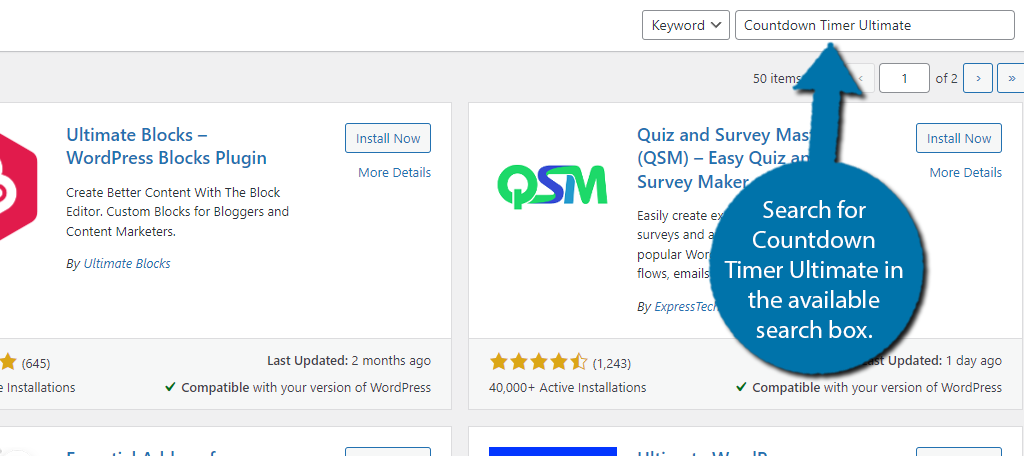
Search for Countdown Timer Ultimate in the available search box. This will pull up additional plugins that you may find helpful.
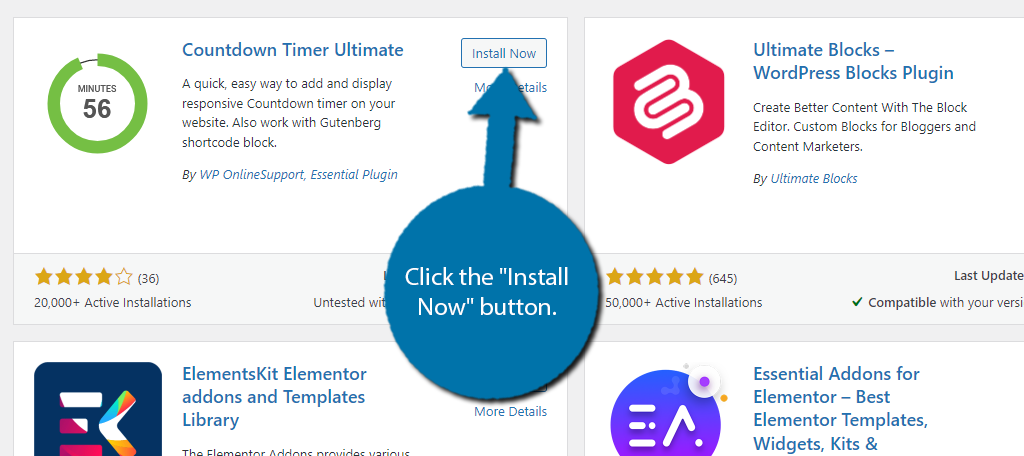
Scroll down until you find the Countdown Timer Ultimate plugin and click the “Install Now” button and activate the plugin for use.
Step 2: Create A Timer
With the plugin installed, the first thing you’ll want to do is create the timer you want to use. This is a very straightforward process that should take less than five minutes. Begin by clicking on the Countdown Timer option.
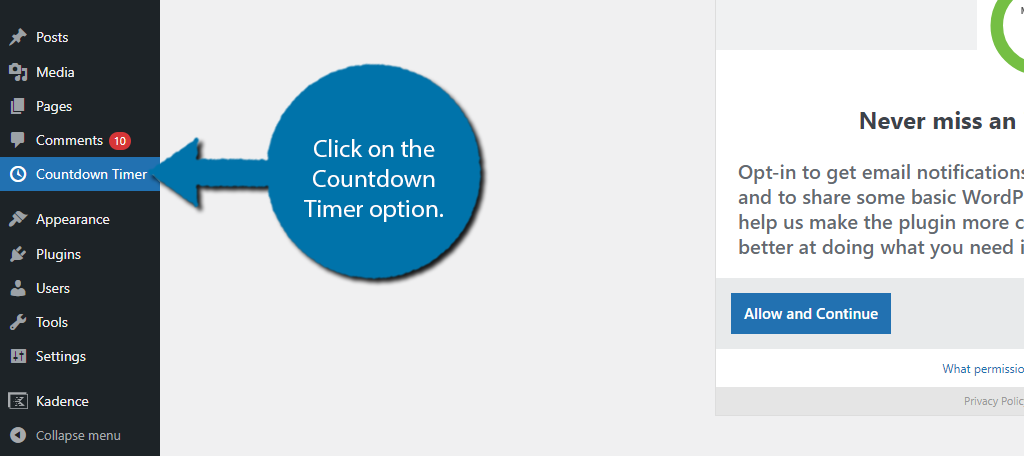
You will be asked if you want to opt in to receive email notifications about new features and to share basic WordPress information with the plugin developers. Feel free to sign up or decline as it has no impact on using the plugin.
Click on the Add Timer option.
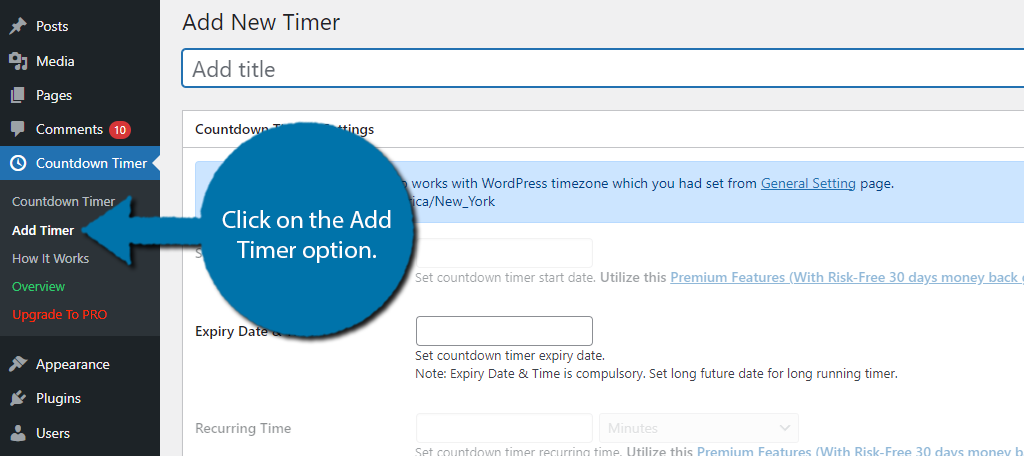
At the top, you can add a title for the timer. For example, if this was for your Black Friday deal, you might want something like “Our Black Friday Deal Is Live For:” as a title, but it’s completely up to you.
Below this are the settings for the plugin. Many of the options are only available in the Pro version. Thus if you can’t access it, you’ll need to upgrade. Luckily, you can still use the free version to great effect.
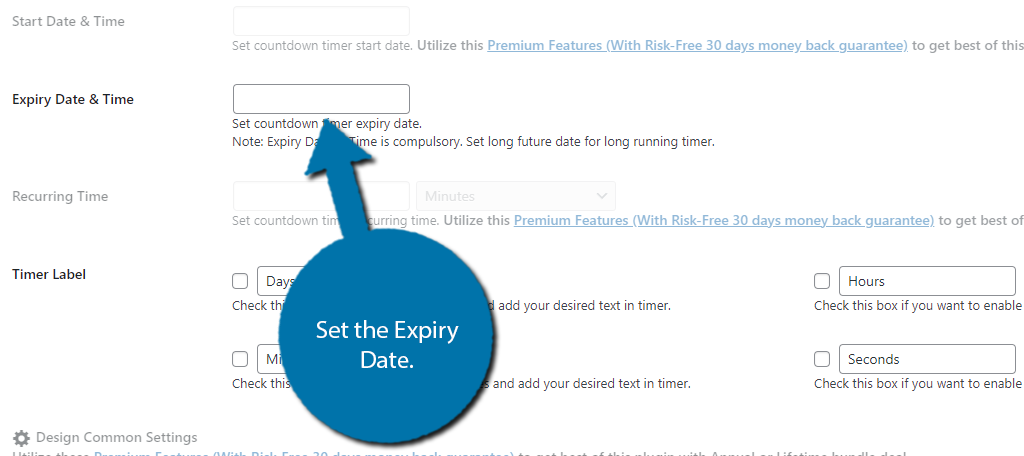
Start by entering the Expiry Date. Clicking on the text box will open a calendar where you can select a date and time. This is when the countdown will end.
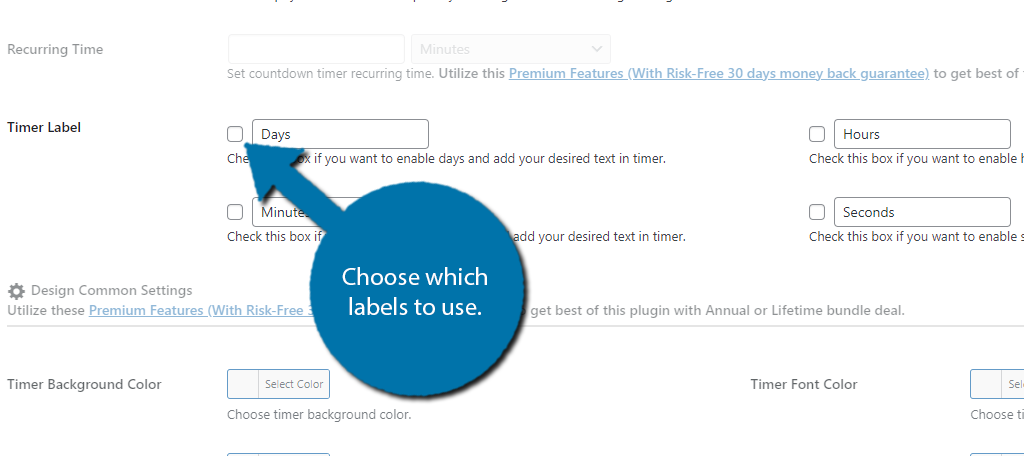
You can also set the Timer Label. This just allows you to choose how many components are visible in the countdown timer. Do you want it to show the number of days, hours, minutes, second, and so on?
Simply check the boxes for what you want to show off.
And that covers what you can do in the free version. Unfortunately, all of the color options are locked behind the Pro version, so all that’s left is to save the changes and publish the Timer for use.
Step 3: Add the Timer to Your Site
With everything set up, you just need to copy the shortcode and paste it in the desired location. You can find the shortcode underneath where you published the timer. Alternatively, you can find it in the timer list within the plugin.
In either case, copy the shortcode.
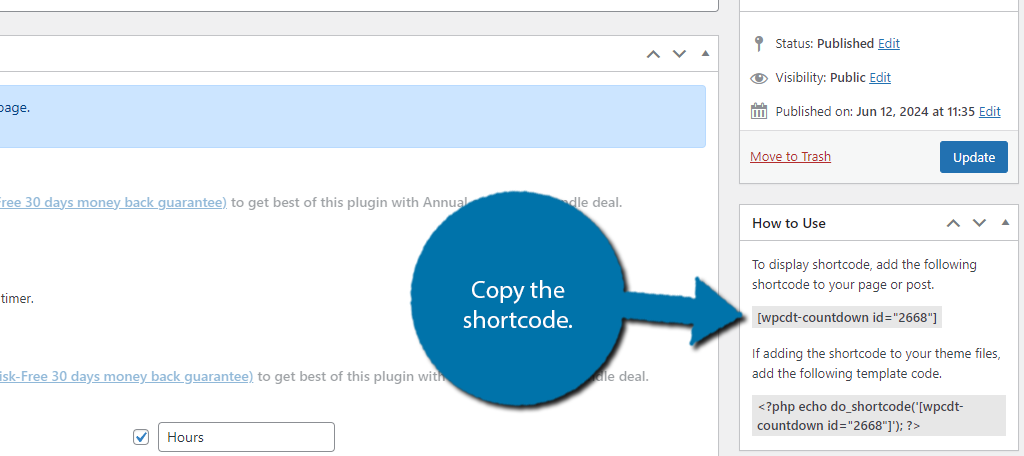
At this point, go to the post, page, or widget area you want to display the timer in and add a shortcode block. Then paste the shortcode and save the changes. After that, you can view it on your live site.
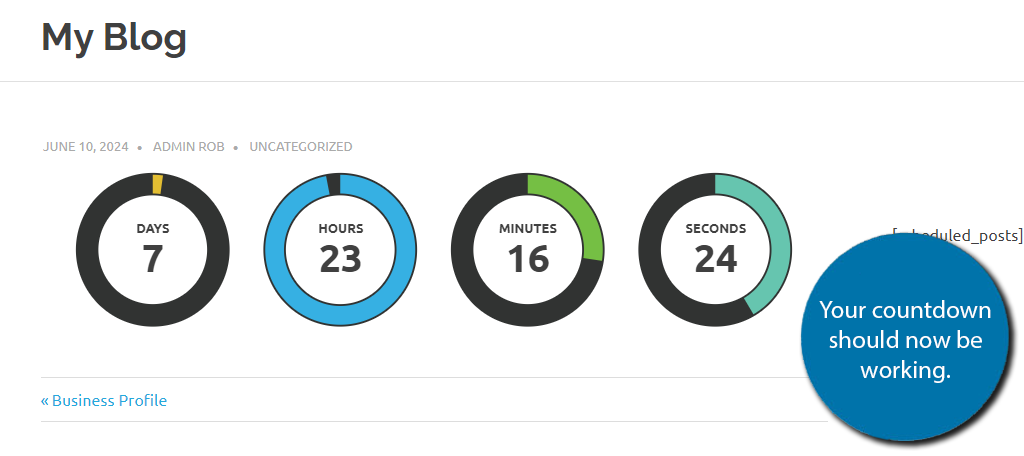
And that’s it. Remember there are a lot more options in the Pro version. For example, you can set a starting time so that the timer only appears after a certain date. A great use of this would be for a holiday.
For instance, consider Christmas. You wouldn’t really want a new countdown to Christmas to start immediately. Instead, you would probably only want to see it on your site after Thanksgiving or so, which you can do by setting a start time.
For more details on the Pro version, refer to the plugin page.
Other Countdown Timers in WordPress
The plugin above is only one option you can use in WordPress, here are some additional plugins you can use to add an animated countdown timer in WordPress:
Countdown Timer for Elementor

Elementor is one of the most popular page builders for WordPress. Naturally, it has several add-ons you can use to add additional features and options to the pages you build. The Countdown Timer for Elementor is one such tool.
As the name suggests, it provides a countdown timer you can add to pages you build with Elementor. It appears as a widget inside the Elementor editor; thus it will not work without Elementor.
That said, unlike the plugin we just covered, you will be able to change all of the colors for free, thus it is a great choice if you already have Elementor.
Countdown Timer – Widget Countdown
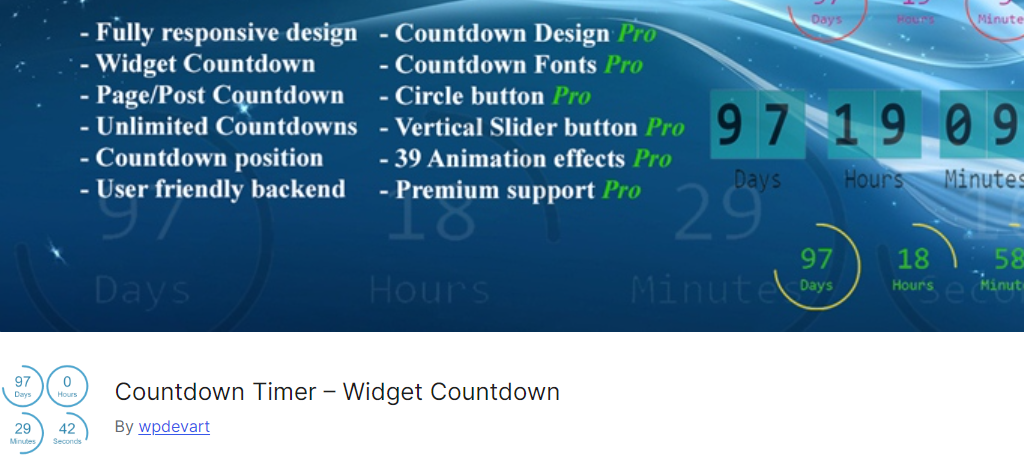
The Countdown Timer – Widget Countdown is another great animated timer for WordPress. As the name suggests, it focuses on creating timers that fit within your widget areas like the sidebar, header, and footer.
Something that makes this tool stand out is the expiry commands, which allow you to choose what happens when a timer reaches zero. This can be simple like making it disappear, or more complicated like replacing it with another.
If you are looking to place a countdown timer in the widget area, there is no better option than this.
HurryTimer
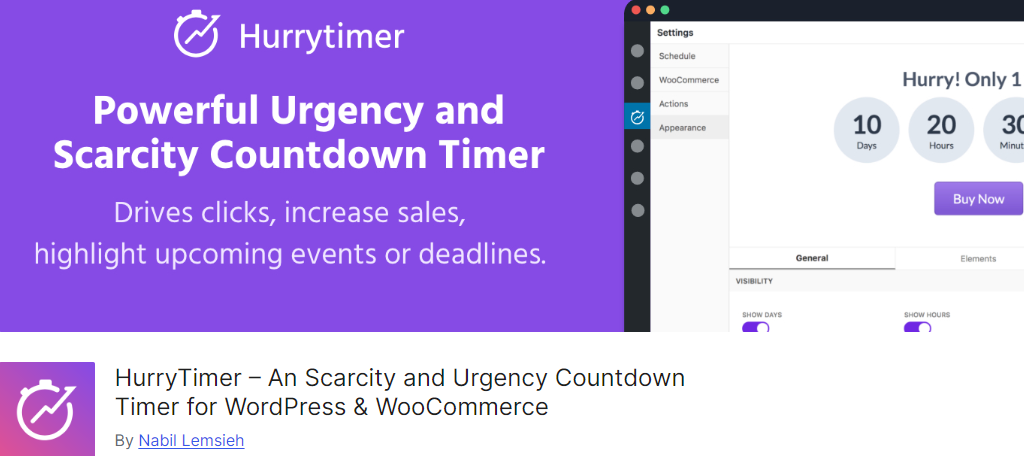
One of the most popular uses for timers and countdowns is to highlight limited-time events. This will trigger many customers to feel like they are missing out if they don’t act now, which is what FOMO marketing is all about.
The HurryTimer plugin was built with this in mind and is fully compatible with your WooCommerce store. You can use it to create one-time events, or evergreen events that are always happening.
The Pro version even allows you to create recurring events. You’ll have full customization, which can help you target your audience more effectively. If you are looking for timer in WooCommerce, this is the plugin.
Add An Animated Countdown Timer in WordPress Today
As you can see it is easy to add an animated countdown timer in WordPress and there are several plugins to choose from. Doing so can significantly improve sales by capitalizing on FOMO marketing tactics.
In other cases, keeping users informed about upcoming dates can be a useful tool for many sites. In any case, WordPress gives you the freedom to do all of this however you want, which makes it the best platform to develop on.
I hope you found this tutorial helpful in setting up an animated countdown timer in WordPress.
Why did you want to add a countdown timer in WordPress?
