
Regardless of what kind of business you run, it’s always nice to showcase the amazing people who work with you. You’ll see this a lot on various company websites. Today, I’ll show you how to create this staff list in WordPress
With it, you can create a list for staff members that includes all of the pertinent information that you wish to include. This includes their image, name, positions, telephone number/extension, email, availability, and more.
It really just depends on the nature of the business as not all businesses will need to give out phone numbers and emails to customers.
This tutorial is for:
WordPress 5.9
Plugin: Staff List v1.6.4
Why Create A Staff List In WordPress?
To be perfectly clear, a staff list really only makes sense when your business is trying to create a personal connection with customers.
And if that is your goal, taking the time to show off your team members in WordPress will pay off big time.
For example, think of a real estate agency. Ever notice how every single one always includes pictures of their agents?
Well, that isn’t just a random coincidence. There is proven data that concludes it is easier for a customer to remember a face instead of a name.
That can be very helpful for many businesses, which is why you may want to create a staff list. With all of this said, not every business is going to need to showcase employees.
For example, it would be a bit out of place for a restaurant. Although, you might be able to make a case for high-end restaurants with famous chefs. But this is the exception, not the rule.
In any case, let’s cover how to create an employee list in WordPress.
How to Create A Staff List in WordPress
Step 1: Install Staff List
The Staff List plugin allows you to build a responsive employee directory that can help you show off your staff or help give your customers an idea of who to look for. It also has a great selection of customization options.
The good news is that the plugin makes it very easy to build your own employee directory template.
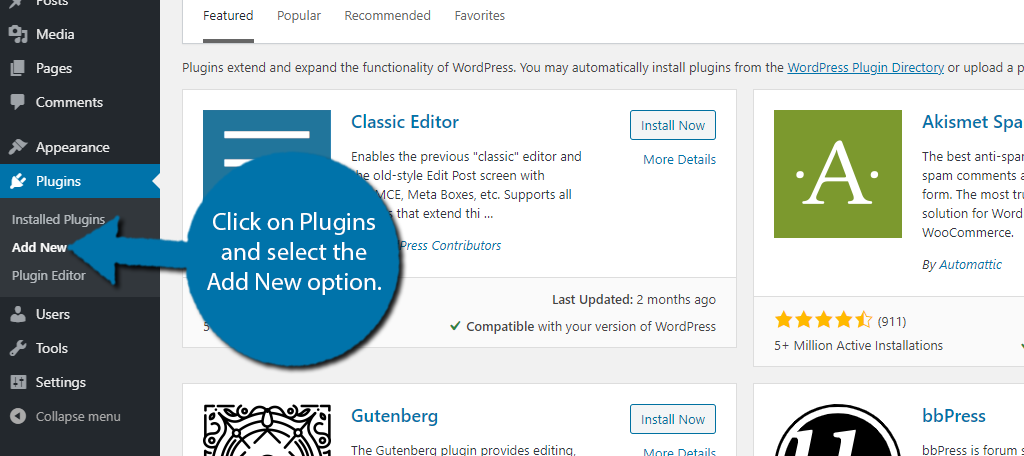
Let’s start by clicking on Plugins and selecting the Add New option on the left-hand admin panel.
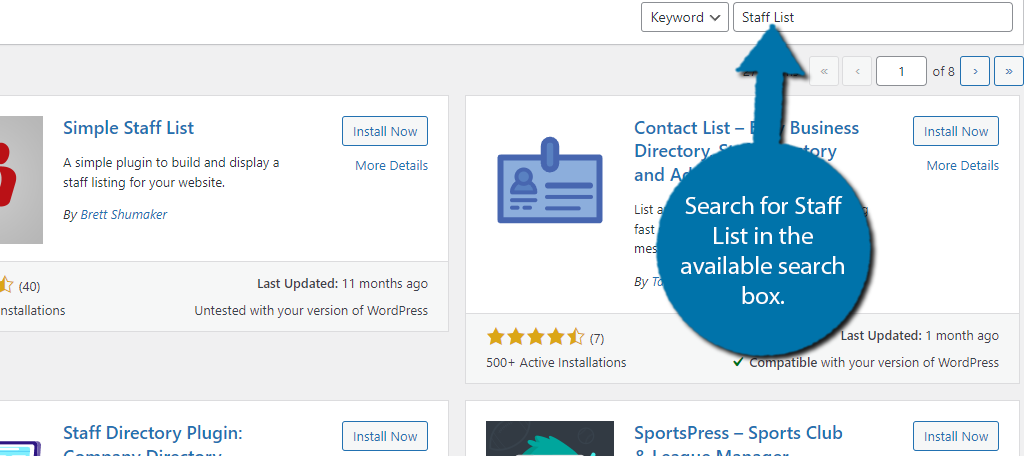
Search for Staff List in the available search box. This will pull up additional plugins that you may find helpful.
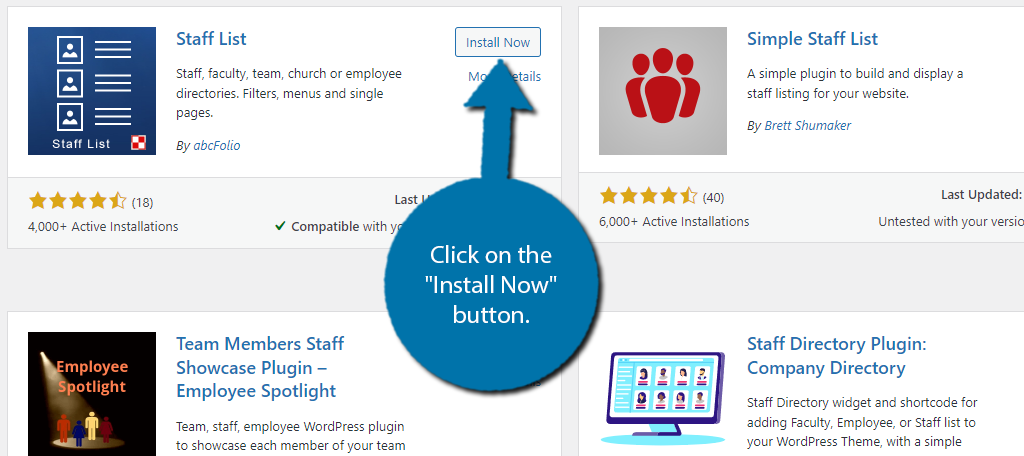
Scroll down until you find the Staff List plugin created by “abcFolio.” Click on the “Install Now” button and activate the plugin for use.
Step 2: Create A Template
You could start by adding staff members, but I would recommend setting up the template first. As I said earlier, it’s pretty easy to do.
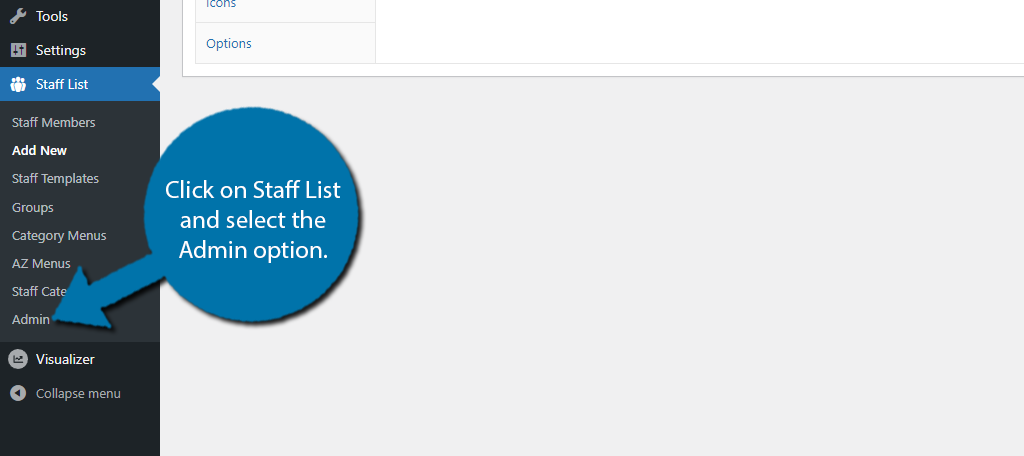
Click on Staff List and select the Admin option.
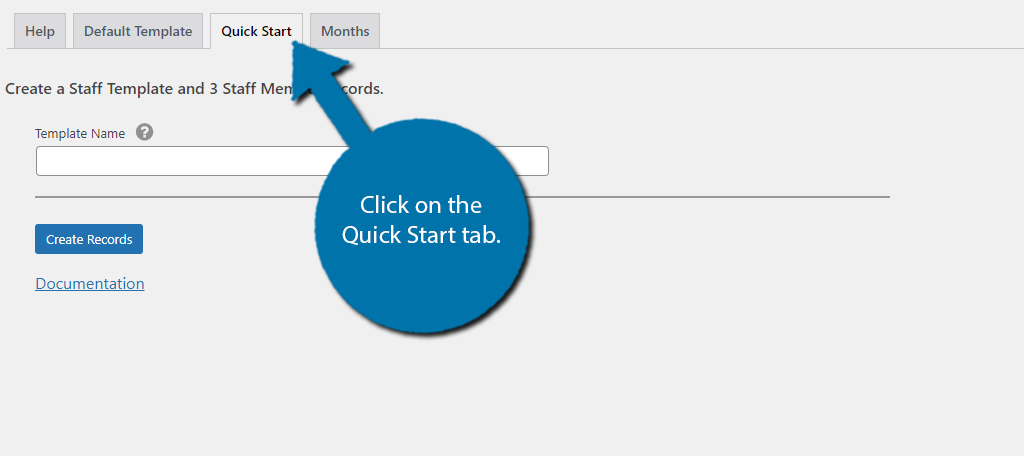
Click on the Quick Start tab.
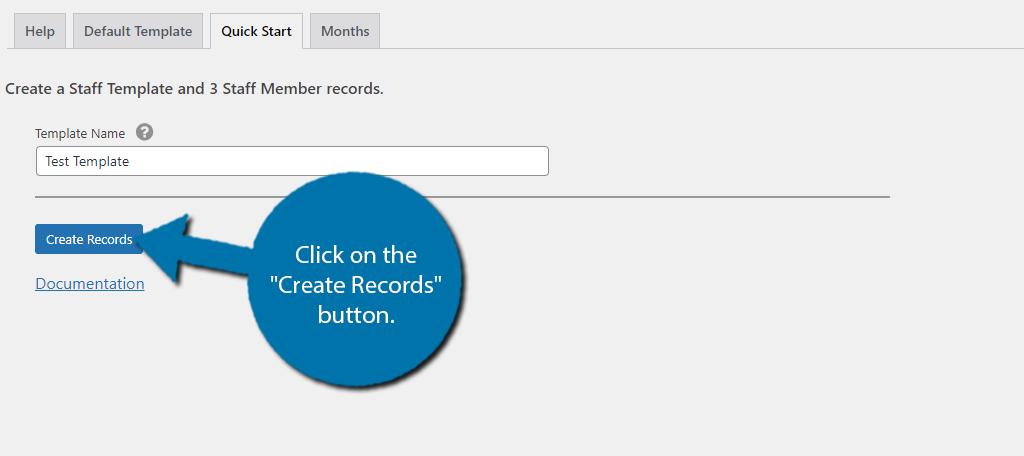
Enter a name for your new template and click on the “Create Records” button.
Note: This is also where you can find the plugin documentation.
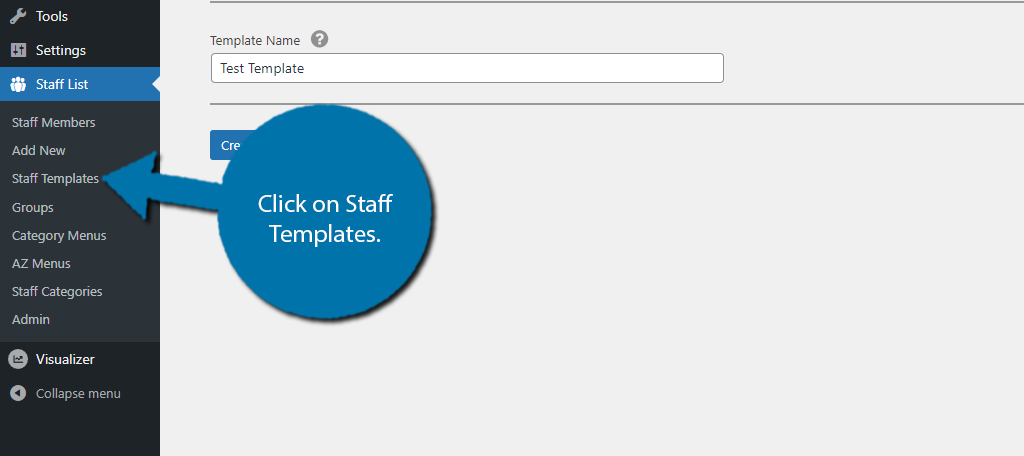
This will automatically generate 3 staff members that you can use as a basis for your directory, but we will focus on them in the next step. For now, click on Staff Templates.
Select the template you just created. There are two main sections to this area. The first is for customizing the page layout while the second is for the input fields (Name, Email, Position, etc.).
To be perfectly honest, there are a lot of settings here, which are too many to cover in this tutorial. The good news is that everything is pretty easy to understand. Simply go through each one and pick the options you want.
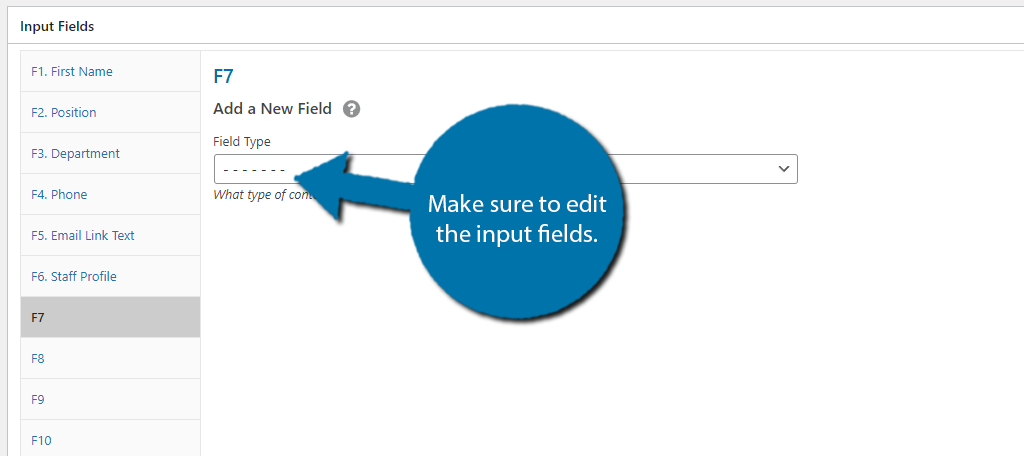
By default, there are 6 input fields that include first name, position, department, phone, email link, and staff profile. You can have a maximum of ten fields, so feel free to edit the existing ones or add some new ones.
For instance, you could add social accounts if staff members choose to include such. Not to mention how some customer relations employees directly deal with customers on sites like Twitter or Facebook.
Click on the “Update” button to finish editing the employee list template.
Step 3: Add Staff Members
With the template in place, you should begin filling it with your employee roster. To save time, you may want to assemble pictures for your staff members. However, make sure they are good ones. These are public-facing images, after all.
A picture says a thousand words, and you want those to be positive.
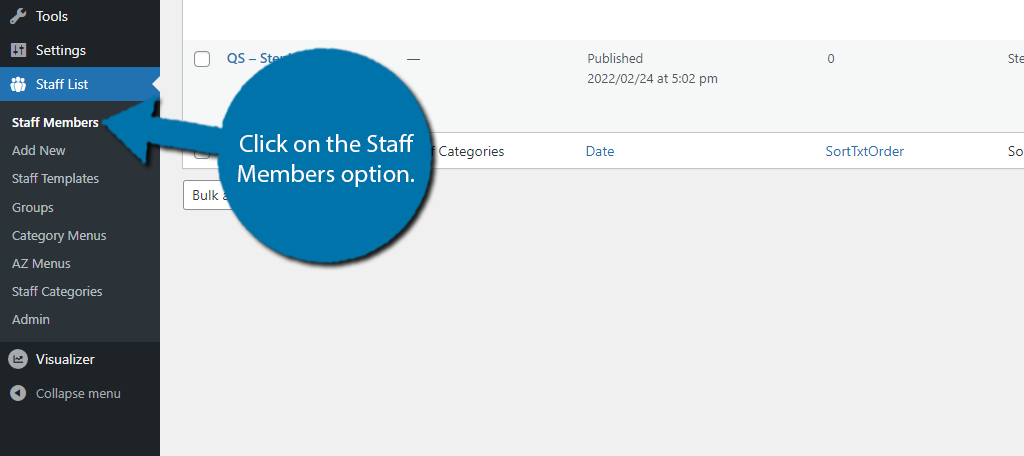
Remember how I said that the template creates three employees for you as an example? Let’s cover how to edit them and add new ones. Click on the Staff Members option to begin.
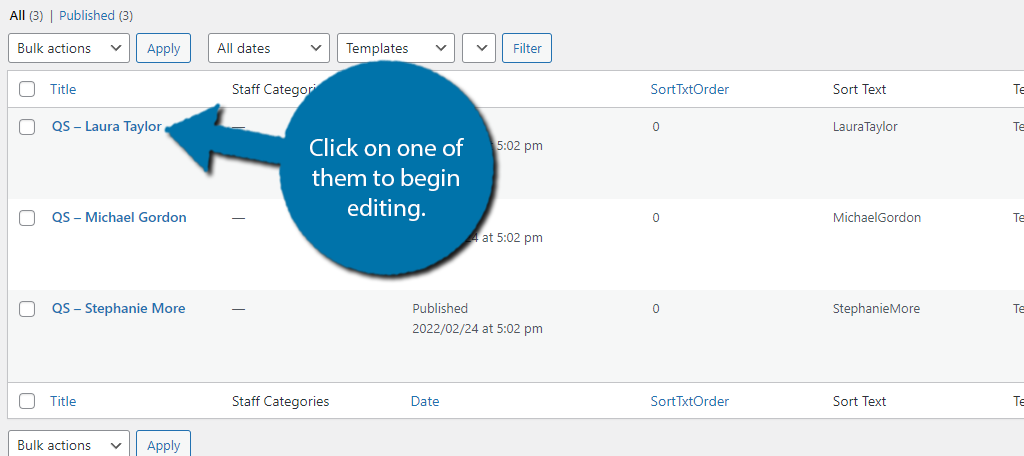
Here you can see the three example staff members. Click on one of them to begin editing.
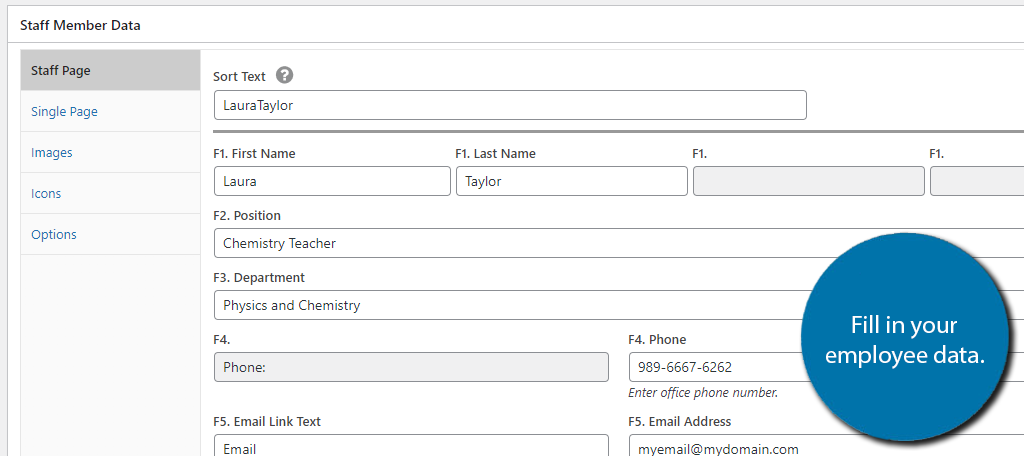
Click on the Staff Page option and you will see all of the information that the plugin added automatically. You should begin by replacing it with real information for your staff members.
Note: Even though the input field is named “First Name” it provides several fields to fully enter a name.
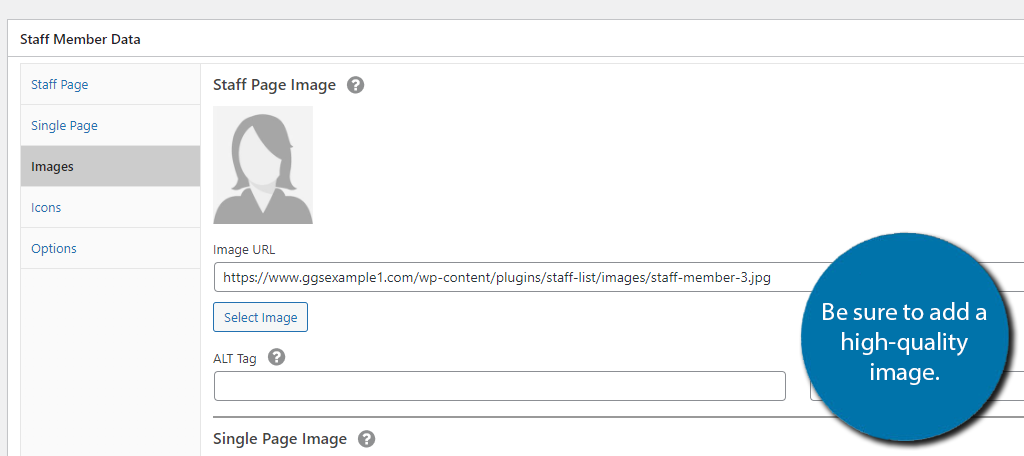
Click on the Images option. Here, you can upload a photo of your employee. If you added social media icons to your template, you can click on the Icons option to select the necessary ones and link them to the intended pages.
Once you are satisfied with all of the information, click on the “Update” button. If you want to add a new staff member the process is identical to editing a profile like above.
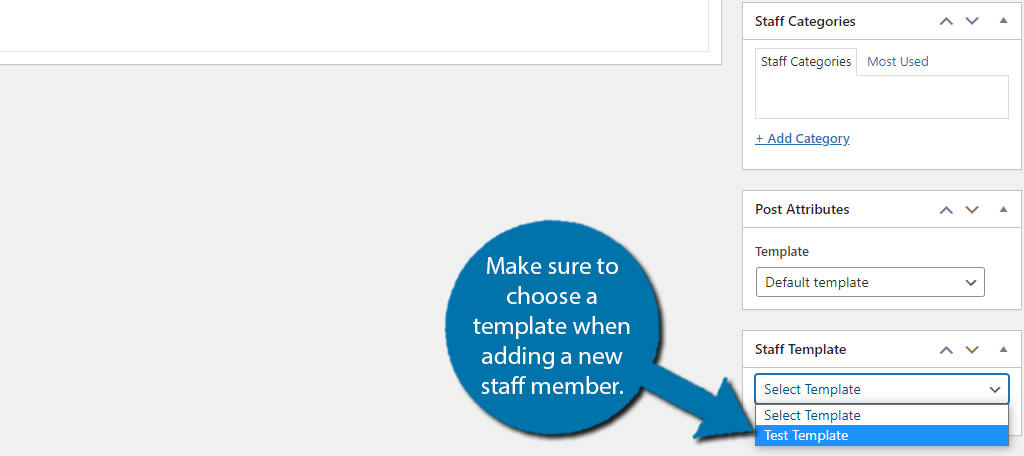
However, there is one small, but crucial difference. All of the input fields are saved to the template, therefore, you need to select the specific template.
You can find the Staff List templates drop-down on the right-hand side. Just pick the template you made in the previous step and you are good to go.
Take the time to add as many staff members as necessary.
Step 4: Display Your Staff List In WordPress
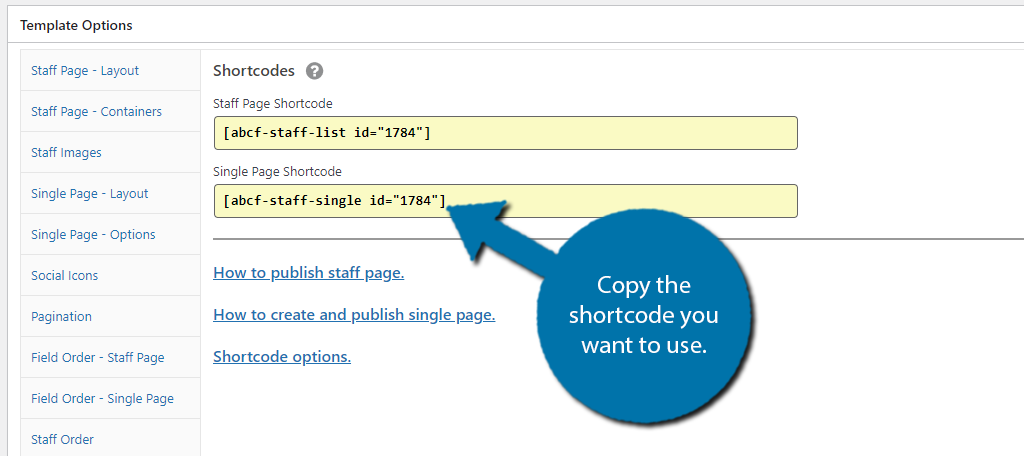
All that’s left is to actually display your staff list on WordPress. This is pretty easy. Each template has a shortcode associated with it and you just need to copy and paste it into the desired location. Pretty easy right?
To find the shortcode, select the Staff Templates option and select the template you created. Click on the Shortcodes option and copy the shortcode.
After that, just go to the page or post you wish to display it in and add it to a shortcode block.
It’s probably a good idea to set up a specific page in WordPress that focuses on your staff members. Or, you can add it to your “About Us” page if you already have one set up.
Another good idea is to add your staff list to a “Contact” page if you have one created. Especially if your staff has contact information, such as phone numbers, email addresses, or social media accounts available.
Congratulations on learning how to use the Staff List plugin in WordPress. Remember that you can freely edit the template or staff members at any time.
Show Off Your Staff Today
Making sure that your business has a connection with its customers is vital to every business. And it’s your employees that will create that connection with customers. Be sure to include a photo of your employee in their standard work attire.
It’s also worth pointing out that this staff list is only useful if it is accurate. If an employee joins or leaves your business, you need to update the list as soon as possible. Even something as small as a uniform change will require new pictures.
This might sound like a lot of work, but it can really make a difference and improve customer relations.
How easy did you find the Staff List plugin to use? Have you noticed any positive impacts on your business since adding a staff list?