A lot of cool new features have been introduced with WordPress 5.0, the Gutenberg Block Editor update. Including integrating the featured image in WordPress into the Gutenberg editor. You can also do things like build content blocks and export and import them for use on other websites.
The feature that we’re going to talk about today is the Gutenberg Block Editor “Cover” block. This block allows you to add cover images to a WordPress post or page.
The cover image feature has caused some confusion. It seems to be a lot like the featured image that has been a part of WordPress since version 2.9.
In this tutorial, I will explain the difference between the cover image and the feature image in the Block Editor. I will also show you how to add a WordPress cover image and add a WordPress featured image using the Gutenberg Block Editor.
What is a Cover Image?
A cover image is a wide image that you use for a new section in a blog post or on a page. The WordPress cover image is part of the article. You can add a WordPress cover image when you are starting a new section of your article within the block editor.
The Cover block option in the Gutenberg Block Editor also allows you to add text and color overlay to the cover image.
By adding appropriate text and color overlay to match your theme or to enhance the message you are trying to get across, you can make your article more engaging.
In the past, bloggers have used headings, or heading text, or sub-headings to separate sections in a blog post. Sometimes adding an image below the heading, sometimes not.
The Cover block option now gives you a more visually appealing way to break up your blog post into sections.
What is a Featured Image?
The featured image in WordPress, also known as a post thumbnail, is the main article image that represents all of the content. The featured image is the image you see when scrolling through blog archives and trying to pick a story to read.
It is also commonly displayed on your website on single posts. As well as on the homepage of news, magazine, and blog websites.
The featured image is also shown on your social media feeds when you share an article across your social platforms.
Featured images are usually designed or chosen to best represent the content. More often than not, they are visually attractive and give users a quick glimpse of your content and prompt them to read the entire article.
You will find a meta box in your post edit screen for adding a featured image because almost all WordPress themes support featured images.
Where and how your featured images are displayed is controlled by the WordPress theme you have chosen to use. You can also link featured images WordPress posts automatically.
How To Add a Cover Image in the WordPress Block Editor
The new WordPress block editor comes with a Cover block option that lets you add a cover image in your WordPress article.
First, create a new post or edit an existing one. On the post edit screen, click the “Add New Block” button and then choose “Cover block.”
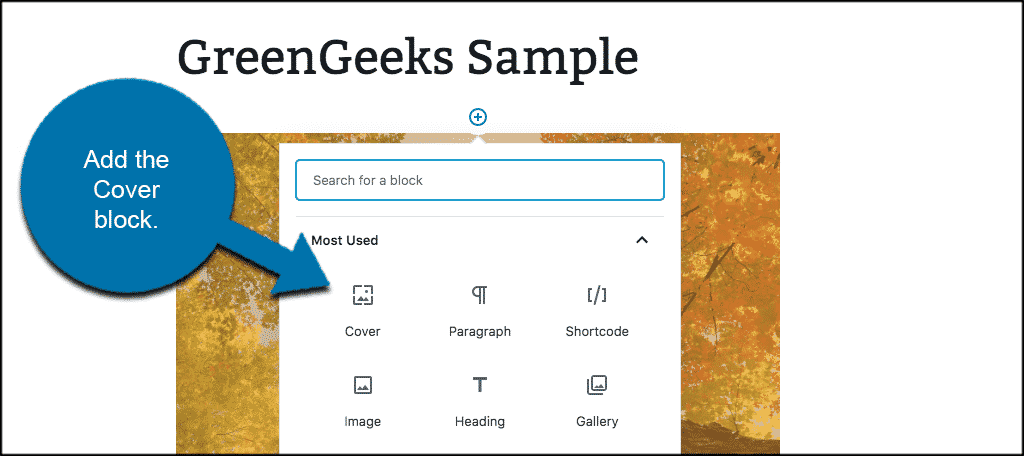
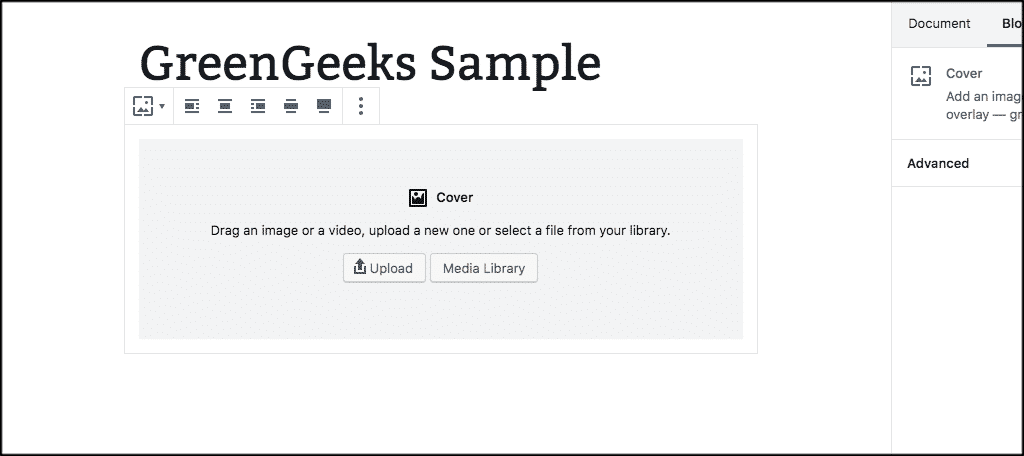
You will find the Cover block option in the “Common Blocks” or “Most Used” sections. When you click the block, you will see the Cover block added to your content editor with options to add your new cover image.
Drag and drop an image or video in the block area to upload a new cover image. You can also select from your media files by clicking the “Media Library” button. Or you can click the “Upload” button to choose an image on your computer.
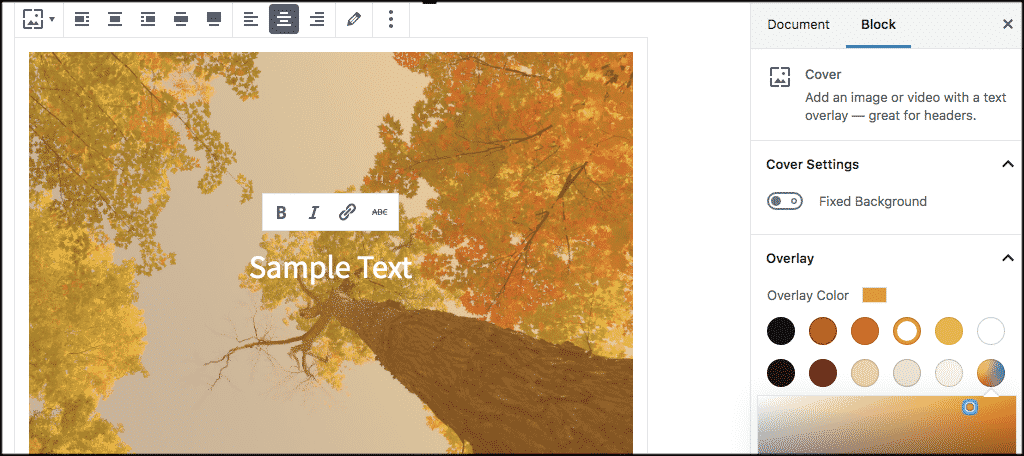
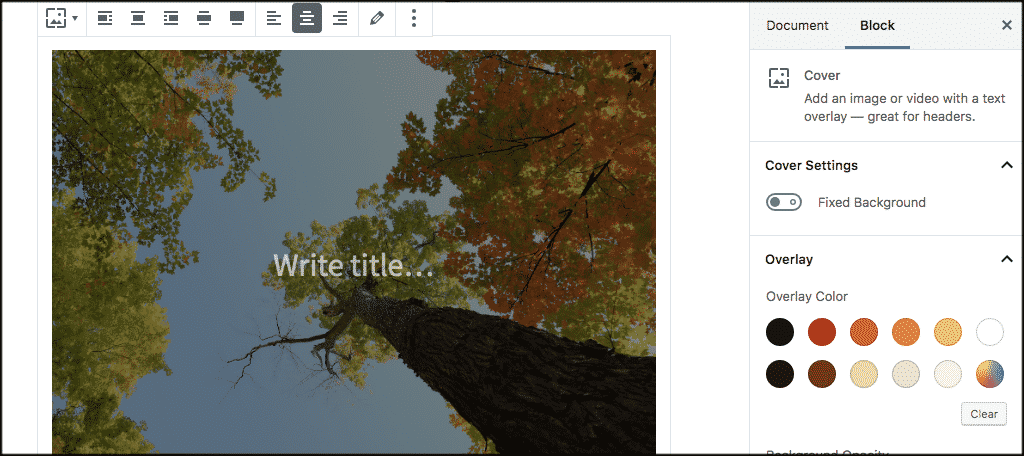
Once you have added a WordPress cover image, you can easily customize it by clicking the cover image.
You will then be shown a toolbar with customization options above the image “Write title…” field in the center of the Image and Block settings including color overlay in the panel in the panel on the right.
Working With Image Widths
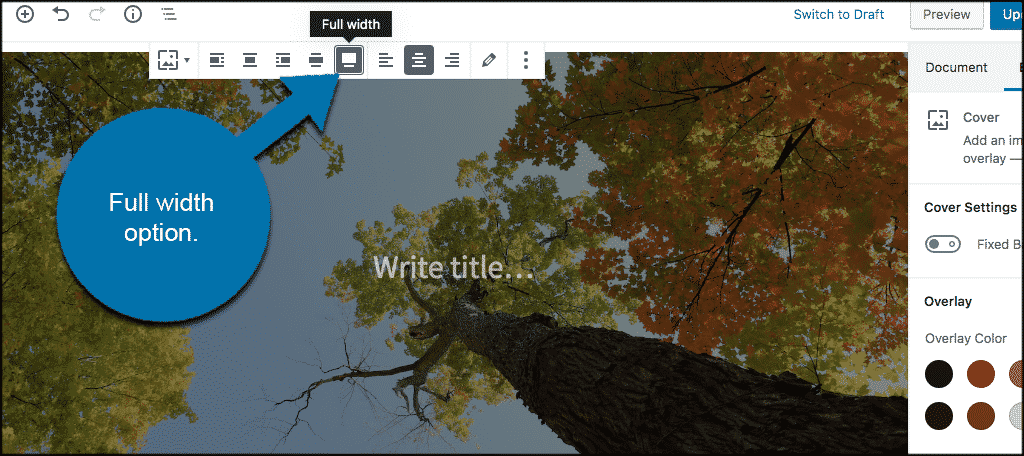
Aside from the alignment option, the cover image block gives you the two width choices: “Wide width” and “Full width.”
The “Wide width” option makes the image look as wide as your content. The “Full width” option makes your image cover the entire browser window.
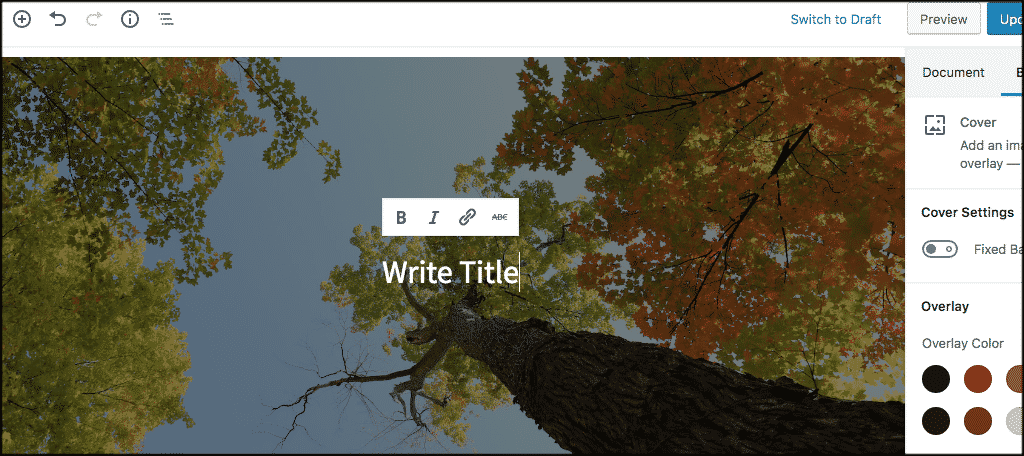
You can also add a title for your cover image. When you click the cover image, you will see the “Write title…” field in the center of your cover image.
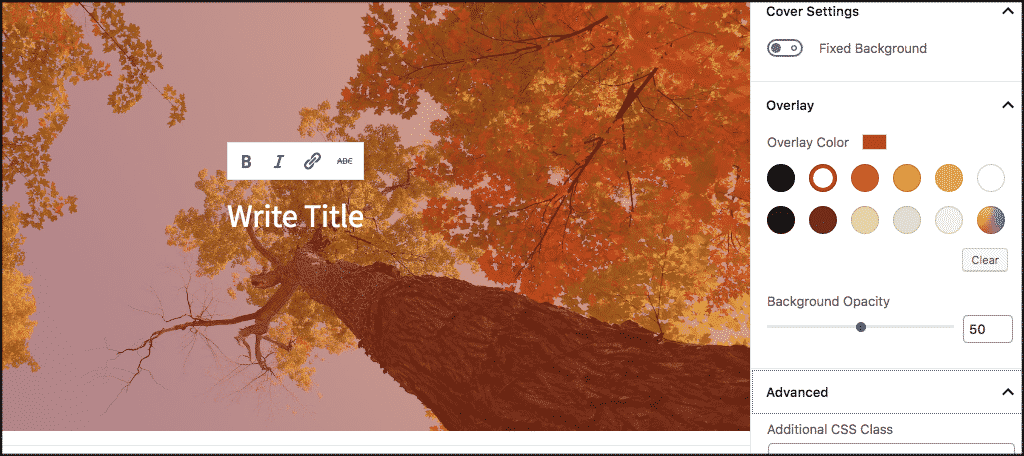
Finally, on the right side of your cover image, you will find a few more settings. You can enable “Fixed Background” to create a parallax effect when users scroll down the page.
Below that, you will find the “Overlay Color” settings. From here, you will be able to change the color overlay and opacity.
And last but not least, you can add CSS code and add more styles to your cover image by clicking the “Advanced” option.
Remember, you can repeat the steps above and add as many cover images to your article as you’d like.
How To Add a Featured Image in the WordPress Block Editor
When you add a featured image to a post using the WordPress block editor, you will find that the process is still the same. If you have had a WordPress blog for a while, you already know how a featured image is added.
To add a featured image to a WordPress post, create a new post or edit an existing one.
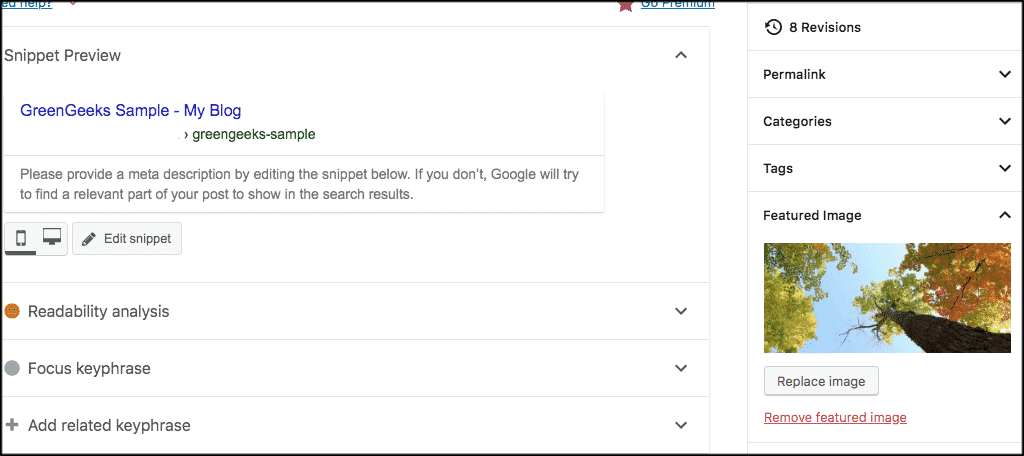
When you open the post edit screen, navigate down to the “Featured Image” meta box located in the panel on the right.
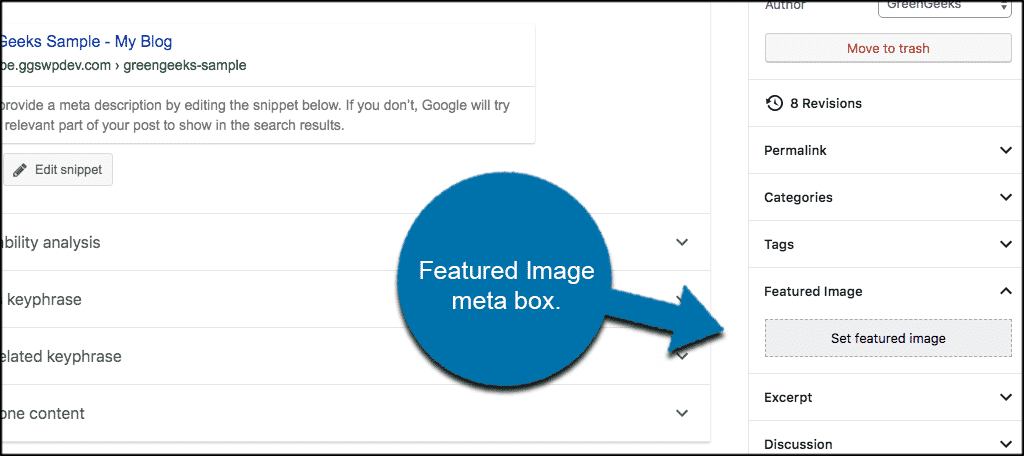
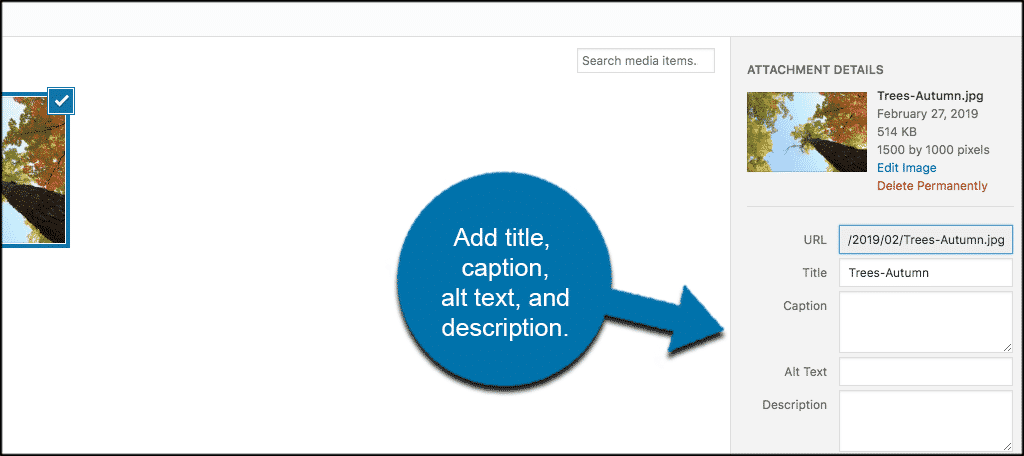
You can upload a new image using either the drag and drop uploader or by selecting an image from your Media Library. Then you can add a title, caption, alt text, and description for your featured image. Then click the “Select” option.
That’s it. You’ve added a featured image in the WordPress block editor.
Now, if you are using the newest WordPress default theme or any modern theme, you can edit the overlay color of your featured image, to an extent.
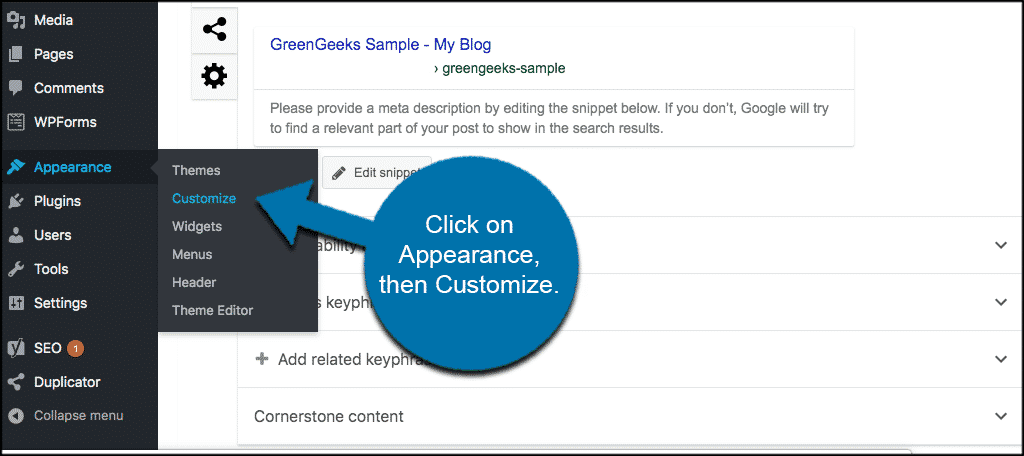
In the left column navigation mouse over the “Appearance” link and click the “Customize” link. That will take you to the live WordPress customizer.
Click the “Colors” tab and switch the default colors of your theme.
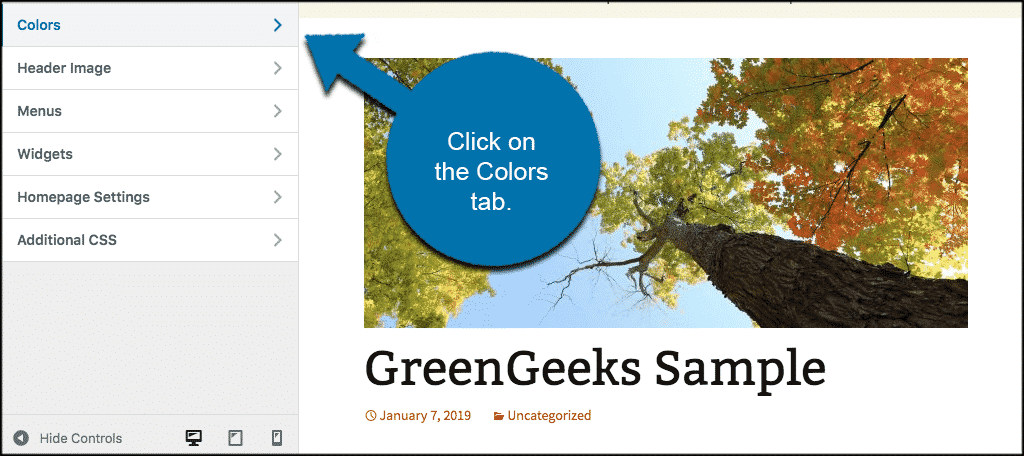
Note: WordPress themes manage featured images, so you may not find this option if your theme doesn’t support image filters.
Cover Image and Featured Image Best Practices
Now that you understand how to add a cover image and how to add a featured image in the WordPress Gutenberg block editor let’s take a look at some best practices.
Featured Images
Featured images are popular when used by one or more of the following as post thumbnails or main article images:
- WordPress Blogs
- Online Magazines
- News Websites
- Entertainment Websites
Well-designed and attractive featured images will help drive readers to open the full article. They also work well for making your WordPress website look more beautiful and interactive.
Cover Images
Cover images are a part of your article. They are used to separate sections and create headings. Adding cover images can make your article more visually entertaining and interactive.
The best way to use cover images in the WordPress block editor is as a graphic transition between sections within a long article.
Cover images are also more unique than featured images in the fact that there is a full-width option available, and you can add text and color overlay to the picture.
When you use the cover image function correctly, you can increase and improve user engagement on your posts and pages in WordPress.
I hope this article was helpful to you. Now you should have a better idea of the differences between cover images and featured images in the WordPress block editor. You should also understand how to add both easily.
Have you started using the new Cover block in Gutenberg yet? Have you found that when used, your articles get more engagement?
Hi 🙂 I’m new to using this block editor, and I can’t seem to add a featured image. When I click the little arrow next to Featured Image, it just shows a blank field, and doesn’t display the “Set Featured Image” meta box. I’ve tried simply clicking in the empty space hoping there would still be some kind of link but there’s nothing there. Can I add a featured image via another way, or is there a way to get the meta box to show up? Any suggestions welcome 🙂 Thanks!
Hi Carmen,
That actually sounds like a theme issue. What theme are you running?
Hi Jeremy,
hmm that could be true, I’ve had some issues before because of the theme I use. I have the ‘Marco’ theme: https://themeforest.net/item/marco-photography-magazine-wordpress-theme/15911050
It could also be the post type you are using. The theme may allow featured images on certain post types. I would contact the theme developer. You could also turn plugins off one-by-one and see if there is any plugin conflict.
What about if the featured image meta box is missing?
Hello Dave. There could be a few reasons why the meta box is missing in WordPress. The first thing you should check is to make sure your theme supports Featured Images. Not all of them do. Other than that, you might have to take a look at your theme’s documentation or contact the developer. There are just too many variables to troubleshoot in the comment section.