Adding a classifieds area to your website has potential to increase traffic. It gives users an outlet to buy or sell goods that are relevant to your niche, which could ultimately impact the popularity of your blog.
Think of outlets such as Craig’s List. Imagine what you can do to make that platform better using your own WordPress hosted website. This is your chance to give people an alternative that centers around your own content.
In this tutorial, I’m going to show you how to install the WP Classified plugin and how you can make it work for you. While it may take a bit of work to maintain something like this on your site, the trade-off in recognition is often worth it.
Using the WP Classified Plugin
WP Classified is a feature-rich plugin with a lot of options for customization. One of the highlights to the plugin is the reviews and rating system that is integrated. After all, consumers are more apt at buying a product based on the recommendations of others.
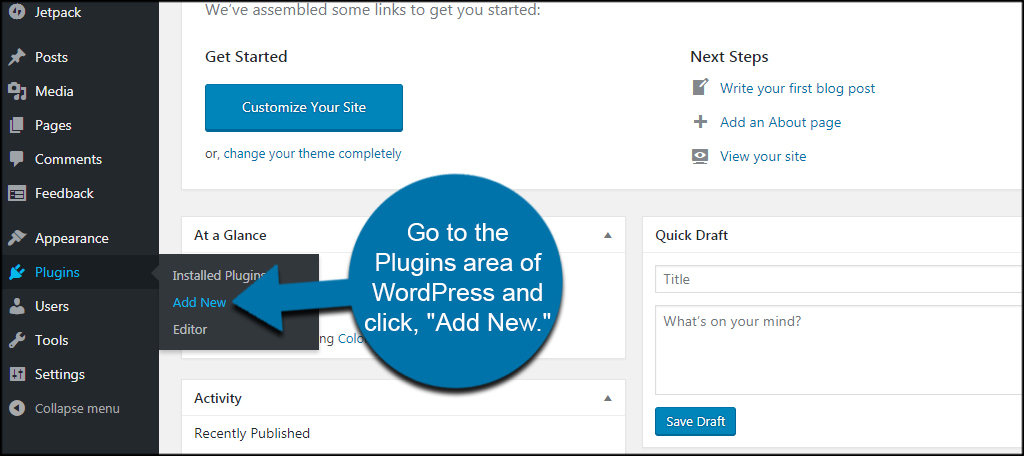
Go to the Plugins area of WordPress and click, “Add New.”
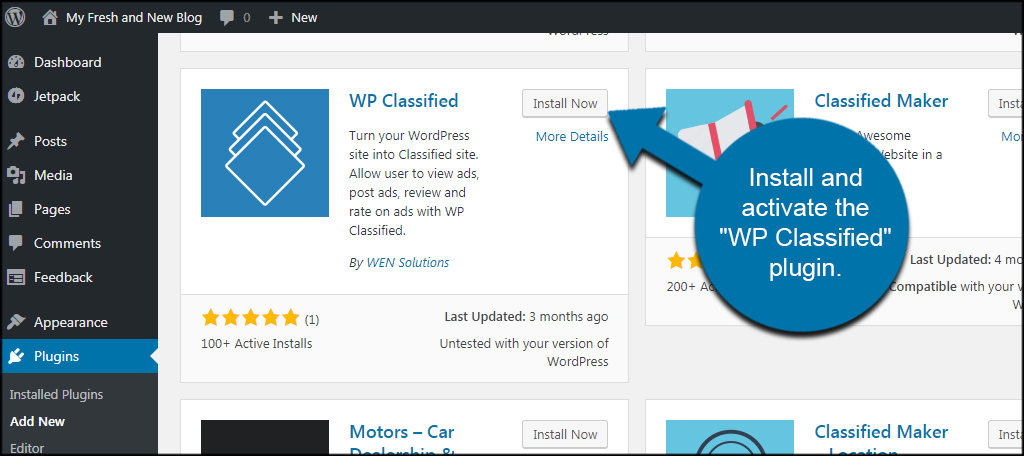
Install and activate the “WP Classified” plugin. There will be quite a few available, so make sure you select the correct one.
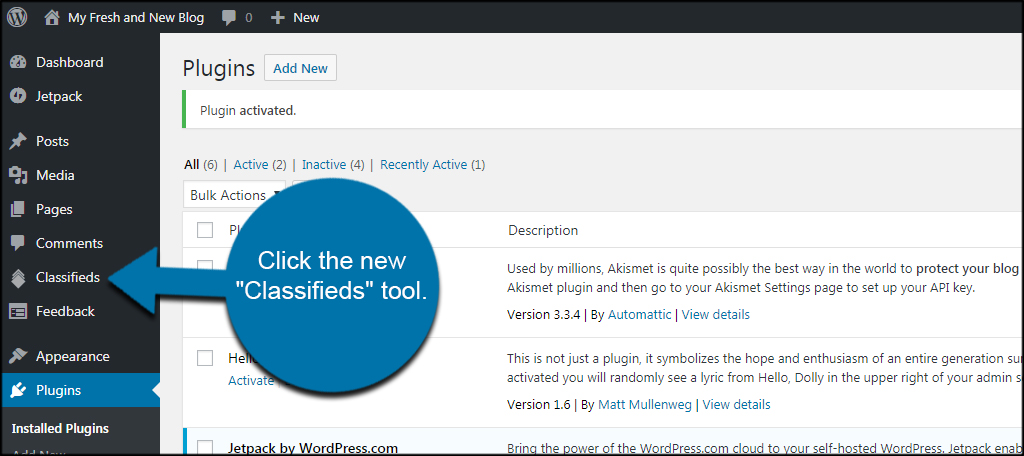
In the left panel of WordPress, click the new “Classifieds” tool.
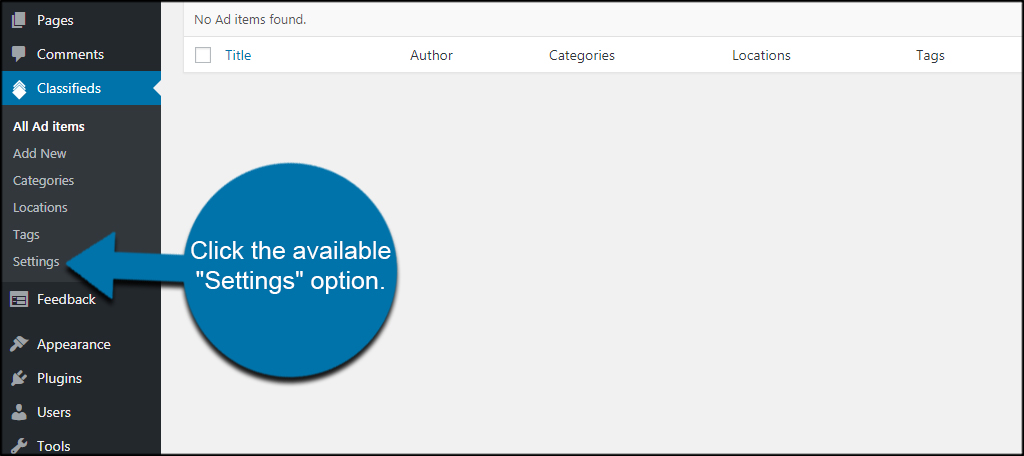
The default screen will show you a list of all classified ads on your site at this moment. It will show the author, category and other elements. Let’s start by adjusting the settings. Under the Classifieds area, click the available “Settings” option.
Here, you control how the classifieds work on your site. Let’s go over each segment.
General Options
In this area, you can set what page is used for the classifieds section as well as the login page. All of these default pages are provided for you from installing the plugin, however, you can use custom pages if you choose.
Page Display Type
The two options available here let you set how you want the page to be displayed. You can choose from showing products, categories or both.
Currency Options
WP Classified supports a long list of currency types. Make sure you select the correct one for your location. For example, those who are based in the United States would use the “US Dollar” option from the drop down list. You can also show change the appearance of the decimal point as well as the thousands separator.
Reviews
By default, WP Classified enables both ratings on reviews and ratings required to leave a review. This helps reduce spammy ratings as it makes it more difficult for a seller to inflate false ratings on a product.
Terms and Conditions & Disclaimer
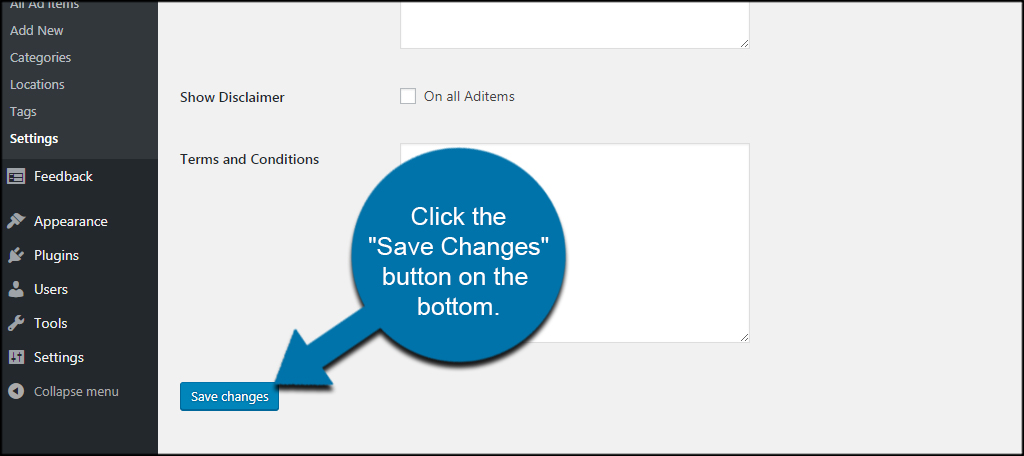
These two areas are very important. If written well, they can save you from legal problems if someone using your site is abusing the system. Do your research and make sure you provide adequate information to protect yourself as well as those using your blog.
When you’re ready to start promoting your classifieds area, click the “Save Changes” button on the bottom.
Next, click on the Tags area in the left column of WordPress under Classifieds. Please note, this is not the same area that is available in Posts.
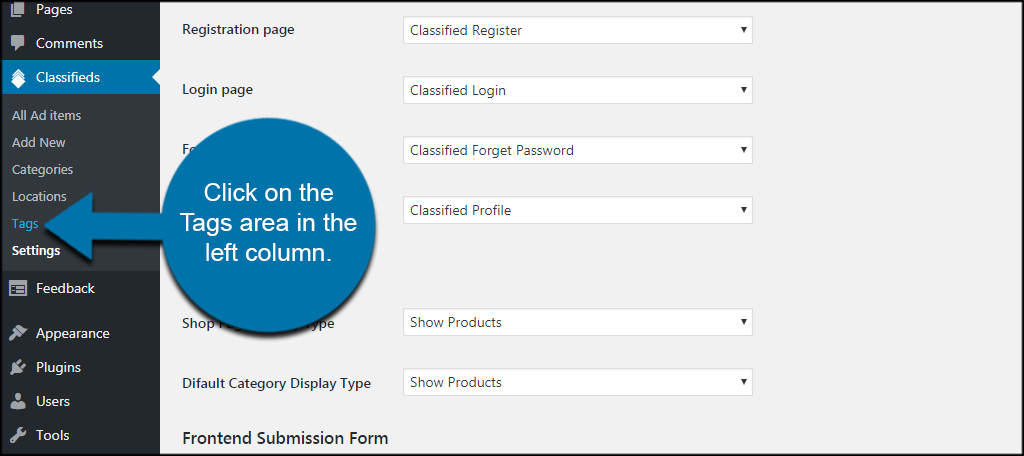
The tags used by WP Classified are separate from those used in your content within WordPress. These are the searchable elements that help people find similar products.
Tags can be created when posting a new classified ad just like you would if you were creating a post in WordPress. In fact, the editing system for WP Classified is quite similar in many regards. I’ll show you that in a moment.
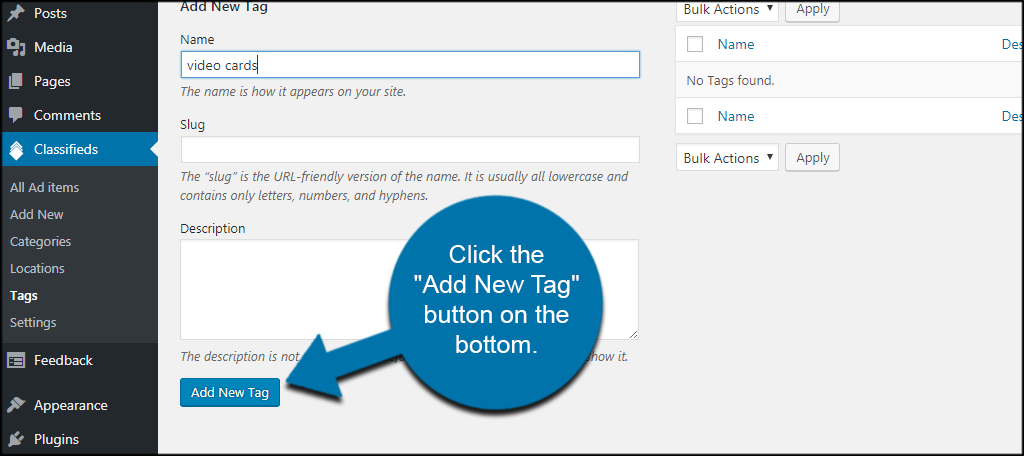
You can add tags in this screen when you click the “Add New Tag” button on the bottom.
Click the Locations option.
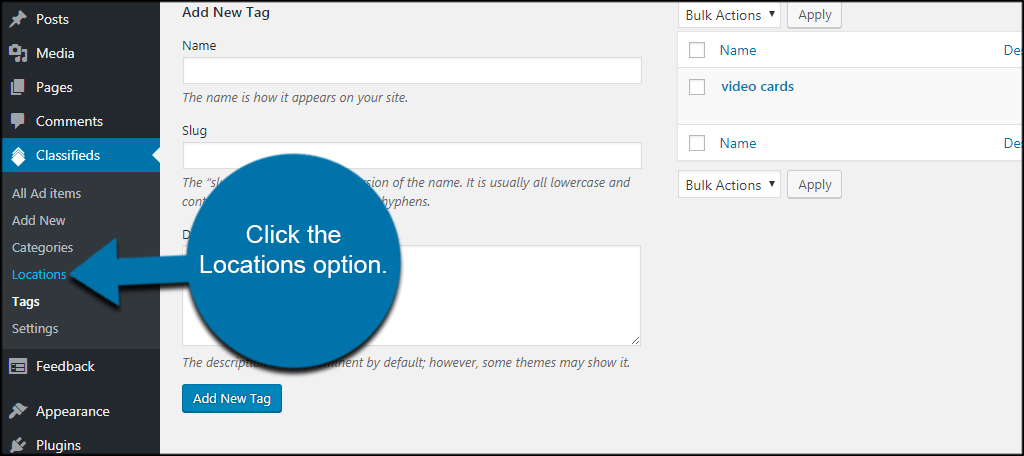
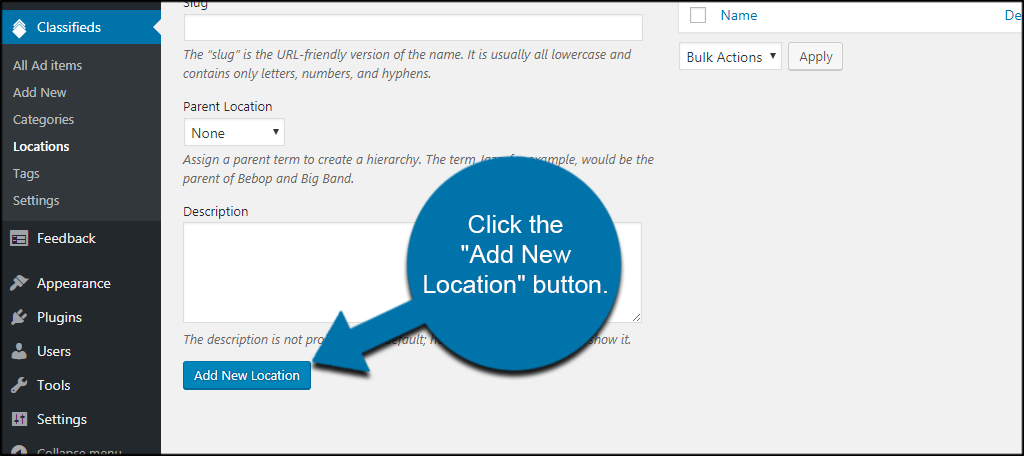
Like the Tags area, you can pre-define locations for WP Classified. And like the Tags, locations can also be added when creating a new item. You can also add parent locations if you want to organize those areas. For example, you can add Florida as a location and then add Miami and set Florida as the parent.
When you’re ready to save, click the “Add New Location” button.
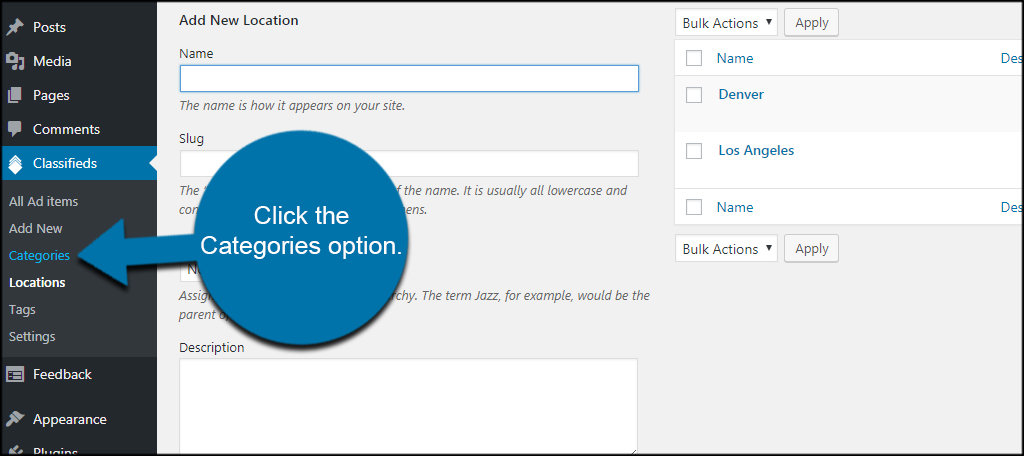
Click the Categories option.
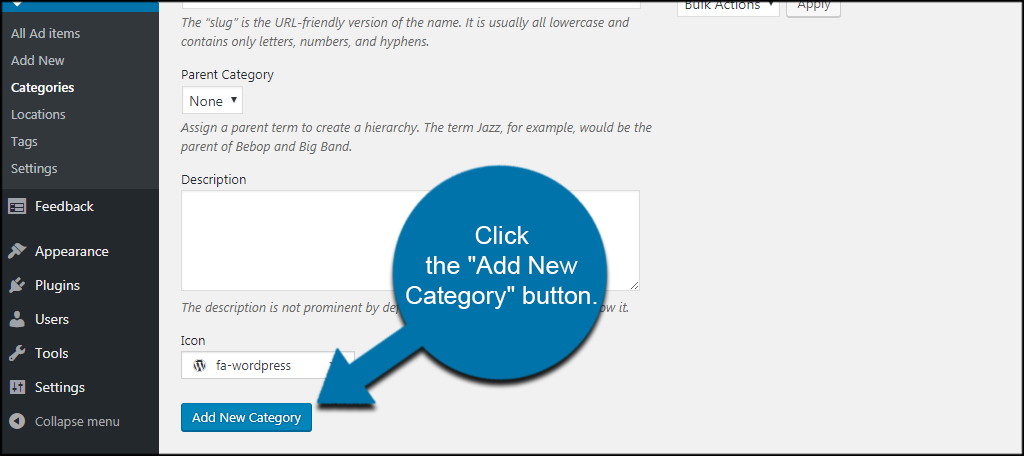
The Categories area is similar to the above with one additional option. You can add Icons to individual categories to give it a visual nuance. WP Classified comes with a wide assortment of icons you can attach to categories. However, this is optional if you don’t want to use them.
When you’re ready, click the “Add New Category” button.
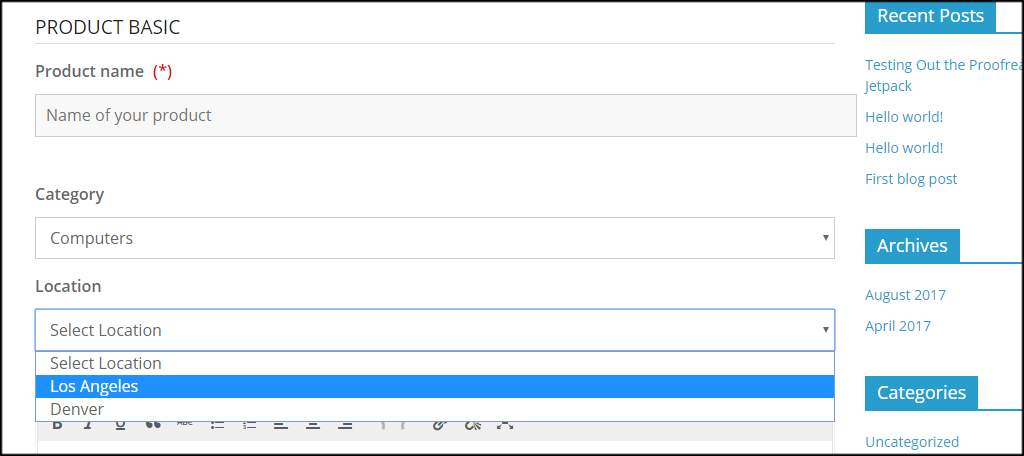
Finally, let’s take a look at the item editing screen. Click the “Add New” option under Classifieds.
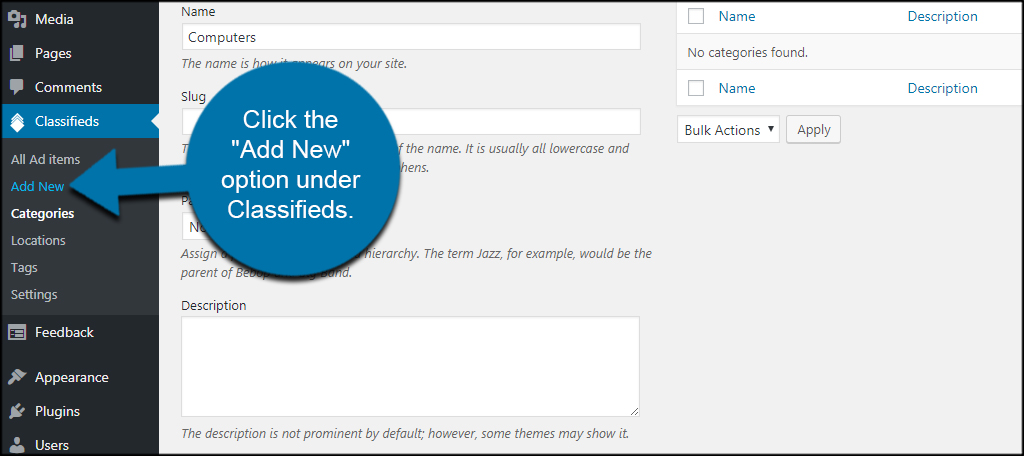
As you can see, it looks nearly identical to the post editor in WordPress. You have access to the TinyMCE editor, categories, tags and locations. However, WP Classified also comes with a few additional segments when editing an item.
Scroll down to the “Item Information” section.
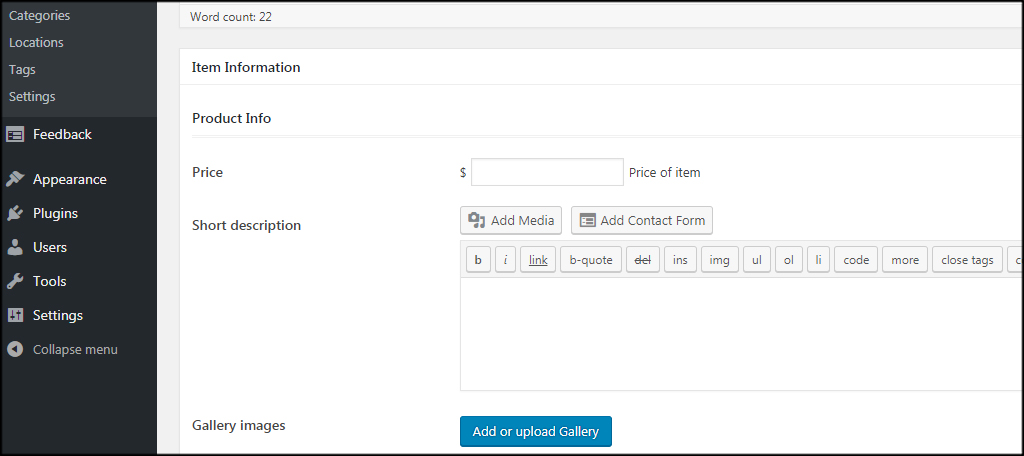
In this area, you can set prices and add a short description using the TinyMCE editor. You can also include gallery images of the product. Under the gallery, you’ll find contact information and the expiration date of the item.
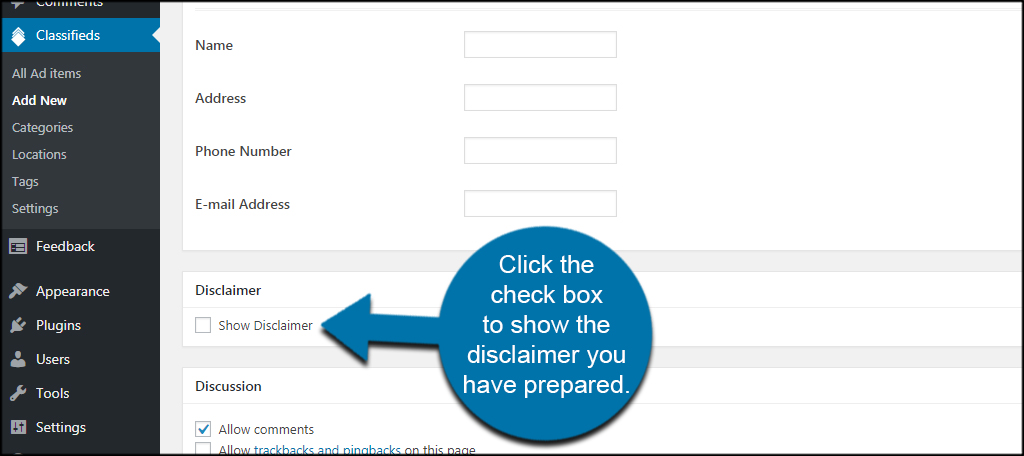
Below the Item Information segment, you’ll see the Disclaimer box. Click the check box to show the disclaimer you have prepared.
When you’re ready to go live with your item, click the “Publish” button.
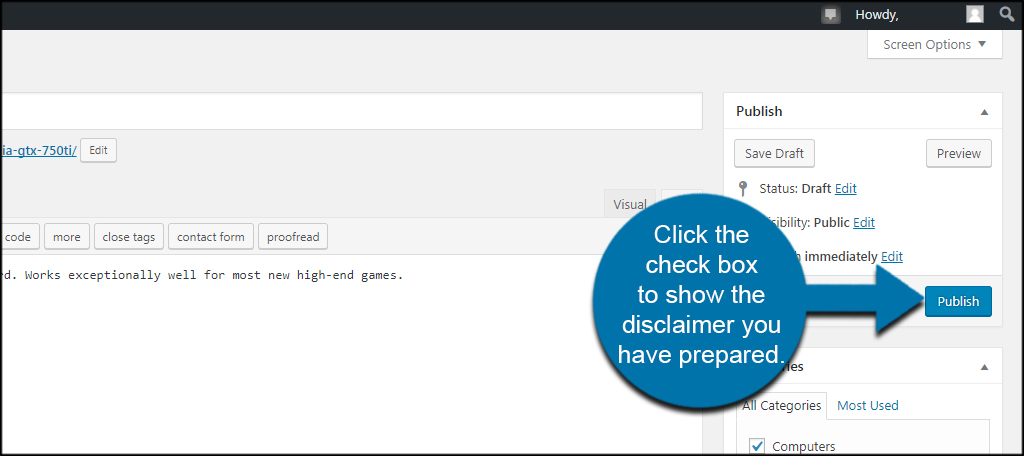
Your item is now ready to be seen by the masses.
Things You Need to Know
After you installed WP Classified, there are a few things you’ll need to know. This may clear up a few questions you may have and further explain what a few of the options above will do for your users.
Navigation Menu
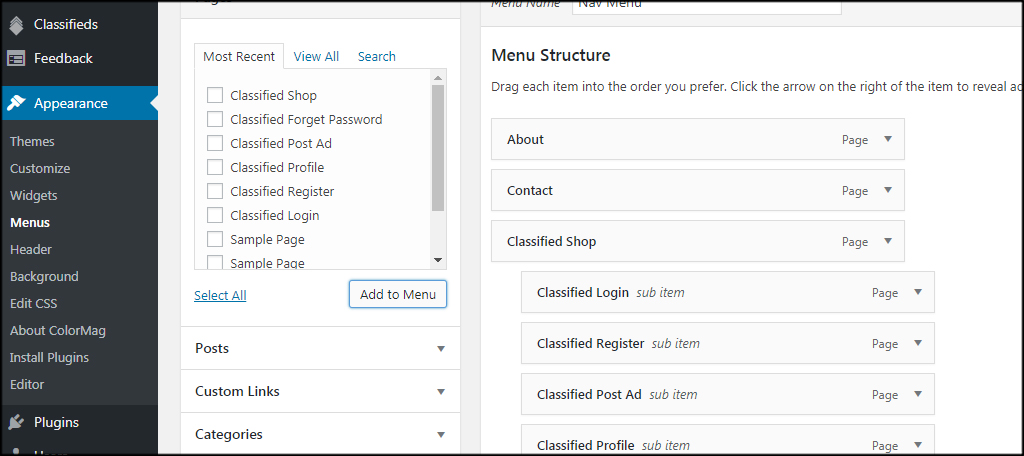
If your website is set up to add new pages automatically to the menu, you may want to make a few adjustments. In the example, you can see the top navigation bar is flooded with “classified” pages. I don’t want it to look cluttered, so I will make a few changes.

The best way to deal with this problem is to customize your menus in WordPress. This lets you organize the nav bar and streamline its appearance.
Registration
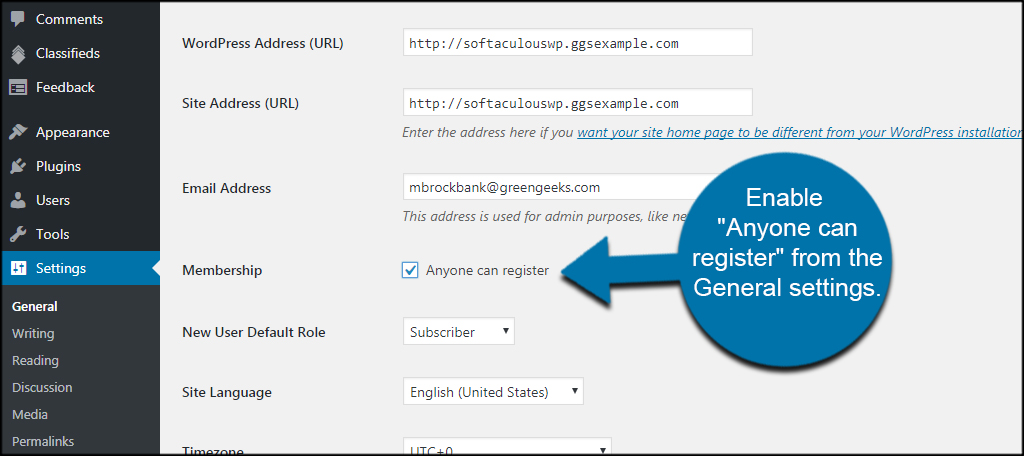
User registration for WP Classified is controlled by WordPress. If you have registered users disabled, people will not be able to post new items on your website.
You can enable “Anyone can register” from the General settings in WordPress. If you’re worried about spam accounts, you can always set up registration plugins to reduce the number of false members.
Category, Location and Currency
Users cannot add categories, locations or currencies on their own. This protects you from having an influx of spam materials. It also means you will have to maintain these elements for your users.
Create a Control Page
When setting up your classified area, it might not be a bad idea to create a “control” page. Use this as a way to explain the classified section of your site and connect the other pages to it in the navigation menu.

Offering Other Features
WordPress offers users a way to create just about any kind of website they can think of. Whether it’s a classified section for fitness gear or creating a private eCommerce channel for offline clients and customers, the possibilities are near endless. Explore what WordPress can do for you and find inspiration to build something unique and engaging.
What kind of things do you offer your visitors outside of great content? Does your site offer a social element that allows others to interact with each other?