
Are you interested in building an online business directory similar to Yelp? If so, the Directorist plugin is the perfect choice to do it in WordPress. It simplifies the process of building a directory with a lot of flexibility and customization options available.
With it, you won’t have any trouble building a robust directory or classified section in WordPress. It even has the tools you’ll need to monetize your directory with a variety of other features like Live Chat and more.
Today, I will demonstrate how to build a director with the Directorist plugin in WordPress.
What Is A Business Directory?
A business directory in WordPress is an area that showcases multiple businesses including their key information such as the address, phone numbers, hours of operation, services offered, and so on.
Some business directories also include reviews to help users find the best option. A great example of this would be Yelp.
Users can search for the best restaurants in their area and read through hundreds of reviews until they are sure about their choice. Of course, this is just how a user would experience a directory.
As the business itself, being able to display your information on a popular site is a great form of advertising. This is especially true if you can get great reviews from users, which can help attract even more business.
As such, businesses are willing to pay for premium spaces or featured spots because it can boost traffic to their location.
As such, creating a business directory is a great way to make money if managed right. But like most things, it may take several months or years for a site to generate sustainable income. In any case, let’s learn how to build one.
How to Build A Business Directory in WordPress with Directorist
The Directorist plugin makes it easy to build an online directory. You’ll need to add the businesses to the plugin and then rearrange them as you see fit in a drag-and-drop editor. As such, anyone can build one with this plugin.
While the plugin is easy to use, there are a lot of moving parts that can make it feel a bit overwhelming at first. So, let’s get right into it.
Step 1: Install Directorist
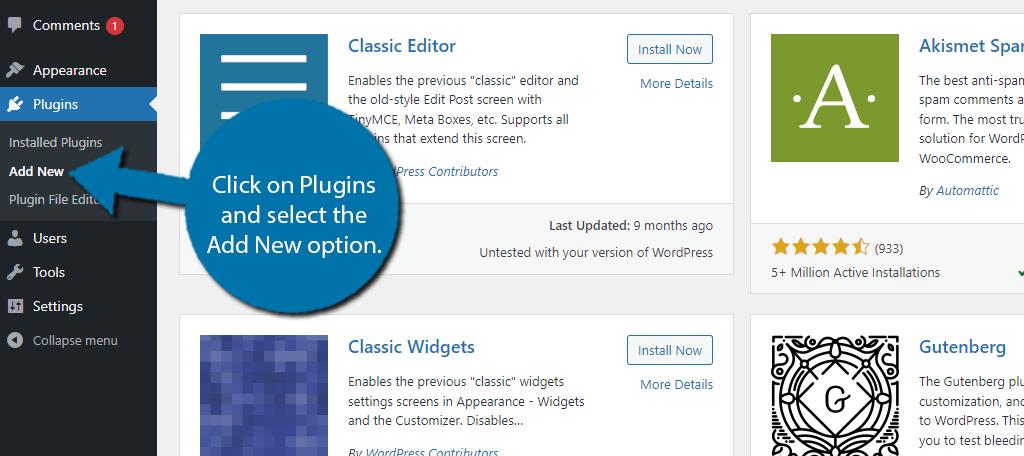
Let’s start by clicking on Plugins and selecting the Add New option on the left-hand admin panel.
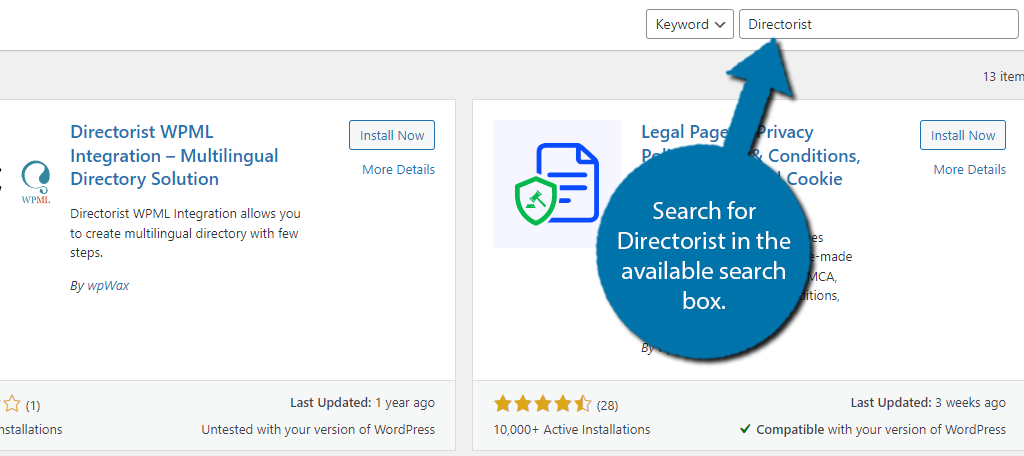
Search for Directorist in the available search box. This will pull up additional plugins that you may find helpful.
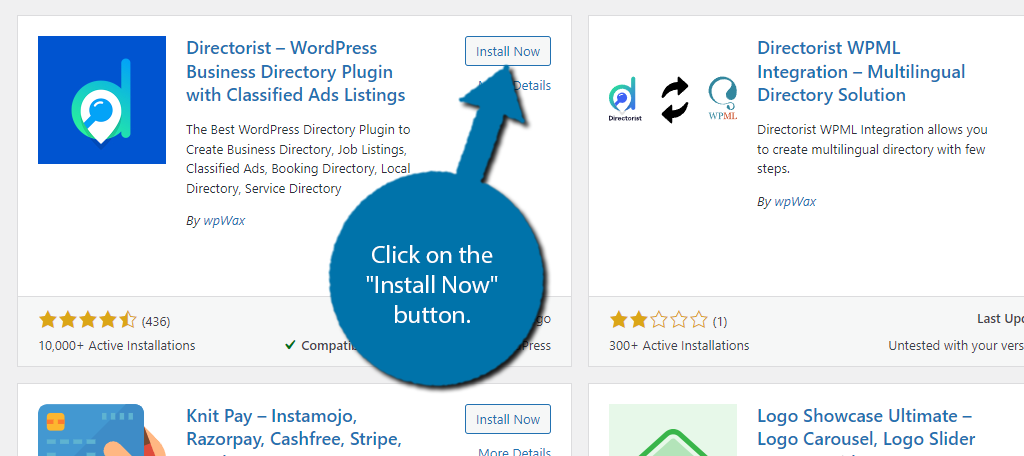
Scroll down until you find the Directorist plugin and click on the “Install Now” button and activate the plugin for use.
Step 2: Initial Setup
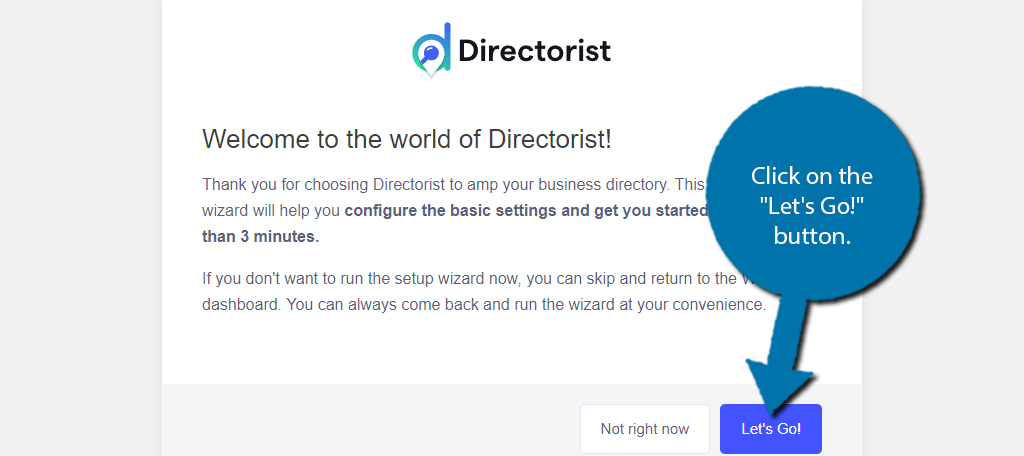
When you first install and activate the Directorist plugin, you will be addressed to go through a short setup wizard to configure the basic settings. Let’s go through that by clicking on the “Let’s Go!” button.
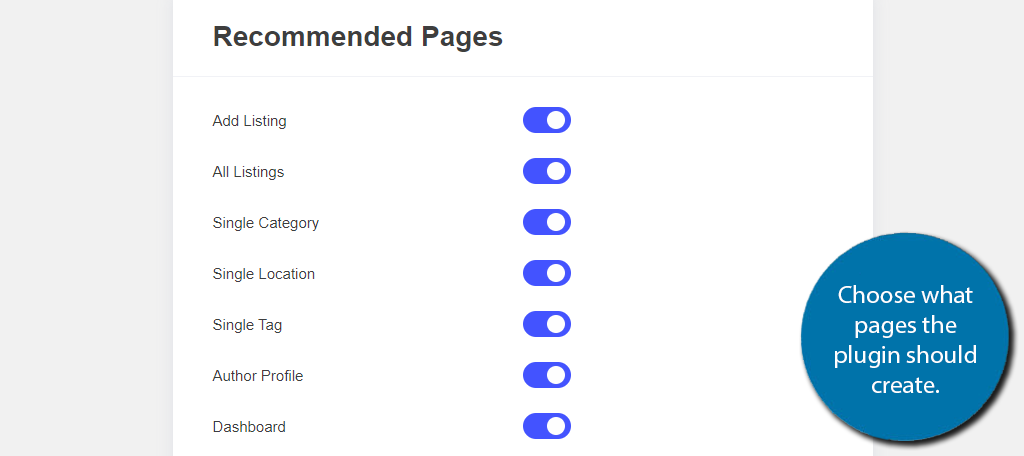
The first thing the plugin will ask is what pages it should create. You can toggle them by flipping their respective switches. If you would rather create the pages manually, just deselect all of the pages.
Note: All of the pages just consist of a shortcode and nothing else. You really are not saving a ton of time by having the plugin create it, but it does show you all of the shortcodes in use.
Click on the “Continue” button when ready.
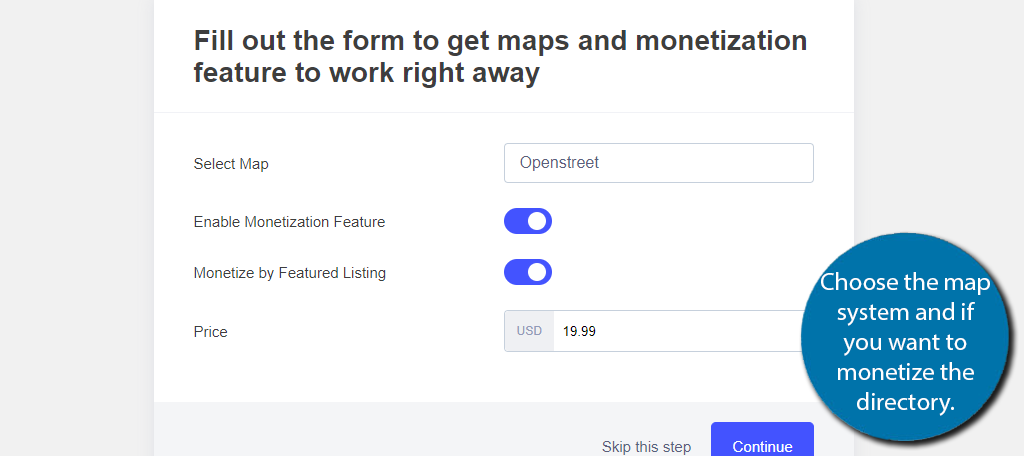
Next, you need to select what map system your directory will use to display the location. You can choose between Openstreetmap or Google. If you select Google, you will need to enter the Google API key to use it.
You can also choose to enable monetization, which means allowing businesses to purchase a featured listing. You can enter the price into the box once enabled. Continue once you have made your choices.
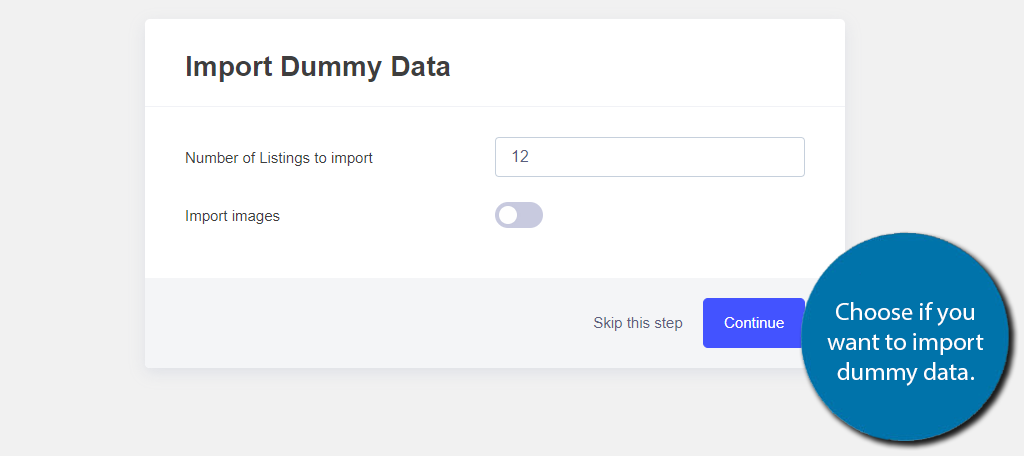
The next step allows you to import some listing dummy data. You can skip this step, but seeing the dummy data could be helpful when you are starting out as you can see the tool in action.
You can easily delete the data later, so you can choose whatever works best for you.
There’s also a switch for importing dummy images. Continue after you have made your choices.
And that’s all there is to the setup wizard.
Step 3: Add Locations, Categories, and Tags
Before we begin adding listings, we should start by adding locations, categories, and tags. The process is identical for each one, but they all have a unique section. These are important pieces of information that every listing should include.
Click on Directory Listings and select the Location, Categories, or Tags option.

The process is identical for each one, so I will only show one of them. In this case, I chose Locations. In this section, I would want to add areas such as countries, states, cities, counties, and so on. It really depends on how big of a directory you are planning.
If it is on a more local level, you may want to add streets if that is more appropriate.
If you were choosing categories, this would be the category of the business like a restaurant, grocery store, hardware store, etc. And in the case of tags, these would be descriptive identifiers, like best burgers, for rent, or something along those lines.
Note: The Categories and Tags are plugin-specific and will not impact the WordPress categories or tags you created for post content.
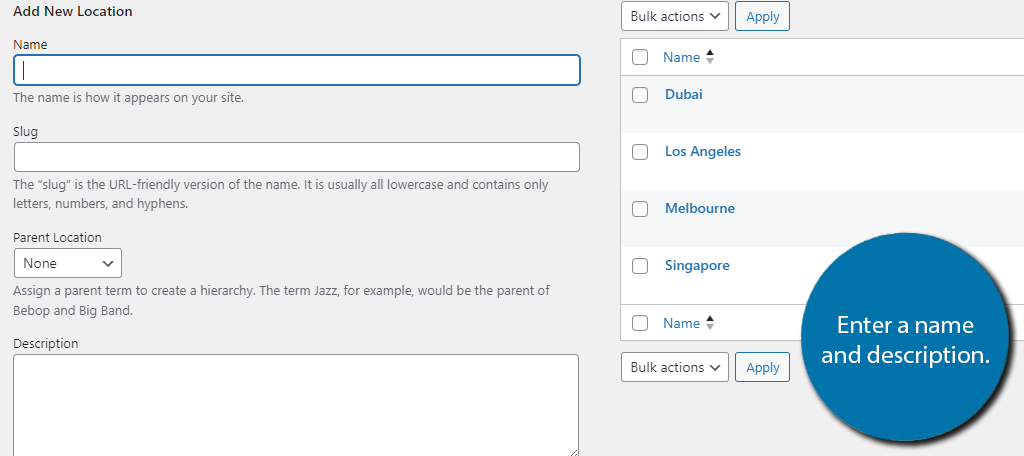
Once you know what you want to add, all you need to do is add the name of the location, category, or tag into the appropriate box and enter a description.
Click on the “Add New (Location, Category, or Tag)” button and you are done.
Add as many of these as you can think of. If you realize you need more, you can always come back later.
Step 4: Add New Listing
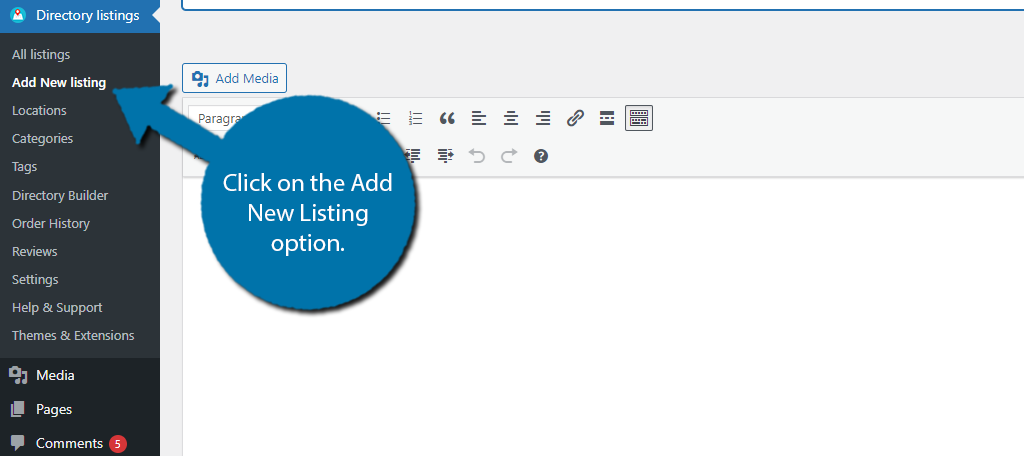
With everything in place, it is time to start actually adding your listings. To do so, click on Directory Listings and click on the Add New Listing option.
Note: If you chose to import dummy data. Consider going to the All Listings options and checking out how a dummy listing looks to get a good idea of how to fill in all of the fields.
I’ll showcase this with one of the dummy listings the plugin generates. At the top, enter the name of the business.

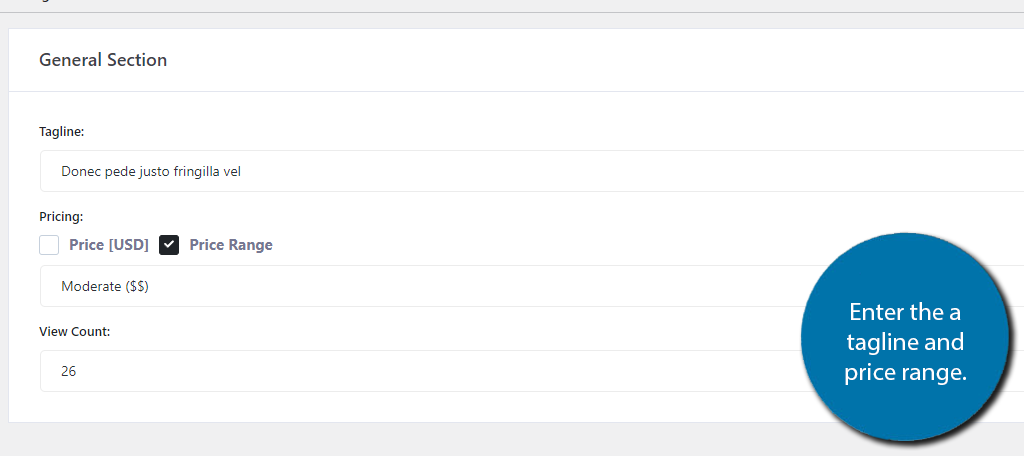
Below this, you can enter a description of the business and the services that it provides. If you scroll below the description, you will find the General Section. Here, you can enter the business tagline (if applicable) and the price range.
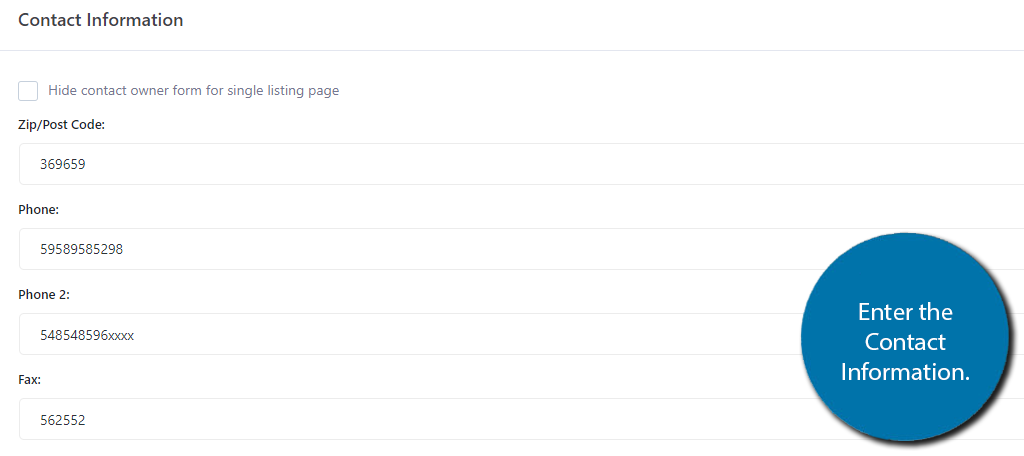
Next up is the Contact Information section. Here you can enter the Zip/Postal code, phone number, fax machine, email address, and website URL. You can also add additional info like social media links.
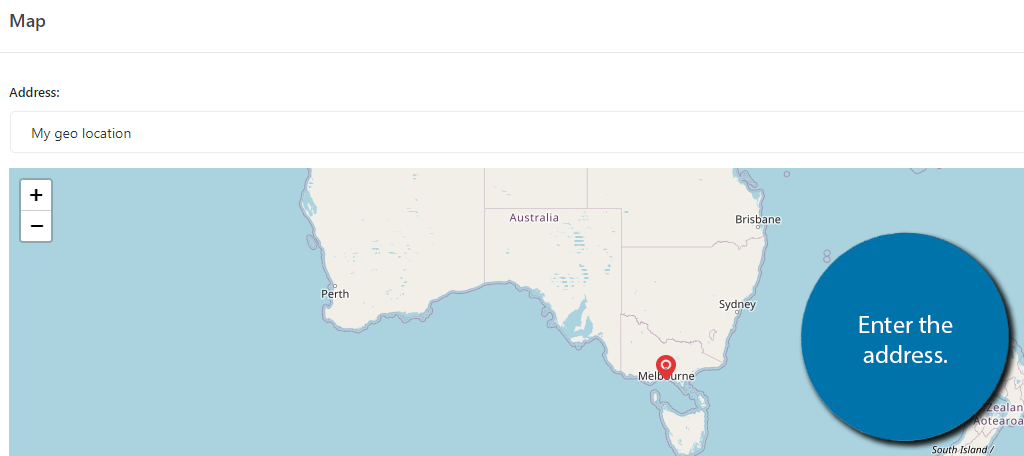
Next, you can enter the business address and view it on a map. This will show up for the visitors as it does here.
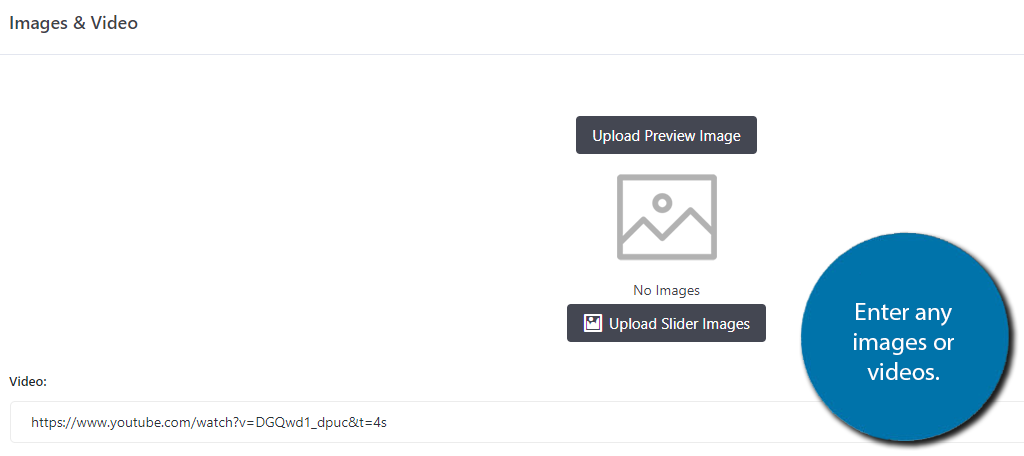
Lastly, you can add an image of the business. This could be the front of the business to help visitors locate it, or it could be something else. You can also add video content in this section.
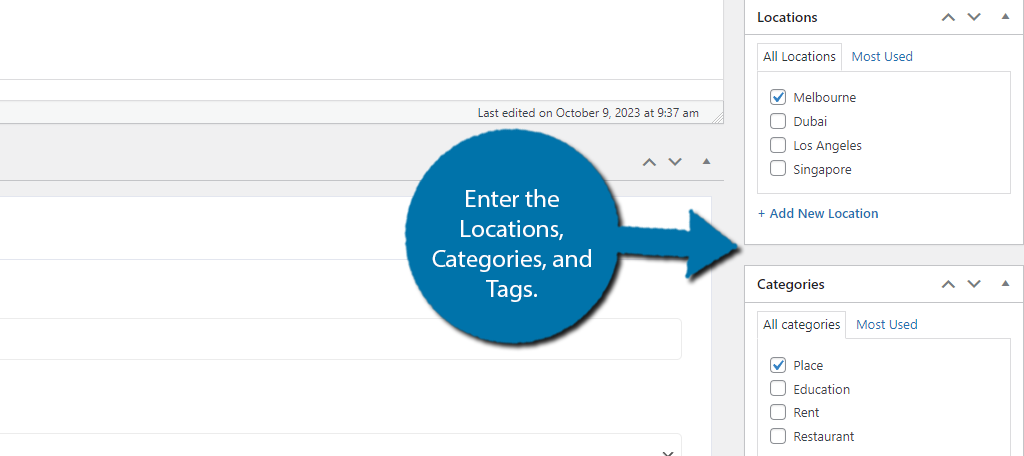
Below this, you can find a custom fields option so you can add anything else that might be needed. You can also manually enter reviews here. On the right-hand side, you can now enter the Location, Categories, and Tags you created earlier.
You can also set an expiration date. This is a good option if you charge businesses for listing. When the expiration date is reached that business will no longer be viewable. Just make sure you send out reminders when it is time to renew.
All that is left is to save the changes and publish the listing. Repeat this step as many times as needed. It can take some time to enter a full directory but take your time. The last thing you want is to display false information.
Note: This is how to manually add listings. You will most likely want businesses to enter their own listings. You can do this by creating a page with the [directorist_add_listing] shortcode in place. They will go through this same process, and you can approve it after they submit it.
Step 5: Display the Listings
If you choose to have the plugin create pages for you at the start, then the listings should already be live. The plugin itself creates a blank page that just contains the shortcode for your listings.
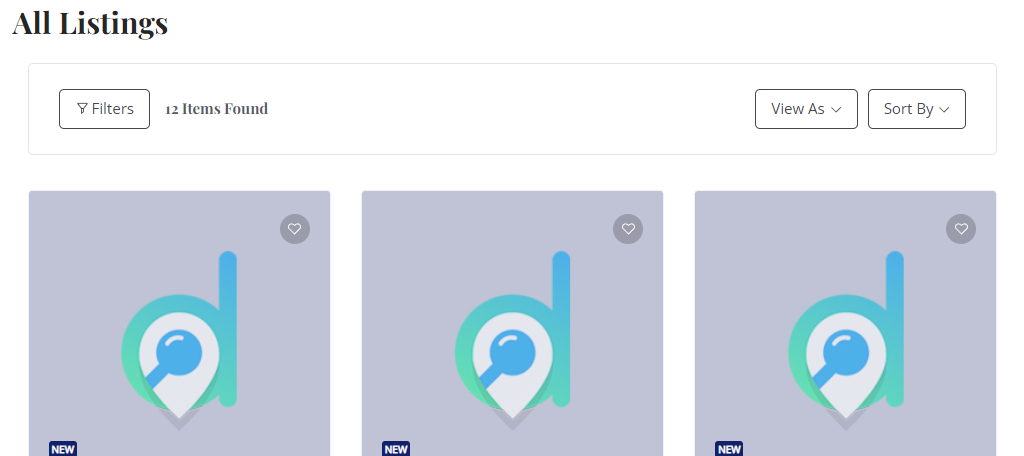
In the case of allowing the plugin to generate pages, it is located on the All Listings page.
If you want to create the page yourself, go ahead and do so and simply add the following shortcode to wherever you want the listings to appear:
[directorist_all_listing]
And that covers how to use the Directorist plugin. Congratulations.
Be sure to take the time to enter the information correctly and properly advertise your website. Businesses won’t be willing to pay if a website doesn’t get lots of traffic.
What If I Wanted to Build Classified Ads?
Another popular use for directory plugins is to create classified ads or job listings. The process we just went through would be identical, but when you create a new listing, you would instead add the job title, description of the job, and contact information.
Nothing changes from the above tutorial, but if you did add some of the pre-made pages, you will need to edit them to reflect classified ads instead of a business directory.
Build a Business Directory Today with Directorist
As you can see, it is actually pretty easy to build a business directory in WordPress with Directorist. The plugin is quite simple and just consists of creating listings by entering the necessary information.
It’s also worth mentioning that the plugin is fully compatible with Elementor. This gives you full creative control over the pages you build, which can help you stand out in a sea of business directory websites.
How easy did you find the Directorist plugin to use? Did you use it to build a classified section?