Webinars have become extremely popular over the last few years. So much so that individual WordPress website owners have been looking for a way to host their own webinars in WordPress. Luckily there is a fairly easy way to do this.
What is a Webinar?
A webinar (a web-based seminar), is an excellent way to interact and engage with all sorts of people. Whether you are trying to get clients, keep up with your team, or offer personalized experiences, a webinar is a great way to do it.
Why Host a Webinar?
Webinars are a fantastic way to provide information, make connections, and land clients. Furthermore, they provide you a great way to interact with people in real-time while staying in the comfort of your office or home.
All you need is a way to host the webinar and you can go from there.
For this particular tutorial, I am going to talk about how to host a webinar on WordPress. Let’s take a look at the tool we are going to use to accomplish this.
WebinarPress
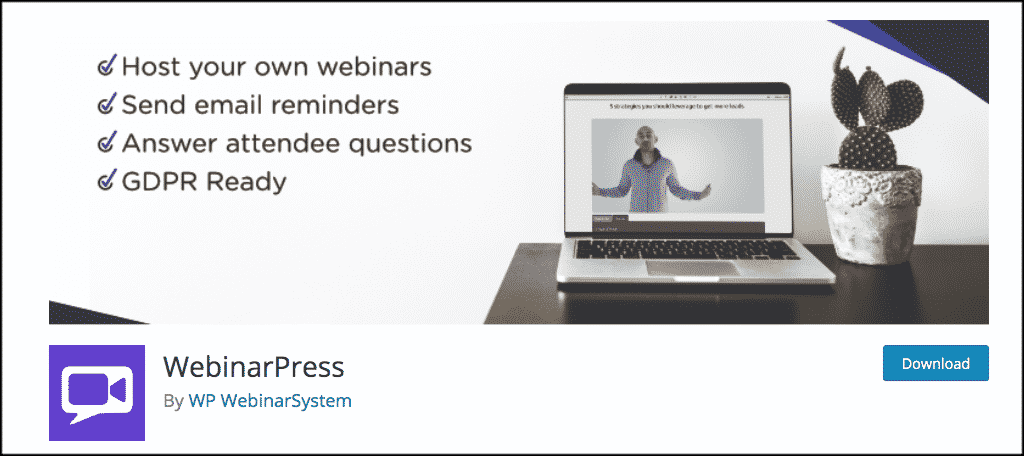
In order to easily host different types of WordPress training webinars, we are going to utilize a great plugin called WebinarPress. This plugin is filled with functionality and will provide you with everything you’ll need to host webinars on WordPress.
WebinarPress allows you to easily organize and host both live and automated webinars right from your WordPress website. The best part about this plugin is that you do not need technical skills to use it.
Some of the main features of the plugin include:
- The ability to interact with people attending your webinar.
- Responsive webinar pages so that people can attend your webinar on any device.
- Reminder emails that you can set up yourself.
- Customized styling.
- Automatic thank you pages with social media shareability.
- Webinar countdown pages.
- Track the number of people online during your webinar.
- Export a list of people who attended your webinar to a text or CSV file.
This and much more make the WebinarPress plugin perfect for hosting webinars in WordPress for free or pay.
Note: There is also a Pro version of the plugin that integrates with tons of third party extensions and gives even more functionality.
Install and Activate WebinarPress
In order to use the plugin, you first need to install and activate it. You can do this by heading over to the plugins directory inside your WordPress admin dashboard.
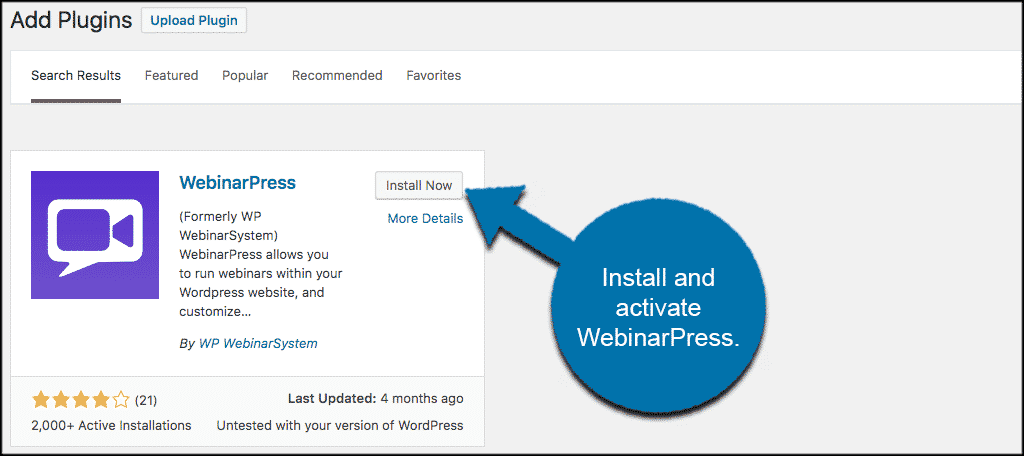
NOTE: If you don’t see the “WebinarPress” appear in the left column of WordPress after activating, you might have to refresh your browser.
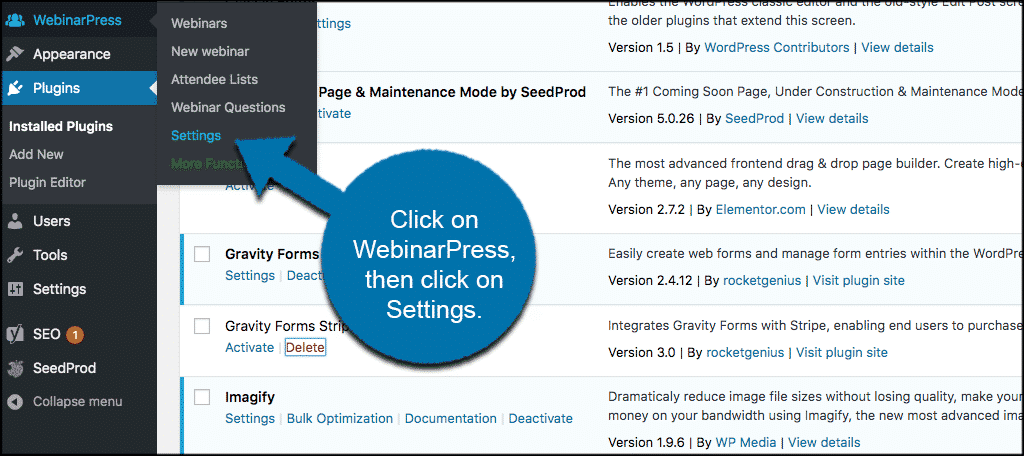
Once the plugin has been installed and activated, you will see that a “WebinarPress” tab has appeared in the left menu of the dashboard. Click on WebinarPress > Settings, and let’s quickly select configuration options for the plugin.
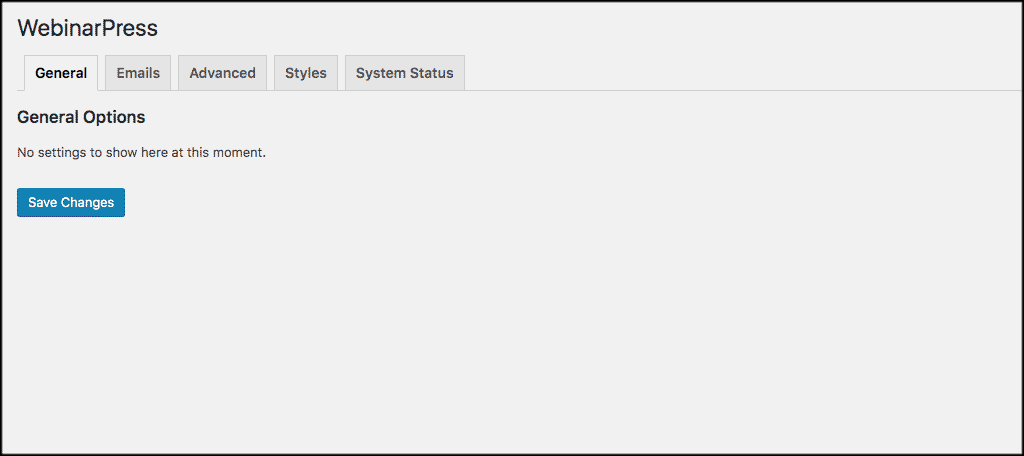
Once on the settings page for WebinarPress, you will see five tabs. They include:
- General
- Emails
- Advanced
- Styles
- System Status
General
There will be no settings options under the general tab at this time for the free version of the plugin.
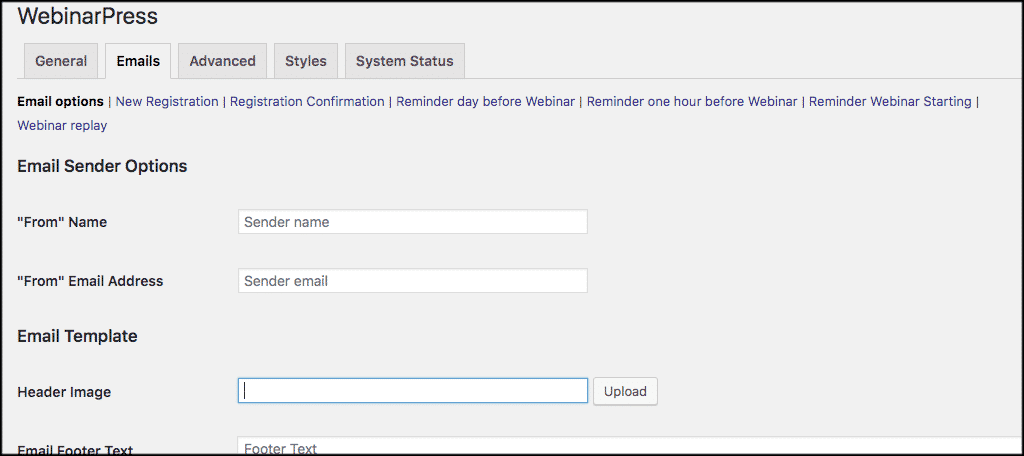
Emails
Set up all your emails here. You can include layout style, colors, background, and text. You will also see several sub links under emails. Go through those and set up your entire message system however you want.
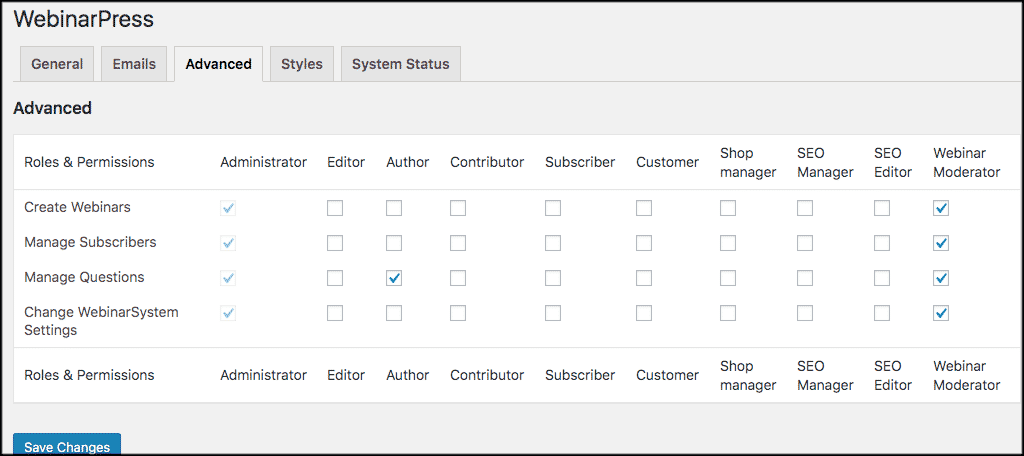
Advanced
You can set up user roles and what they can manage within the plugin here.
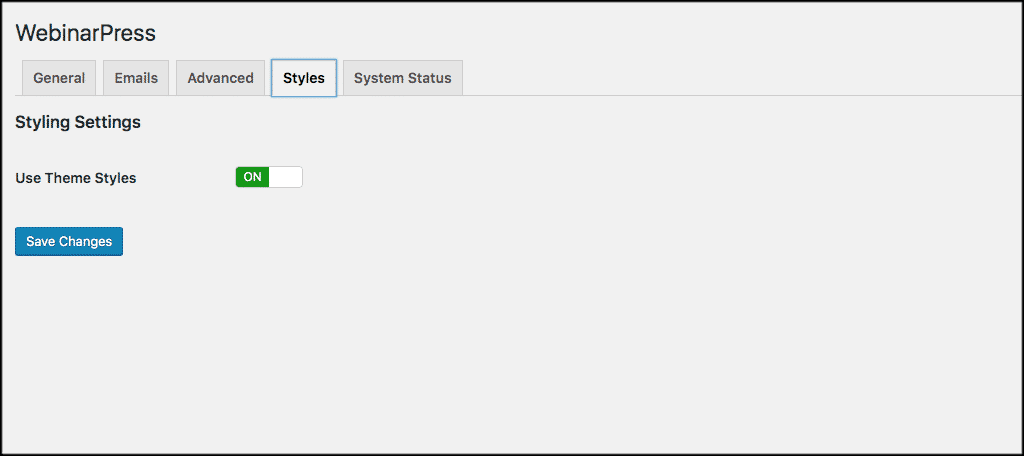
Styles
You can either make the plugin use your theme styles or let it use its own. I recommend keeping “Use Theme Styles” turned on.
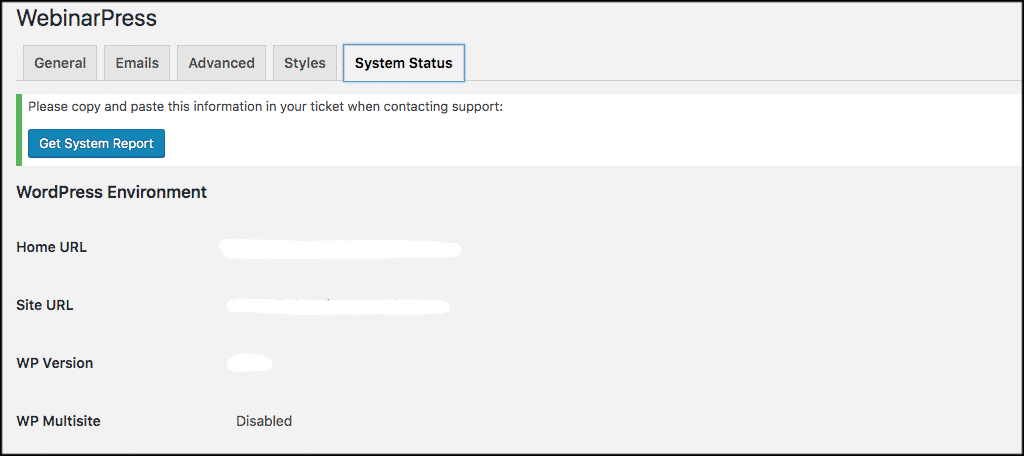
System Status
View the status of your system and the plugin here. You can make sure it is all working properly.
Other WebinarPress Options
If you look to the WebinarPress menu, you will also see a couple more links that you can explore. Let’s take a quick look.
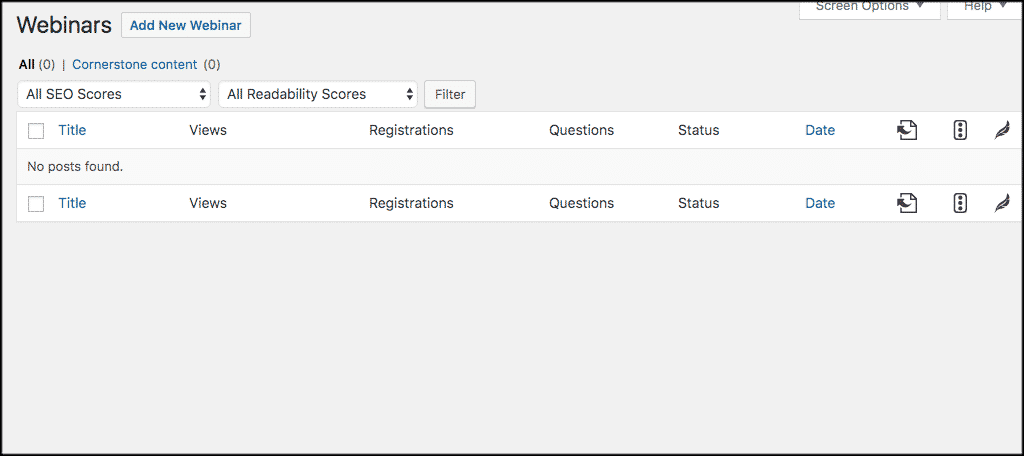
Webinars
You can view all of your past and upcoming webinars in this area.
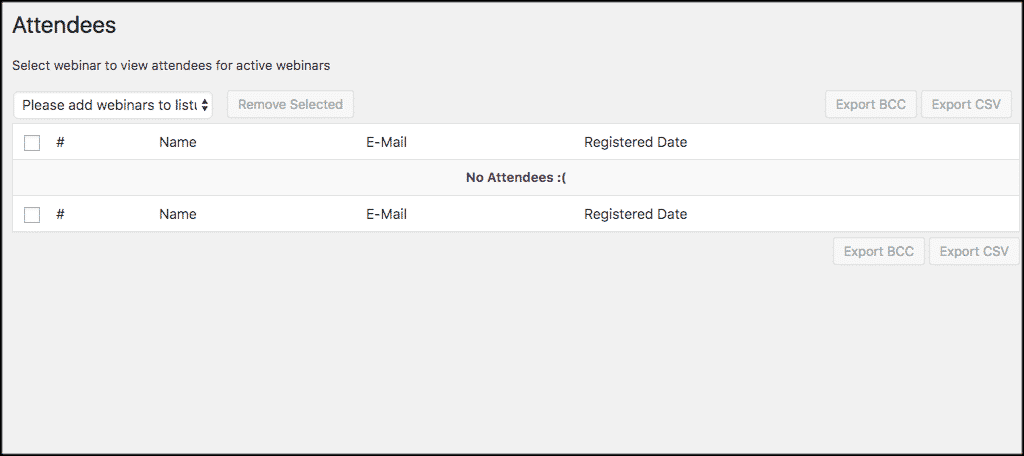
Attendees
If you click on “Attendees List,” you will be able to see who attended what webinar. This area will fill out over time when you have done a few webinars in WordPress.
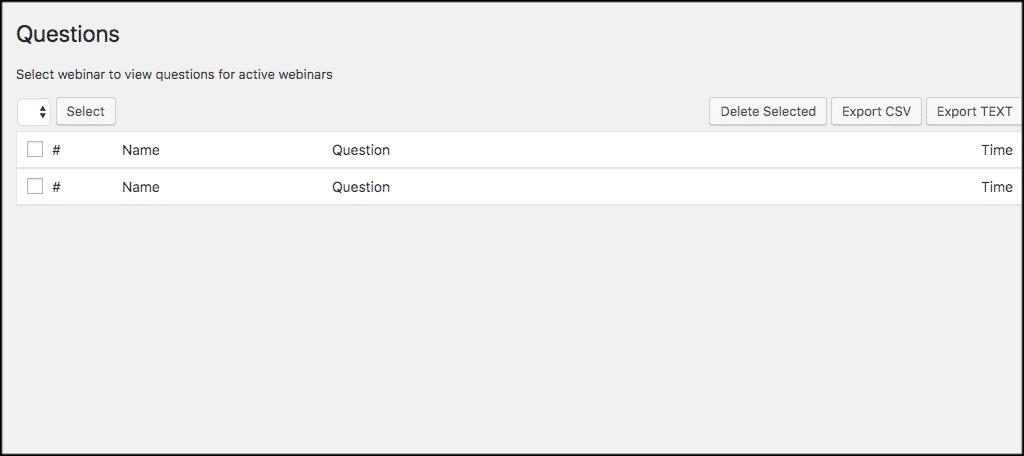
Webinar Questions
You can view all your past webinar questions here as well. Again, these will fill out over time as you set up and conduct webinars from WordPress.
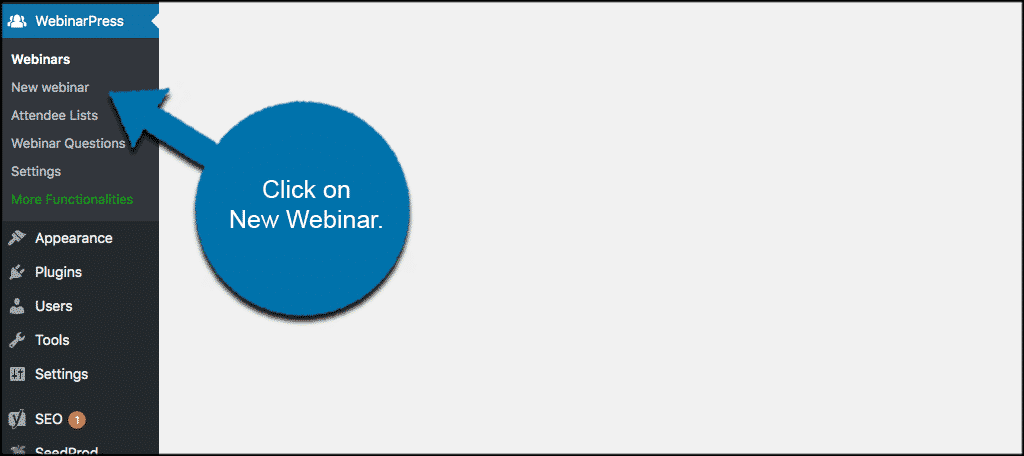
Creating a Webinar
At this point, you are ready to create your first webinar. To do so, click on the “New Webinar” link to open up the post options.
A WordPress post style page will open up. Create a title and put in whatever text you want. Then, scroll down to the “Webinar Settings” box that is within the post.

Basically, you have everything here to fill out and set up your webinar exactly how you want. You will see a lot of options. Simply click through each one and create your webinar in WordPress according to your needs.
Remember that this plugin comes with dozens and dozens of different options, so layout everything how you see fit and preview it before you publish.
Once you have set up the webinar, click on the “Publish” button and the webinar will be ready to roll based on the setup you created. You have now created your first webinar in WordPress
Note: You will notice in the screenshot above that there are several links that are green in the settings box. You will not be able to access those unless you are using the Pro Version of the plugin.
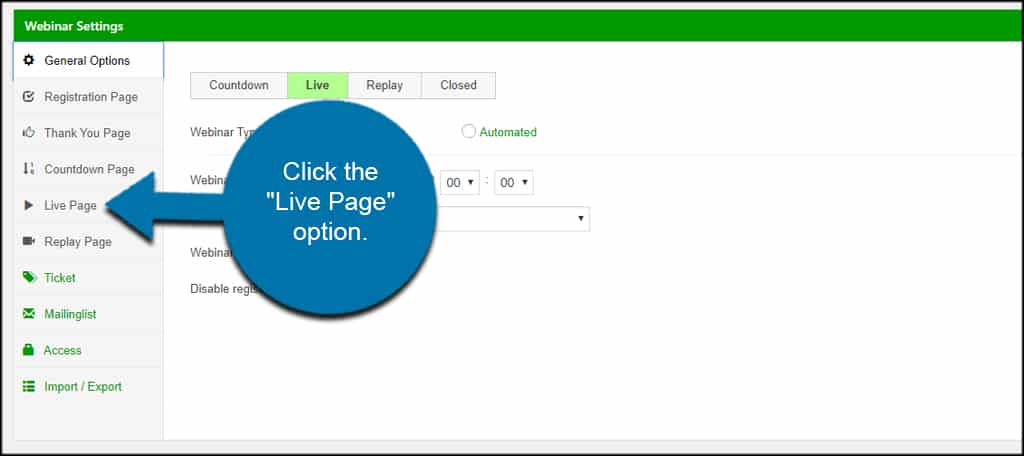
Connecting Your Live Video
When you’re ready to connect the video feed, click the “Live Page” option on the left.
From here, you change fine-tune a lot of your live feed for the webinar. To connect a specific video feed, use the drop-down to select the platform.
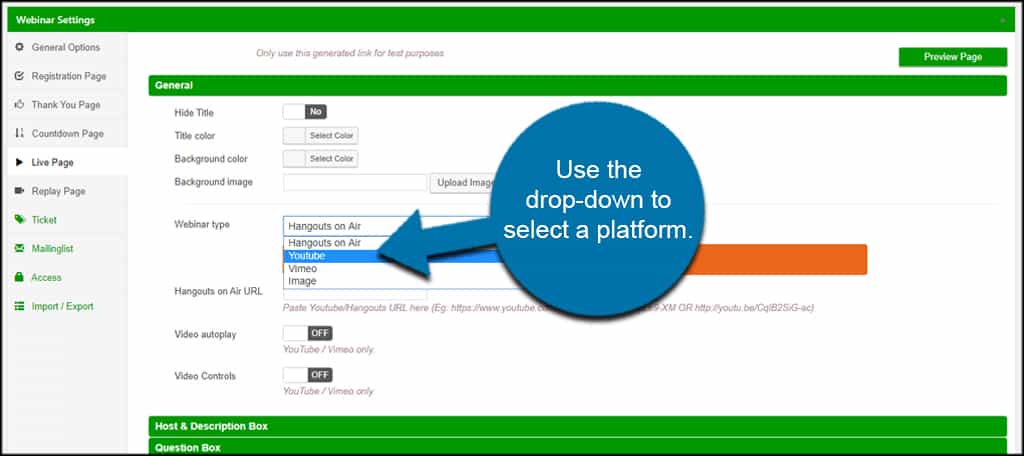
This plugin supports YouTube, Vimeo, and basic images. But keep in mind that Hangouts on Air no longer exists.
When adding YouTube, WebinarPress will ask for the video’s URL. Just paste in the address of your live feed or video content.
When using Vimeo, you’ll need the video ID number.
You can also use these same settings on a Replay Page if you don’t have time to go live.
Couldn’t I just Embed YouTube Live?
The beautiful thing about this plugin is that you can set the video to be “Unlisted” or “Private.” Which means the YouTube audience won’t see the webinar, but site viewers will.
Then, you can implement all of the features that come along with WebinarPress. And some of the Pro features might be worth considering such as ticket prices, mailing lists and access restrictions.
Other Ways to Host a Webinar
As you may have already guessed, there are actually several other ways to host webinars on WordPress. One of the best ways aside from the process above is to host a webinar on YouTube Live.
You may remember this being Google Hangouts On Air. However, that system officially moved to YouTube Live in late 2016. The system allows you to easily integrate the video into WordPress using embeds.
Host Webinar Using YouTube Live
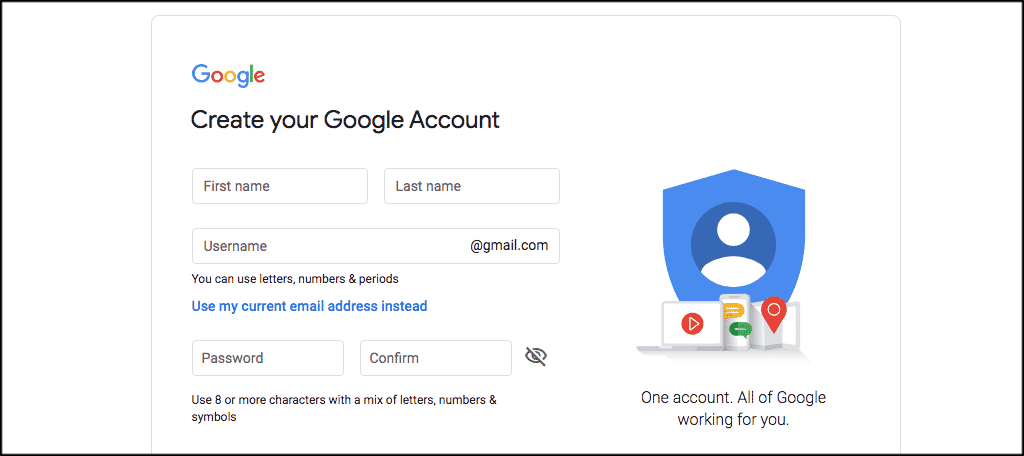
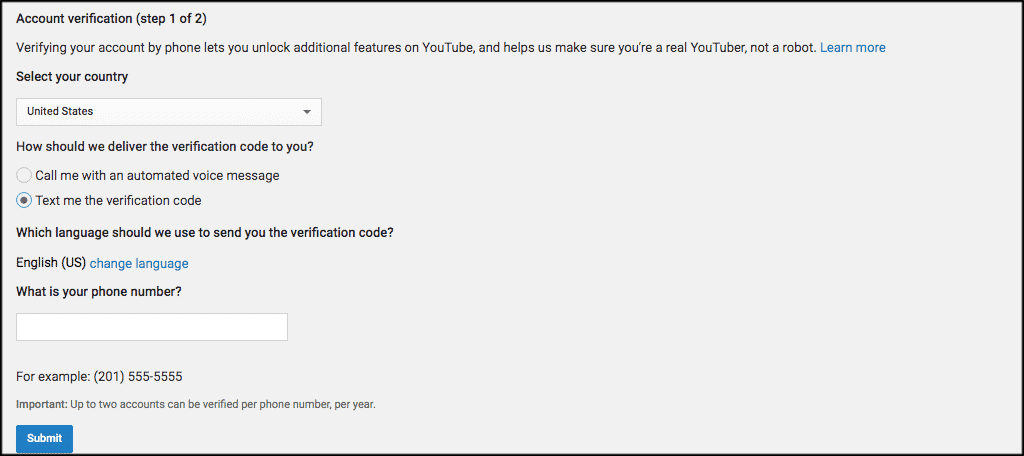
In order to use this method of hosting a webinar in WordPress you need to have a Google account. Once you have created this account you will be able to use YouTube Live.
Now that you have your Google account you can head over to YouTube Live and create a channel. This will allow you to use the live streaming option for webinars. To create a channel, click on your account icon on the top right, then click on “Create a Channel” in the dropdown menu.
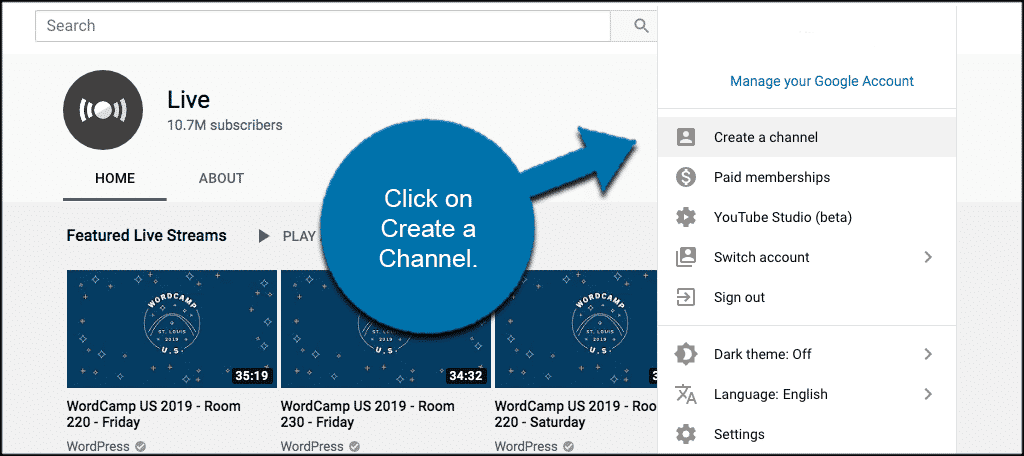
YouTube will ask you if you want to use your name for the channel, of if you want to create a new name. You can choose either one you prefer. Select your option and you will see that you channel has been created.
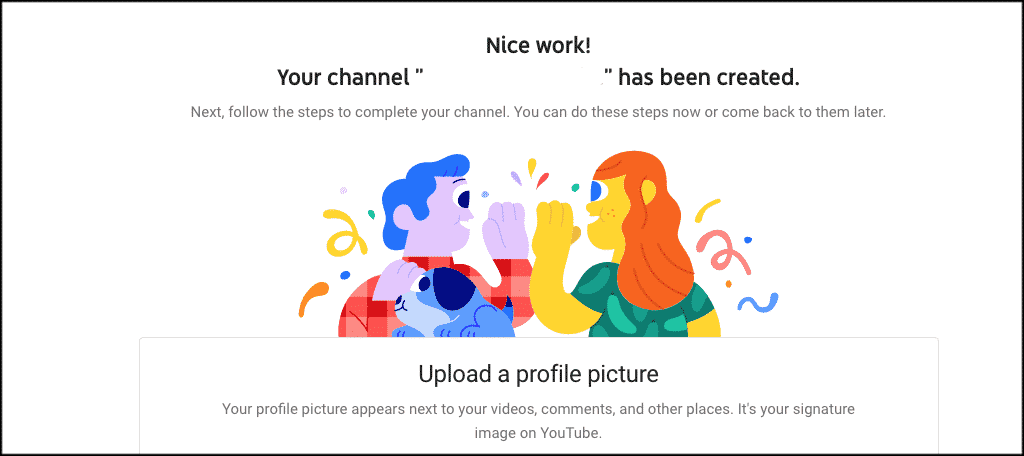
You can finish setting up your channel with a profile picture, information, and links, or come back to it later. Now that you have your channel you can use live streaming to create live events.
Create Webinar in YouTube Studio
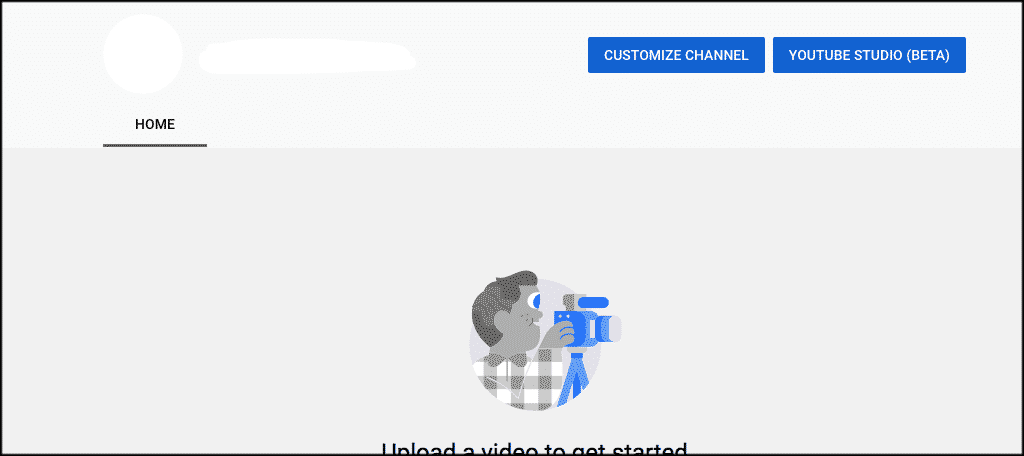
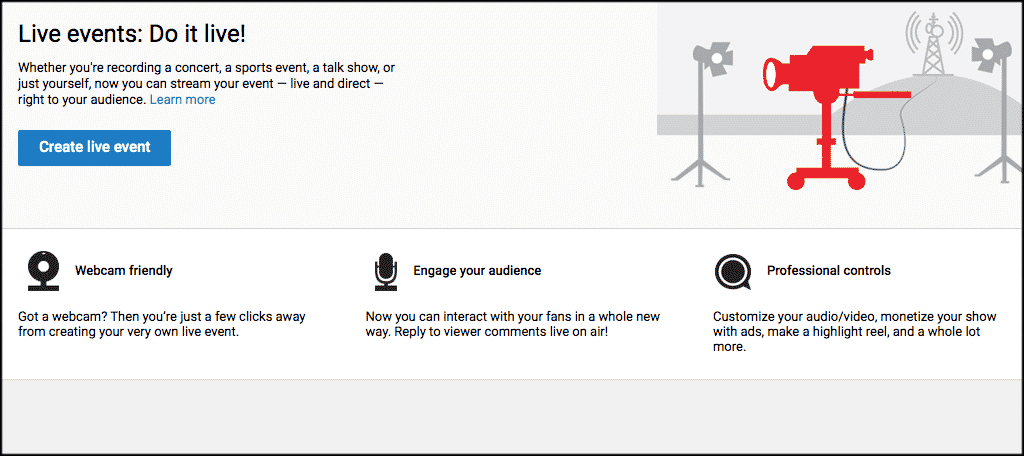
One you are on your channel page you will see a button on the top right titled “YouTube Studio.” Click on that.
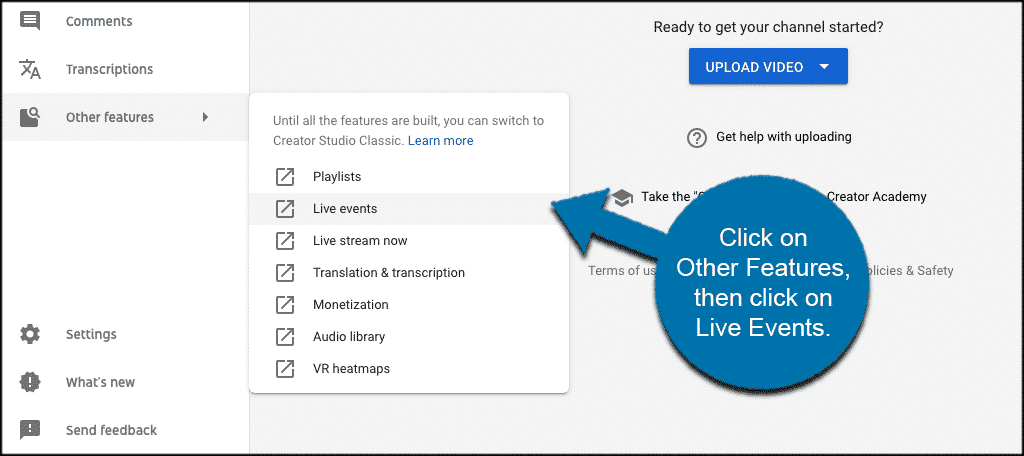
From here you want to locate “Other Features” on the left side menu and click on that. Within that pop out menu you will see “Live Events.” Click on that to get started.
On the page that comes up you want to click on the “Enable Live Streaming” button.
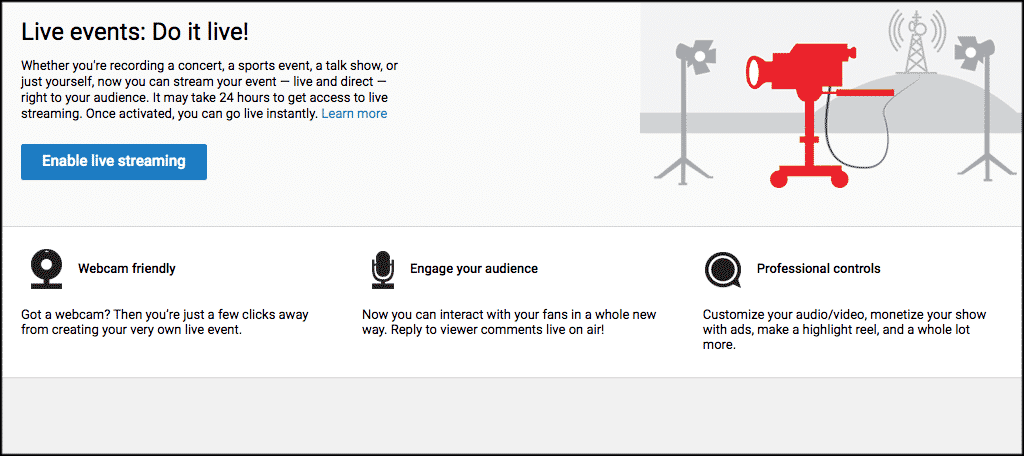
YouTube will want you to verify your account. Select your verification process and go ahead and verify.
Note: It will take 24 hours for Live Streaming to activate, so you will need to wait before adding your first webinar.
Now that your account is verified and you have access to live events you will see a “Create Live Event” button. Click on that.
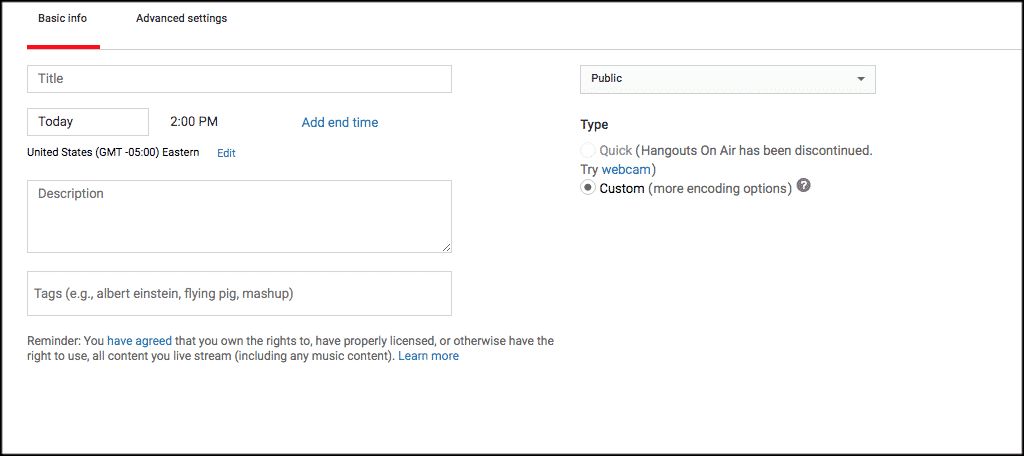
You will see an area come up with two tabs, Basic Info and Advanced Settings. Fill out all of this how you see fit and click on the “Create Event” button.
Basic Info
Fill in the basic information for your live feed. This includes the Title, video description, tags and whether you want it public or private.
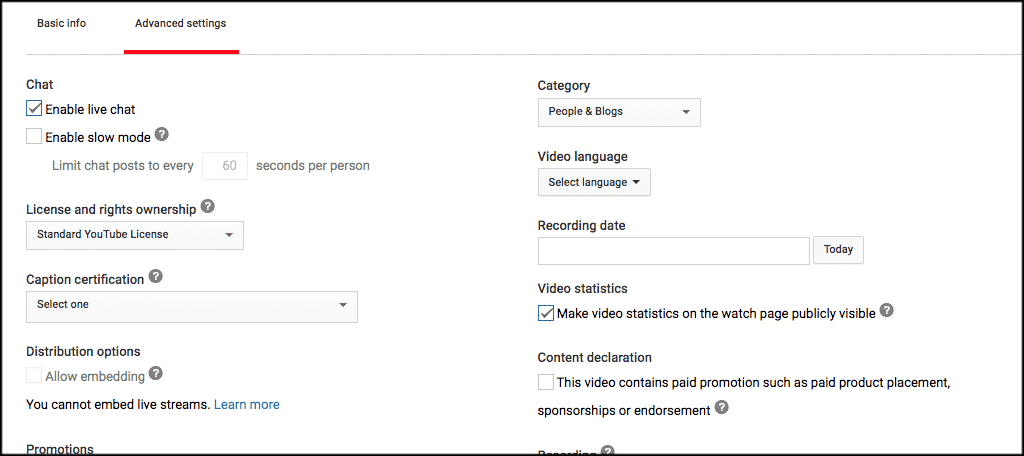
Advanced Settings
In this section, you’ll enter the more advanced options of the broadcast. For instance, you can embed the live chat, add the recording date, enable slow chatting modes and more.
That’s it! You can either stream the webinar live there, or use the embed code and embed it to your WordPress website.
How to Market Your WordPress Webinars
Now that you know what a webinar is and have the tools to set some up, it is time to look at a few ways to market your webinars in WordPress. Building them and having them ready is one thing, but getting word of mouth out about them is something else.
Here are a few ways you can market your webinars.
- Create Social Media Blasts An Boost Email Subscribers
- Send Out Email Blasts To Your Current Subscriber Lists
- Use Word of Mouth Techniques
- Offer Incentives For Attending Webinars
- Guest Blog About Upcoming Webinars
Final Thoughts
Creating and hosting webinars is one of the better ways to stay connected with people. Whether you are trying to reach clients, or simply stay in touch with your team, creating webinars in WordPress is a fantastic option.
What other webinar plugins have you used to create webinars in WordPress? Have you ever tried using YouTube Live?
How do you bring remote panellists into a WebinarPress webinar? One of the main benefits of Zoom and other webinar services is having remote, interacting presenters.
It really depends on the video software you use. Sometimes you have to get a bit creative, but it’s possible.