If you find yourself spending a lot of time scaling or resizing images before you upload them to your site, let me show you how to change image sizes in cPanel with the “Images Scaler.”
It may have a clumsy name, but it is an excellent tool for resizing the images on your website.
If you run a website that includes user-uploaded media, you have probably spent some time downloading, resizing and uploading them. Maybe a lot of time. The Cpanel Images Scaler will make resizing images faster and easier.
If you’ve never scaled or resized an image in your life, this tutorial is for you, too. No previous experience necessary. Once you learn how to change image sizes in cPanel, you can get started reducing file sizes, This means faster page loads.
Visitors don’t wait around for a site that’s slow to load. Any time you can reduce the page load time, you are moving in the right direction.
Scaling or Resizing Images in cPanel
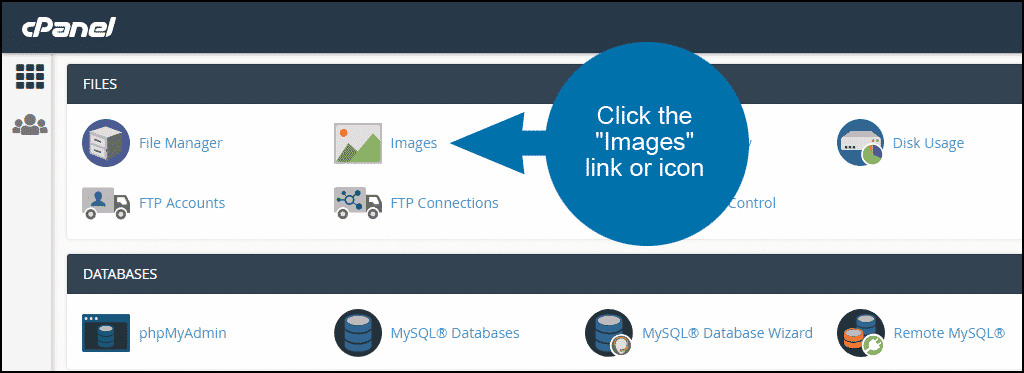
Log into cPanel. In the “Files” section, click the “Images” link or icon.
Click the “Scaler” link.

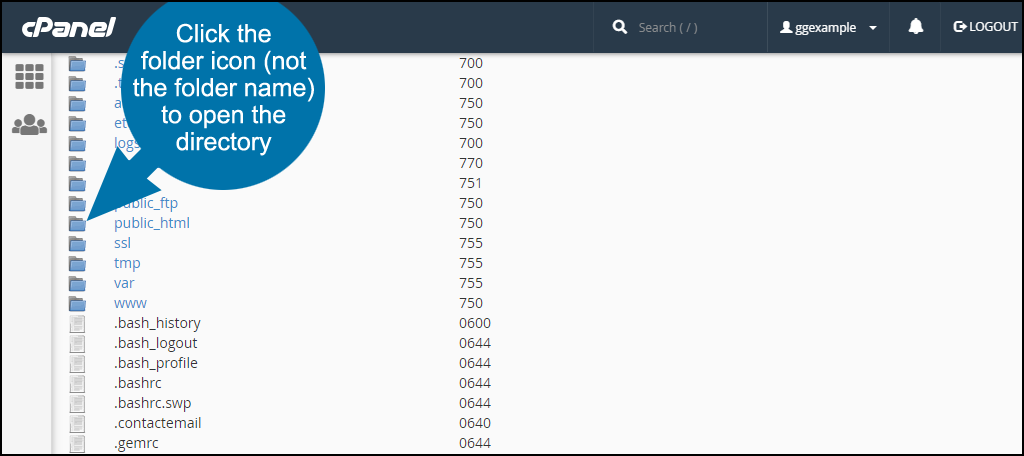
Typically your image files will be part of a website, so click the “public_html” folder icon.
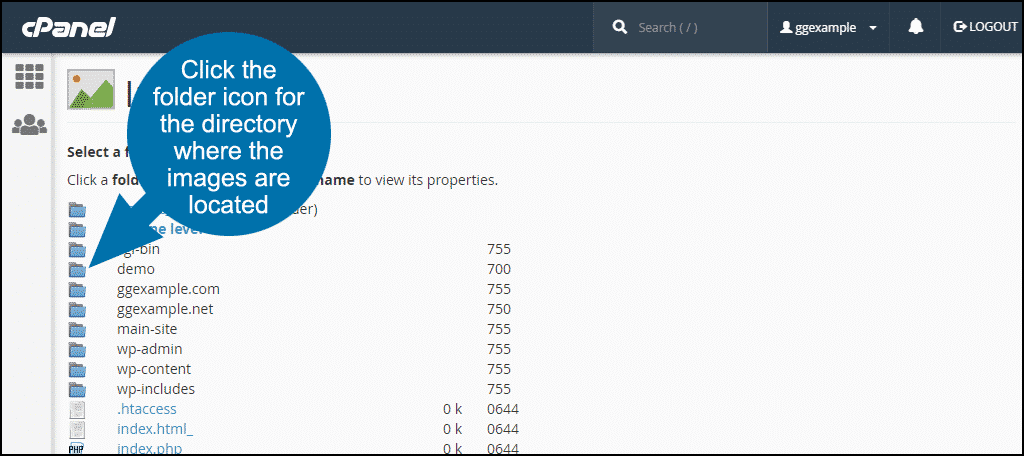
Click the folder icon for the directory that contains the images you wish to resize.
Click the image icon or the file name of the image you wish to resize.

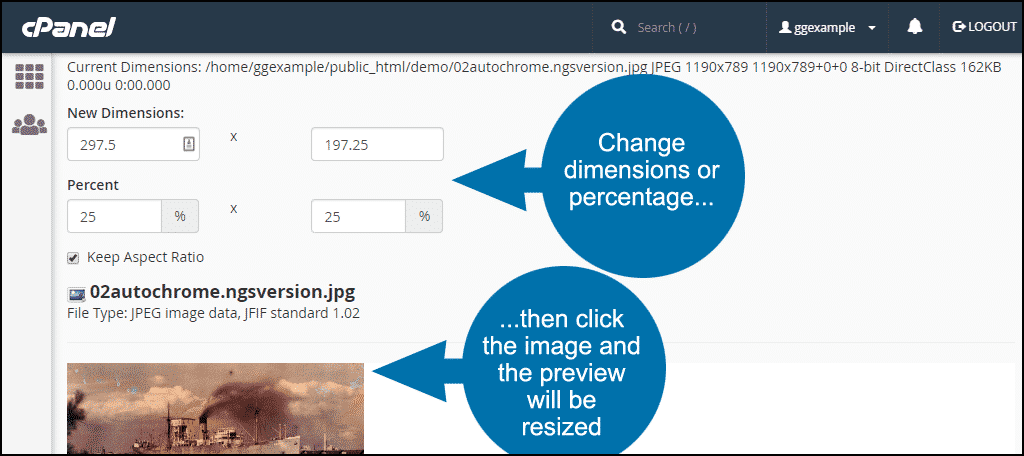
The “Images Scaler” page will display the image and its current dimensions.
The controls on the page are:
New Dimensions, Percent – This is where you enter the new image dimensions. This is measured in either in pixels or percent of the original image size. When you make a change to the dimensions and click the image, the resized image is displayed (but not yet saved).
This part of the tool allows you to see the effects of the resizing. You can reset the image to the original size and dimensions by reloading the page or clicking the “Reset Dimensions” button at the bottom of the page.
Keep Aspect Ratio – Keep this checked to avoid possible image stretching or distortion.
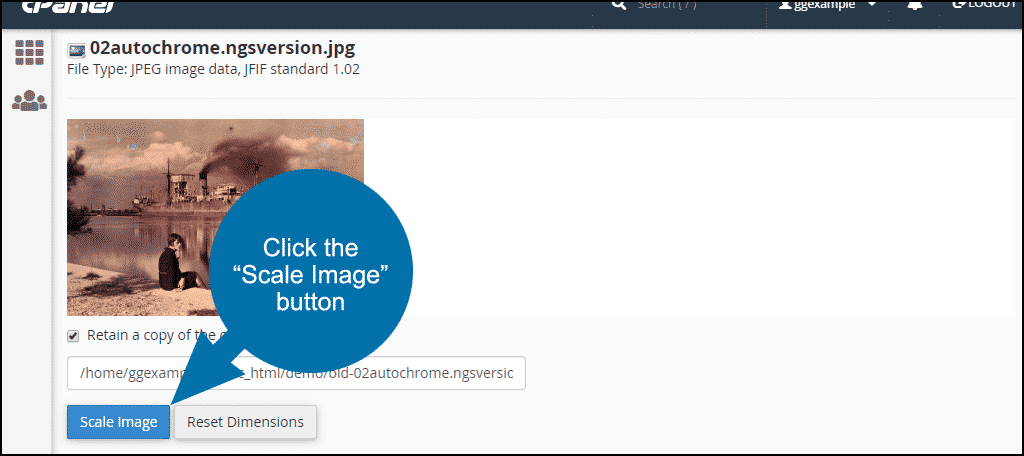
Retain a Copy of the old image as – The cPanel image scaler overwrites the existing image with the newly resized image. If you want to keep a copy of the original image, make sure to check the “Retain a Copy of the old image” box.
I strongly recommend retaining a copy (I’ll demonstrate why below).
File Path and Name – By default, cPanel will add the prefix “old-” to the original file name. You can change the file name or path before resizing if you wish.

Click the “Scale Image” button.
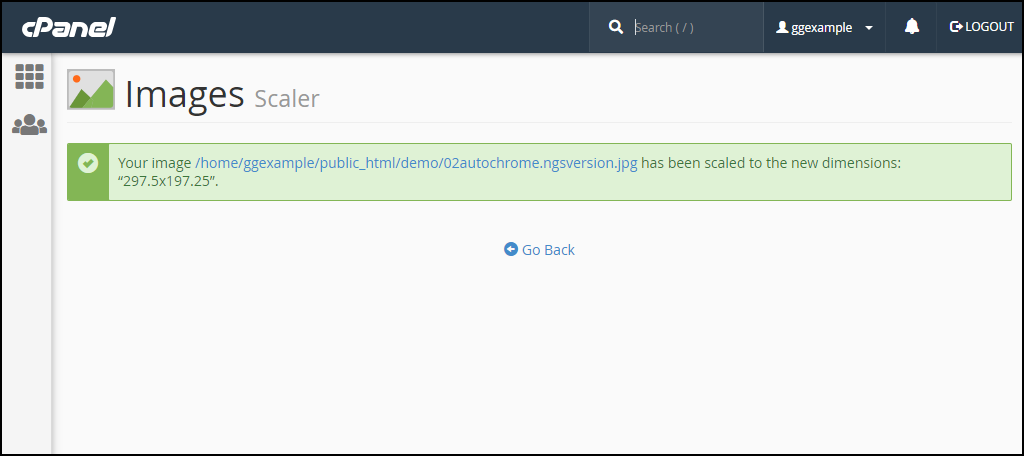
When the image resizing is complete, a success message is displayed.
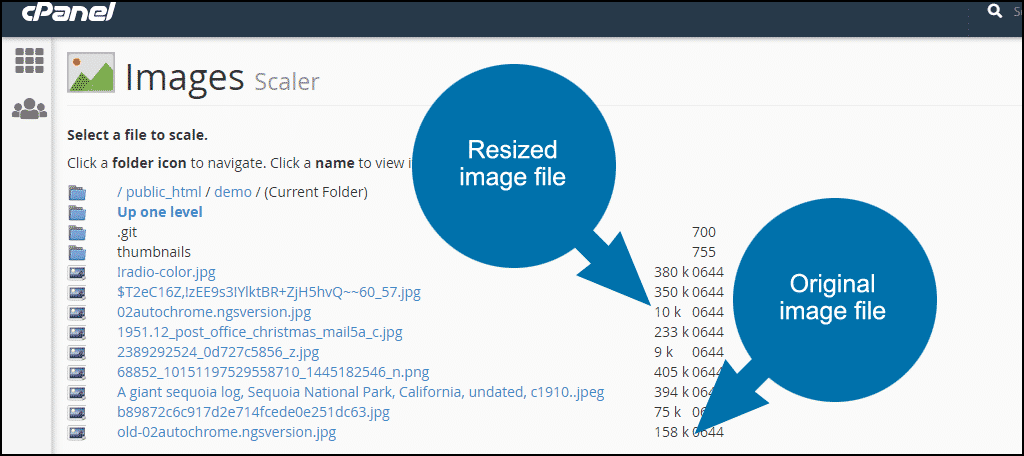
Now if you navigate back to the directory you were working in, you can see the new and old files.
In my example, you can see that by reducing the file dimensions to 25%, I cut a 148k file down to only 10k.
A note about high-resolution images: The cPanel Image Scaler changes the dimensions of an image, but not its resolution. Images made for printing (300-600 dpi) are generally higher resolution than those made for the web (72 dpi). The higher an image’s resolution, the larger the file size.
While the Image Scaler can make high-resolution images smaller in size, the resolution remains unchanged. So even after scaling, you may end up with a large file.
To realize more significant file size savings on high-resolution images, consider using image editing software to lower the image resolution before scaling. Lowering the resolution will also decrease the image dimensions, so you may find further scaling unnecessary.
Can Images Be Scaled up in Size?
The cPanel Image Scaler can also increase the size of an image.
When “upsizing” images, be sure to check the image preview. Increasing the size of most image files will reduce sharpness. The image preview will show you whether the quality of the increased image is sufficient.
Images that have previously been scaled down to a smaller size cannot be returned to their original size without a drastic reduction in quality.


Which is why I recommend using “Retain a Copy of the old image as” to save a copy of the original file. If website storage space is an issue, consider downloading the original images to your computer or a backup.
Do you spend a lot of time resizing images for your website? Now that you know how easy it is to change image sizes in cPanel, will you give it a try?
Can I do a bulk images resize