Do you use Google Search Console, Analytics, Adsense, Page Speed Insights, Tag Manager, or Optimize to gather WordPress site data? If the answer is yes (and it should be!), you need the Google Site Kit plugin.
What Is Google Site Kit?
Site Kit by Google is a WordPress plugin. It can be installed on any WordPress site to display information from the following Google services:
Site Kit provides a simplified view of the relevant statistics and information from each service in your WordPress admin dashboard. That makes it possible to access data and insights without logging in to each service separately.
If you don’t have one already, you’ll have to set up a Google account to use some of the tools. Then, you’ll have to connect your Google account to some of the services.
Get a head start by configuring Analytics for WordPress and connecting your site to Search Console (formerly Webmaster Tools).
How to Install Google Site Kit and Connect to Your Services
If you’ve ever installed a WordPress plugin, this should be easy and familiar. But we’ll go through the steps for those who are new to the process.
1. Installing the Site Kit Plugin
Log in to your WordPress admin panel.
In the left column navigation, mouse over the “Plugins” link and click the “Add New” link.
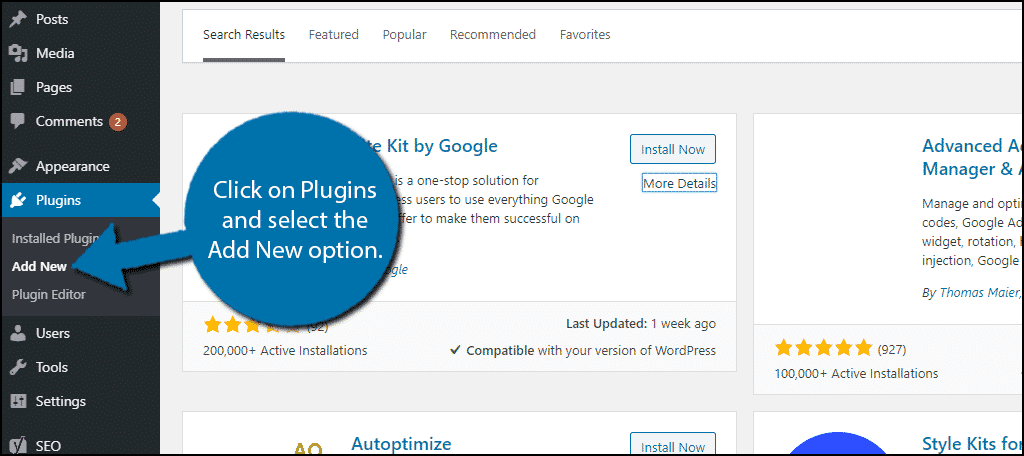
In the “Search plugins…” box, enter “Site Kit.”
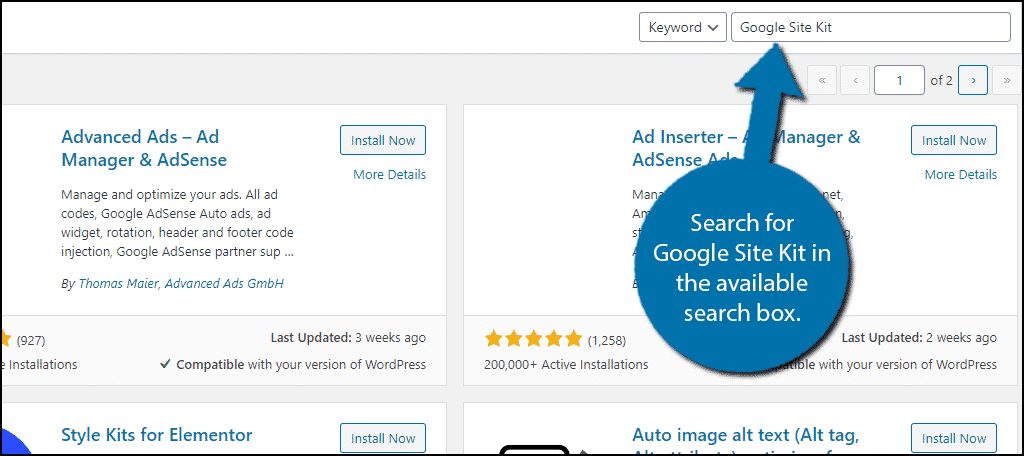
When you find the plugin, click the “Install Now” button.

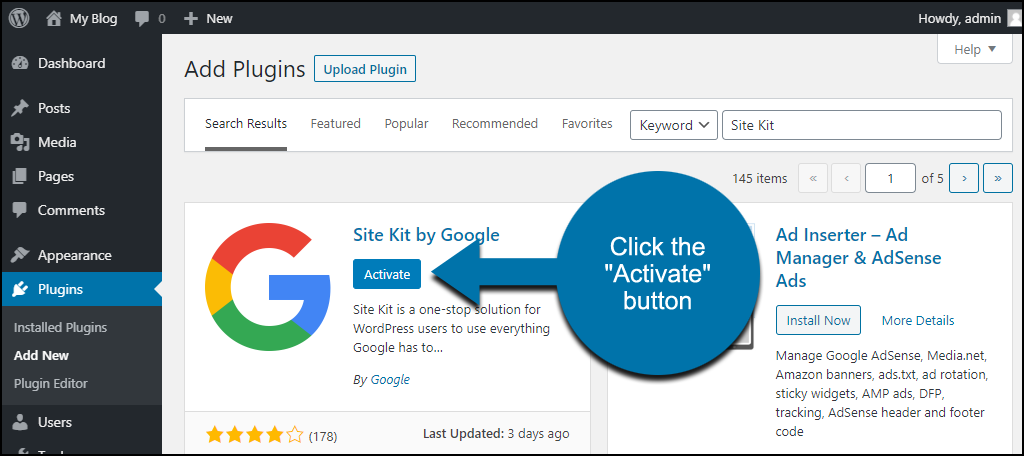
Now the plugin is installed, but it has to be activated before you can use it.
Click the “Activate” button.
That completes installation and activation. Now let’s move on to getting the plugin up and running on your website.
2. Running Site Kit for the First Time
In the left column navigation, mouse over the “Site Kit” link and click the “Dashboard” link.

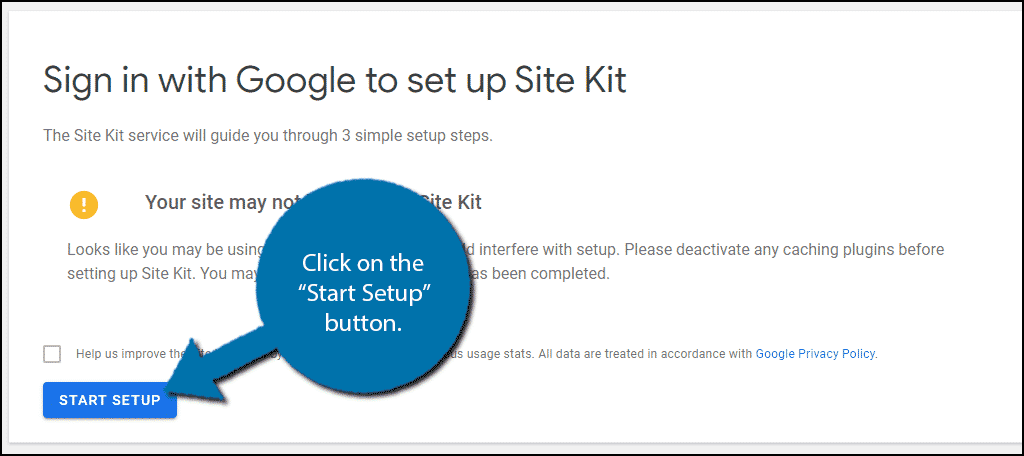
You may be greeted with a page telling you, “Your site may not be ready for Site Kit.” That message is usually shown if Site Kit detects that you’re using a caching plugin.
But, it can also show due to caching being performed on the webserver your site lives on. Or even some other configuration done by your web host that’s outside of your control.
If that’s the case, you can ignore the warning and proceed. (I saw the warning in my testing, but didn’t have any problems setting up Site Kit.)
However, if you do use a caching plugin, you should disable it if you can during the Site Kit setup.
3. Configuring Site Kit
Click the “Start Setup” button.
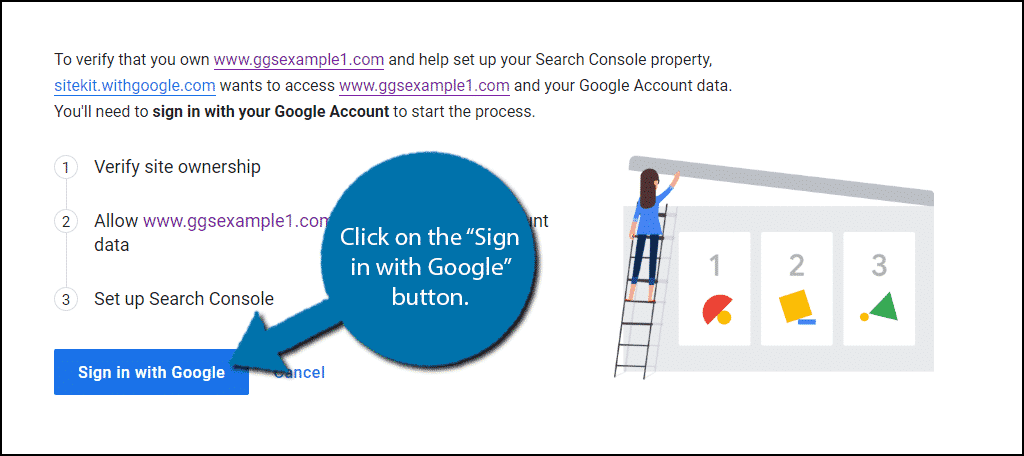
Next, you’ll be asked to sign in to your Google account.
Do you have multiple Google accounts? Make sure you use the account that you used to set up any other Google services related to your site.
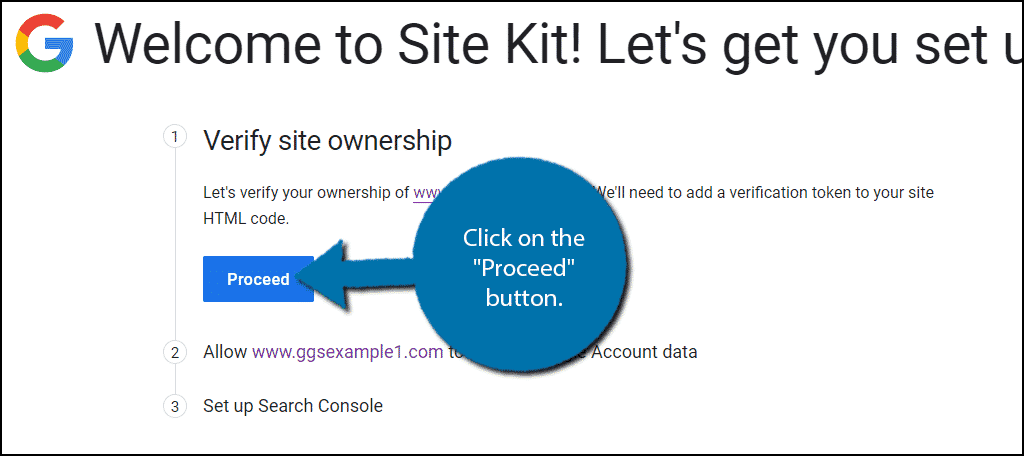
Once you’ve signed in and verified permissions, you’ll verify ownership of the website.
Usually, verification is done by downloading a snippet of code or a file and uploading it to your site. But since Google is in WordPress – via Site Kit – the verification is done automatically.
Click the “Proceed” button.
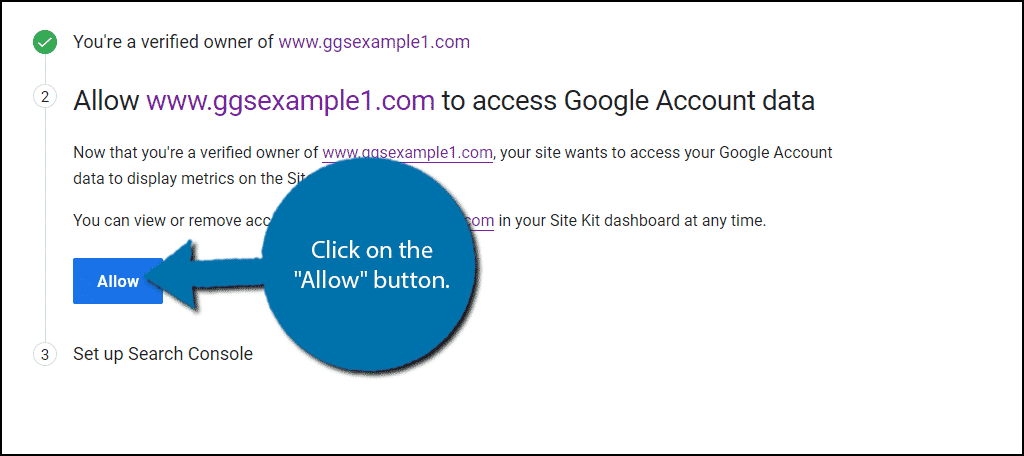
Then, click the “Allow” button to give your WordPress site permission to view your Google accounts.
Finally, Site Kit will want to connect to Search Console. Luckily, we can continue to enjoy the automatic magic.
All you have to do is click the “Add Site” button to complete the setup.

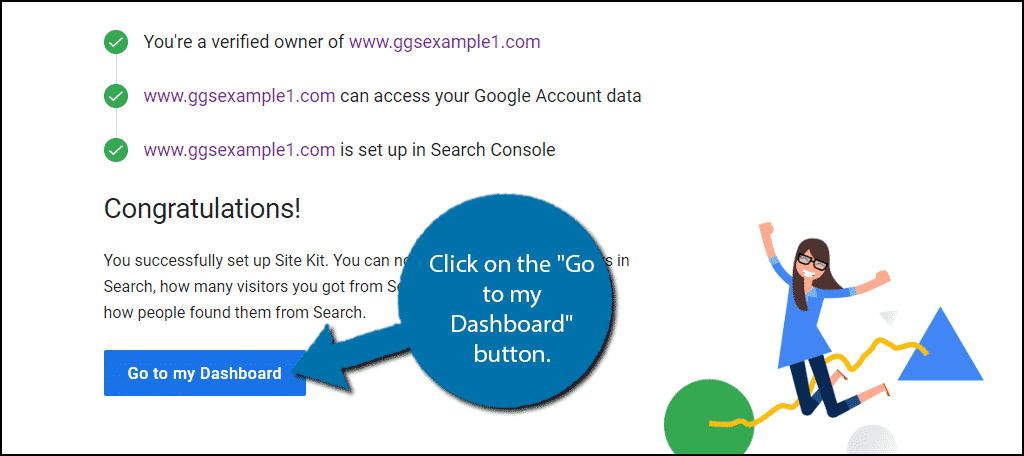
You’ll see a success message and a “Go to my Dashboard” button.
Click the button to—you guessed it—go to your WordPress dashboard.
If you deactivated a caching plugin during setup, you can reactivate it now. If you experience any errors when configuring individual services, try temporarily disabling the caching plugin again.
4. Adding Google Services With Site Kit
When you enter your dashboard, you’ll see a page listing the available Google services.
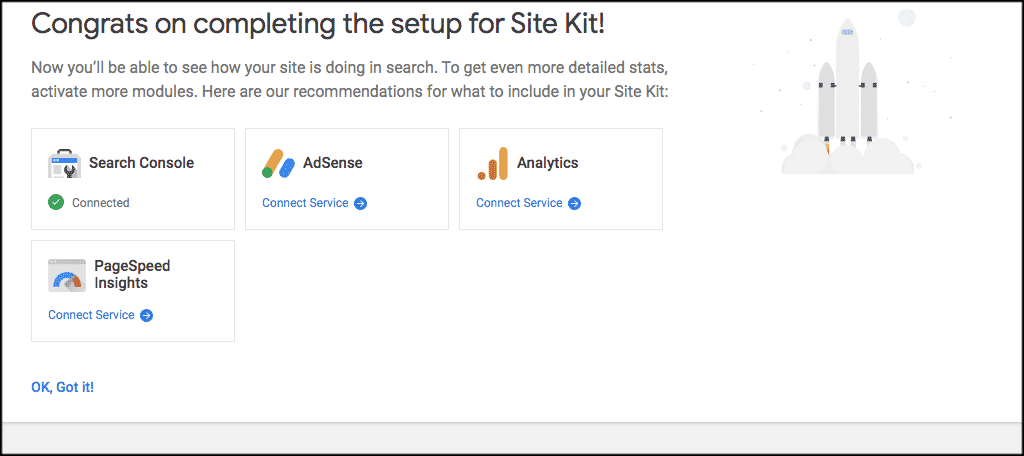
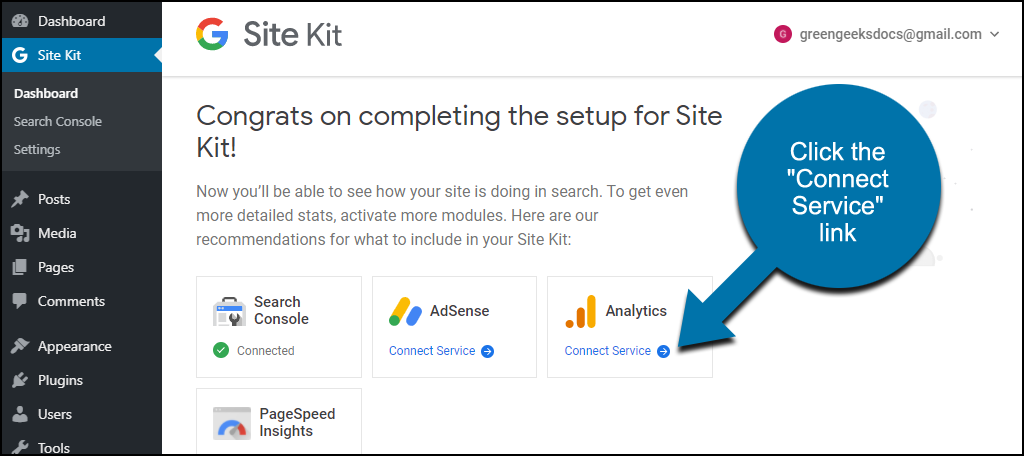
Search Console should already be active. To connect to Analytics, Adsense, or Page Speed Insights, click the “Connect Service” link beneath the service name. Tag Manager and Optimize will also appear as options after you connect Analytics.
When you click the “Connect Service” link, you may be taken to the Google login again. Sign in and verify permissions, then you’ll be brought back to WordPress.
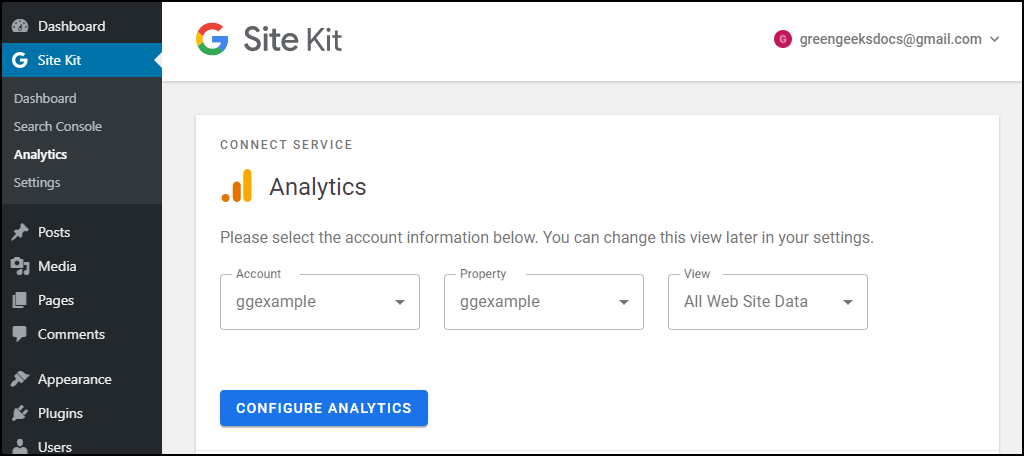
For example, let’s click the “Connect Service” link for Analytics.
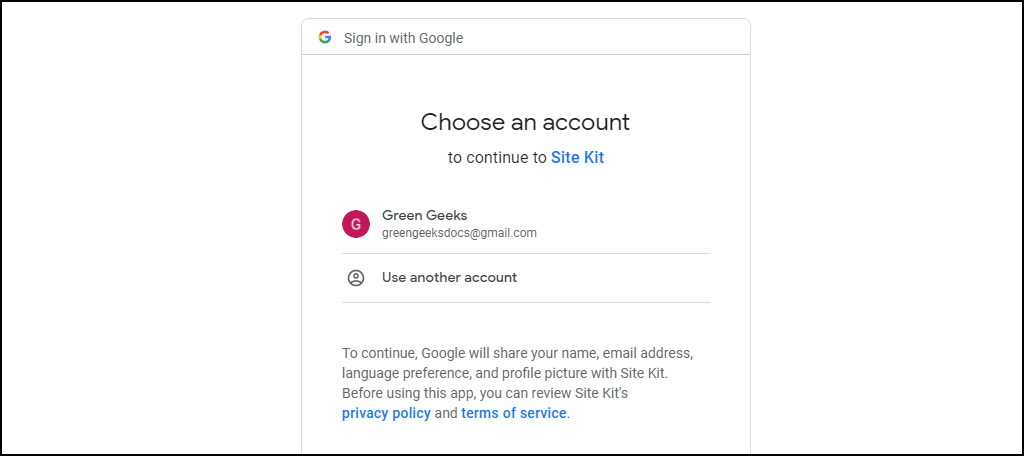
First, we get the login screen. If you have multiple Google accounts. be sure to use the account that you used to set up any other Google services related to your site. That will make the configuration of the services much easier.
Then the permissions request.
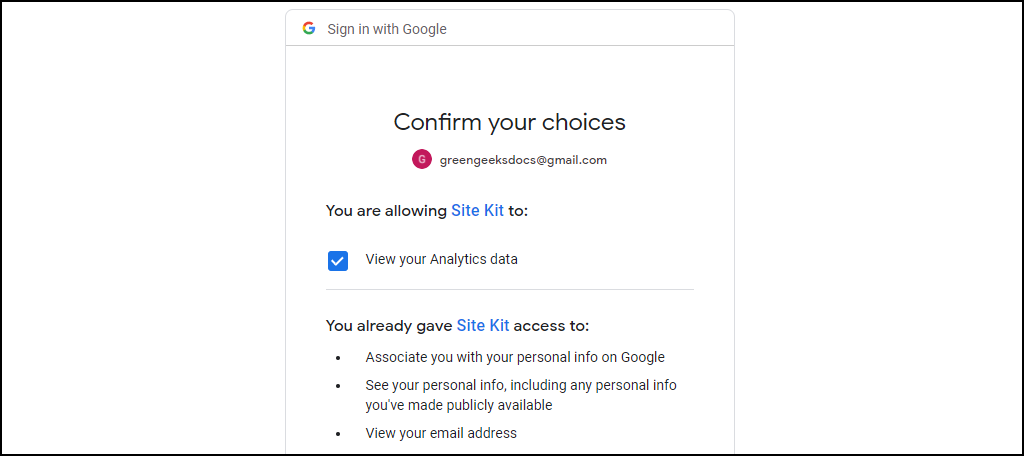
And then we’re back in the WordPress dashboard to complete the setup.
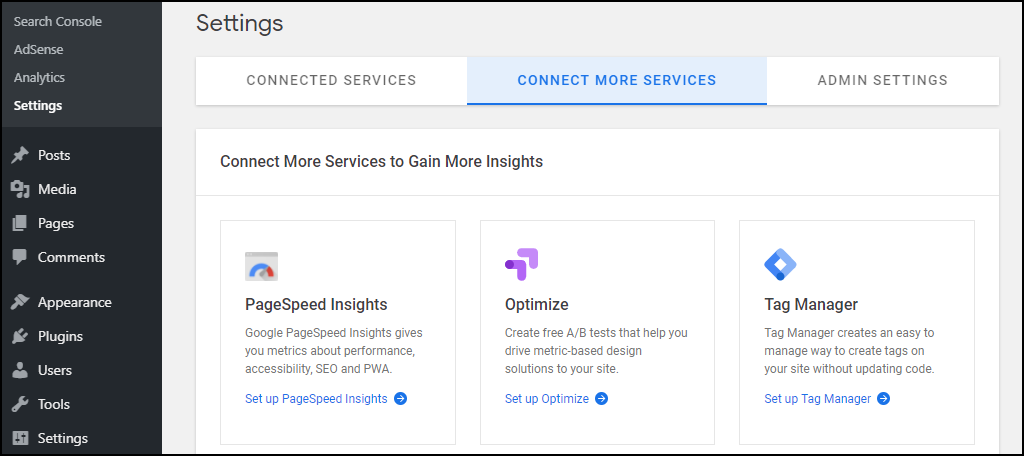
If you want to get back to the service activation page later, mouse over the “Site Kit” link and click the “Settings” link. Then click the “Connect more services” tab.
That’s what we’ve done here, and you can see that we now have options to connect to Tag Manager and Optimize (because we connected Analytics).
5. What Happens if You Uninstall the Site Kit Plugin
If you uninstall the plugin, you’ll no longer have access to Google services in WordPress.
The plugin creates options table entries in your WordPress database that are not removed when the plugin is uninstalled. If you want to delete them, look for tables containing “googlesitekit.”
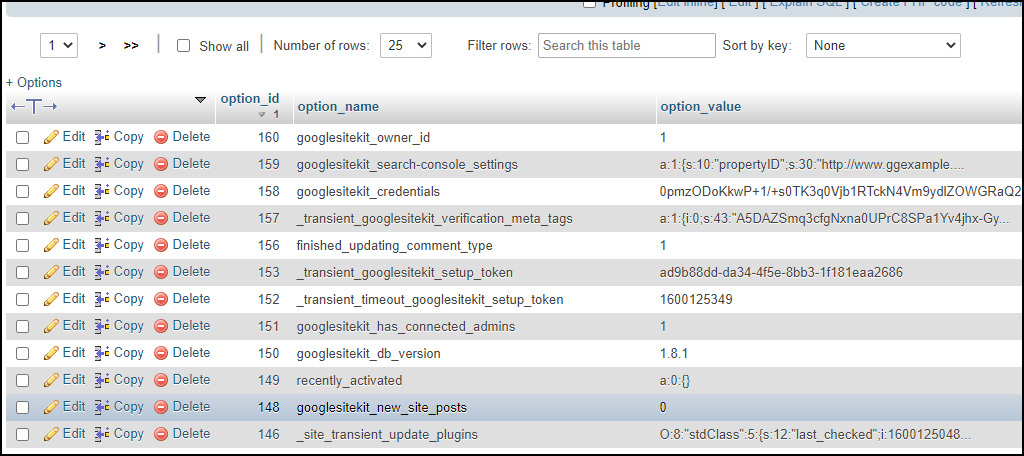
You don’t have to delete the entries. They won’t cause any problems.
And as a bonus, if you leave the “googlesitekit” entries in the database and re-install Site Kit later, it will use the entries to remember some settings.
Using Other Google Services Plugins?
If you were using any other plugins to access Google services on WordPress, you can delete them (or at least deactivate them). It isn’t a requirement – they’ll still work alongside Site Kit. But if they aren’t providing anything other than the Google connection, you’ll no longer need them.
All plugins consume website resources, even those that only connect your WordPress site to outside services. Plugins make WordPress great, but unused or unneeded plugins should be deleted. Not only will you save resources by doing so, but you’ll also decrease the chance of suffering an exploit due to having an old, insecure plugin around.
Besides, now you’ve got the Google plugin that was built by Google, so what else could you need?
Google Site Kit Bridges the Gap
The Site Kit plugin can unquestionably save most of us a lot of time. But as I mentioned earlier, it does present a simplified and limited view of some of the available data. But it does tend to present the data we want to see most often, so they’ve made a good compromise.
And a simplified view isn’t necessarily a bad thing. Google tools tend to be…complex, so a simpler view of the most popular data may be welcome by some. If you want to see more data, the plugin links you to the service websites, so you’re never far away.
How many services did you connect (or do you plan to connect) using the Google Site Kit plugin? If you’ve started using the plugin, do you find yourself going back to using the individual services less often?
Let me know in the comments. I’d love to hear from you.
Jeremy, please tell me how to remedy an error that consistently pops up stating that Site Kit cannot verify my site. I have been working on this for 2 weeks.
Hi Christina,
Do you have your OAuth Credentials? Is your site connected to Google Search Console? Analytics? Usually when Google says they cannot verify your website, it is because you have not actually verified that you are the owner of the domain. This happens often, not just with Site Kit. Have you verified you are owner of the domain with them?