
One of the strongest features of WordPress is its enormous library of plugins that you can use to modify your website. As a result, most WordPress sites have a variety of plugins active at any given time. Powerkit aims to lower that number.
Simply put, Powerkit is a modular-based plugin that gives you the power of multiple plugins in a single package. You can enable or disable the modules to get or remove a feature on your site.
Some of the core features include social media integration, email opt-ins, content editing tools, image optimization, and a variety of other features. All of these normally require a separate plugin to be installed.
Today, I will demonstrate how to get all of them by just installing Powerkit in WordPress
Why Use Powerkit?
Normally, you would need a variety of plugins to get the same amount of features that Powerkit offers. This can cause problems for your website in both the back and front end of your website.
Plugins are designed better today than when WordPress was still new, but they can still clash. And that can be a nightmare for a site owner. But it doesn’t have to be. An all-in-one WordPress plugin fixes this problem.
That’s because all of the tools come from a single plugin, thus they were made to work together without conflict errors cropping up.
The best part about Powerkit is that it is broken up into multiple modules that you can turn on and off. This allows you to easily select what tools you want to use. After all, if you don’t need a specific feature, it is just wasting space.
Some of the key benefits of Powerkit include:
- Sociale media integration (Facebook, X (Twitter), Instagram, Pinterest)
- Creates opt-in forms for your newsletters
- Adds lightbox functionality to your images
- Add lazy load functionality to images
- Includes a slider gallery
How to Utilize Powerkit in WordPress
Powerkit is a WordPress add-on plugin, and it comes with a variety of features and tools to aid developers. Most importantly, it is one package. This means you don’t need multiple plugins to get the same results.
This tutorial will cover what the plugin is capable of and how to set it up.
Step 1: Installing Powerkit
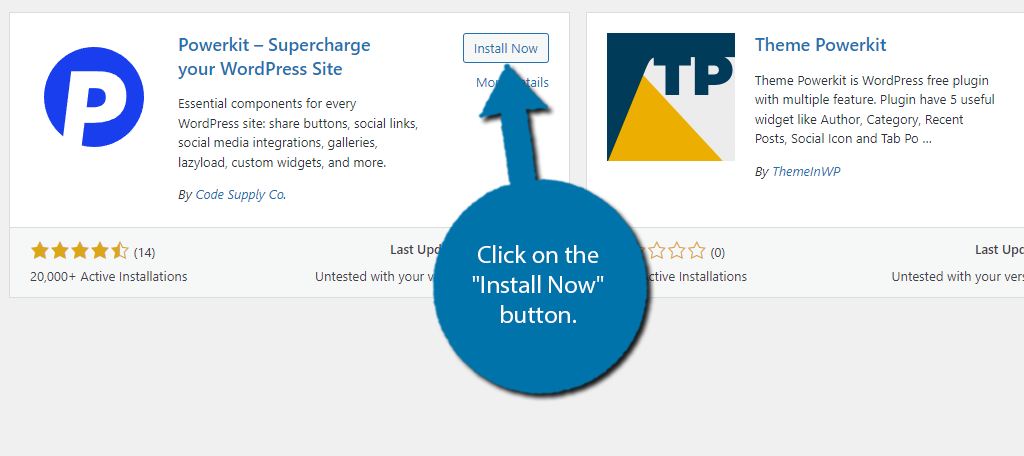
Let’s start by clicking on Plugins and selecting the Add New option on the left-hand admin panel.

Search for Powerkit in the available search box. This will pull up additional plugins that you may find helpful.

Find the Powerkit plugin and click on the “Install Now” button and activate the plugin for use.
Step 2: Selecting Modules
Powerkit is module-based, which means you can turn features on and off at any time. I highly recommend only turning on things that you plan on using. Otherwise, these features will take up resources if you do not.
On the left-hand admin panel click on Powerkit.
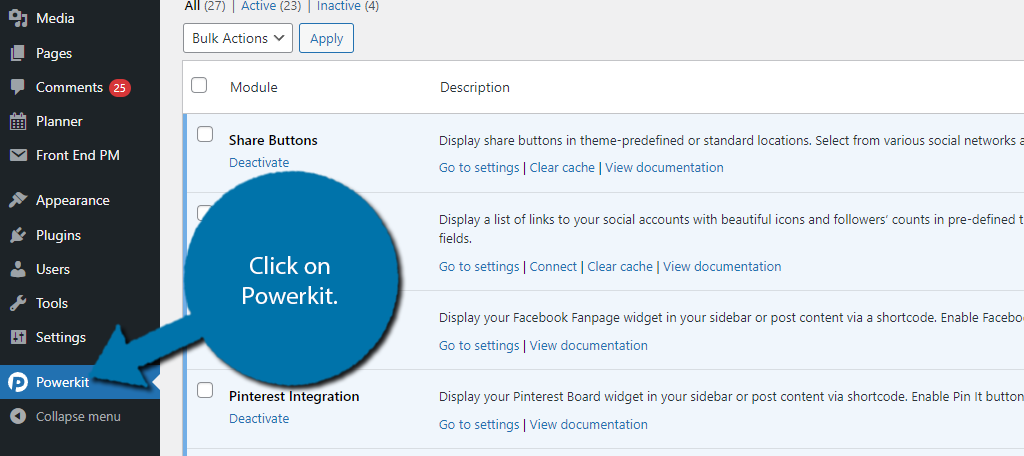
Here, you will find a full list of the modules available. There are 27 modules in total, with 23 active after installation. The four that are not active are considered advanced.
Activating and deactivating modules is identical to doing the same for plugins. Simply go down the list of modules and click on the “deactivate” option to do so, or the “activate” option to enable it.
Each module has an option link that takes you directly to its settings area, clear the cache, or connect to a specific service. Most of these options are also found in the Settings area of WordPress.
Note: For the purpose of this tutorial, I will be leaving everything enabled and sharing where the settings pages are and some of what they cover.
Step 3: Social Integrations
This section will focus on the social integration options and share buttons Powerkit adds to WordPress. You will need the Share Buttons, Social Links, and social media integration modules enabled to use them.
If you do not see these options, then the module is deactivated.
Note: If you do not plan on using social media integration, skip to the step that contains what you are looking for.
Click on Settings and select the Share Buttons option.
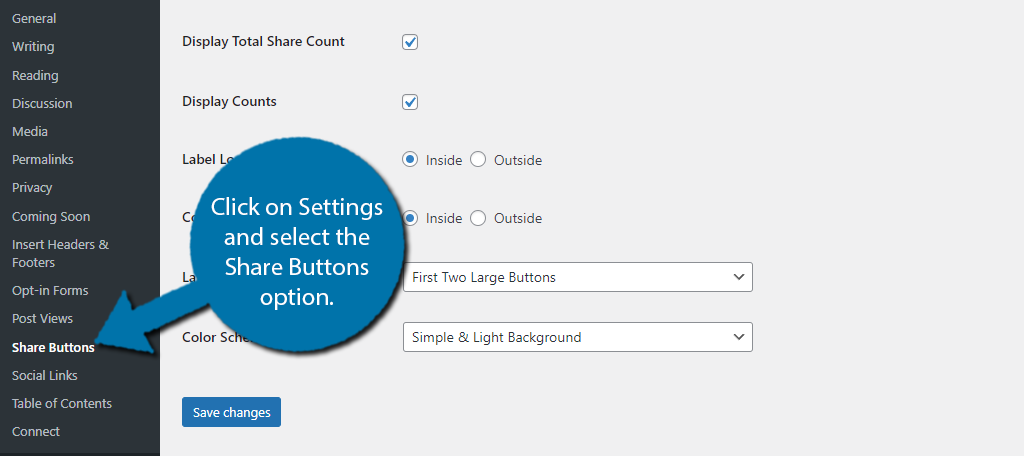
This is where you can decide what social buttons your website will show and where they will display. This area is broken up into 5 tabs, but realistically you should only enable them in one or two of these tabs. Each one represents a different area on your website.
To select the button, simply check the box that corresponds to the social media platform. You can drag the buttons in the order you want them to appear underneath.
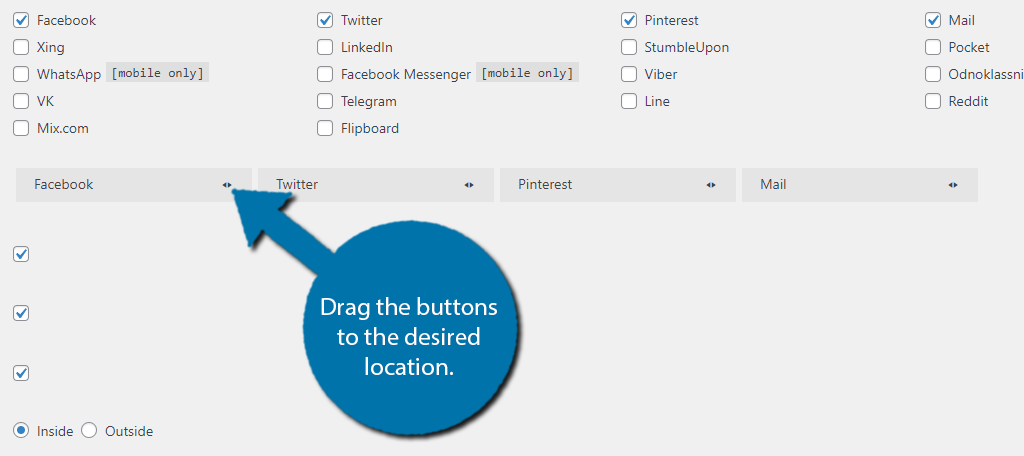
The rest of the options decide the appearance of the buttons, click on the “Save Changes” button when you are finished. The buttons will look like so:

Note: These settings are identical on each tab. Again the tab determines where the social buttons appear so make sure you are on the right one.
Click on Settings and select the Social Links option.
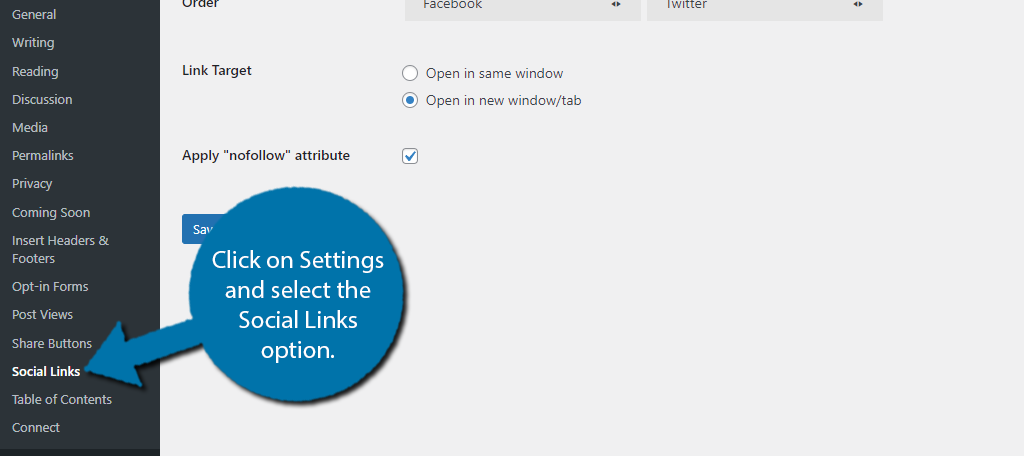
Here, you can decide what platforms to add social links for and the order. It works the same way that the buttons do.
Finally, to connect with a specific social media platform, click on Settings, and select the Connect option. This will allow you to enter information to integrate your social media account and WordPress website.
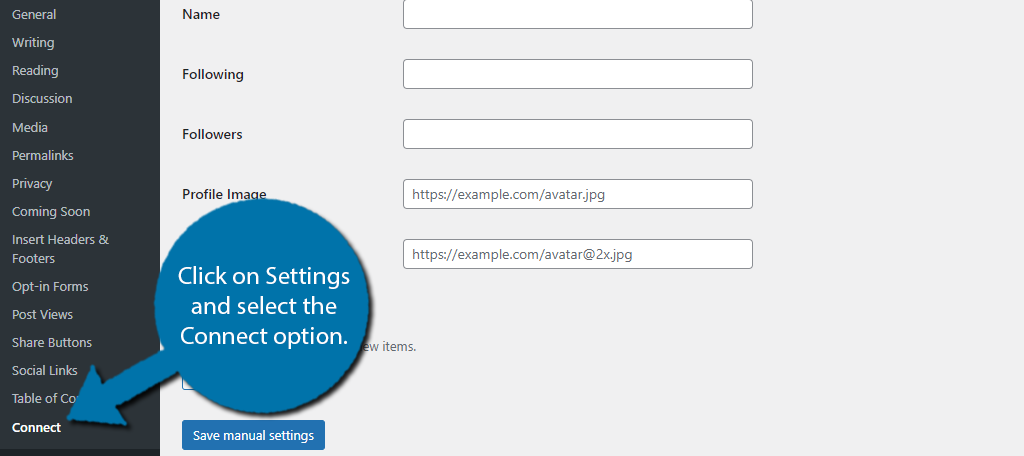
Note: Make sure you log into the correct account when you click on the “Connect” button.
That covers everything social media-related.
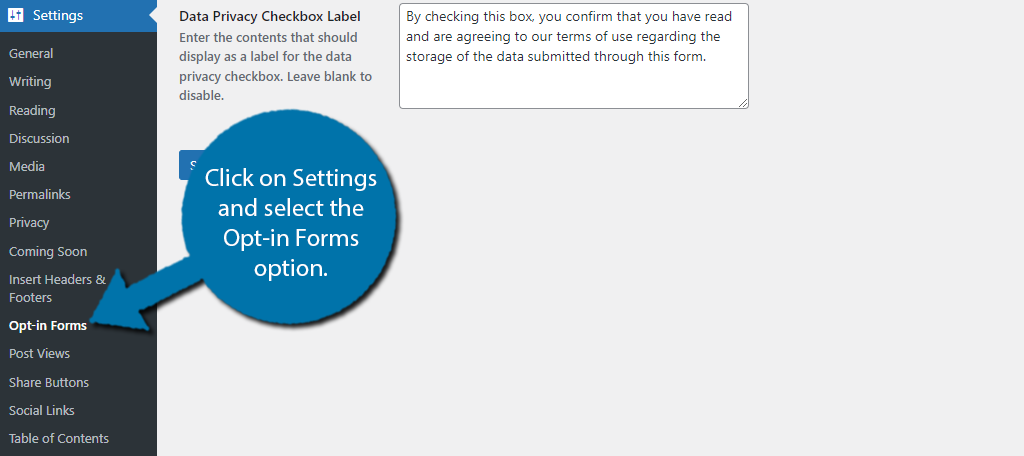
Step 4: Opt-in Forms
This plugin exclusively works with a MailChimp account. Click on Settings and select the Opt-in Forms option.
You will need to log into your MailChimp account, obtain the API key, and configure the settings. This will allow you to use forms created with MailChimp and integrate them into WordPress.
If you do not have a Mailchimp account, then it is best to deactivate this module.
Step 5: Widgets
This plugin adds a variety of widgets that you can take advantage of. These include an Author widget, social media widgets, a tag cloud, and much more. Of course, the widget system in WordPress has changed to a block format.
Thus, all of these are now called blocks, even if the plugin page still refers to them as widgets.
Naturally, all of these can be found in the Widgets section of WordPress with their own unique settings to configure.
Simply add the block to the widget area, and you can configure the settings for it like normal.
Step 6: Miscellaneous
There are a large number of features in this plugin. Here are a few more you should take notice of.
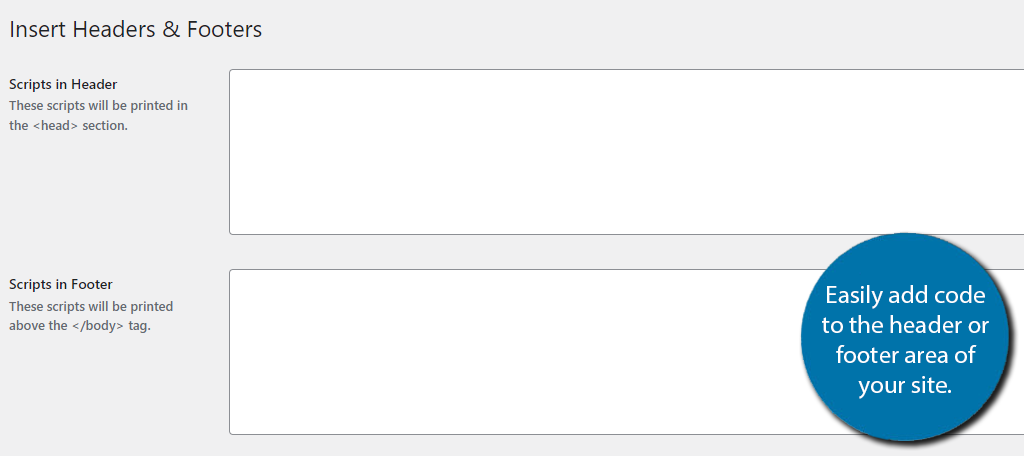
This plugin makes adding headers and footers a breeze in WordPress. In fact, if you are already using the Insert Headers & Footers plugin, deactivate it, because it is built into this plugin.
Simply go to Settings and click on the Insert Headers & Footers option.
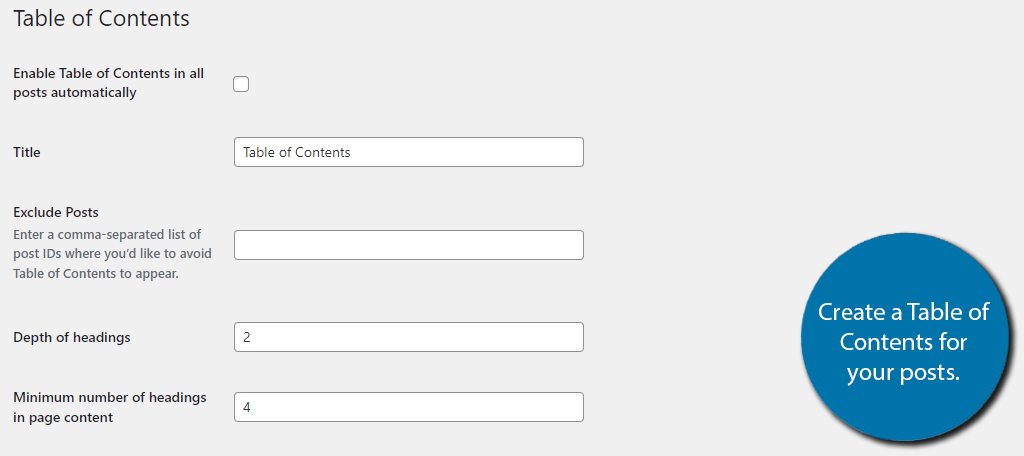
Another great feature that you may already have a plugin for is adding a table of contents. You can add a table of contents automatically to all posts and other options.
Go to Settings and click on the Table of Contents option.
You can check the post views for all of your content. You will need to create a new project in the Google API Console, but it will give you detailed information straight from Google.
To adjust this, go to Settings and click on the Post Views option.

Other settings can be found in the Media section if they relate to images and video content. Again, the best way to find where a setting is located is to go to the module and select the settings option.
Congratulations on setting up the Powerkit plugin for WordPress.
Powerkit FAQs
Powerkit does indeed have a lot of features, but it should not slow down your website. In fact, taking advantage of some of the features like lazy load, should actually speed up your website.
It really depends on the feature in question. For example, there are hundreds of share button plugins to choose from. You may find one that has better design options that fit your site better. A dedicated tool will typically have more options, but not always.
Jetpack is essentially a bigger version of Powerkit. It offers more features and has a lot of compatibility and integration options with most WordPress plugins. As such, it is a better option, but Powerkit is the best alternative. Jetpack also requires a WordPress.com account, and Powerkit does not.
Avoid Using Too Many Plugins with Powerkit
The entire point of using a plugin like Powerkit is to add a variety of features by only installing a single plugin. The truth is that every plugin you install will slow down your website, no matter what it does.
It may not be noticeable at first, but if you were to install a dozen plugins, you would see it. Using all-in-one plugins like Powerkit is a great way to help avoid this from happening. And there are others like Jetpack that you can choose from.
I hope you found this tutorial helpful for learning how to use Powerkit in WordPress.
How easy did you find Powerkit to use? Which modules did you enable and disable?