If you are a WordPress user and are trying to figure out ways to optimize your website, then one of the best is to optimize your images. WordPress image compression has all sorts of benefits, including helping with conversion and bounce rates.
There are several great tools for WordPress image compression, but in my mind the best image compressor is Smush. They show you how to optimize images for WordPress quickly and easily, and provide a lot of tools for a free WordPress plugin.
Why Smush For WordPress Image Compression?
There are so many reasons to like Smush. The fact that Smush is free only makes it more attractive for those of us who are trying to find a solid WordPress image compression tool.
The plugin comes complete with several really amazing features including:
- Lossless Compression
- Bulk Smash
- Incorrect Size Image Detection
- Automated Optimization
- Lazy Loader
- Gutenberg Block Integration
- Multisite Compatible
Basically, you can use all these functions together to optimize your WordPress images without losing any quality. Smush will also help your site speed. By using this tool, pages load faster without sacrificing image quality.
Another great thing about this plugin is that it allows you to optimize and compress all the existing images that are on your website without having to upload them all over again.
Let’s take a look at how to use Smush to compress and optimize images in WordPress.
Install and Activate Smush
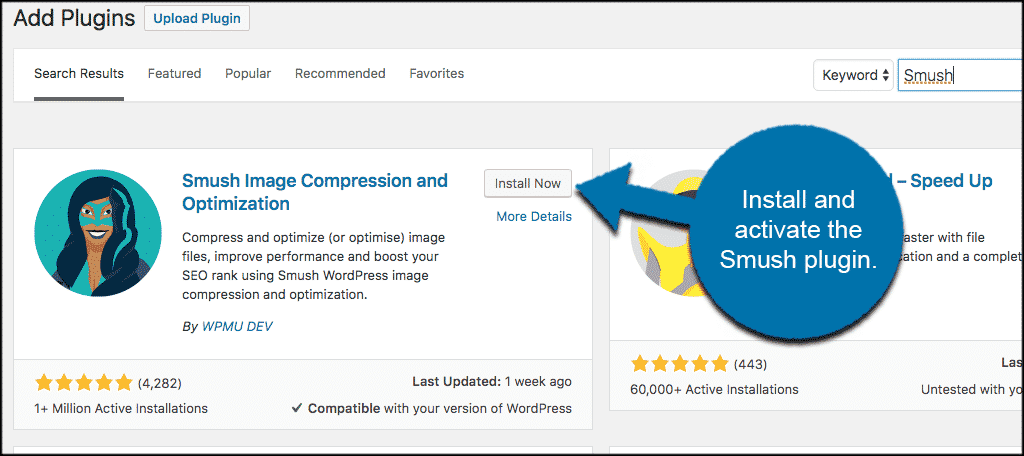
Again, the Smush plugin is free and you can install it straight from your WordPress admin dashboard. Just head over to the plugin directory and search “Smush.”
Install and activate the plugin so you can use it.
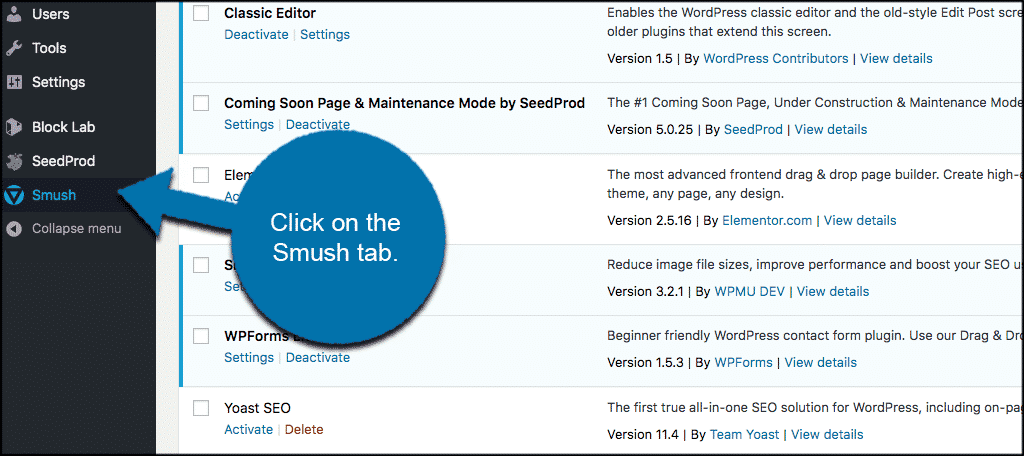
Once the plugin has been installed and activated, you can head over to the main setup page by clicking on the “Smush” tab that will now appear in the left-hand menu of your WordPress admin dashboard.
Let’s walk through the setup together.
Smush WordPress Image Compression Plugin Setup Wizard
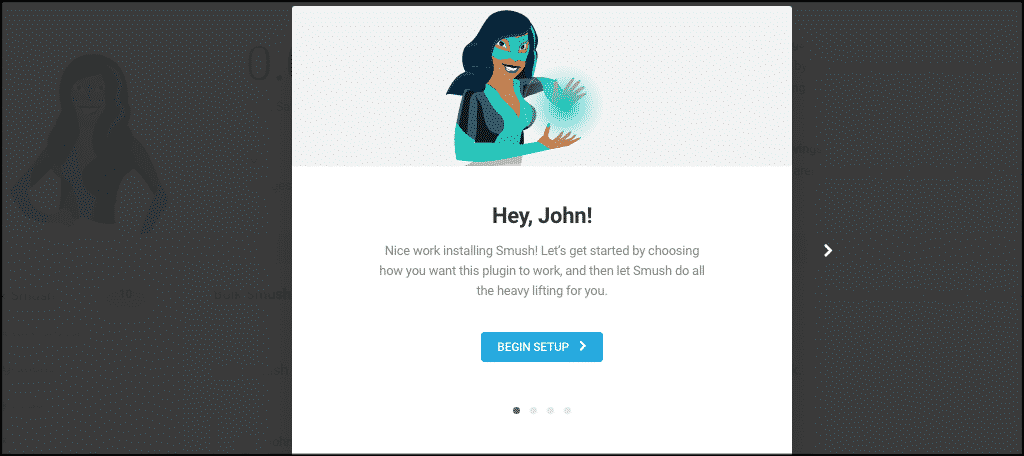
When you first click on the Smush tab you will be taken to the main setup page. Here you will encounter a series of popup boxes and instructions. Let’s look at them together.
The first popup will simply say hello and let you know you are about to configure Smush the way you want it to work. Read that and click the “Begin Setup” button.
The second box is the automatic compression popup. Choose whether or not you want to use Smush WordPress image compression to automatically optimize all your new images when they are uploaded.
It will be automatically checked, so you should leave it and click on “Next.”

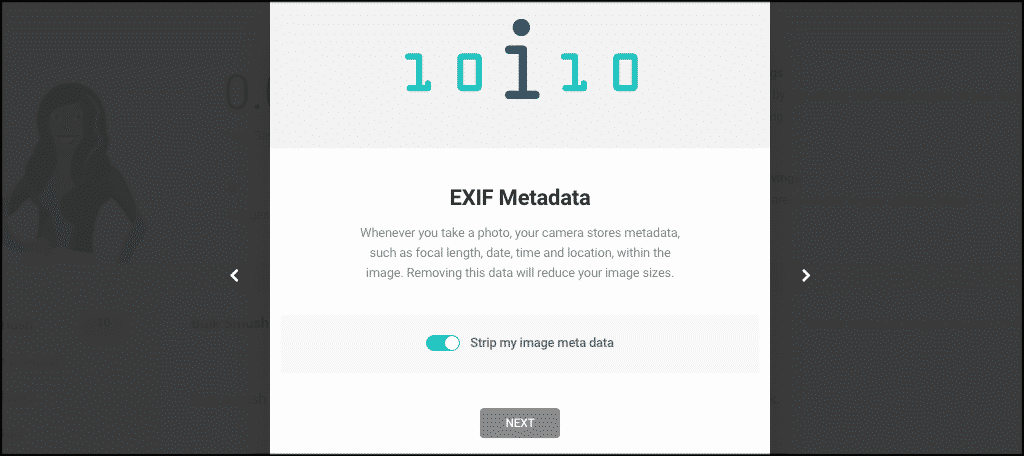
Next comes the EXIF Metadata popup box. Smush will automatically remove all of this for you if you want and further reduce and optimize image file sizes. Click on “Next to move on.
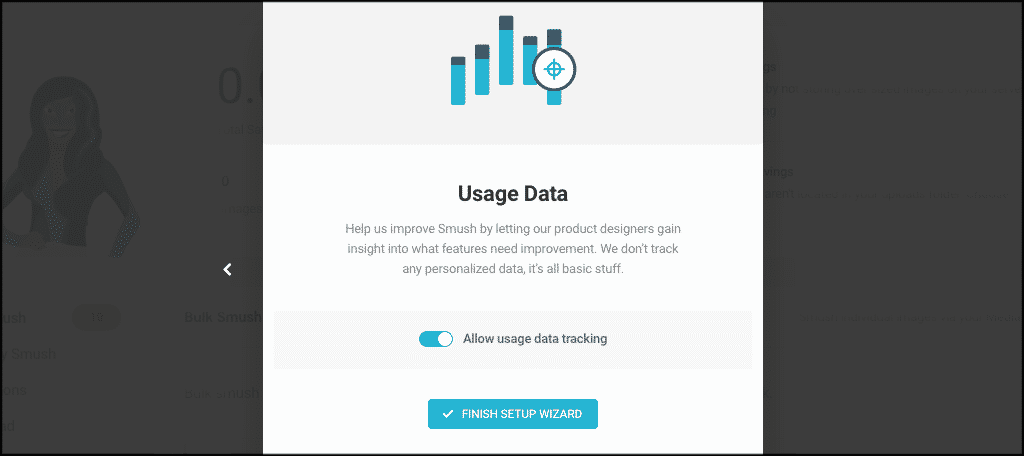
Lastly, Smush will ask you whether or not they can track some of your usage data so that they can make the plugin even better. They do not track personal data, so this option is entirely up to you.
Click on “Finish Setup Wizard” to finish this part of the setup and move on.
At this point, the plugin will quickly optimize all the images you already have on your WordPress website. Once this is done, you are bounced to the main Smush dashboard where you can play with some options.
Smush Dashboard
The Smush dashboard is the main place where you will adjust settings and learn how to optimize images for WordPress.
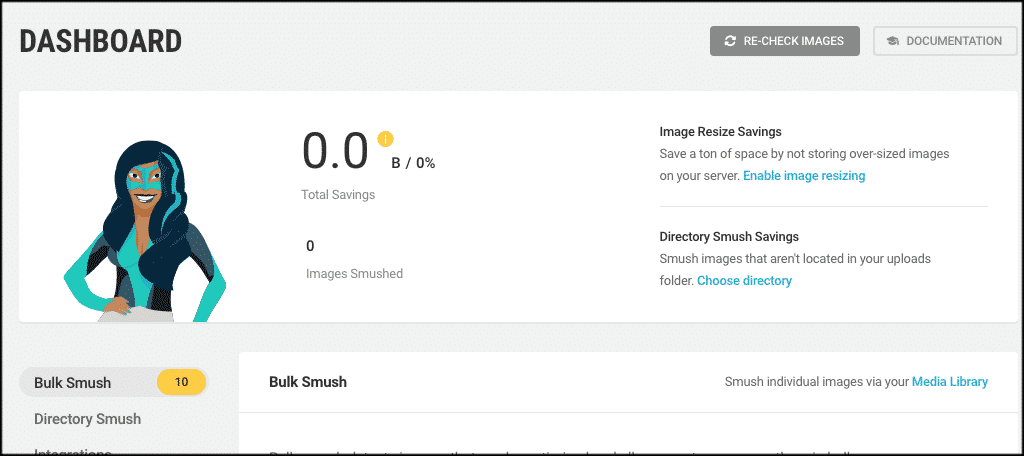
As you can see, you will be able to view documentation, re-check images, see how many images have been “smushed” and view total savings for your WordPress image compression results.
Let’s rundown through the rest of the Smush dashboard options. Scroll down some and you will see a list of options you can play with. They Include:
- Bulk Smush
- Directory Smush
- Integrations
- Lazy Load
- CDN
- Tools
- Settings
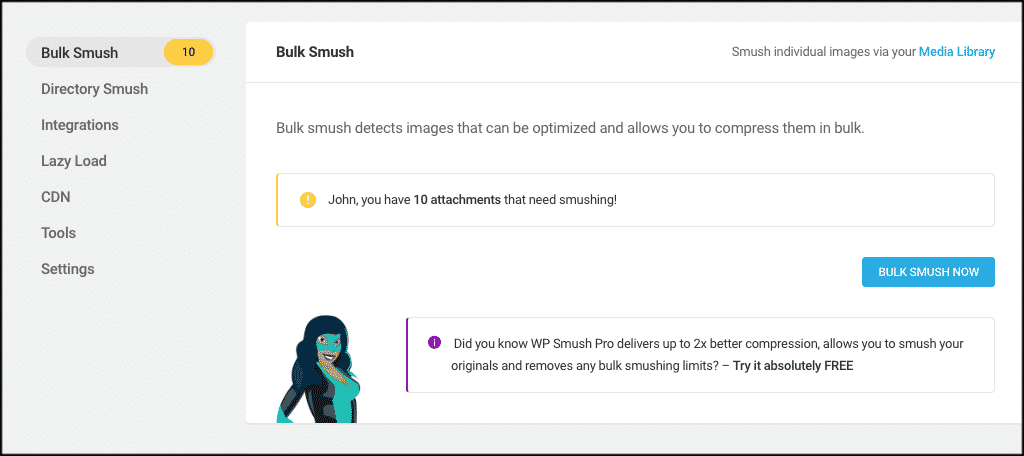
Bulk Smush
Since you are already on the main page, you will see that “Bulk Smush” has already been selected. If you want to or need to, click on the button to bulk smash your images.
Directory Smush
After you adjust bulk smush, go ahead and click on the “Directory Smush” option.
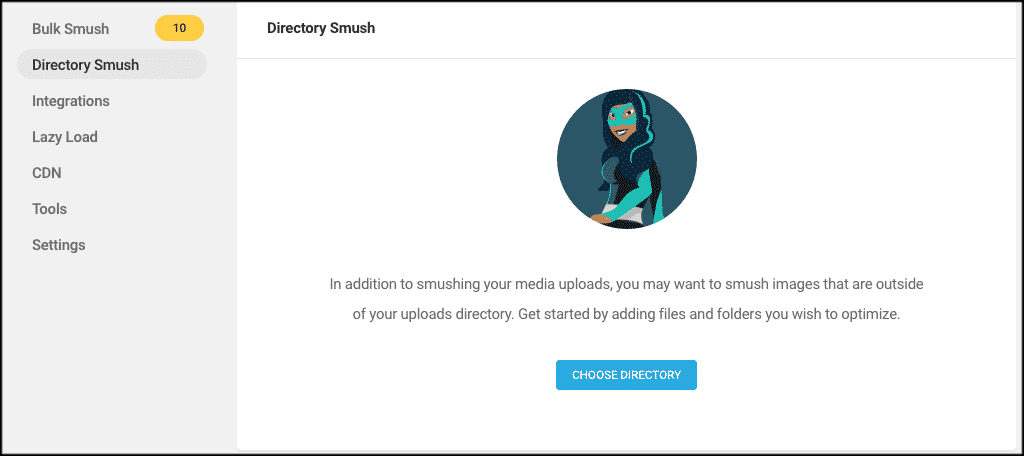
From here the Smush plugin allows you to smush images that are located outside of your uploads directory. Just add files and folders that you want optimized and Smush will do the rest.
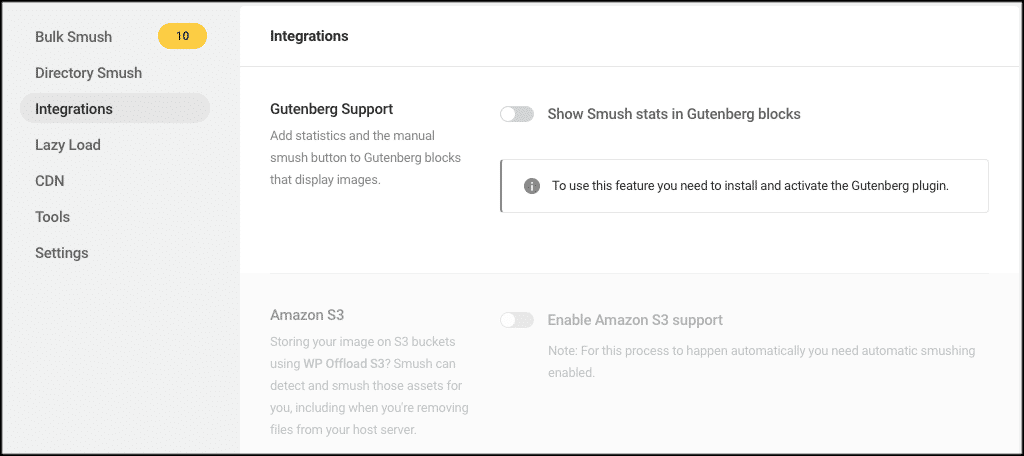
Integrations
Smush allows you to integrate the plugin into some of the most popular WordPress tools out there. If any of the four boxes are gray, it simply means you are not using that particular plugin or source.
Smush allows for integrations into:
- Gutenberg
- Amazon S3
- NextGen Gallery
- WPBakery Page Builder
Select any available tabs you want to integrate and move on.
Lazy Load
Click on the next tab titled “Lazy Load.” If you want to activate it then click on the blue “Activate” button.
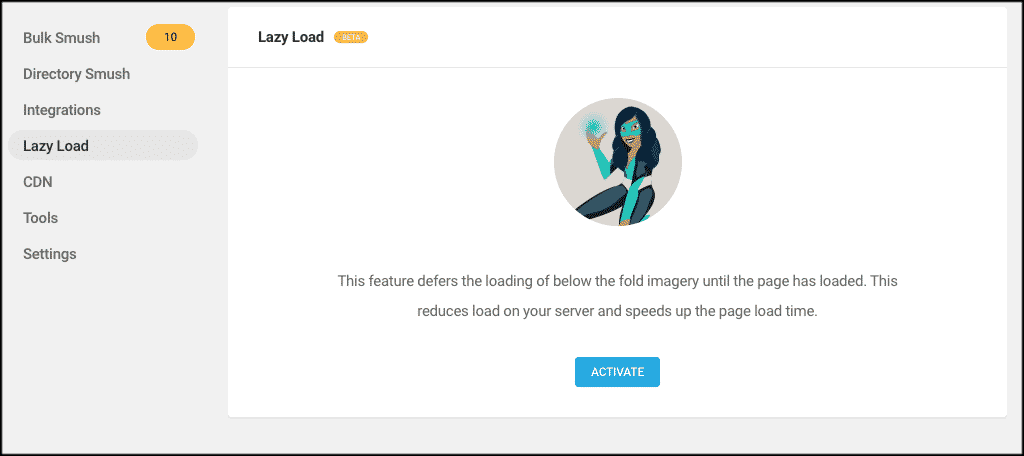
The lazy load function will help reduce the load on your server and speed up your page load times. It does this by only loading images as the user scrolls to see them. This is a great option in my opinion, so I would recommend activating it.
CDN
Next is the Smush CDN option tab. Click on it and if you are interested, you can dive into more about what this function does. There are also a lot of solid CDN services out there.
Note: You will need a WPMU DEV Membership to activate this function and use it.
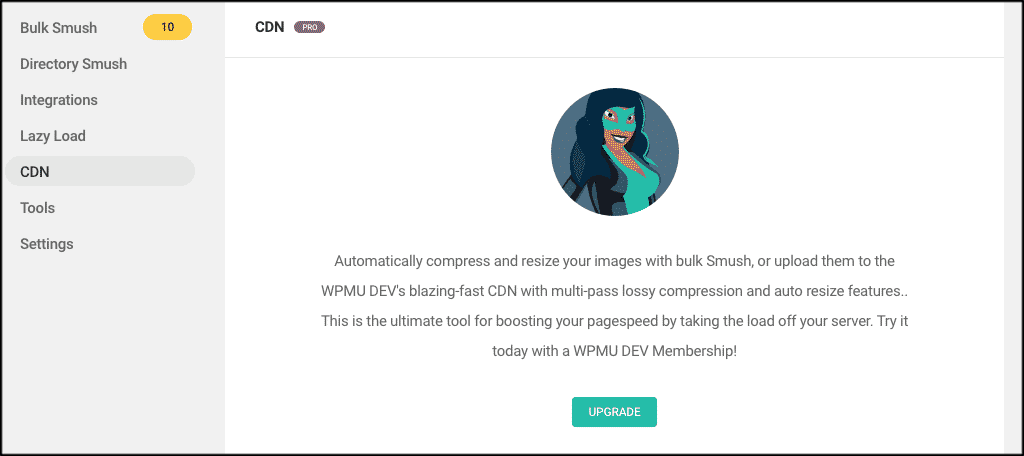
Basically, if you upgrade, you get to use WPMU DEV’s CDN with multi-pass lossy compression and auto resize features. This will really boost your page speeds even more.
This works as content delivery networks like CloudFlare share the site with other servers around the world. In essence, people nearest to those servers access the site from those locations. This cuts out distance when dealing with load speed.
Tools
Under tools, you will find one option. You can let Smush detect and show incorrect image sizes.
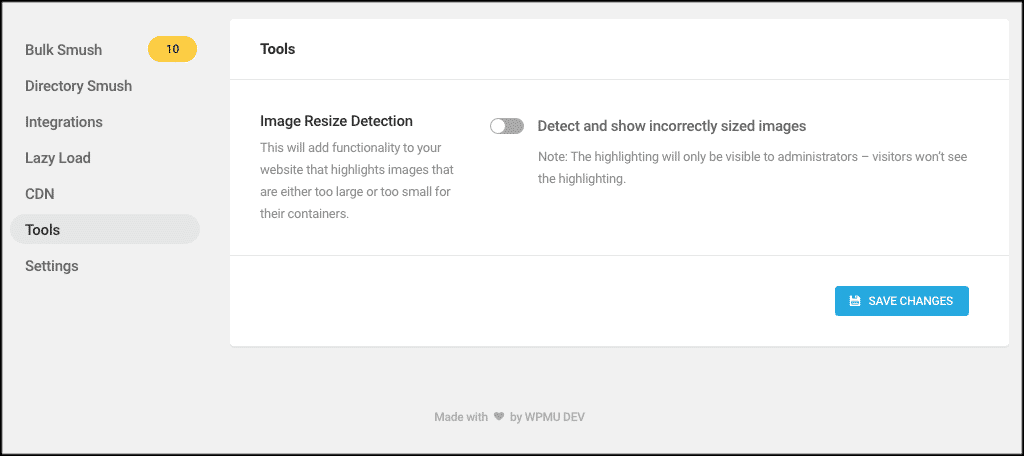
This is basically only for you to see. Site users won’t be affected in any way. This just allows Smush to show you images on your website that are not sized correctly so you can fix them if you choose.
Final Settings
Last, but not least, is the final setting’s tab. Smush will give you some other setting options that you can fill out the way you see fit.
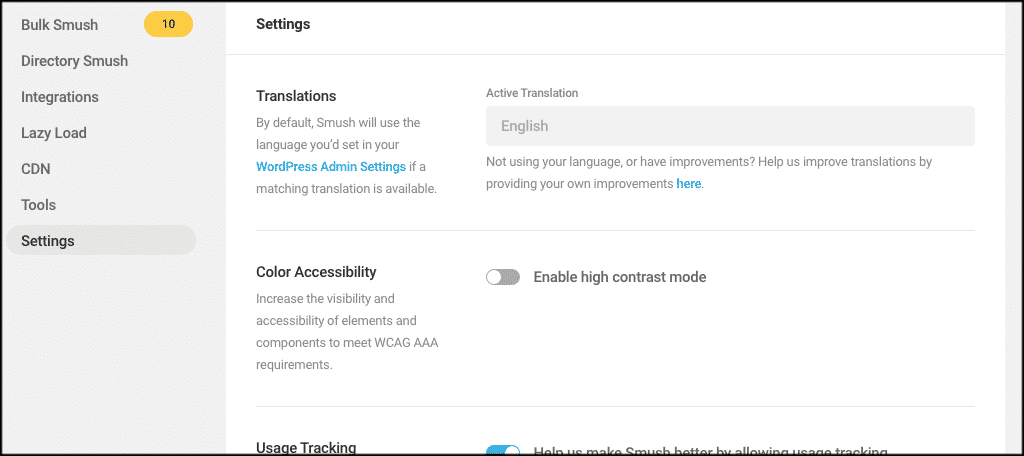
These settings include:
- Translations
- Color Accessibility
- Usage Tracking
- Data
- API Status
Once you have been through all of the above, you are all set. You have successfully setup Smush and are ready to use it for all your WordPress image compression and optimization from here out. Be sure to click on the “Save Changes” button to apply any changes you have made along the way.
Keep the Site Optimized
WordPress image compression is a very important aspect of website optimization. Not only will your images render properly for web, but your site will also be faster. And this will help with your Google ranking in search results.
Have you ever used Smush to optimize WordPress images before? Do you prefer another WordPress image compression tool instead?