There’s plenty of reasons to love the Elementor Page Builder plugin, but did you know you can add even more features? That’s right, with the ElementsKit plugin, you can add a variety of extra features and customization options to enhance your experience.
These include extra modules, widgets, blocks, and more. As a result, there are thousands of new combinations to help you build the page of your dreams.
Today, I will demonstrate how to add more options to Elementor with ElementsKit.
Why Add ElementsKit to Elementor?
Elementor comes with some awesome features and is one of the best page builders available in WordPress. However, some users might want more features.
In fact, it’s human nature to just want more. And that’s exactly what ElementsKit does.
It adds a variety of elements that you can use to customize the pages you build. And I want to emphasize the amount of content it adds. In total, users have access to:
- Over 250 Ready Blocks
- Over 40 Free Custom Widgets
- 18 Premium Widgets for Elementor
- 4 New Modules for Elementor
And each one of these has an incredible amount of customization available. Some of these are enhanced versions of the default Elementor elements, while others are brand new.
Having more options gives more creative freedom to developers and allows you to build pages any way you want. This can help you stand out from the competition, and that can directly lead to more traffic and more sales.
How to Use ElementsKit to Expand Elementor
Step 1: Install ElementsKit
ElementsKit is an addon for Elementor that adds additional customization options to the page builder. As such, you will need to already have Elementor installed on your website. If you do not, you will run into an error, which will ask you to install it.
Note: This tutorial is focused on how the plugin works, not how to use each element. There are simply too many elements to cover. For specific help on how to use certain features, view the support page for ElementsKit. Users who upgrade to the Pro version will gain access to more support.
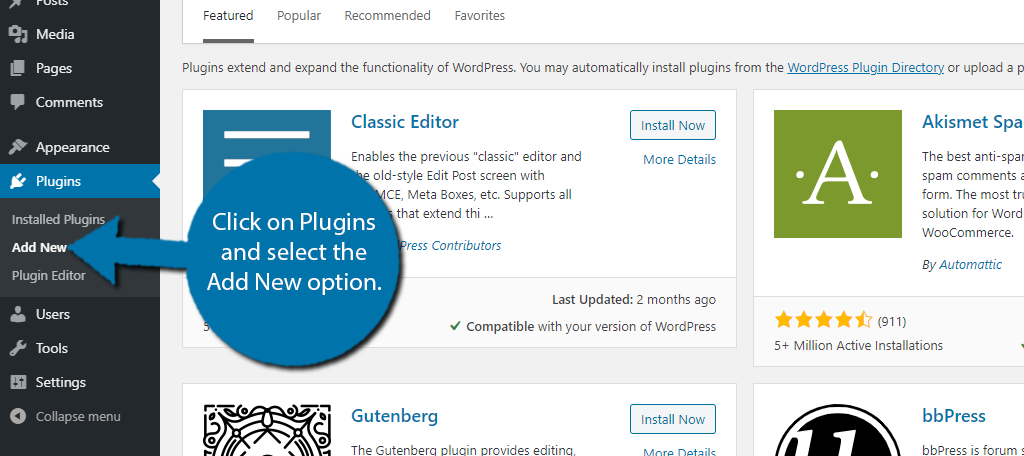
Let’s start by clicking on Plugins and selecting the Add New option on the left-hand admin panel.
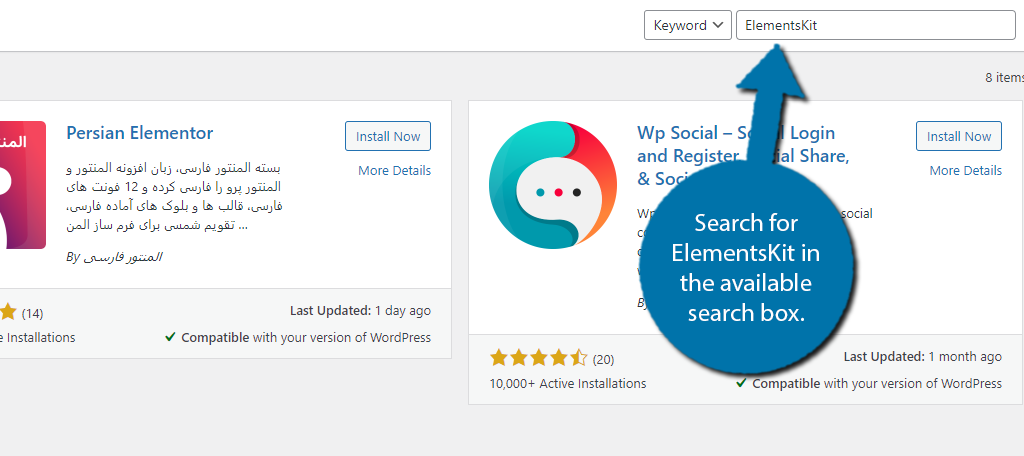
Search for ElementsKit in the available search box. This will pull up additional plugins that you may find helpful.
Scroll down until you find the ElementsKit plugin and click on the “Install Now” button and activate the plugin for use.

Step 2: Getting Started
Before you start taking advantage of all the extra features, you need to go through the setup process, which is pretty quick.
On the left-hand admin panel, click on ElementsKit and select the ElementsKit option.
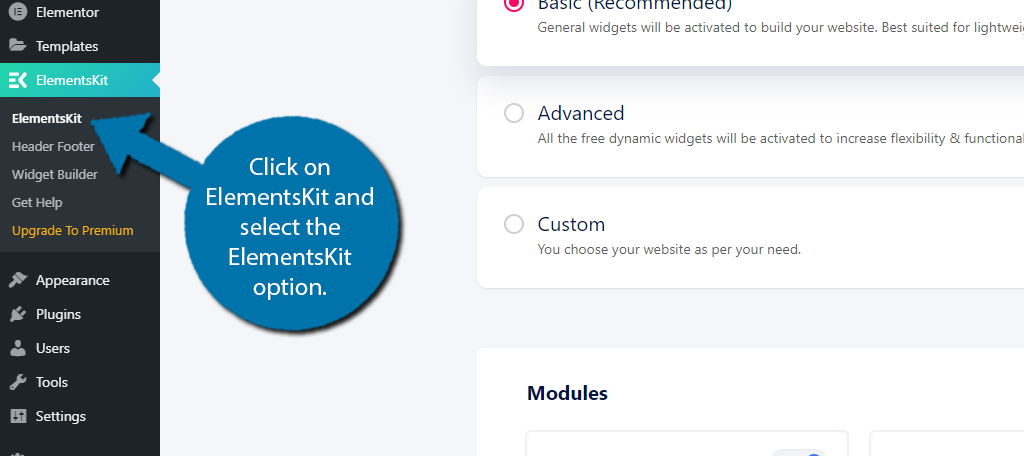
The plugin has a basic setup configuration available that I will be using in this tutorial.
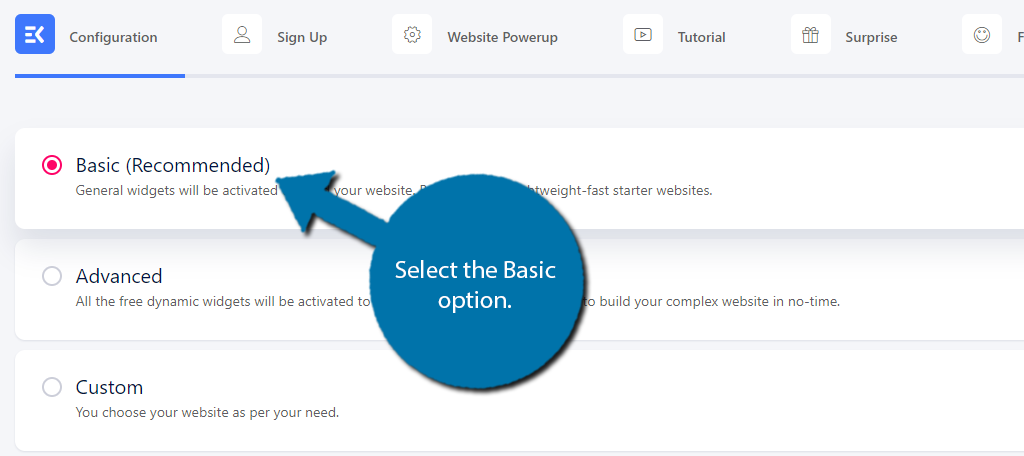
This enables the more popular options the plugin offers. You can go through this page yourself and customize exactly what is on and what is off. Some of the features are only available in the Pro version of the plugin, though.
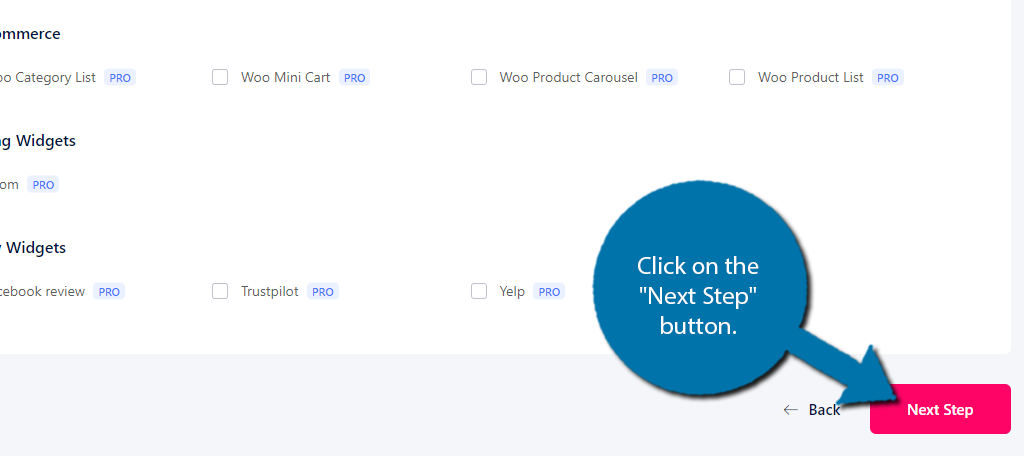
Don’t feel pressured, you can enable/disable elements at any time. When you are ready, click on the “Next Step” button.
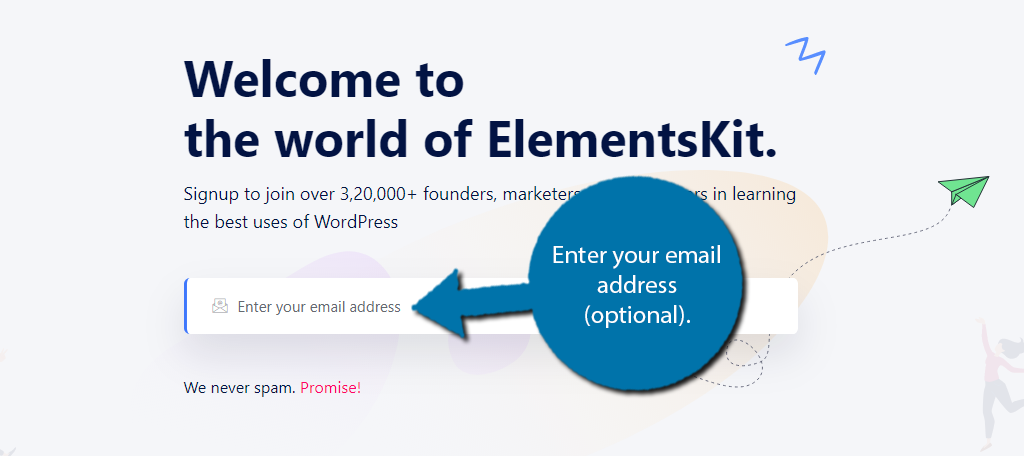
Next, you will have the option to enter your email address to receive messages on how to get the most out of ElementsKit. This is completely optional, so feel free to move onto the next step if you are not interested.
ElementsKit will recommend a few plugins that might help improve your WordPress experience. These include ShopEngine, MetForm, WP Social, Ultimate Review, and Fundraising & Donation Platform. These are all great options to consider.
Again, this is completely optional. Move onto the next step when you are ready.

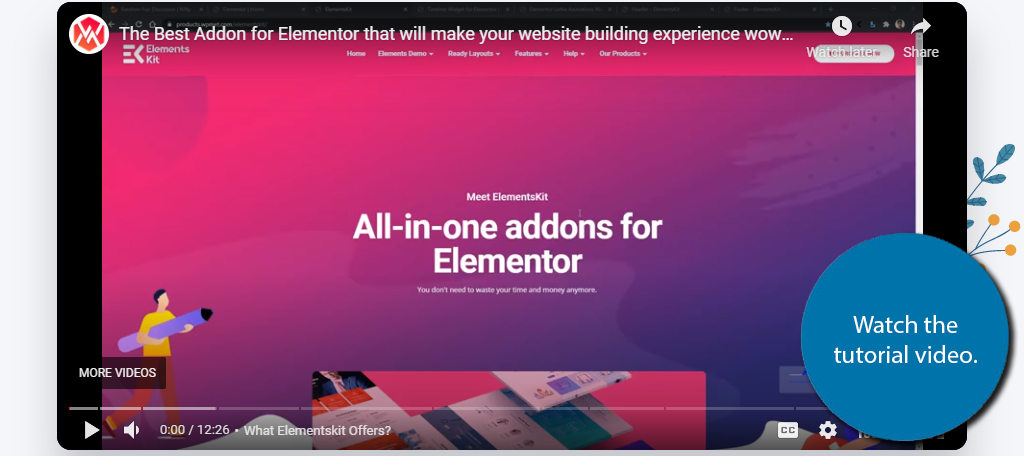
ElementsKit actually provides a full video tutorial to help you learn the basics of the plugin, and I highly recommend watching it to help you get the most out of it. There’s also a small checkbox underneath the video that will ask if it’s okay for the plugin to collect data.
Choosing to allow or not allow ElementsKit to collect data will not have an impact on using the plugin.
The plugin will then offer you a discount on the Pro version. It’s worth considering the upgrade due to the extra features it offers, but it is not necessary.
And finally, you’ll be looking at the congratulations screen! Click on the “Save Changes” button.

The plugin is now ready for use.
Step 3: Settings
During the first part of the setup process, you got a chance to select what elements were active. The plugin allows you to freely make these decisions and I will cover those now.
From the ElelmentsKit Dashboard, click on Widgets.
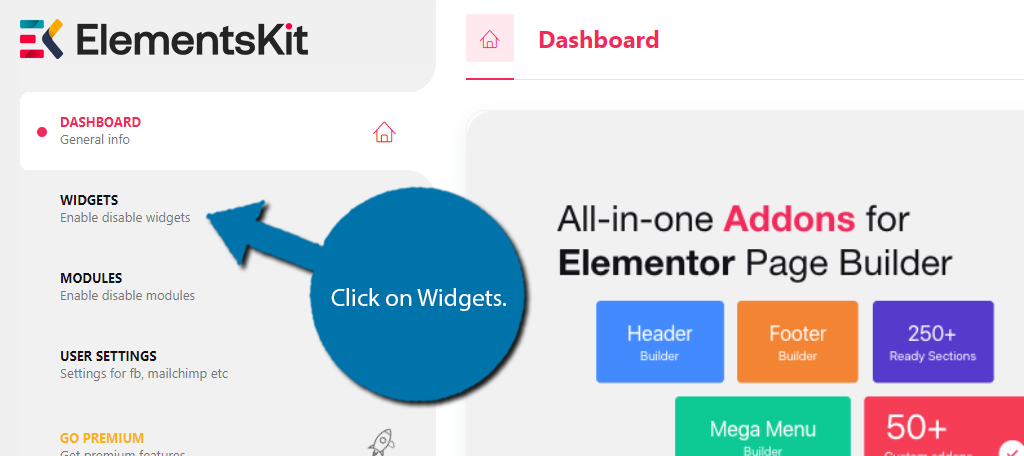
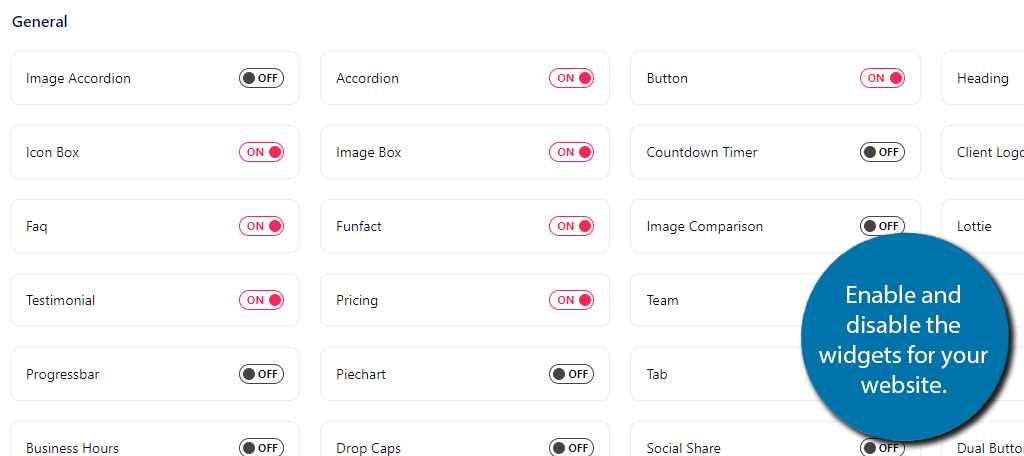
Here, you can see a full list of widgets that the plugin can add. Simply go through the list and use the switch to enable or disable a widget and save the changes when you are done.
Note: Just to be clear these are Elementor widgets, not WordPress widgets.
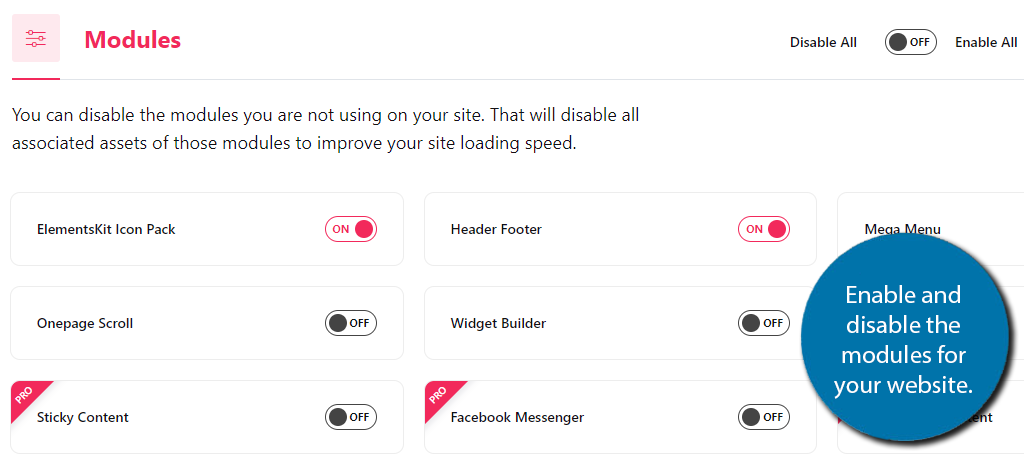
Click on the Modules option.
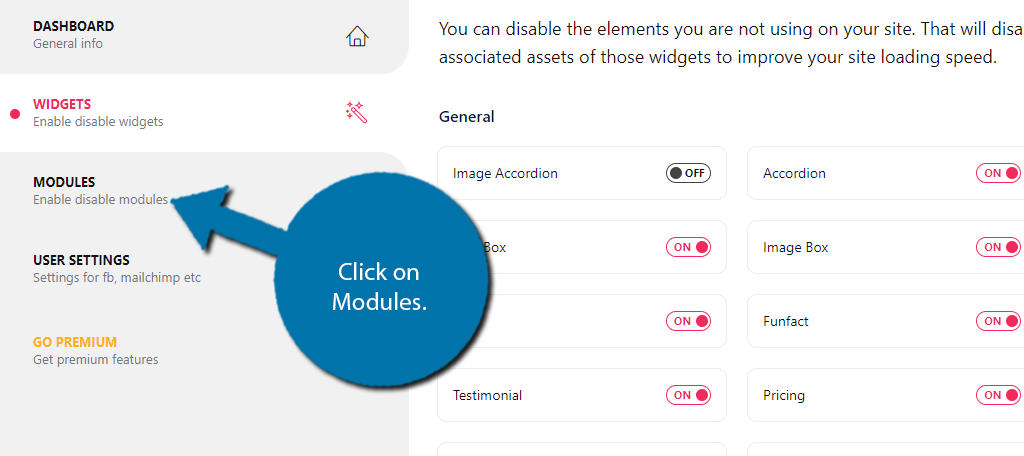
In the same manner as widgets, you can disable or enable which modules you want active.
There is also a User Settings section, but the only option available for the free version is MailChimp. Go there to configure the settings if necessary.
It’s also worth noting that there is a footer and header kit available. It’s a useful tool that allows you to create headers that you can add via widgets later on. However, some website owners might not find it quite as useful as the other tools.
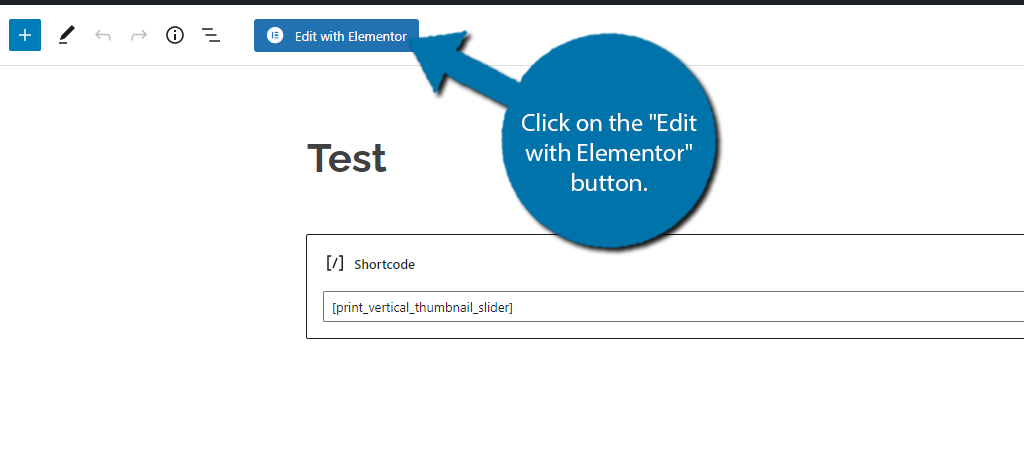
Step 4: Finding Your New Features
All that’s left is to actually use your new features, and they can all be accessed from the Elementor editor. To access it, visit any post or page in WordPress and click on the “Edit with Elementor” button.
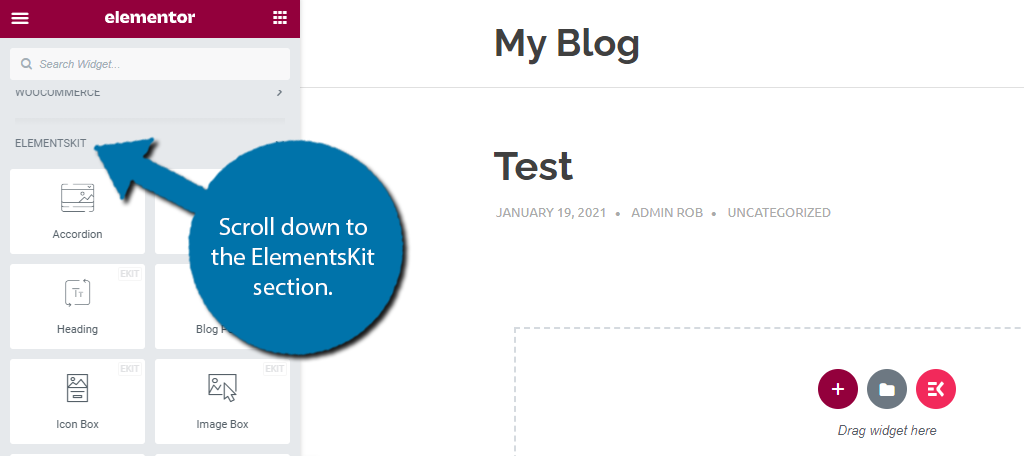
On the left-hand page of the editor are all of the options Elementor offers users. Scroll down to the ElementsKit section.
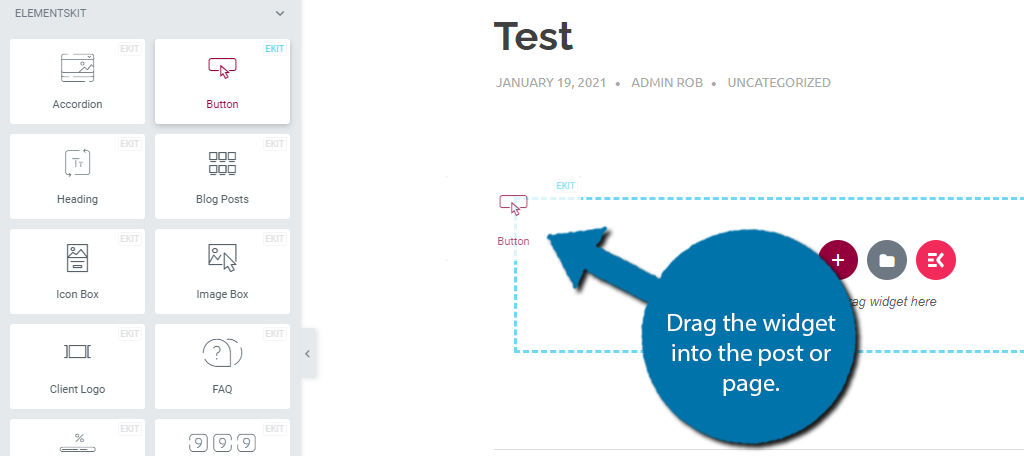
Just like any other element in Elementor, simply drag the widget into the post or page.
Congratulations on learning how to add extra features to the Elementor Page Builder by using the ElementsKit plugin.
Fully Customize WordPress
The one aspect of WordPress that has led to its popularity among developers is the customization options available. There is no shortage of helpful tools that can help you build the website of your dreams.
Page builders are only one option. There are a variety of plugins that specialize in specific areas.
For instance, if you want to build a professional-looking form, check out a dedicated contact form plugin. It’s really that simple in WordPress, which is why the platform is so popular.
In many cases, these tools are compatible with Elementor, so you can get extra customization options.
Combine the New and Old Tools
The default layout library in Elementor is great and there are plenty of tools and features that work well with the new additions. In other cases, like the Videos widget, the ElementKits version has more customization features available than the default.
In such cases, it’s recommended to go through existing content and replace some of the tools that have better versions available. At least if you want those features.
What features did you find the most useful? Did you consider upgrading to the Pro version?