Do you want to build a website focused on television, movies, or video games? If so, you are going to need a reliable way to display upcoming television shows, movies, and game trailers on your website. Enter WP Film Studio.
While you can certainly embed YouTube videos on your website, there are limitations. This plugin provides far more options that give you greater creative freedom over your website. Not to mention that it is fully compatible with Elementor.
Today, I will demonstrate how to transform WordPress into an entertainment site with WP Film Studio.
What is An Entertainment Site?
An entertainment site is a broad term that encompasses various forms of entertainment, including movies, television, video games, books, and other media. The goal of the website is to create engaging content tailored to a specific industry.
For instance, if a website were covering television shows, it might talk about upcoming releases like the second season of Netflix’s live-action One Piece. And as you might have guessed, video content is necessary on these websites.
For example, maybe you want to discuss a new movie trailer. Well, having that trailer appear on the same page would be very helpful. It also helps it get more exposure.
The more people interested in the show, means more people who will be interested in your website’s content.
So there’s a very good relationship between the industry and the content creator.
How to Create An Entertainment Site with WP Film Studio
The WP Film Studio is all about displaying video content on your website. It allows you to build video carousels, display unlimited movie trailers, and even has a special setting for those trailers.
It’s the perfect companion tool for any website focused on movies and television shows.
More importantly, this plugin was built with Elementor in mind. By using Elementor, you’ll be able to place the elements WP Film Studio adds anywhere on a page. It gives you complete control over how your posts and pages will look.
Note: This plugin is not a studio movie maker; instead, it allows you to post information about movies and add trailers for them.
Step 1: Install WP Film Studio
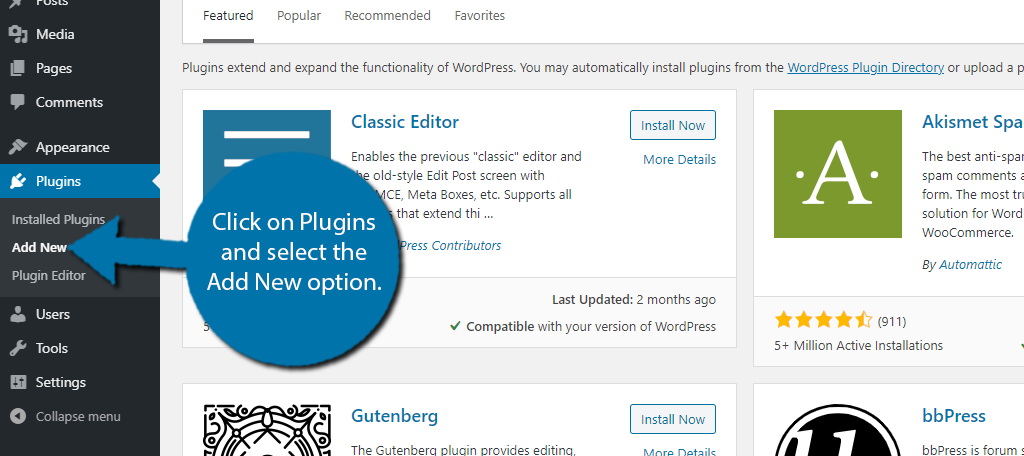
To begin, click on Plugins and select the Add New option on the left-hand admin panel.
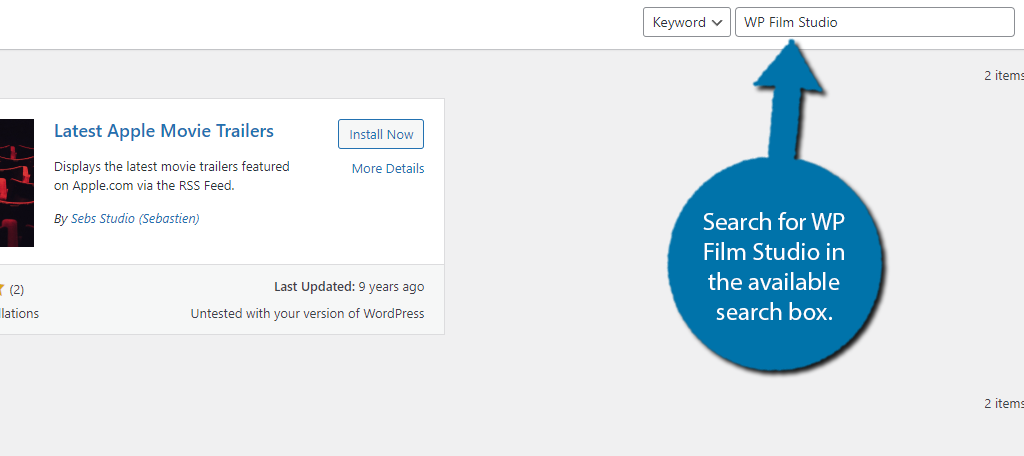
Search for WP Film Studio in the available search box. This will pull up additional plugins that you may find helpful.
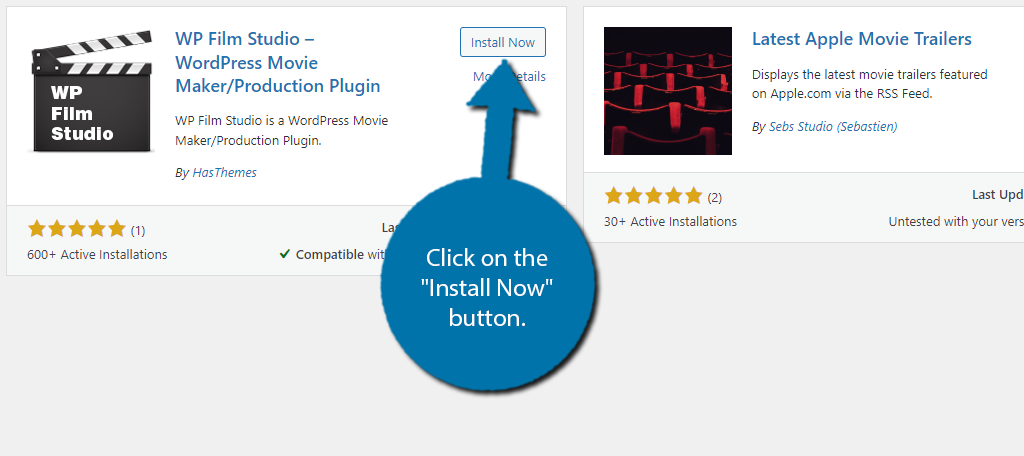
Scroll down until you find the WP Film Studio plugin and click on the “Install Now” button and activate the plugin for use.
Important Note: Upon activation, you will see a warning message saying that the CMB2 plugin is required. You must also install this. It is how the plugin adds meta boxes to your website.
Step 2: Add Trailers
Once both of these plugins are installed, you are ready to start adding content, which is really simple. All you will need is the trailer URL, and the plugin takes care of the rest.
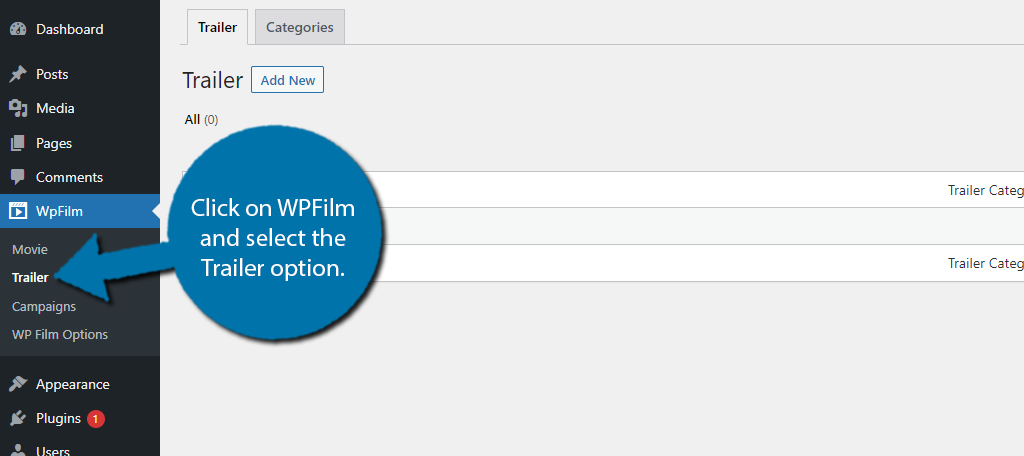
On the left-hand admin panel, click on WpFilm and select the Trailer option.
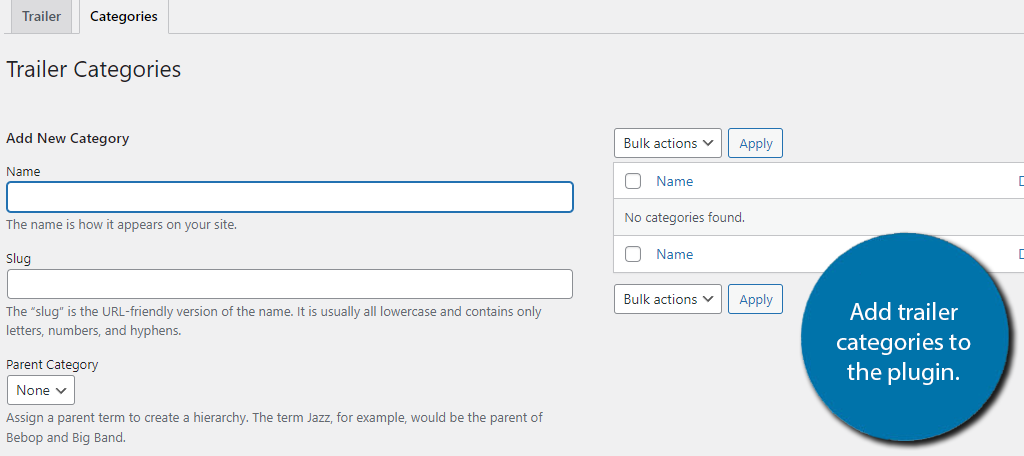
This is broken up into two tabs: Trailer and Categories. First, I would recommend setting up your categories, so click on the Categories tab.
This area is identical to the WordPress category section, but is unique to the plugin; thus, you will not see any existing categories.
Simply add the categories your website will need. A good idea to future-proof your website is to create a category for every type of movie/show (Comedy, Drama, Action, etc.).
It might take a few minutes, but once that is done, you won’t need to make any additions.
Note: The categories for trailers are separate from movies.
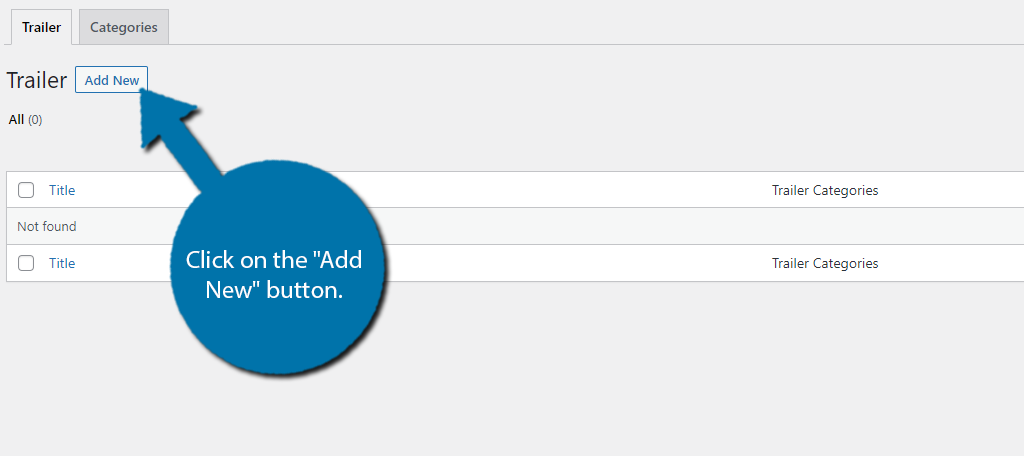
With that out of the way, click on the Trailer tab. Then click on the “Add New” button.
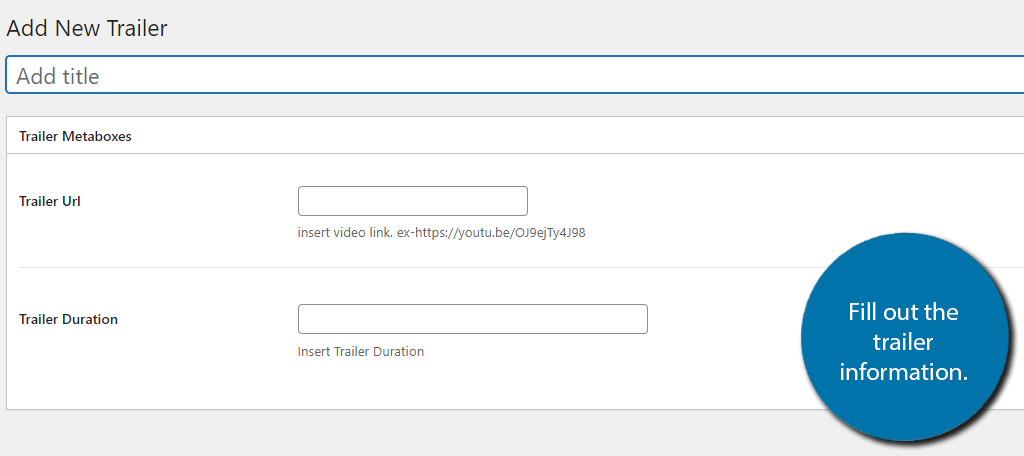
It doesn’t get any easier than this section. All you need to do is enter a title (use the name of the trailer), the trailer URL, and the duration of it. Click on the “Publish” button to finish.
Add as many trailers as you want to the plugin; there is no limit.
Step 3: Add Movies
As a WordPress movie plugin, it also has a dedicated section for movies. The reason I didn’t start with it is that you can link the trailers to their respective movies. Thus, you would create extra work if you set up the movies first.
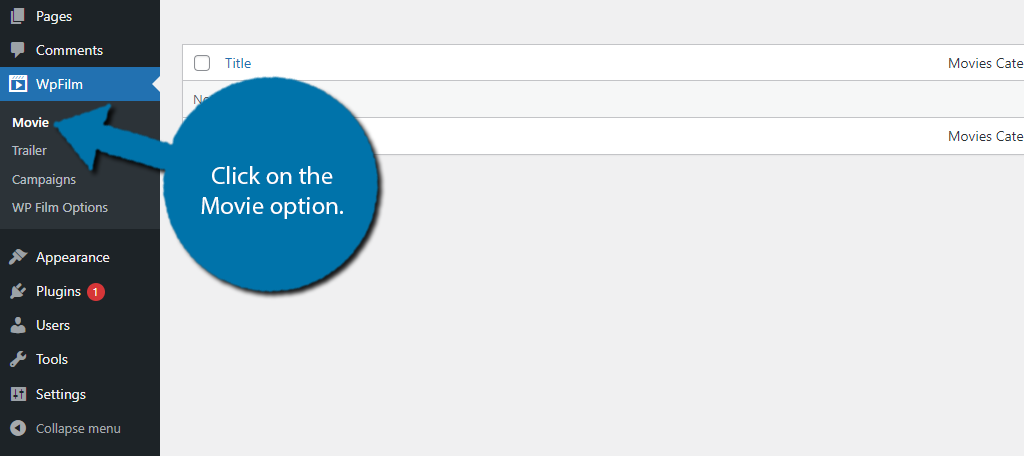
Click on the Movie option.
This time, there are three tabs: Movie, Categories, and Tags. The categories section is identical to the trailer section, but it is a separate list. Thus, you will need to re-enter the categories you need. Tags are identical as well, but for tags.
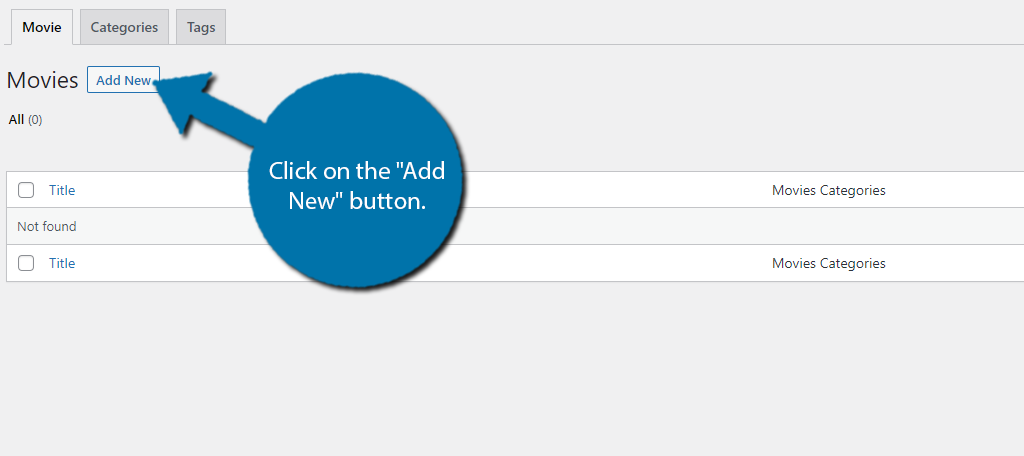
In the Movie tab, click on the “Add New” button.
Here you can add a title (use the movie name) and a description. Scrolling down, you will find the Movie Option section. This allows you to enter more information, including a movie banner image, the publish date (release date), and movie duration.
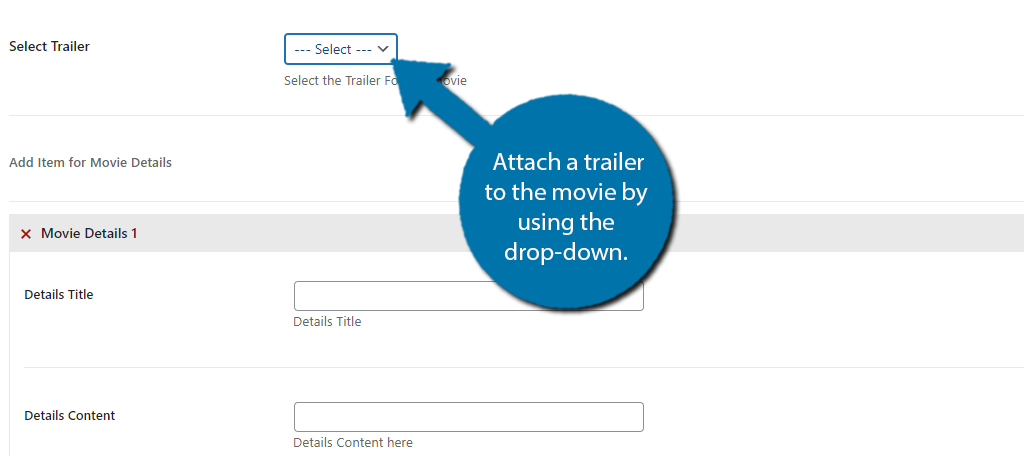
You can also attach a trailer to the movie by using the drop-down, assuming you added one in the previous step.
Once you fill out all of the information, click on the “Publish” button. At this point, all you need to do is keep adding movies. You can edit any movies to add in case new information is released, like a new trailer or if the release date has changed.
Step 4: WP Film Options
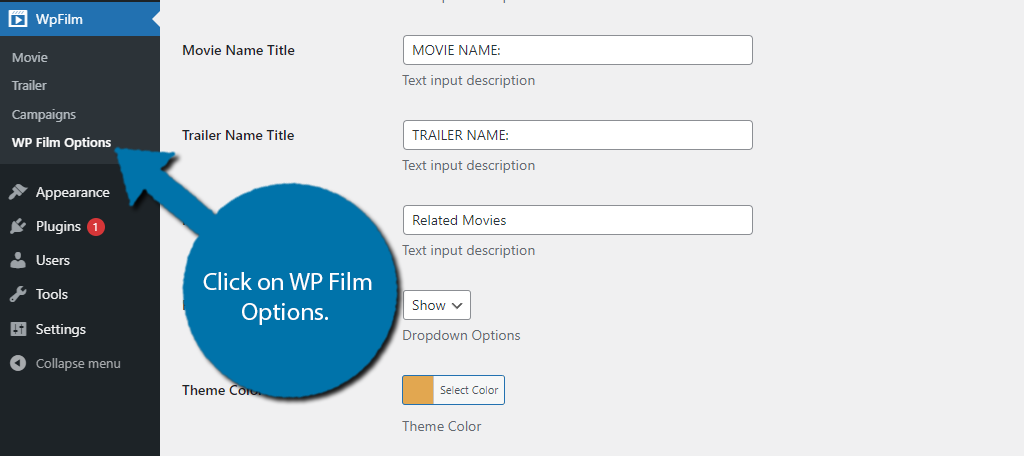
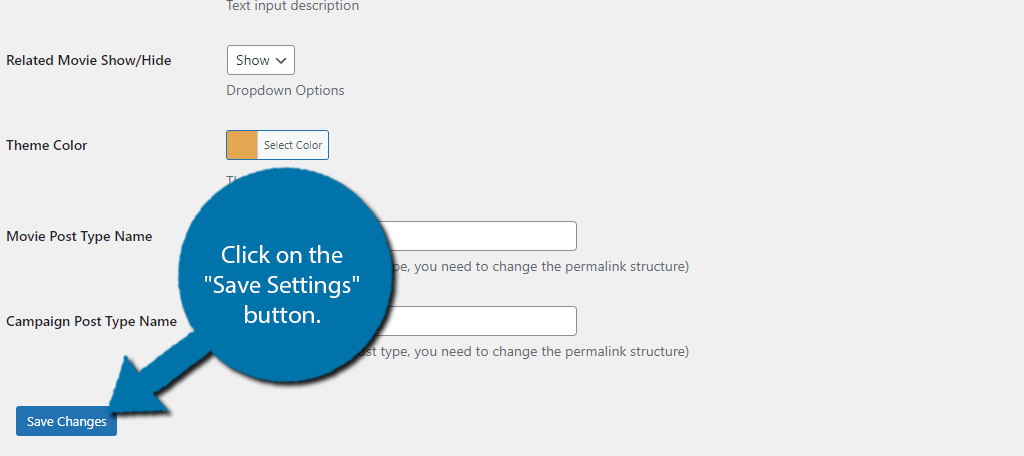
There are also some general settings you might want to customize. Click on WP Film Options to find them.
There are two tabs: Settings and Pro Themes. The settings section consists of basic settings that you can configure, like the label used for the trailer name.
By default, it’s “TRAILER NAME:” so you might want to change that to something a little less generic, or just not have it in all caps.
Other options include a theme color to help it blend in with your theme, which is a great segue into the Pro Themes tab. There’s nothing actually in this section to configure.
Instead, it’s just advertising the Film Studio WP theme for WordPress, but all themes will work with the plugin.
Once you are done, click on the “Save Settings” button.
You might have noticed a Campaign section. This is to help organize events at physical locations, which will only apply to very few websites.
For instance, you could build a campaign to watch the first movie in a series before the next one comes out (like what many people did for Avengers: Endgame).
The section is pretty straightforward, so if it applies or you find another use, feel free to go through it. Otherwise, congratulations on setting up the WP Fils Studio plugin.
Alternative Plugins
WP Film Studio is a great plugin, but it is not the only option. Here are some other plugins that you may want to consider using:
Presto Player
If your goal is to include upcoming trailers for shows, movies, or video games, all you really need is a plugin that specializes in embedding. The Presto Player does just that and more.
This plugin was built with the block editor in mind. It includes a dedicated WordPress block for multiple video-sharing sites like YouTube, Vimeo, and more. It also allows you to self-host videos, which WP Film Studio does not.
It also includes a suite of features to improve the video player itself, like lazy loading, video presets, multilingual caption support, and other great settings. It is the perfect candidate for displaying high-quality trailers in WordPress.
Lean Player
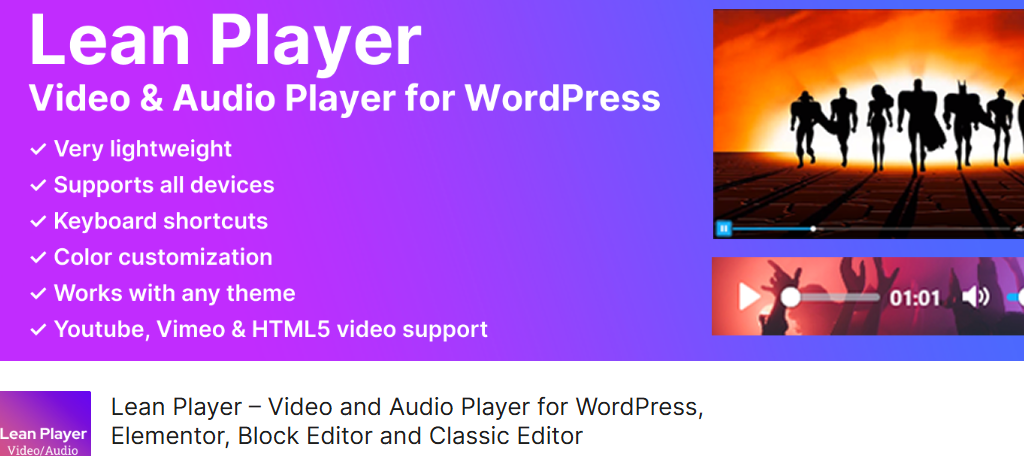
Lean Player is another excellent video and audio player for WordPress. It works on both the Guttenburg Block Editor and Classic Editor and fully supports YouTube, Vimeo, and HTML video content.
The video player is fully customizable and allows you to set global preset values. This is handy for avoiding simple mistakes like the player volume being set to max, which can scare off visitors.
What makes this a more unique choice is the audio player. This can help you share music samples, podcasts, or podcast previews on your site as well. It’s a great option for anyone looking for a simple video or audio player for WordPress.
Video Gallery
The truth is that WordPress by itself fully supports video embedding without a plugin; thus, what you really need is a video gallery plugin. These are plugins that allow you to build a gallery to show off a variety of videos to users.
The Video Gallery plugin offers a variety of template designs so you can choose the video grid that best suits the page. This is great for building an upcoming movies section that just consists of a movie trailer gallery.
It also comes with a variety of design options like gallery themes, lightboxes, color options, and more. Thus, it is a great plugin to consider if you are looking to build a trailer gallery or need to include multiple trailers in a single post.
Make Sure To Inlcude Your Own Content
One of the biggest mistakes new entertainment websites make is relying on entertainment to carry them. Let’s face it, if people want to watch a movie trailer, they probably will on YouTube.
It’s not enough to just include the trailer.
Instead, you need to combine it with your own content. Include trailer/movie breakdowns or discussions. It makes a more unique experience that will bring in visitors. That said, competition is fierce, so make sure it’s quality content.
How easy did you find the WP Film Studio plugin as a content maker? What kind of content do you plan to pair with it?