Do you want to add live chat support to your WordPress website? Communication with your visitors and between visitors is a great way to build a community. It also allows you to directly interact with visitors and gain valuable feedback on your website. Many websites that sell products or services use live chats to help convince visitors to buy the product or service.
Live chats are a great addition to most websites and work better than comment sections in some cases. The issue with many live chats is that they can cost you money and keeping the costs low is important for every website. Today, I will demonstrate how to add live chat support in WordPress for free using the 3CX Live Chat plugin.
3CX Live Chat
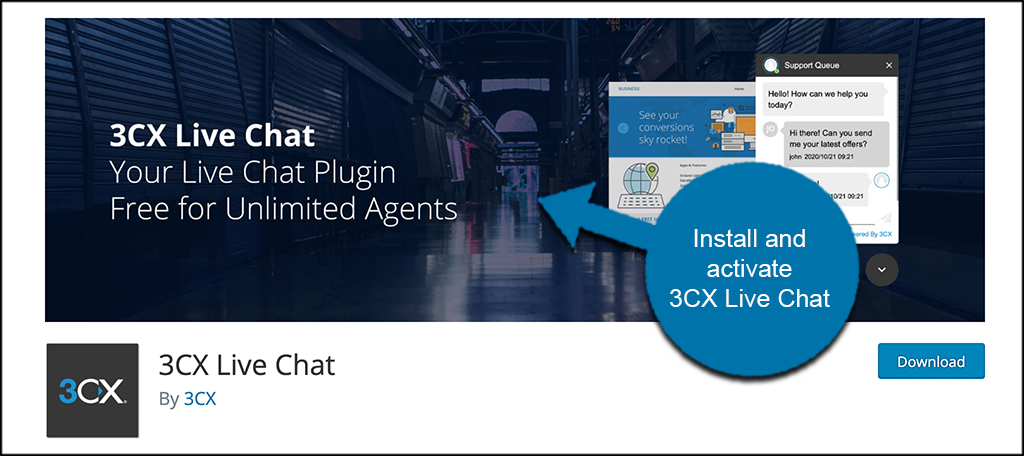
Today, I will demonstrate how to add live chat support in WordPress for free using the 3CX Live Chat plugin. This is the most popular WordPress live chat plugin and has a large number of features for free. Some of them include an easy interface for both visitors and admins, multiple theme chatbox designs, IP banning, no monthly charge, and many more. This plugin is very easy to use and should not take you long to set up.
Before you begin, take the time to install an SSL Certificate. This plugin will not have all of its features available on an uncertified website.
How to Add Live Chat Support in WordPress for Free
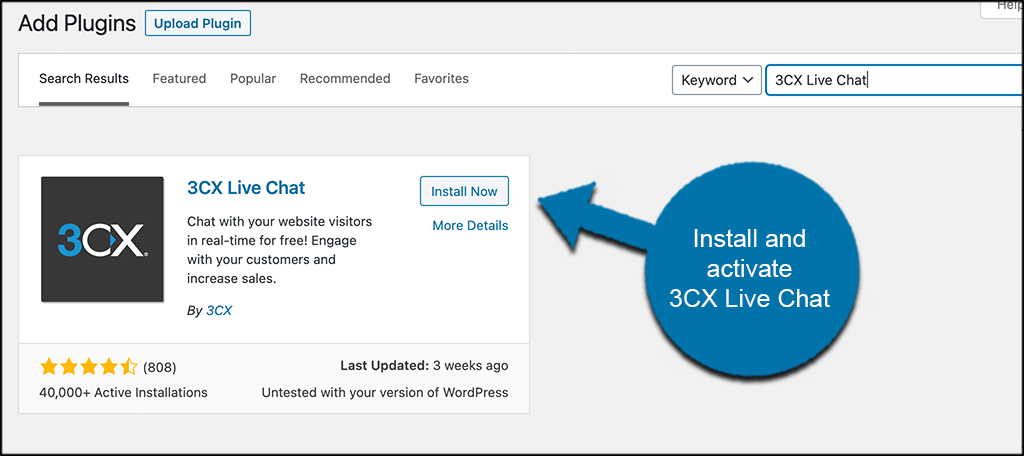
Step 1: Install and Activate the Plugin
Start with clicking on Plugins and selecting the Add New option on the left-hand admin panel.

Search for the 3CX Live Chat plugin in the available search box. This will pull up additional plugins that you may find helpful. When you see the plugin you want, go ahead and install and activate it right from there.
Step 2: Select a Channel
When you activate the plugin, you will be taken to the activation wizard automatically. From here you can set the plugin up. Go ahead and pick the channel you want and then click on the “Next” button.
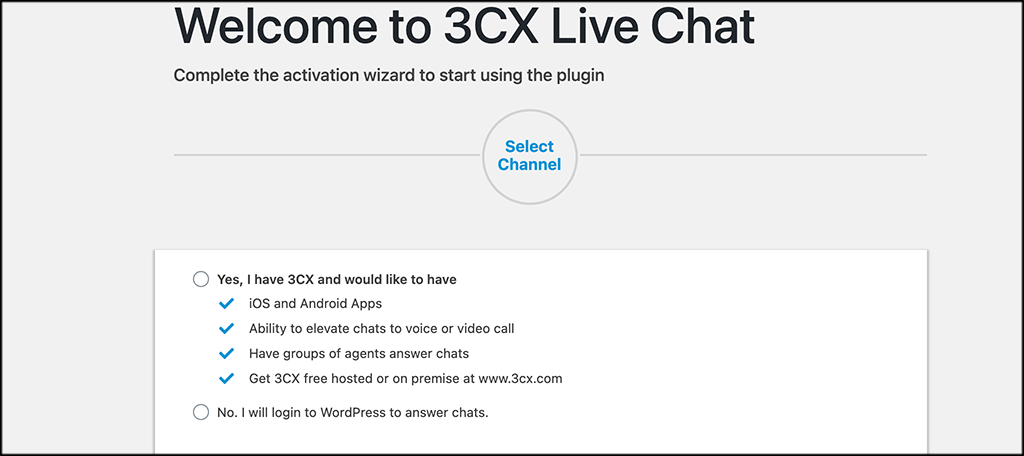
Note: For this demo, I chose “Login to WordPress to Answer Chats.”
Step 3: Invite Agents
This is where you will invite the agents you want to handle all of the chats and support. Invite as many as you want and set them all up. When you are finished, go ahead and click on the “Next” button again.

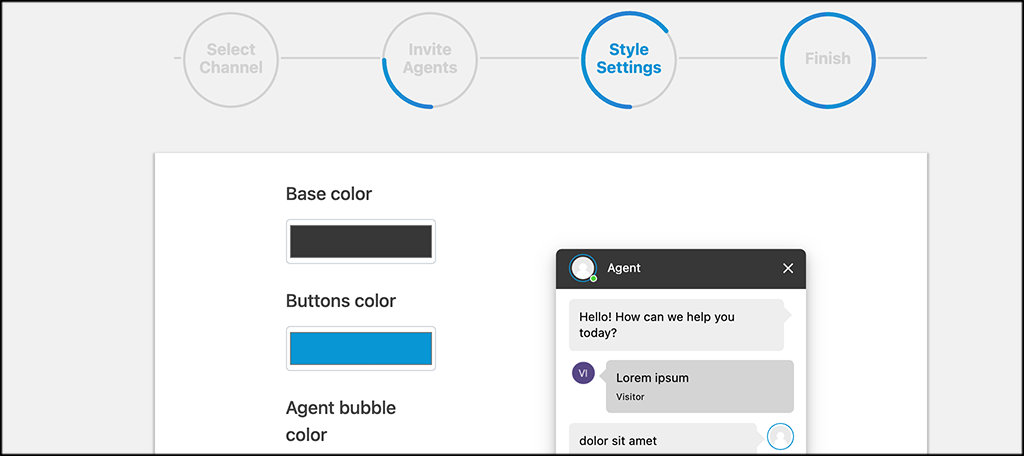
Step 4: Style Settings
Now, select the style settings you want to show. These include the colors shown for the bubble and the plugin buttons.
Again, when you are finished, click on the “Finish” button to finish the activation wizard. You will see an “Activation Complete” message pop up and you are ready to roll.
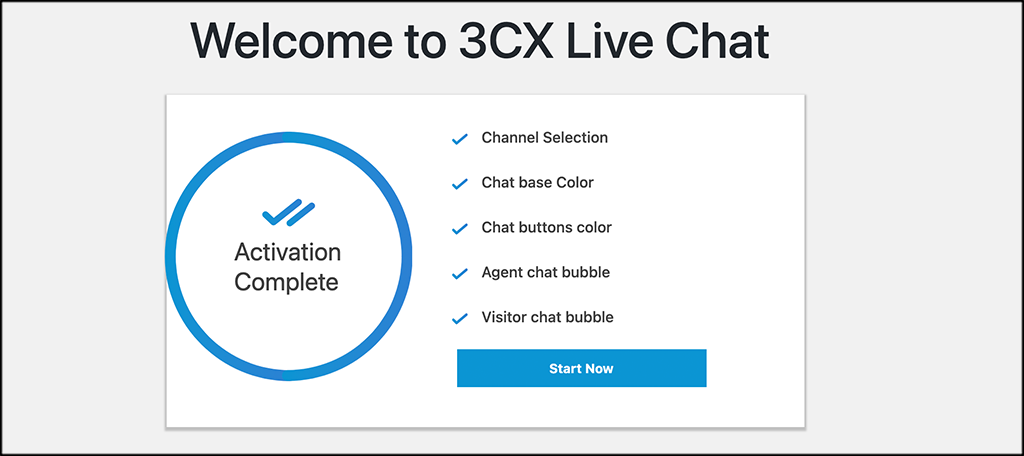
Go ahead and click on the “Start Now” button to get started.
Step 5: Adjust Any Settings Necessary
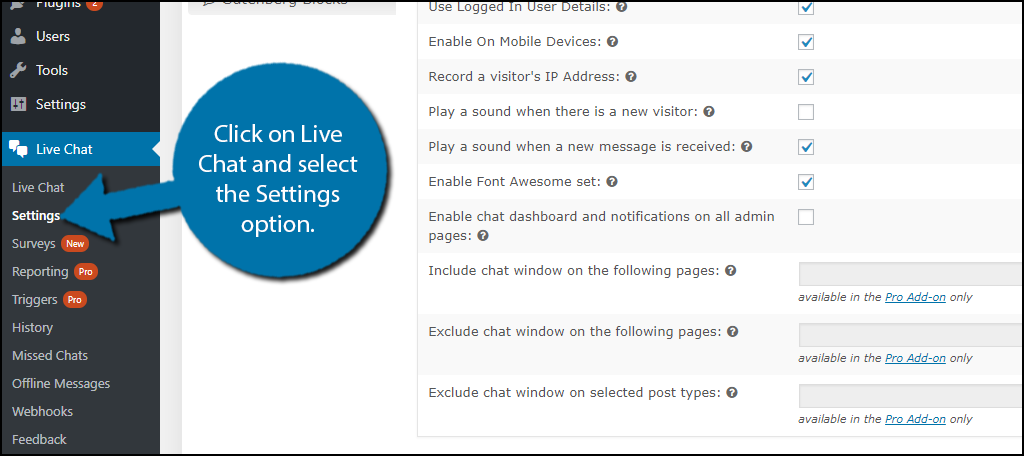
This plugin will work after installation, but there are plenty of settings to change. On the left-hand admin panel click on Live Chat and select the Settings option. This will pull up the main settings page.
Customizing WP Live Chat Support
There are plenty of settings to change. Be on the lookout for Pro version exclusive features. You will not be able to use these unless you upgrade to the Pro version. If you expect a high amount of traffic, I highly suggest upgrading.
A very big difference between the free and Pro version is the number of active agents you are allowed. The free version allows for one, while the Pro version is unlimited. Obviously, one person can only handle so many customers at once.
General Settings
You will start off in the General Settings section. The first option will enable or disable the chat. Make sure the chat is enabled. The next option is very important. You need to decide what information a visitor must input to use the chat support.
You have four options, Name and Email, Name, Email, and No Fields. I recommend not choosing the last option because people are more likely to abuse the live chat if they do not need to input any data and it also makes it easier for bots.

Go through the rest of the settings on these pages. The default options will be more than sufficient for most websites, but feel free to change them to meet your needs.
Make sure to click on the “Save Settings” button when you are done.
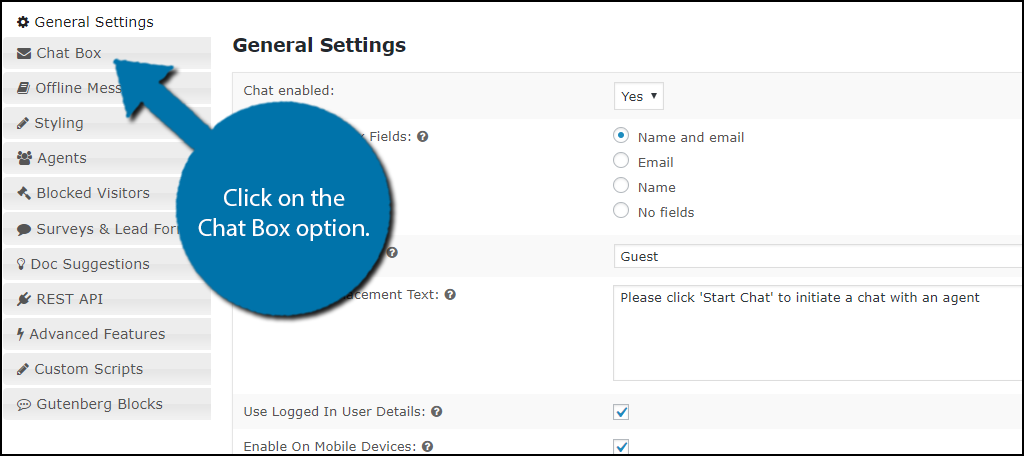
Chat Box
Click on the Chat Box option to customize the chatbox.
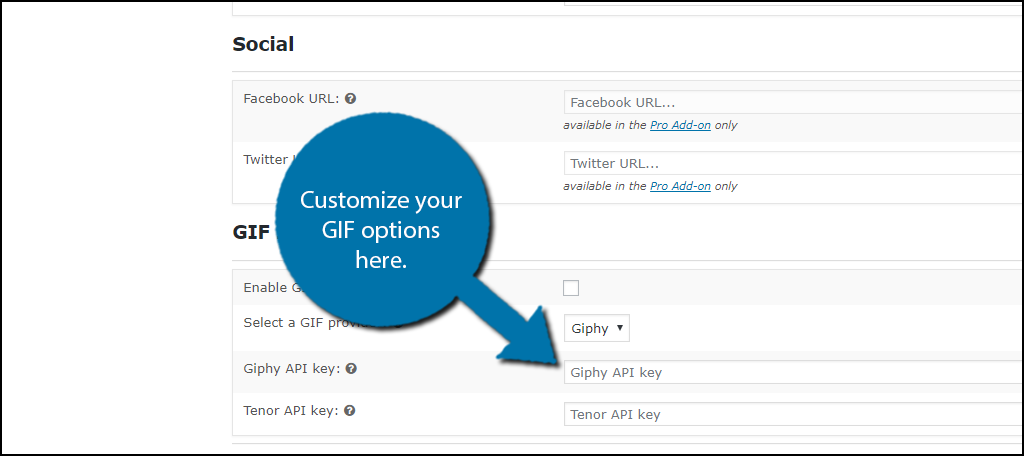
Here you can customize your settings related to the chatbox. You will notice that quite a few of these are locked behind the pro version, but there are a few settings to take note of. The first is the Auto Pop-up option.
This is off by default because many visitors find pop-ups to be annoying, but you may disagree and want to enable it. The other options to look at are under the GIF Integration section. You can input your Giphy or Tenor API keys here to integrate them into your chat.
Make sure to click the “Save Settings” button to save your work.
Offline Messages
The last field you may want to edit is the Offline Messages section. Click on the Offline Messages option.
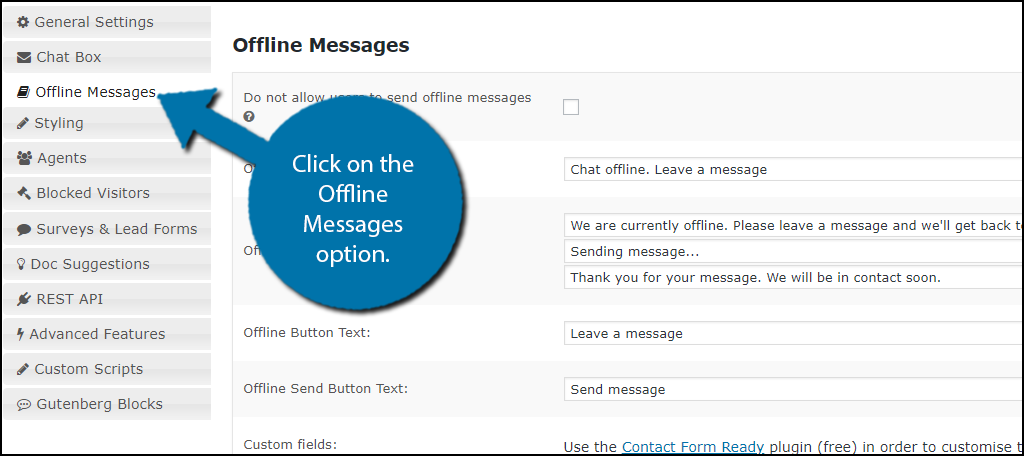
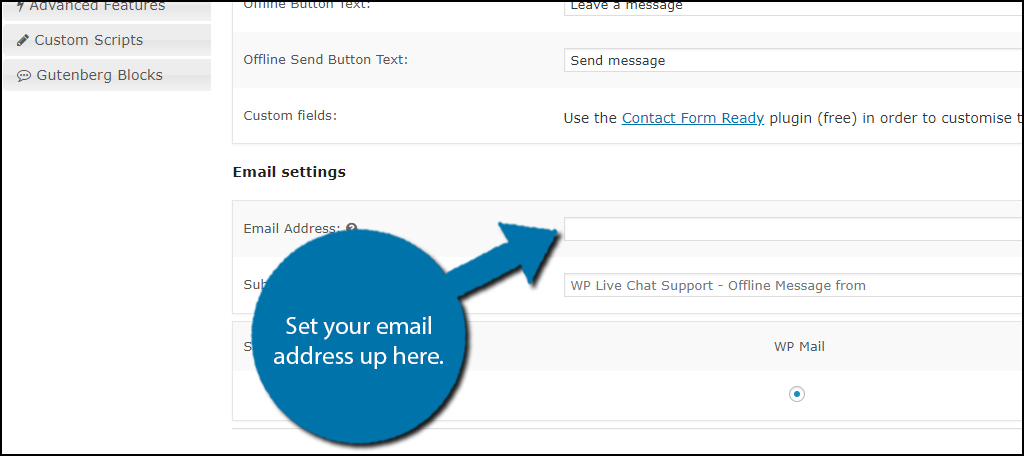
Unless you are running a 24/7 support service, you will not be able to answer everyone’s questions. To compensate, visitors have the option of leaving messages. You can customize what they see when they leave the message or if you want them to be able to leave a message in the first place. You can also set the email address that will receive any notifications from the plugin here.
Congratulations, your live chat should now be fully functional. Explore the other settings and customize the plugin how you want it. Remember to click on the “Save Settings” button after you are done in each section.
Pros and Cons of Live Chat Support in WordPress
Pros of Having Live Chat
Live chats make visitors trust a website more and improve customer support. It looks really good to offer support on your website, especially for free.
Visitors who trust a website are more likely to make purchases or enlist in services. Of course, you can also use this chat to help convince visitors to buy something as well.
Offering live chat between visitors is a great way to build a community. Many visitors will come back to talk to a friend they made on your website.
If your products or services are good, then your visitors will share their good experiences with new visitors. Getting positive reviews or recommendations makes your website look great.
Cons of Having Live Chat
Having live chat support has plenty of benefits, but there are many things you need to consider.
First, who is going to represent your website in this live chat? Depending on the hours you advertise, you could potentially need someone or a team to watch for inquiries 24/7.
Unfortunately, the Internet brings out the worst of people in some cases. This can be clearly seen in most comment sections, which is why many websites disable comments. It can get even worse in a live chat.
For this reason, you need to create moderators to remove these unsavory accounts from chat. It might not even be profanity, but rivals or bots advertising their products in your feed. It takes a lot of work to manage a live chat successfully.
Live Chat Support in WordPress Boosts Trust
Interacting and providing excellent customer service is a great way to earn your visitors’ trust. When visitors trust you they become loyal to your website and will recommend your products and services to others. Do not underestimate how important recommendations are from your customers.
There are most likely thousands of other websites that offer the same or similar products or services as you. What can help you stand out is positive feedback and recommendations from visitors. Adding a live chat will help you achieve better customer service and lead to growth.
Do you expect a lot of inquiries through the live chat? Have you upgraded to the Pro version?