How to Enable TLS 1.2 in Outlook (Windows 7)
TLS Protocol Version 1.0 is not secure and as a result, needs to be disabled on servers that offer PCI compliance. Currently, we only support […]
How to Enable TLS 1.2 in Outlook (Windows 7) Read More »
TLS Protocol Version 1.0 is not secure and as a result, needs to be disabled on servers that offer PCI compliance. Currently, we only support […]
How to Enable TLS 1.2 in Outlook (Windows 7) Read More »
TLS Protocol Version 1.0 is not secure and as a result, needs to be disabled on servers that offer PCI compliance. Currently, we only support
How to Enable TLS 1.2 in Apple Mail Read More »
Not everyone wants to use the web-based application, “Webmail” to access messages. If you’re on a Mac, you can set up your email accounts in
How to Setup Email Accounts in Mac OS and Mail Read More »

Have you ever wanted to check all of your email accounts from a single platform? If so, you are not alone, and there are a
How to Set up Email Accounts in Microsoft Outlook Read More »
In this tutorial, I’m going to go over the basics of the three most popular protocols: POP3, SMTP, and IMAP. With this basic understanding, you
How to Use POP3, SMTP and IMAP Protocols Read More »

Is your email constantly bombarded by spam messages? If you are like me, the answer to that question is a resounding yes. Luckily, there are
How to Setup Email User and Account Filtering Read More »
Fake emails are one of the most common ways websites are getting compromised nowadays. These emails look like they came from a co-worker, or from
How to Enable DKIM and SPF Email Authentication Read More »

Email is one of the most popular ways to communicate in the world, but it has a huge problem, spam. Spam emails can clog up
How to Protect Your Email From Spam Read More »
What if you have a website hosted with one provider but want your email to arrive at another? That’s when changing the Mail Exchange record
How to Setup the MX Record for Your Domain Names Read More »
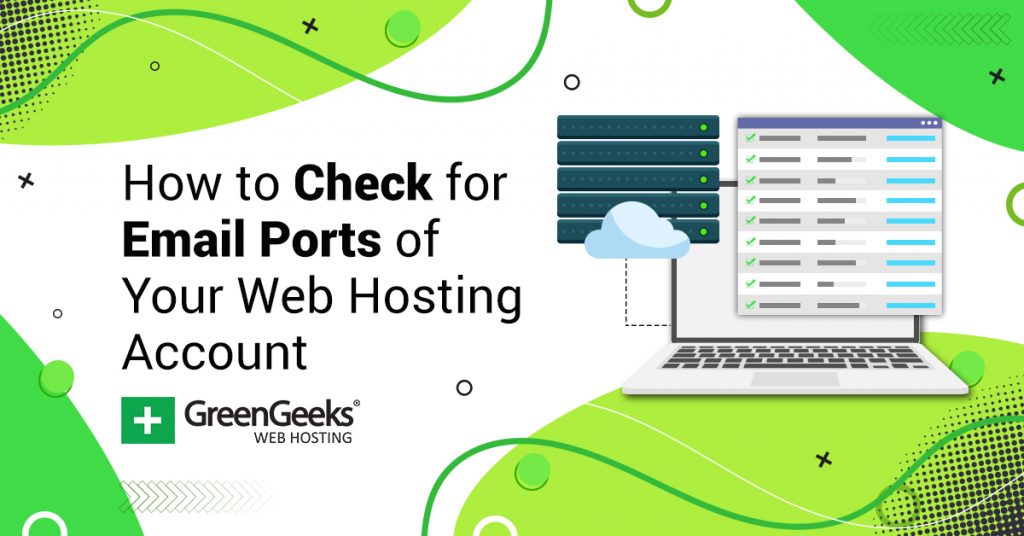
Ports are access points connected to your domain. Certain tools and functions will operate on specific email ports, which is why it’s good to check
How to Check Email Ports Read More »