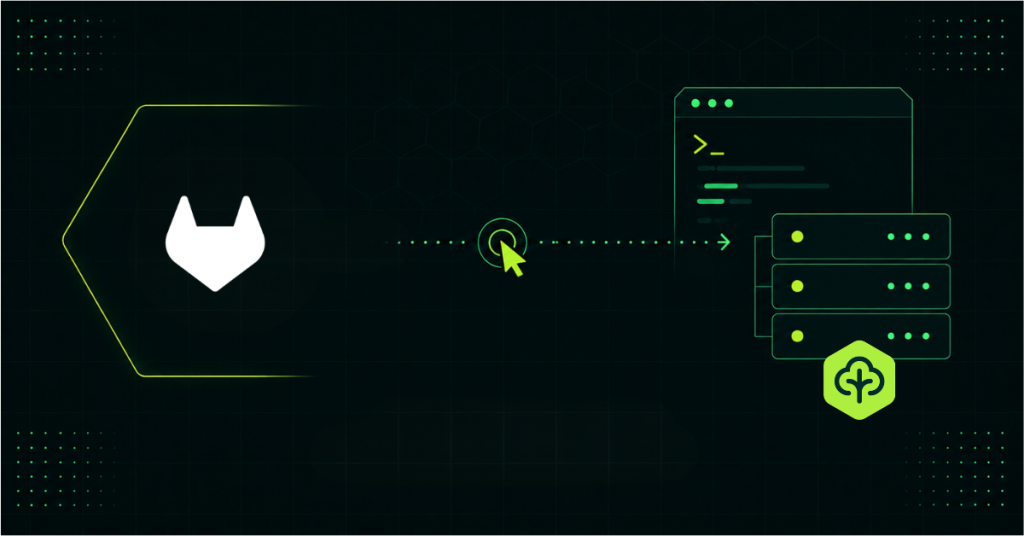
How to Install GitLab on a VPS
Running your own Git server sounds like overkill — until you’ve had a private project show up in a data breach, hit a platform’s storage […]
How to Install GitLab on a VPS Read More »
WordPress How-to Articles for Beginners
Running your own Git server sounds like overkill — until you’ve had a private project show up in a data breach, hit a platform’s storage […]
How to Install GitLab on a VPS Read More »
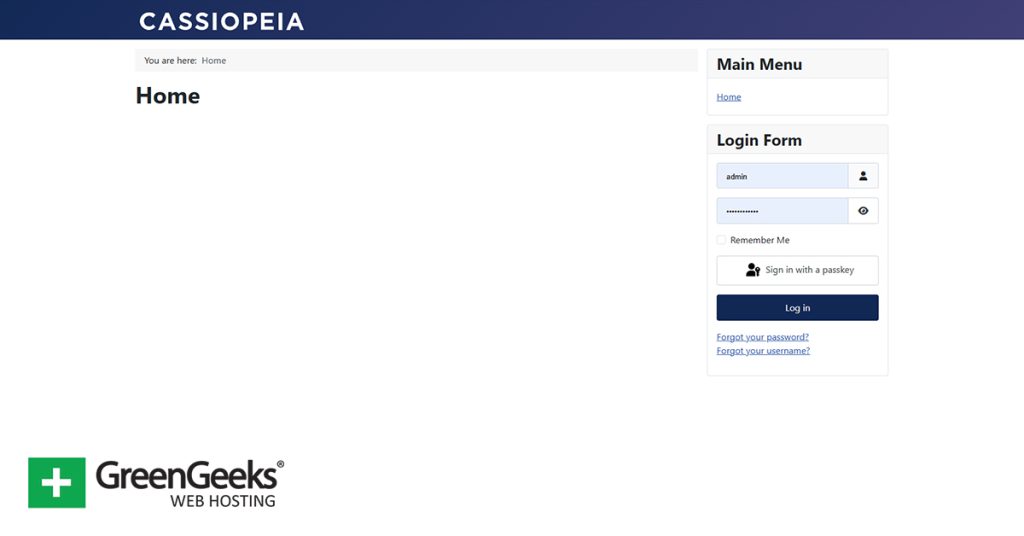
The GreenGeeks App Installer supports over a dozen applications, with Joomla among the most popular. The App Installer is available for all GreenGeeks accounts and
How to Install Joomla with GreenGeeks App Installer Read More »
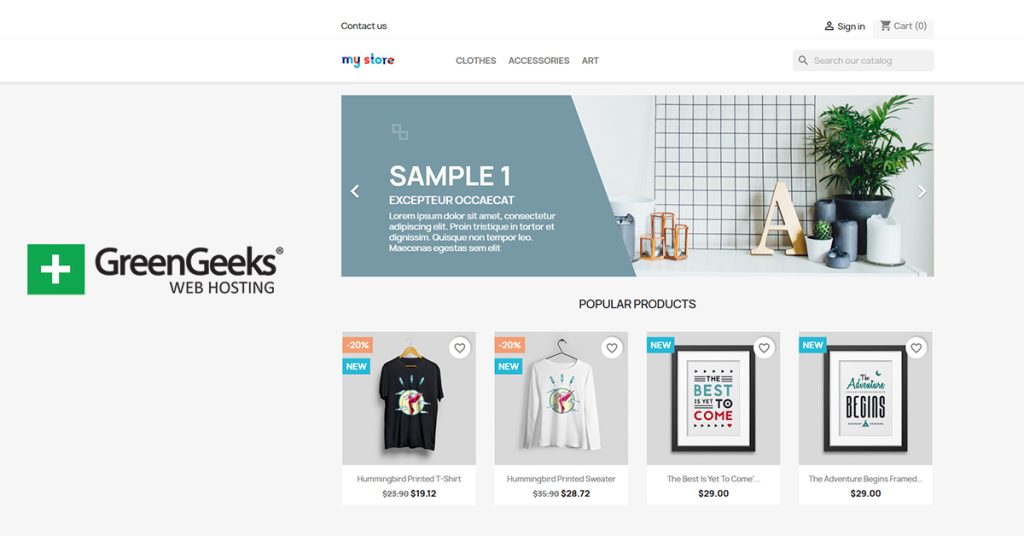
When it comes to eCommerce options, you have a lot of choices, but PrestaShop remains one of the best options. PrestaShop is free to use,
How to Install PrestaShop with GreenGeeks App Installer Read More »
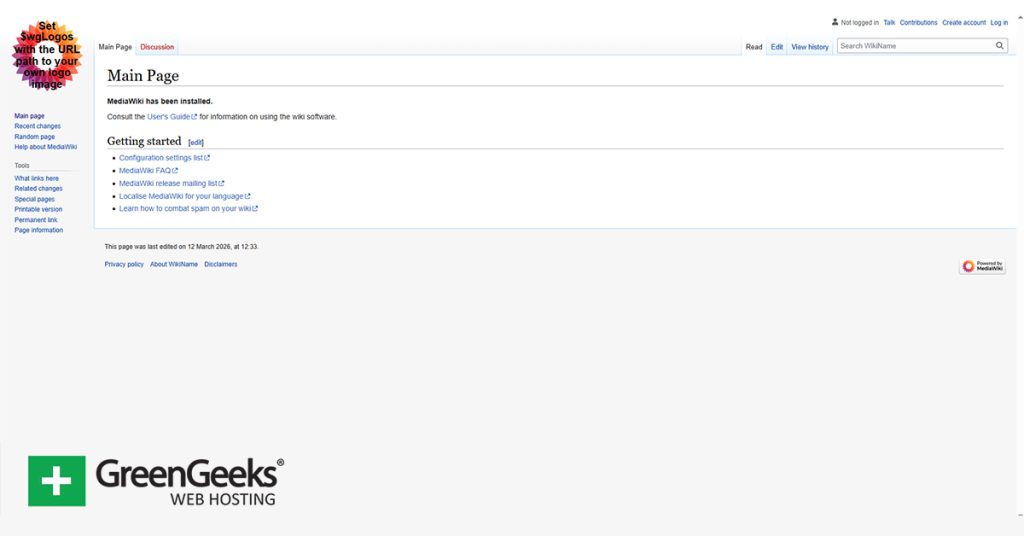
Wikipedia is one of the most visited websites on the internet, and it is built using MediaWiki. If you are interested in building a Wiki
How to Install MediaWiki with GreenGeeks App Installer Read More »
Every website strives to have the best performance because it directly impacts how much traffic it gets. For this reason, WordPress is full of plugins
Improve Site Speed Using WordPress Asset Cleanup Plugin Read More »
If you’re planning to start a blog but already feel overwhelmed about how to do it, this article is for you. While the idea of
Blogging for Beginners: How to Start a Blog Read More »

WordPress powers 43.4% of all websites globally, which translates to over 541 million sites running on this content management system. When you’re dealing with long
WordPress Pagination: How To Add Pagination Manually or With Plugins Read More »
WordPress sites face malware infections every 32 minutes, according to consensus data from 2025. When your site gets infected, you need to act quickly and
How To Fix Malware Infected WordPress Site Read More »
Adding videos to WordPress posts and pages involves several approaches, each with specific steps and considerations. As of August 2025, WordPress supports multiple methods for
How To Embed Videos in WordPress – Methods & Techniques Read More »
WordPress provides multiple methods for adding external CSS to your site, and each approach serves different purposes based on your technical skills and the scope
How To Add External CSS to WordPress Read More »