
Private messaging systems are a great way to communicate with staff members, collaborators, and visitors. Unfortunately, WordPress lacks a private messaging system by default, and instead only has the comments section.
While comments are a great way to communicate, they don’t offer the privacy that some matters need. Luckily, there are several plugins that can help you set up such a system in WordPress. In this case, we are looking at Front End PM.
This plugin allows you to set up a simple messaging system on the front end of your site. You can create a dedicated page where users can send out messages to one another or view the ones they have received.
Today, I will demonstrate how to add a private message system in WordPress with Front End PM.
Why Add Private Messaging to WordPress?
When you think of social media sites like Facebook or X (Twitter), many focus on the more public posts that are sent, but they also have robust private messaging systems that users can use to talk to friends and family more privately.
There are also many situations where businesses will receive collaboration opportunities.
A regular website is really no different. While many users will stick to the comment or forum system on a site, there is usually a need for a more private system that users can use to take the conversation private.
This is necessary for many websites. For example, would you want to carry out a sales chat on a public forum? Probably not. Instead, you want to talk one-on-one for the best results.
Of course, it is worth pointing out that you do need to be very active to maintain a successful system like this.
Let’s be honest, have you ever sent someone a message and gotten a reply from them a month later? Probably, and that isn’t a good look for a business. As such, if you do plan on implementing such a system, be ready to actually interact with it.
How to Create a Private Message System in WordPress
Front End PM is a simple plugin that allows you to add the private message system to any post or page, but I strongly recommend giving it a dedicated page. It doesn’t really fit in with other content and can take up a lot of space if you have a lot of messages.
In terms of setup, the plugin is rather simple. You just need to go through a settings section, and then choose the post or page you want to add the system to. As such, it only takes about five minutes to set up.
Step 1: Install Front End PM
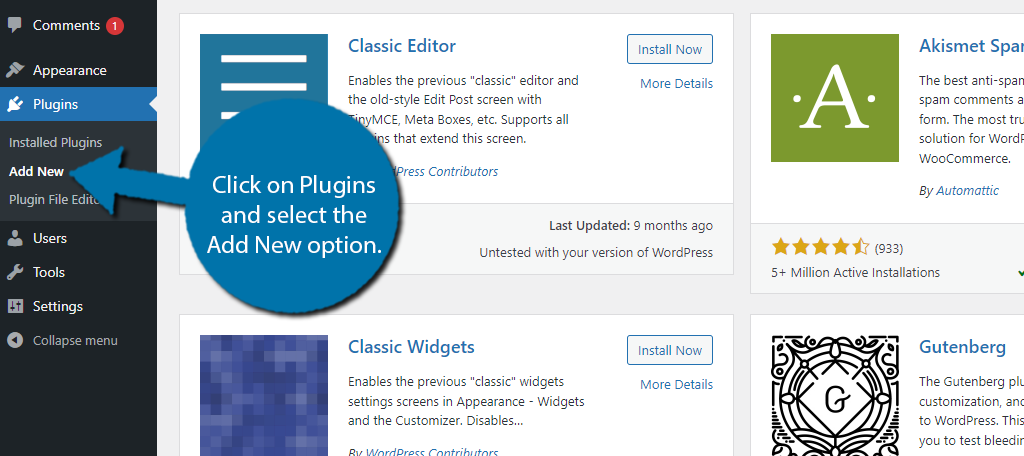
Let’s start by clicking on Plugins and selecting the Add New option on the left-hand admin panel.
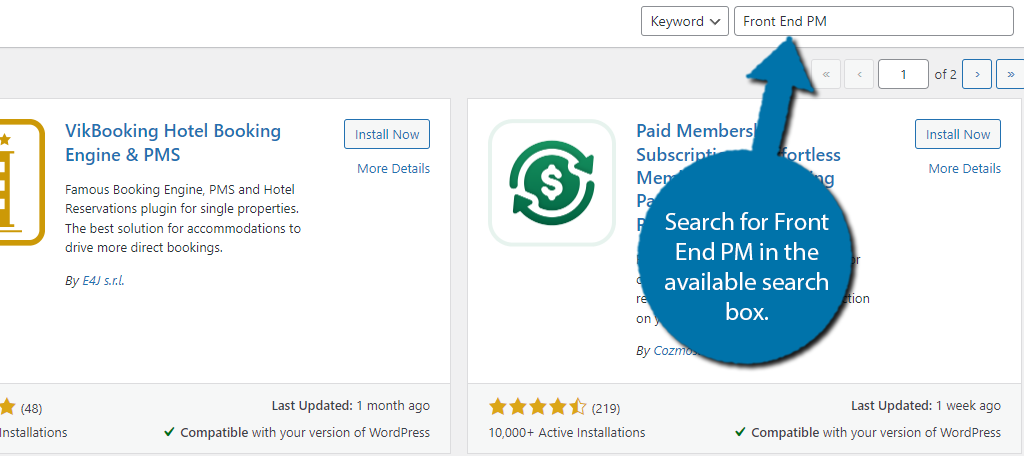
Search for Front End PM in the available search box. This will pull up additional plugins that you may find helpful.
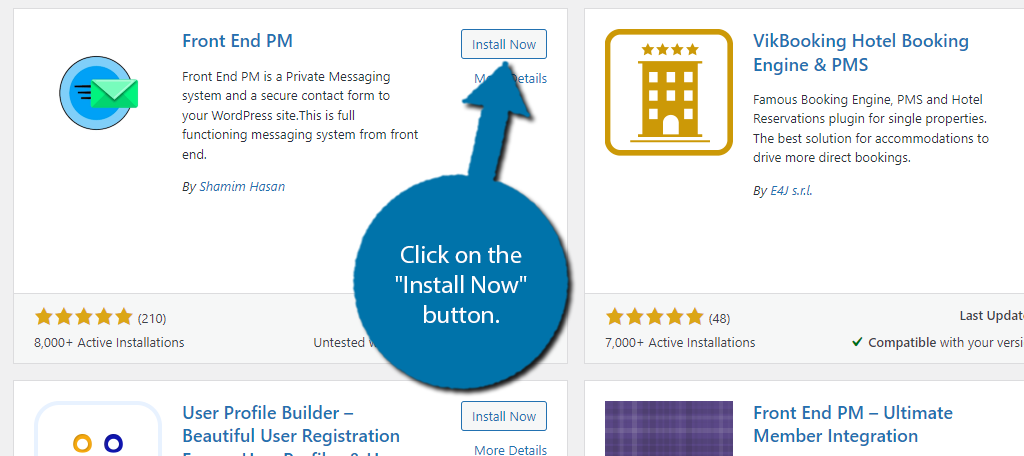
Find the Front End PM plugin and click on the “Install Now” button and activate the plugin for use.
Step 2: Configure the Settings
It is worth noting that by default, this messaging system does work well. As such, you could technically just place it on your site as is, but I do recommend configuring it. This gives you more control over how the system behaves on your site.
Luckily, the settings section isn’t very complicated and consists of simple options you can configure. Since the settings consist of 7 tabs worth of options, I am not covering every detail, and instead will just focus on the bigger options.
To begin, click on Front End PM and select the Settings option.
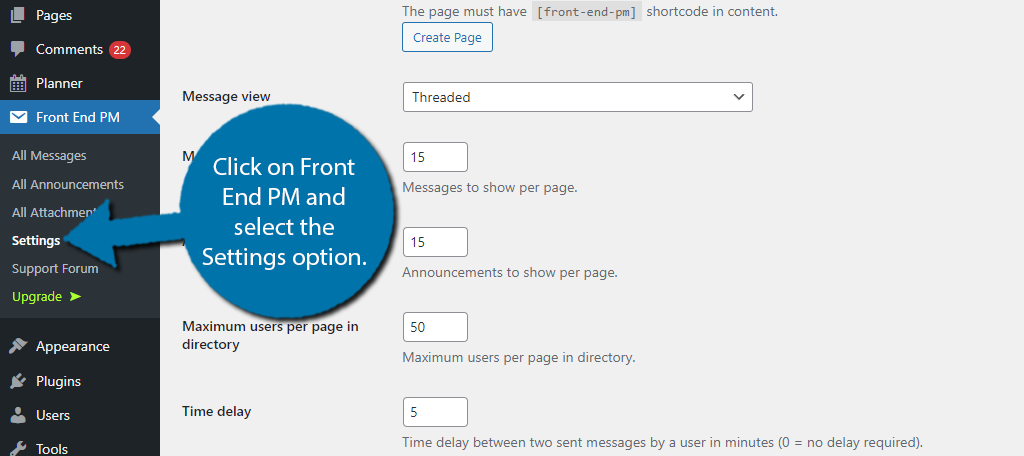
As I said before, there are seven tabs to go through. Let’s start with the General Tab.
The very first option is the most important one. This is where you can choose a page to host your private messaging system in WordPress. You can only select published pages, so use the drop-down to do so.
Alternatively, you can click on the “Create” button underneath this option to create a page for it.
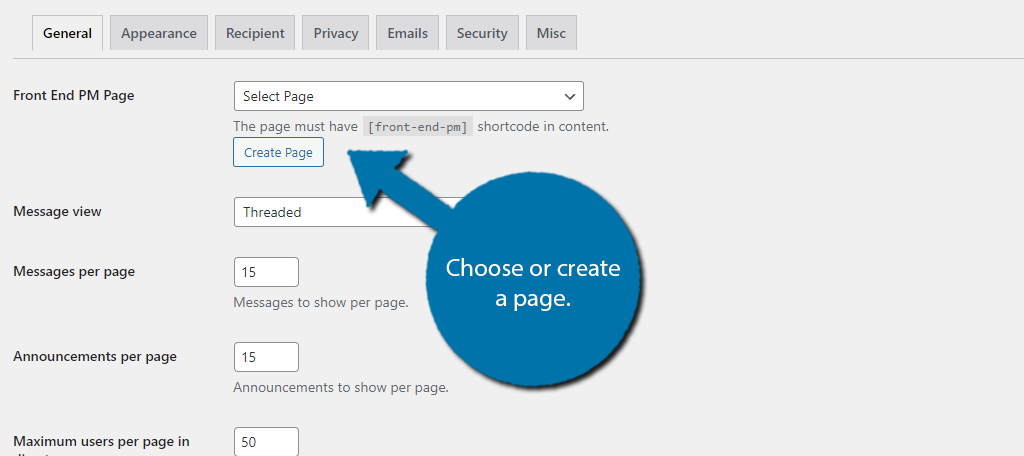
The rest of the settings allow you to configure the number of messages you can view at a time, messages per page, and other options. They are rather simple, so just go through each one individually, Again, the default options will work fine for most sites.
Be sure to save the changes before moving on to a different tab.
The Appearance tab is exactly what you would expect. This allows you to customize the colors the display uses, and you can even add your own CSS. You may want to see what the display looks like on your site before trying to change its appearance.
Sadly, there is no preview option. The Recipient tab is exclusive to the Pro version, so we will skip that entirely.
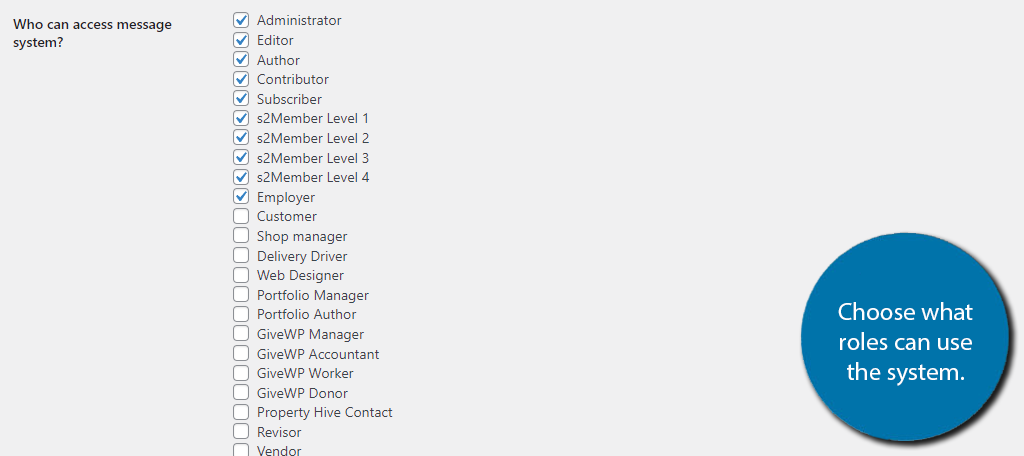
There’s not much to say about the Privacy and Emails Tabs, but the Security tab allows you to configure who can access the message system. For instance, if you just want it for staff, you can set it for only admins, editors, and authors.
It really depends on what your goal is, so select the user roles you want to have access to the system.
The last tab contains various settings, nothing major, but worth looking at. Once you are done setting it up, you can see it in action.
Step 3: Using Front End PM
To view the private messaging system in WordPress, simply visit the page or post that you added it to during the setup process. If you used the Create option, then the page would be named Front End PM by default.
The page should look like this:
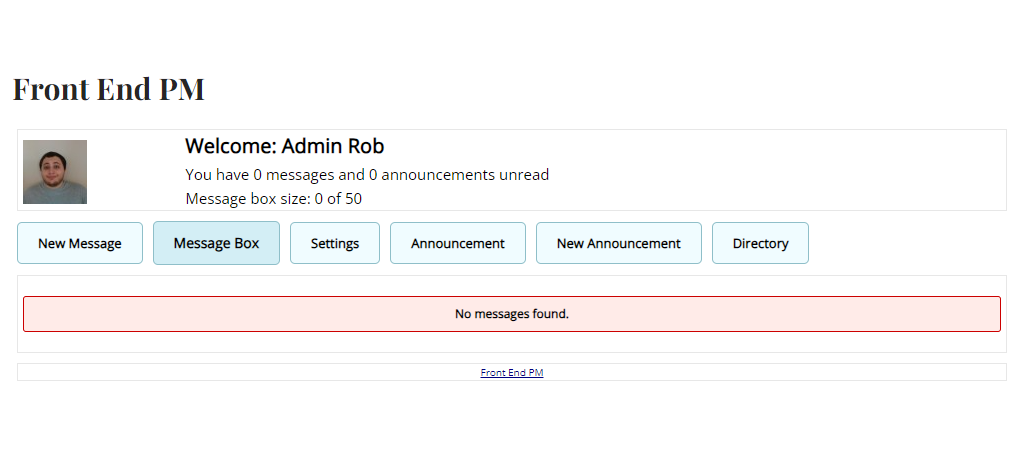
Naturally, you will not have any messages when starting out, but if you did, they would appear in the Message Box. This is also open by default when you enter the page. To send a new message, you would click on New Message.
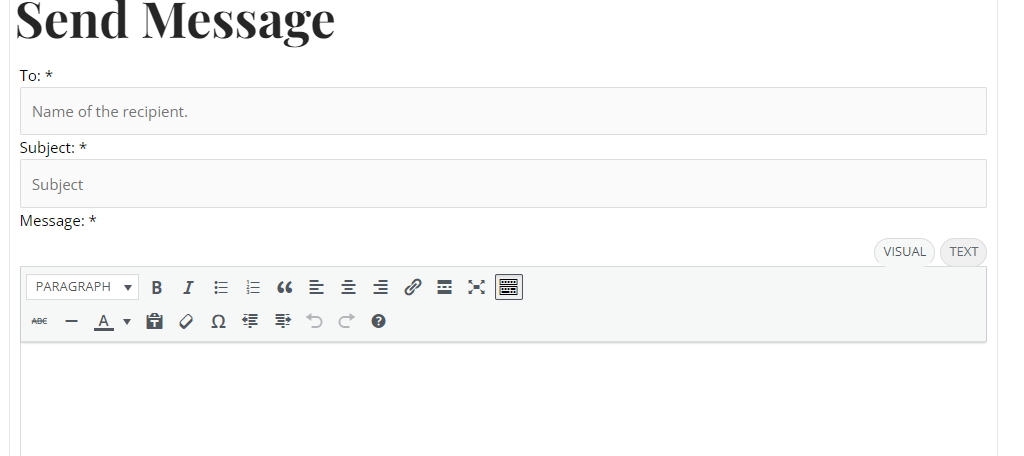
Here, you can enter the name of the person you are sending it to, a subject line, and the message itself. All very standard stuff.
The settings allow the user to turn off the ability for other users to message them while also choosing notification options.
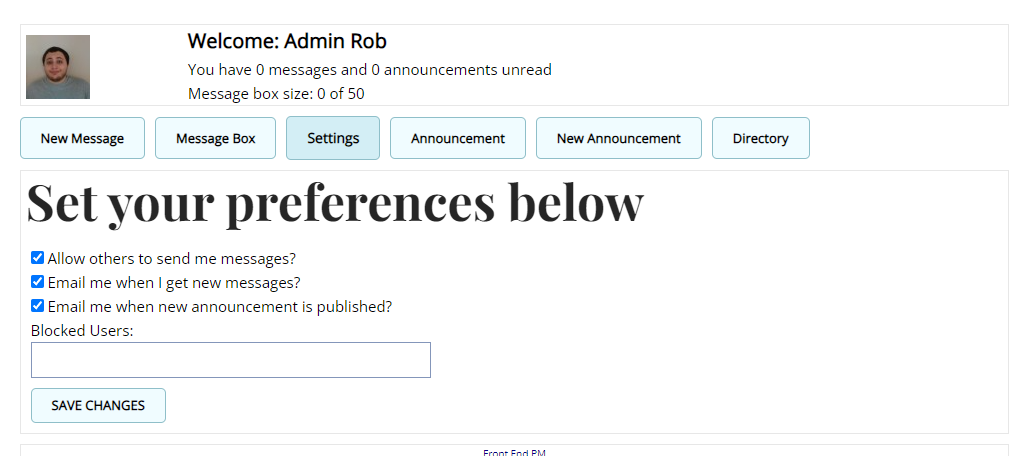
The Announcements allow the user to view announcements or to create a new one. The directory allows one user to find another. It is very basic but works really well in most situations.
And with that, you know everything you need to set up your own private messaging system in WordPress with Front End PM.
Other WordPress Plugins for Private Messaging
While Front End PM is a complete messaging system you can use for free, it is not the only option. Some are better suited for certain types of sites, thus let’s look at some alternatives to consider.
Crisp
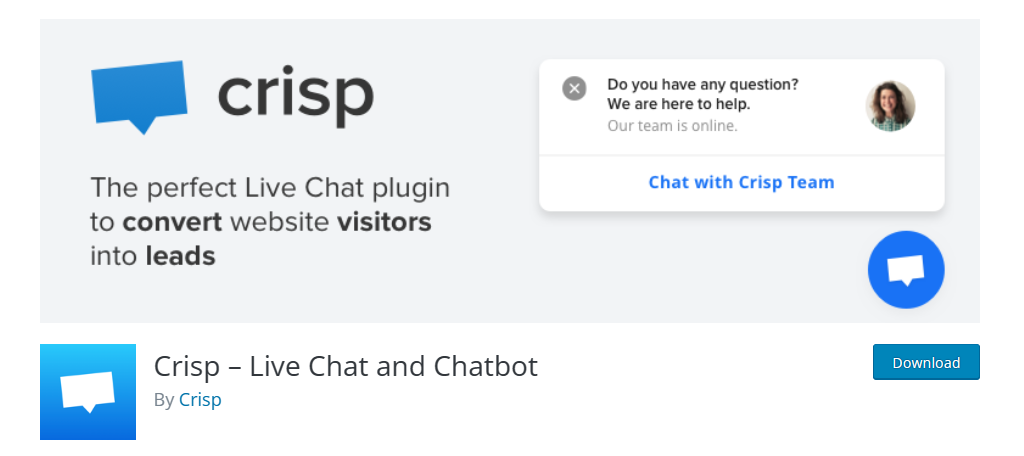
Crisp is an excellent messaging system for online stores. It allows you to offer live chat on your site, and users can leave messages when the store is closed. You can even create chatbots that can help field some questions.
Crisp can also ensure that customers are paired with the right agents. For example, you want someone looking to buy to be paired with a sales agent, while an existing customer looking for help to be paired with support.
It’s worth pointing out that this can also be used from a mobile device, which helps you quickly respond to new inquiries from anywhere. Overall, if you run a business, Crisp is a great option for messaging.
3CX Free Live Chat
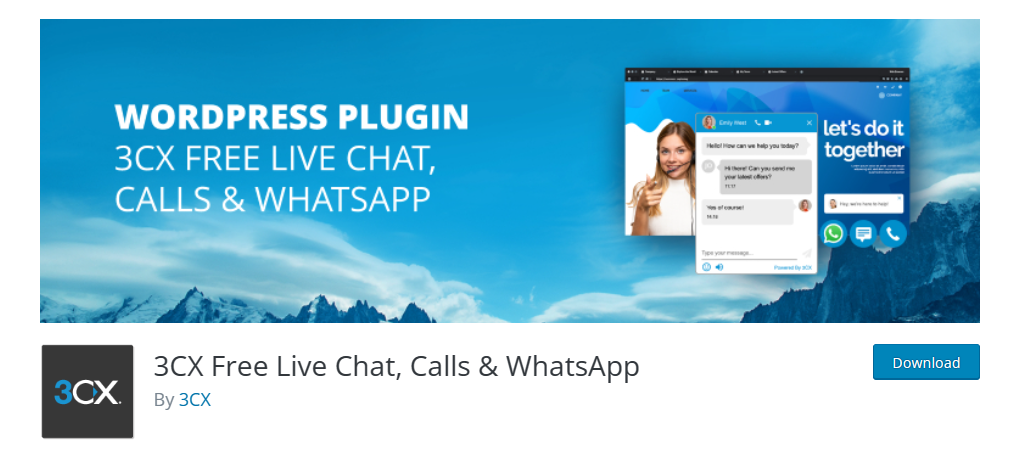
3CX is a very robust free chat service you can use on WordPress. It goes way beyond just private messaging by also offering support for voice messages and calls. It even supports WhatsApp integrations.
As such, you can connect to it from any device, which makes it a great way to stay on top of messages. The interface fits in nicely on a sales page, and can really help you close the deal.
Overall, the plugin is great for any sites that focus on sales. And it even sports a messaging system. This way you can contact a business even when they are not open for business.
Premium Private Message WordPress Plugin
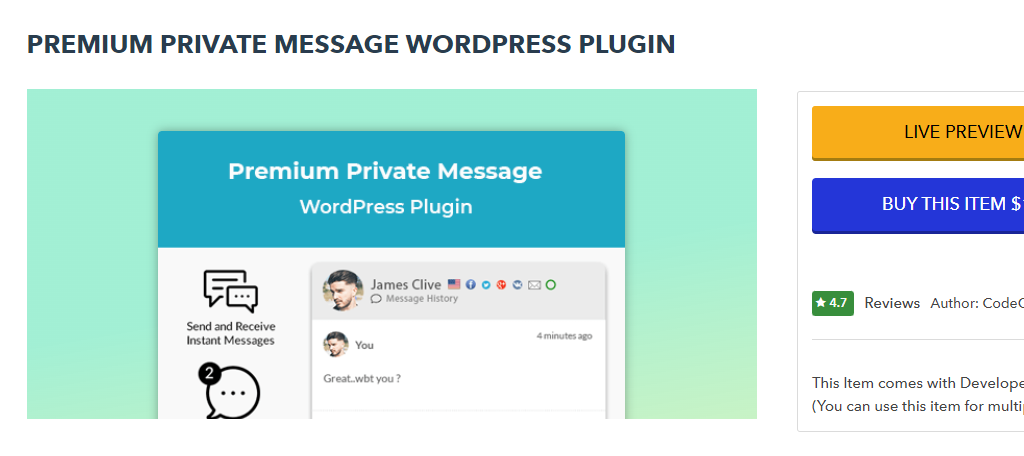
This premium plugin is a great option that is more similar to Front End PM. That’s because it is not exclusively for online businesses looking to close sales or filter users to agents. Instead, it focuses on more traditional private messages.
It comes with a variety of key features that you would expect such a tool to have. For instance, users can block other users to help prevent harassment. A more unique feature is the ability to opt-in users to your newsletter through the message system.
This is a great option for users to consider. It works nicely on a blog or non-business site, which is a bit harder to find when searching through all of the chat plugins.
Stay Connected with Users
The entire point of a private messaging system is to help users communicate with one another. As such, be sure to stay on top of your own messages. Late replies can lead to less sales, turn users away from the site, or even miss out on collab opportunities.
As such, be sure to regularly check your messages, and inform your staff to do the same. You may even want to start planning a point in the day where you check your messages for consistency.
I hope you found this tutorial helpful in setting up a private messaging system in WordPress.
Do you think WordPress should have a private messaging system built in? Have users responded positively to the system?
Hi! So happy to come across your site! Do you think this tool will help my use case:
I build and sell DFY premade web templates. The buyers are not designers and they would go in and change a few things like name logo etc (I would give them editor permissions). I want to be able to communicate with them and contact them with specials etc
You would just have to try it and see if it does what you need.