As your website grows and you begin to employ more writers, content planning becomes more complicated. One way to improve this is to use a tool like PublishPress Planner to help organize your release schedule.
While more content is always a good thing, it is worth pointing out that if you release too much in a single day, it can overwhelm users. For this reason, many blogs spread out their releases across multiple days.
Of course, there is also the SEO side of things. Search engines like Google want you to have a release pattern. Thus, organizing your blog release schedule with a tool can not only help improve your workflow but improve your SEO.
Today, I will demonstrate how you can do this with the PublishPress Planner plugin.
This tutorial is for:WordPress 6.4.2Plugin: PublishPress Planner v4.0.2
Form A Schedule Before You Begin
PublishPress Planner is an organizational tool, but to get the most out of it, you should already have a game plan for your content release schedule. However, schedule planning goes much deeper than most realize.
You should have multiple analytical tools tracking data on your site with the primary one being Google Analytics.
These tools can tell you exactly when your site is the most active and for what age groups. This is incredibly important because when you release new content, you want it to reach the most users possible upon release.
As such, this information is imperative to success. For example, if you notice that more users are on your site from 12-1 pm, that’s probably because they are on a lunch break. Thus, it’s a really good idea to release content just before this.
Of course, raw traffic numbers are not just the most important. See what content certain age groups are consuming the most. And be sure to match those peak hours with your releases.
For example, financial blogs are probably not going to see a huge uptick after school lets out, but a blog related to entertainment or sports probably will. Understanding your audience and site traffic is imperative when building a schedule.
How to Use PublishPress Planner to Schedule Content
The PublishPress Planner plugin is quite a robust tool sporting a variety of helpful features. The main one is the content calendar. Here, you can add the content to the days you want to release it. You can even color-code the content types.
When you click on the content in the calendar you can expand it to see details like categories, status, and so on. You can even send out notifications in WordPress to the users that work is assigned to. This ensures they know when it is due.
There is even a notes section for editors and authors to have a conversation about things that need to be corrected or to look out for in the future. Overall, it is a powerful editorial tool that most sites will get a lot of use out of.
Step 1: Install PublishPress Planner
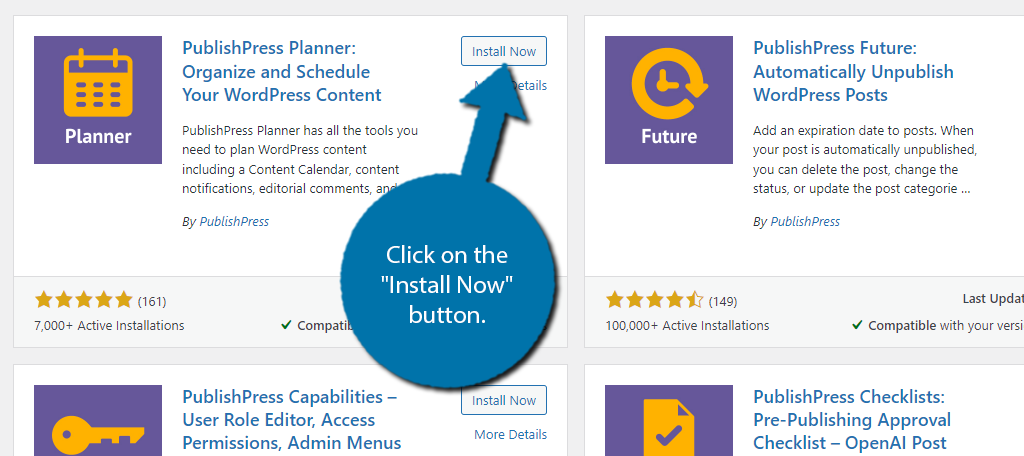
Let’s start by clicking on Plugins and selecting the Add New option on the left-hand admin panel.
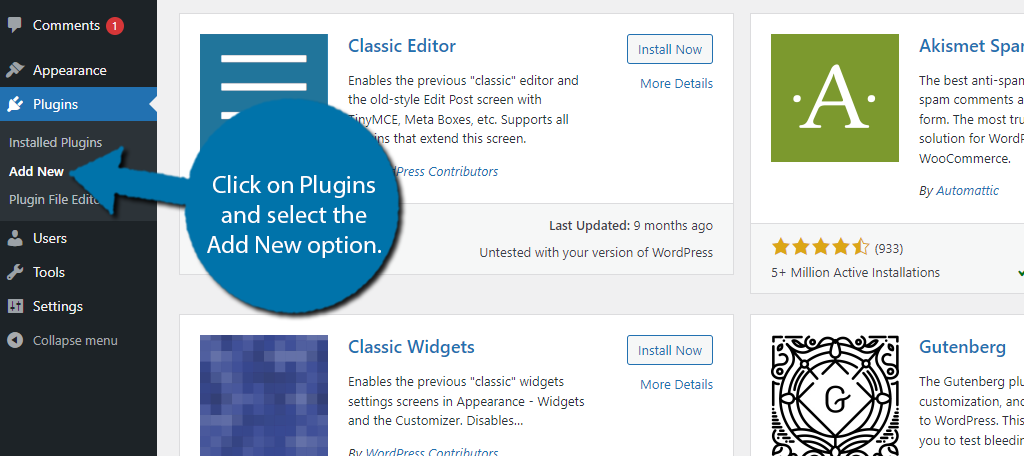
Search for PublishPress Planner in the available search box. This will pull up additional plugins that you may find helpful.
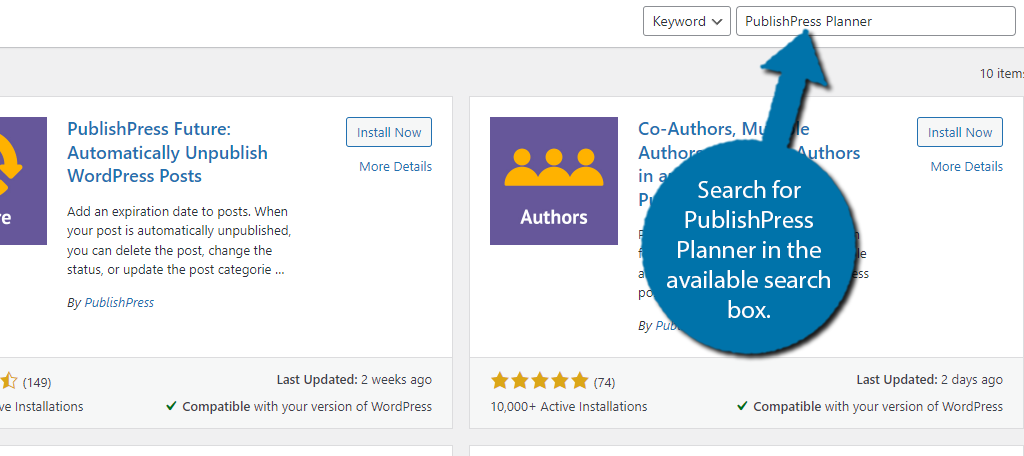
Find the PublishPress Planner plugin and click on the “Install Now” button and activate the plugin for use. Note that PublishPress has a lot of useful plugins. For this tutorial, we’re specifically working with the Planner tool.
Step 2: Configure the Settings
While you can begin scheduling your content upon activation, I do recommend going through the settings first. This allows you to choose what features are enabled and how they behave, which can simplify the experience.
To find the settings, click on Planner and select the Settings option.
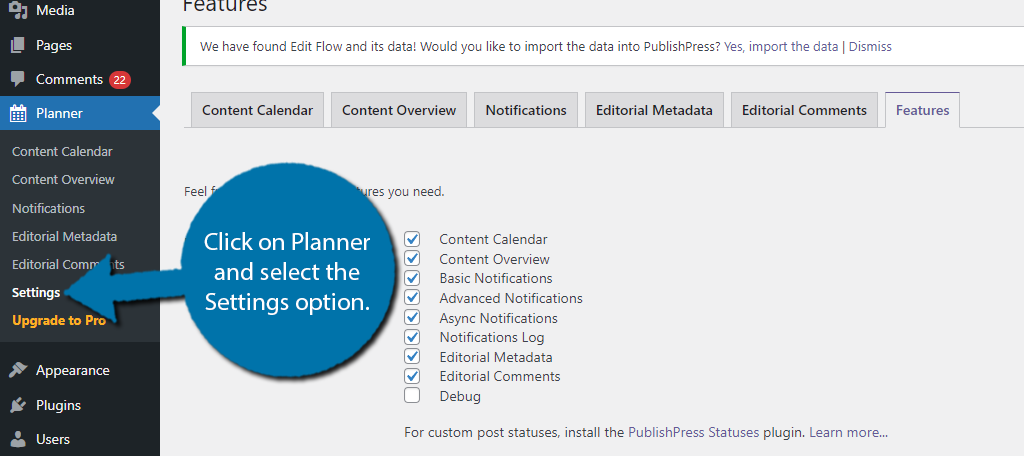
You’ll start out on the features tab. Here, you can check the box to enable a feature or uncheck it to disable one. By default, everything except the Debug feature is enabled. Feel free to disable anything you do not plan on using.
Doing so can help simplify the plugin. The rest of the tabs are very similar in function because they just consist of checkboxes. For this reason, I won’t cover too many options but highlight the important ones.
In the Content Calendar tab, you can find the Posts publish time format section. Here, you can choose the way time will be displayed with three options. It is important to pick the option that won’t confuse you or the staff.
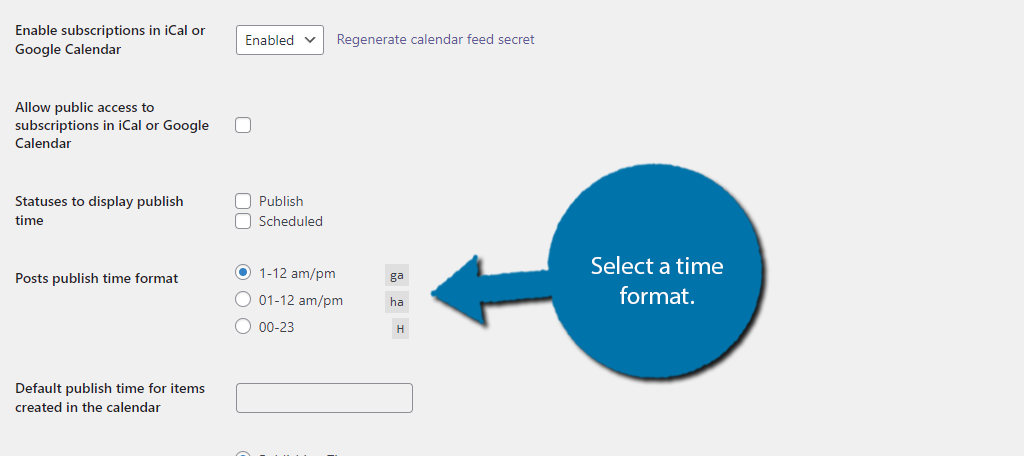
Below this, you can set a default publish time for posts. As we talked about earlier, content should be released just before peak traffic. As such, you can enter the time you think you will release the most content. You can customize the release times individually later.
If you are choosing to use the notification system, then I recommend going to the Notifications tab and configuring the Duplicated notification threshold value. This will help prevent your staff from getting too many notifications.
Again, go through all of the settings. Most are simple and just require you to check or uncheck a box.
Be sure to save any changes.
Step 3: Using the Content Calendar
The bread and butter of this plugin is the content calendar. Here you can schedule and organize all of your blog posts and create a content workflow, so you always have something coming out. It is rather simple to use, so let’s get right into it.
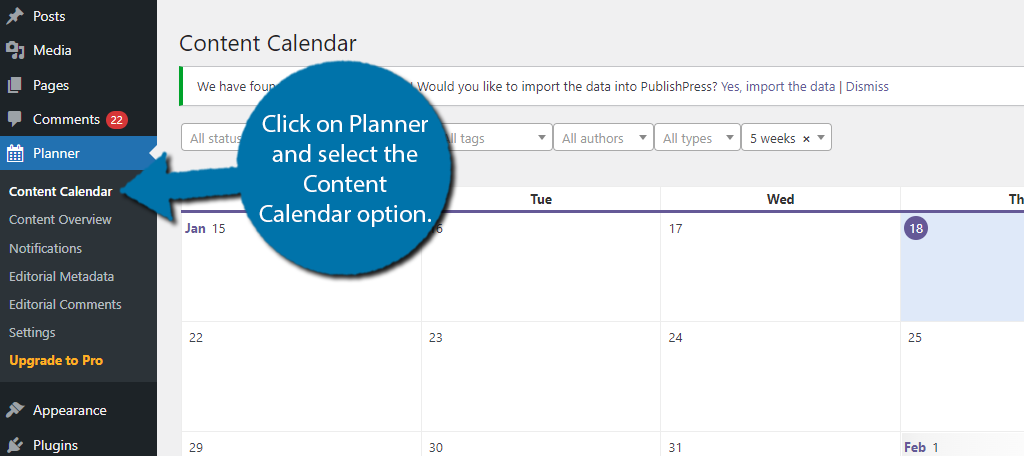
Click on Planner and select the Content Calendar option.
Unlike many calendars, the top week will always be the current week. Simply click on the day you want to schedule a piece of content. This will open up a small window that you can fill out to create an item.
In it, you can choose the type of content (post or page), add a title, choose the status, set the publish time, choose the author, create a description, and set categories & tags. It is rather simple, so fill out all of the info and click on the Save option at the bottom.
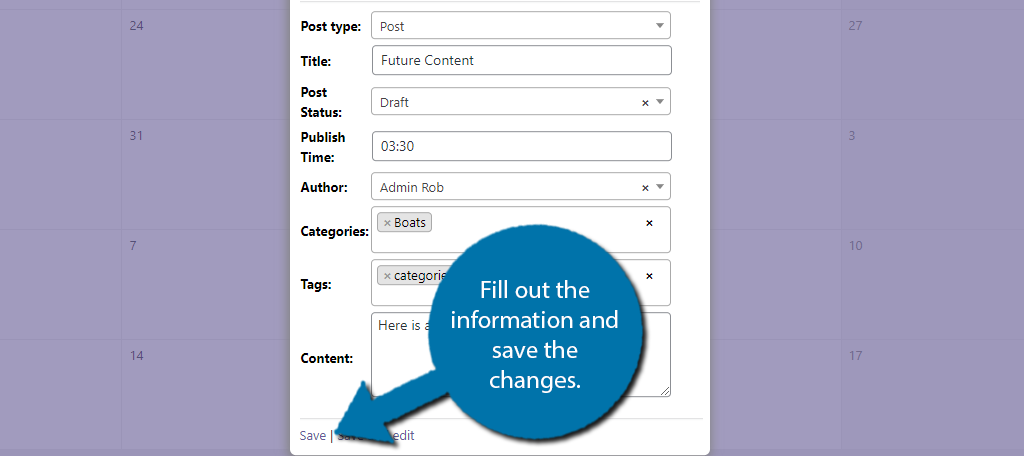
The content will then be added to the calendar. You can edit it at any time by clicking on the pencil icon next to the title.
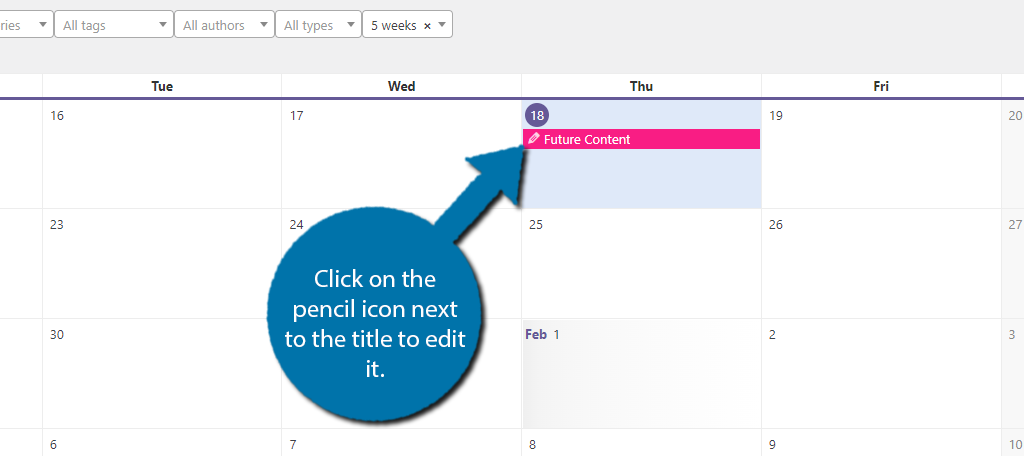
This will pull up a small window with an edit option in the bottom left corner. You can also use this window to view all of the details of that entry. Clicking on this edit option will bring you to that post.
As such, editing the details of the post will update the entry on the calendar. For example, if you want to change the publishing date, do so in the post that this creates. It will be updated accordingly on the calendar.
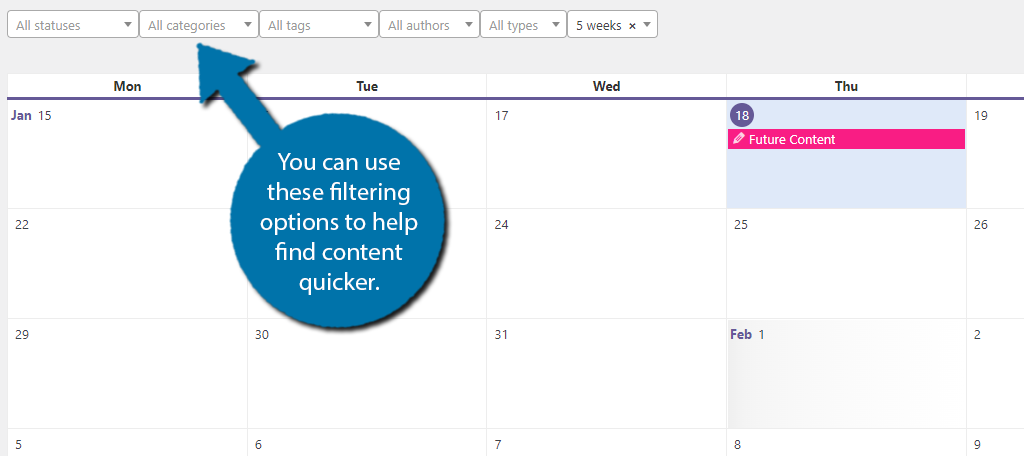
When you add a lot of content to the calendar, it may be difficult to find certain pieces of content. You can use the filtering options at the top to help with that. For instance, you can choose to only display certain categories.
And that’s really all there is to the content calendar. It is a simple, but highly effective content planner for WordPress.
Let’s explore some of the other sections.
Step 4: Other Features
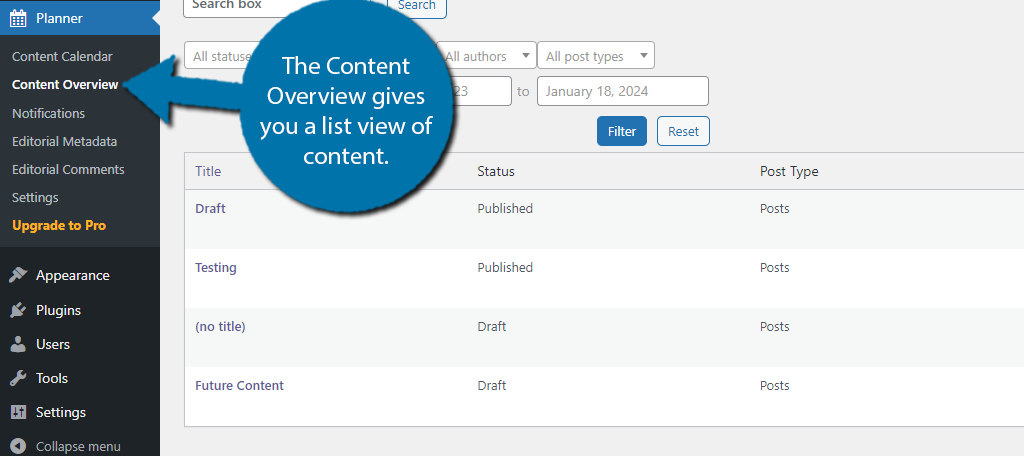
If you click on the Content Overview option, you can view all of the content on the calendar, but in a list format. It also sports the same filtering options as the calendar. It’s simply a different way of looking at your scheduled content.
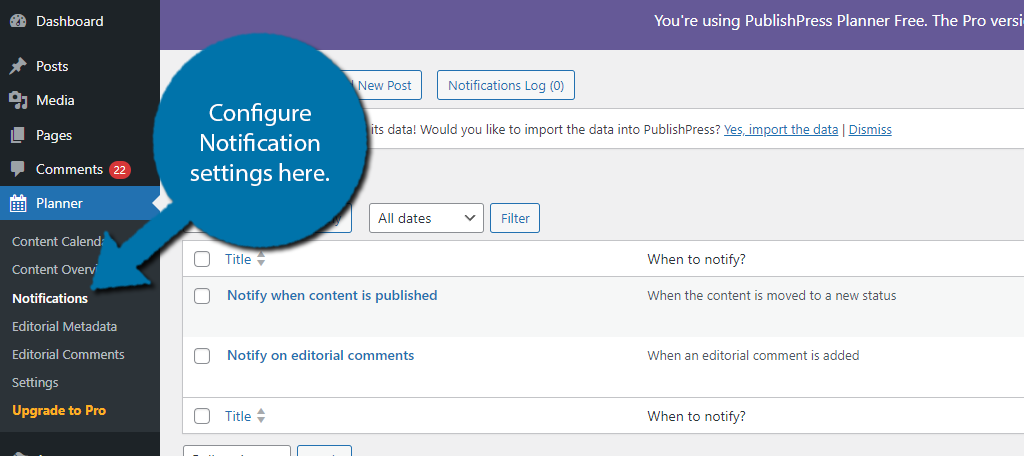
The Notifications section allows you to customize if you receive notifications and to edit those messages. By default, there are two options, one for notifications when content is published, and another for when an editorial comment is made.
You can simply delete these if you do not want any notifications. Otherwise, you can click on them and edit the particulars to match your needs. It is possible to create other types of notifications by using the Add New option.
Be mindful of spam, as you could create too many notifications that can become problematic.
The Editorial Metadata is exactly what it sounds like. Here, you can configure anything metadata related to the editorial process like Assignments, First Draft, and so on to define their meanings.
The Editorial Comments are there so you can view a log of when the comments are left and see response time, or if there ever was a response. Lastly is the Settings section, which we already covered.
With that, you should have a solid understanding of how the PublishPress Planner plugin works.
Always Plan Blog Content Ahead With PublishPress Planner
While there will certainly be times when you want to release content as quickly as possible so the topic remains relevant, like news stories, you should always have something prepared for future release.
Using a content planner like PublishPress Planner is a great way to organize content in WordPress. That said, there are plenty of other tools like Asana, JIRA, and even Google Calendar that can help with this.
I hope you found this tutorial helpful in learning how to use PublishPress Planner to schedule content in WordPress.
How easy did you find PublishPress Planner to use? Has using the plugin helped improve your content workflow?