Are you looking to take your WordPress website to the next level? If so, you need to start using Redis Object Cache to boost your website’s caching capabilities. Doing so can significantly speed up your website and improve the user experience and boost SEO rankings.
However, before you begin, it is important to mention that not all web hosting companies support Redis. Instead, you need to confirm that your current web hosting plan supports it, otherwise, this tutorial will not work for you.
Today, I will demonstrate how to improve caching in WordPress with Redis.
This tutorial is for:
WordPress 5.9
Plugin: Redis Object Cache v2.0.23
What Is Redis?
Redis is a key-value database that can easily manipulate high-level data like strings, hashes, sets, and more. While Redis has a ton of applications outside of WordPress, it is known for its superior caching capabilities.
In no uncertain terms, Redis is the best caching solution available in WordPress.
Traditionally, every time someone accesses your web page, a request is made to the database. The database then must handle that request to display the necessary content.
If it is the only request, it is very fast. But if there are say 100, 1000, or even, 10,000 requests, the database slows down.
Redis fixes this problem by storing the data directly on the web server’s RAM. As a result, your database does not get bogged down by requests, and due to the nature of RAM, that data can be delivered much faster than other caching solutions.
This is why your web host must support Redis on the webserver. It will directly rely on the web server itself. This is also why it is not available on shared hosting plans. Multiple websites share that RAM, so it cannot work correctly.
While this might sound complicated, don’t worry, there is a plugin to enable this feature.
How to Use Redis Object Cache in WordPress
Step 1: Install Redis Object Cache
In most cases, caching plugins range from being overly complex to overly simple, and Redis Object Cache is the latter. It really is just as simple as installing the plugin and pressing the “Enable” button.
After that, you can flush your cache whenever necessary with a single button, and you can use the analytical tool to monitor how well the plugin is working.
Recommendation: Before continuing this tutorial, I highly recommend testing your website’s performance before installing the plugin. That way you can test again after installing to see if your website’s performance has improved.
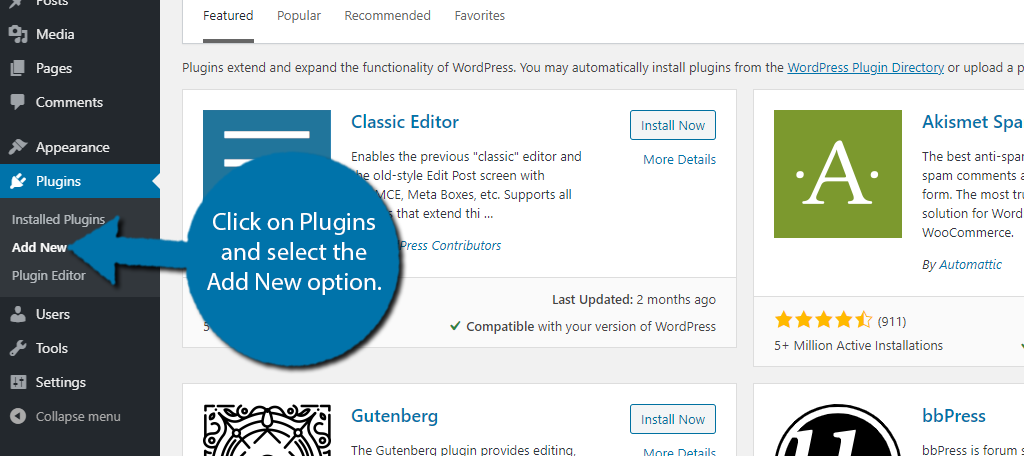
Let’s start by clicking on Plugins and selecting the Add New option on the left-hand admin panel.
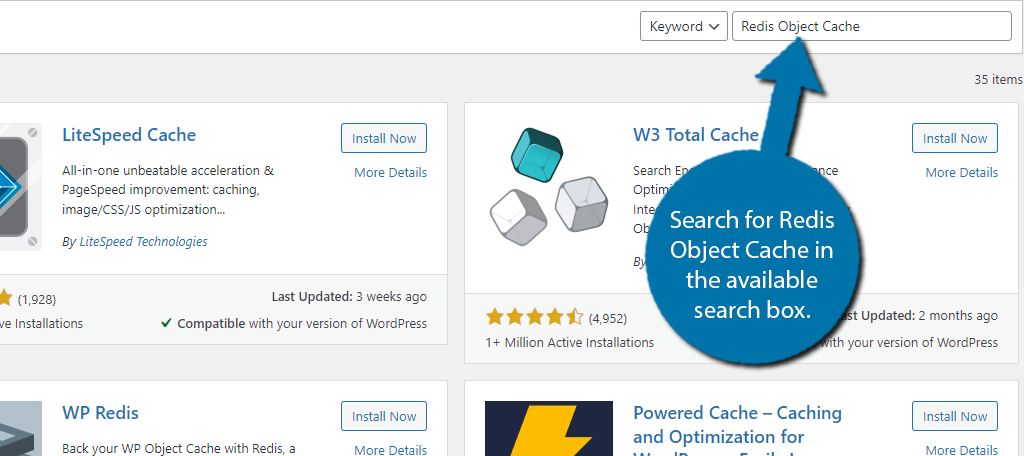
Search for Redis Object Cache in the available search box. This will pull up additional plugins that you may find helpful.
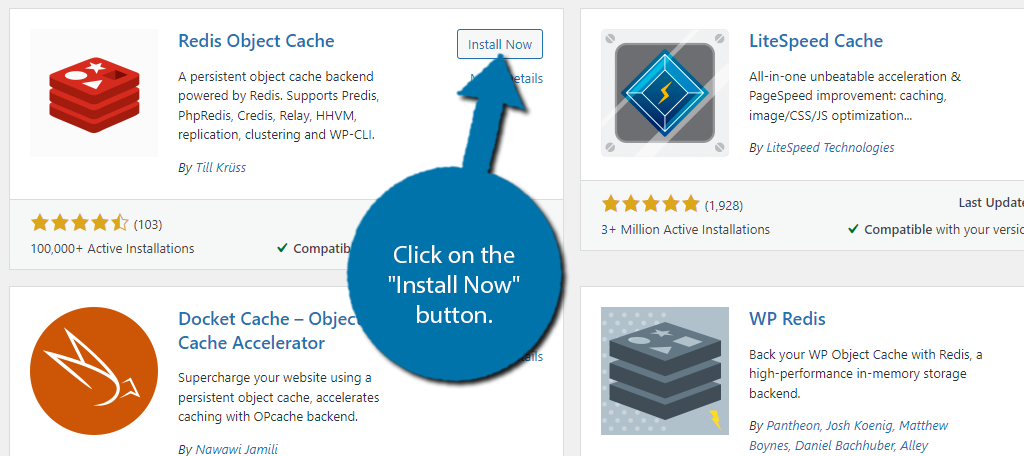
Scroll down until you find the Redis Object Cache plugin and click on the “Install Now” button and activate the plugin for use.
Step 2: Enable Object Cache
Upon activating the plugin, you will be brought to the settings page for the plugin. Here, you should see the overview of the plugin works.
By default, the Staus and Drop-In options should not be working.
Click on the “Enable Object Cache” button.

The plugin will then fully activate if there are no problems. If there are issues detected, you will have to troubleshoot the problem as it goes beyond the scope of this plugin.
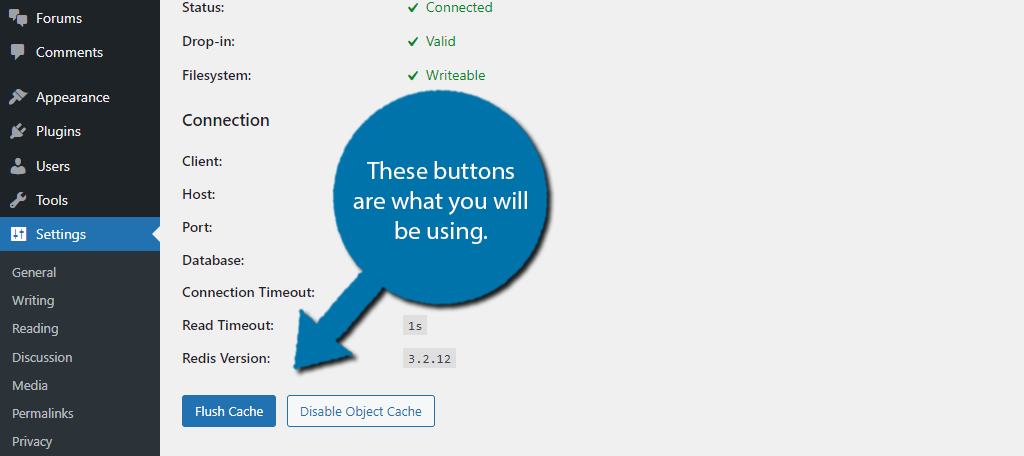
The Overview tab will now display more information about your connection.
You will see two new buttons at the bottom. These are the “Flush Cache” and “Disable Object Cache” buttons. And they do exactly as they are named.
And that’s really all there is to the initial setup. Pretty simple right?
Note: So, if something did go wrong when you try to enable the plugin, check out the Diagnostics tab. Here you can see all of the information that will tell you what’s wrong. However, it’s not very beginner-friendly. You do need knowledge concerning databases to understand it.
Step 3: Metrics Tab
Initially, when you click on the Metrics tab it will be blank because there is not enough data for the plugin to generate one. Give it a few minutes (time may vary), and you will be able to see how the plugin is performing.
There are four different metrics that you can view. They include Time, Bytes, Ratio, and Calls. Each graph will allow you to see this data and also compare it to the estimated results your website would get if you upgraded to the Pro version of the plugin.
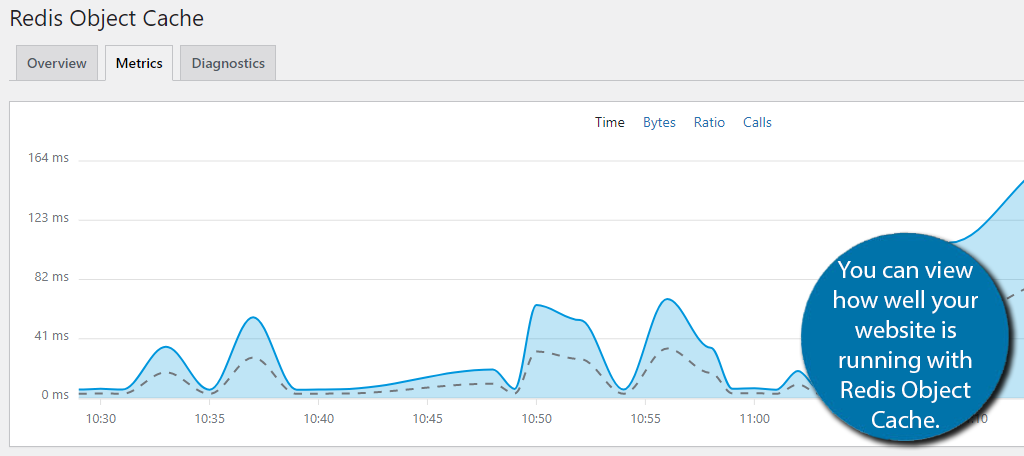
The longer the plugin runs, the more accurate the data will be. Just keep the diagnostic tab in mind for future reference. If everything goes right, you should not need to use this tab, but you’ll be thankful it exists if something does go wrong.
This tab will allow you to see critical information related to your database. This is pretty specific information that won’t mean much if you are not knowledgeable about databases. But if you are, it can help you hone in on a problem.
And with that, we have covered everything within this plugin, congratulations. Overall, it’s very easy to use and can significantly speed up your website.
Make Sure It’s Working
When it comes to website performance, you can never be too sure. Instead, you should take a moment to make sure your website is running faster than before and there are a number of tools you can use to do this.
Here are the two most useful for any WordPress site:
Google PageSpeed Insights
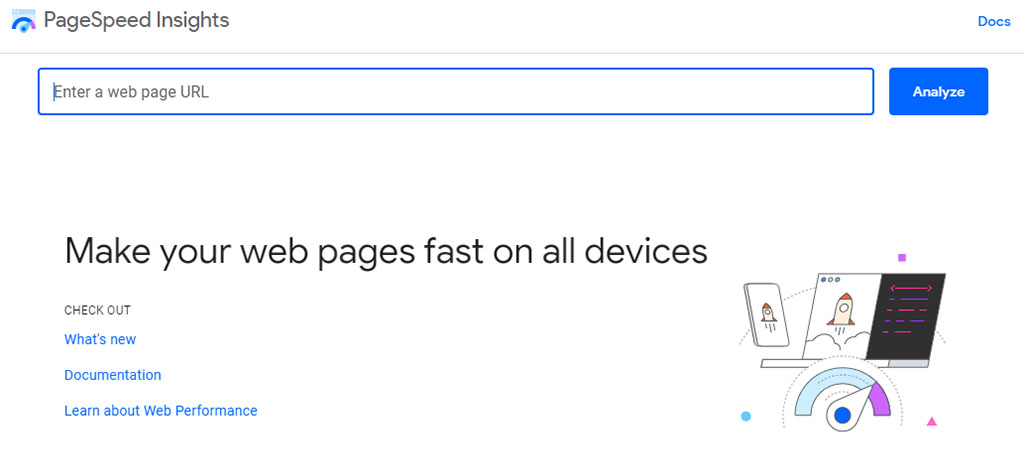
When it comes to an industry standard for checking page speeds, Google PageSpeed Insights is the best option. This tool is free and will grade both the desktop and mobile versions of your website.
Once it analyzes your website, it will load a variety of data you can use to further analyze how it performs. Most importantly, PageSpeed Insights will offer tips to help you optimize your website to get better results.
It’s perfect for testing if your website is performing better with Redis.
GTMetrix
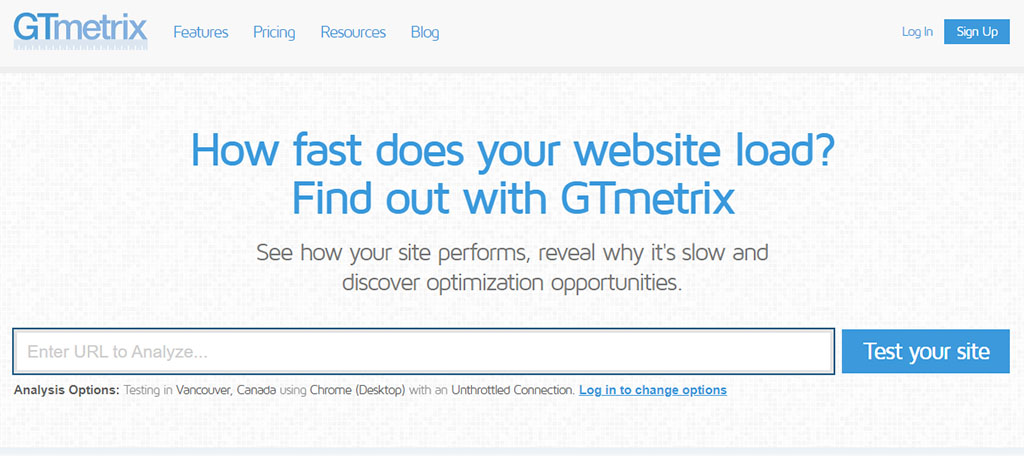
Of course, while Google may be the gold standard, there are many other tools you can use, and GTMetrix is one of the best alternatives. And it even has a dedicated WordPress plugin you can install.
Similar to PageSpeed Insights, you enter your website’s URL and can see the scores and recommended optimizations. Just make sure to make a free account because you get extra features unlocked versus using a guest account.
Nothing Is More Important Than Speed
There is no denying that speed is important. But for many, it is the most important factor because not only does it have a direct influence on your SEO rankings, but it also has a significant impact on the experience that customers have.
Some might argue that content is the most important factor, but many websites that fail have great content. All websites that succeed have had speed on their side. The truth is that visitors will not wait for a page to load if it takes too long.
And this is especially true for mobile users. If you’re looking to improve your website, optimize it for speed.
Did you notice a significant performance increase when using Redis Object Caching? Have you considered upgrading to the Pro edition to get even better results?