
One of the key aspects of any WordPress website would be the user registration process. This is what allows users to sign up for your site and access account-based features. In many cases, if users don’t log in, they cannot interact with core site features.
This can be something as simple as the comment system to something more complicated like making a purchase on an eCommerce site. In the case of a membership site, a user cannot even access the content without registering.
As such, this is one of the first things you need to set up in WordPress if you plan to offer such services, and today, I will show you two methods to do so.
Why User Registration Matters in WordPress
User registration allows a user to sign up and gain access to site content locked behind an account. It also provides a way for users to personalize their experience by customizing their profile page to better represent themselves.
While you may think this is all for the user, you would be mistaken. Websites benefit immensely by having users sign up.
For example, have you ever been asked to subscribe to a newsletter when you register for a site? Of course, you have because every site does this, thus it is a great way to grow your newsletter subscriber list.
In some cases, websites aim to create member-specific content that is only accessible to members. In many cases, these members are even willing to pay for it, thus user registration is the first step in accessing it.
If you are looking to build a tight-knit community, user profiles are critical. They allow users to learn more about each other, which helps them form connections that are crucial on community sites like dating, social networks, job boards, and so on.
It is also worth pointing out that locking features like commenting behind user registration is a great way of reducing spam on your site. Especially if you take the time to set up reCAPTCHA.
Method 1: Using the Default User Registration in WordPress
Naturally, since WordPress user registration is so important, the platform provides all of the tools you will need to get started. With that said, the default tools WordPress provides are not exactly feature-rich.
Instead, they contain the bare minimum and don’t have a ton of options that users can personalize.
Step 1: Enable User Registration
The first step is to actually turn user registration on. By default, it is not enabled. However, it only takes checking the box to enable the function.
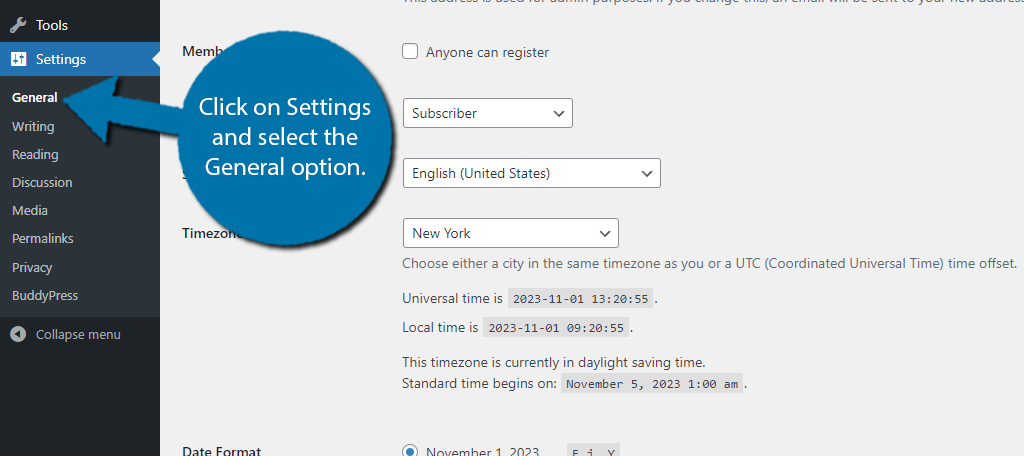
Click on Settings and select the General option.
Scroll down until you see the Membership option. Check the box to allow anyone to register.
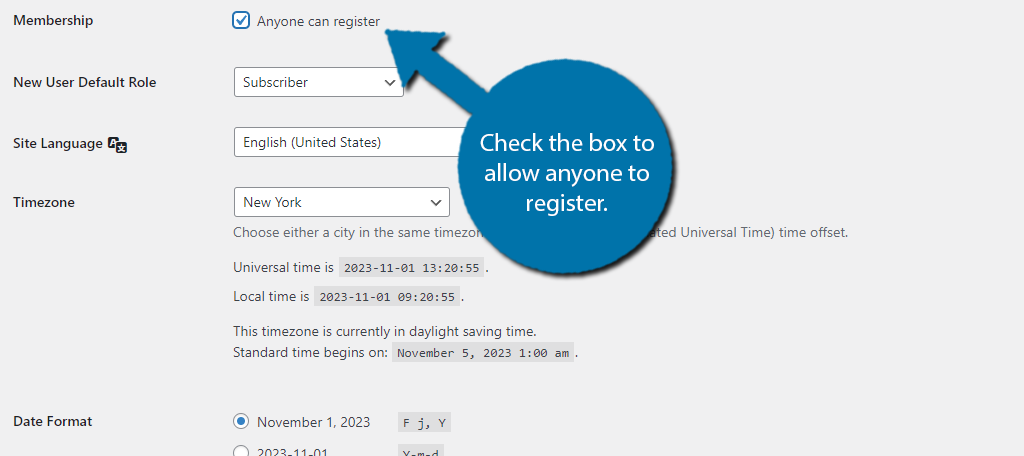
Below this, you will see a New User Default Rolw option. This is the user role a new user will receive when they register. By default, it is set to Subscriber. This is the best option, but you can change this if you see fit.
Scroll down to the bottom and save the changes.
Step 2: Let People Know They Can Register
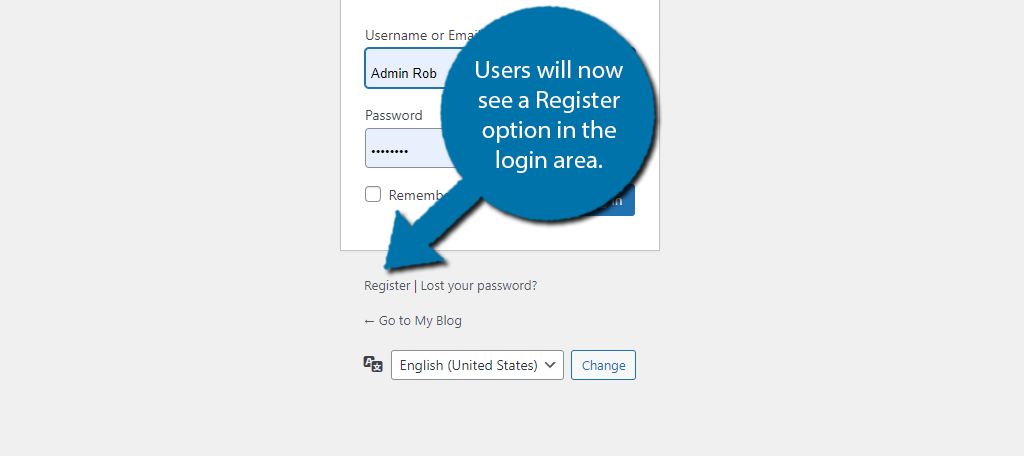
Truthfully, you are done at this point. Users are now able to register for your account, at least if they know such a thing exists. You see, while the system is now active, that doesn’t mean users will see a register option unless they go to the login area.
Clearly, we need to change this, so we need to take a moment and add some registration links to the website. There are several places you can add this, but the best choice is in a widget area, either the header or the sidebar.
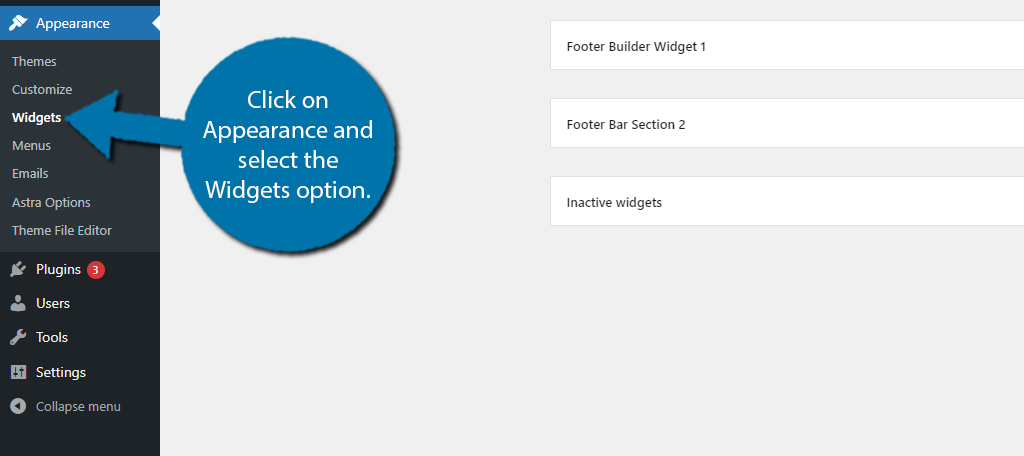
Thus, you should click on Appearance and select the Widgets option.
Your theme determines what widget areas you have available. In my case, I am selecting the sidebar, but feel free to pick any widget area to add a registration option. What makes this a bit confusing is that WordPress doesn’t name the widget Registration.
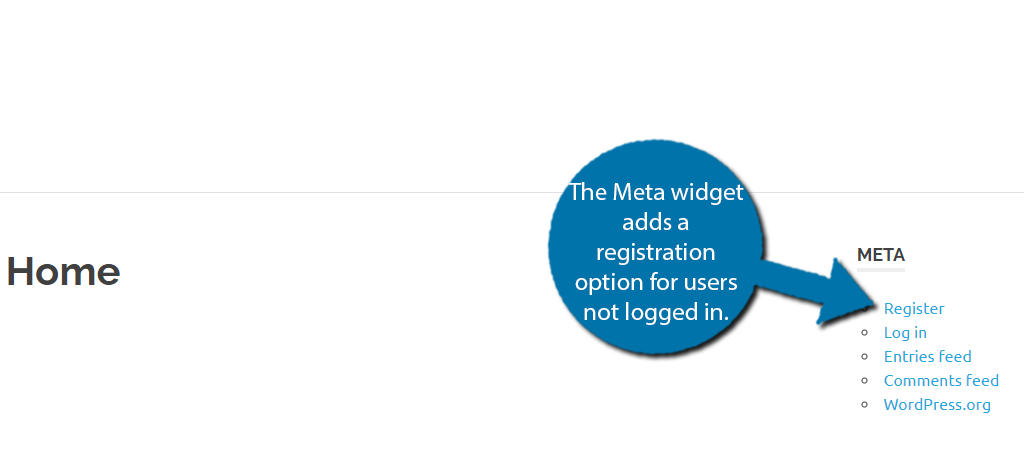
Instead, it is called Meta. This actually adds a variety of options to the widget area, and there are no settings to mess with. As such, it is quite easy. Search for and add the Meta widget.
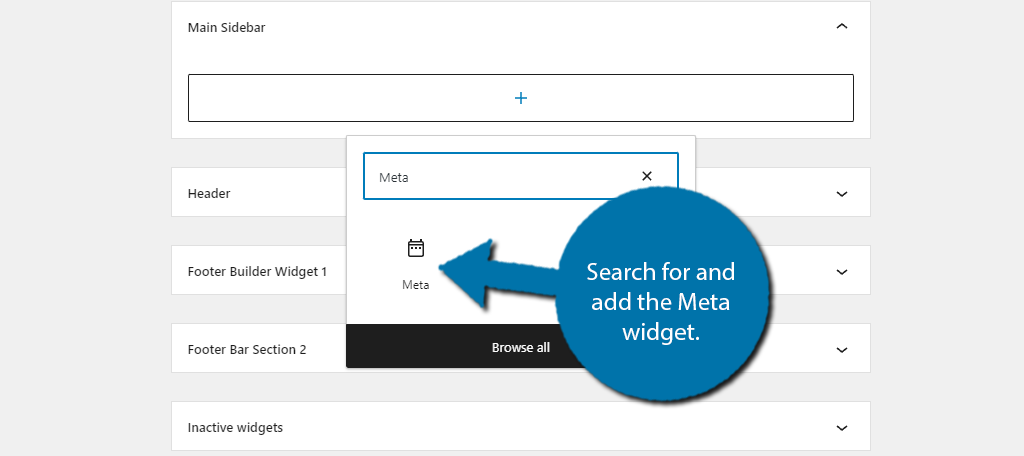
The only thing you can add to this widget is a title. Feel free to add one or leave it blank. Save the changes and you can view it on your site.
Note: You will need to log out of WordPress to see the Registration option.
And that is the extent of customization you can do with the default WordPress tools. It is possible to code changes in without a plugin if you want more options. But at that point, you are probably better off with a plugin, so check out our next method for that.
Method 2: Using the User Profile Builder Plugin
While there are several plugins you can use to customize the registration process in WordPress, one of the best options is the User Profile Builder. This plugin specializes in front-end user registration with plenty of customization options to get the best results.
The plugin utilizes a drag-and-drop interface that you can use to rearrange elements and fields. It also has a ton of settings you can configure like forcing users to utilize a strong password or enabling email confirmation.
While this might sound hard to implement, the plugin makes it quite easy, so let’s get right into it.
Note: You must turn on Membership Registration in the WordPress settings as demonstrated in the previous method.
Step 1: Install User Profile Builder
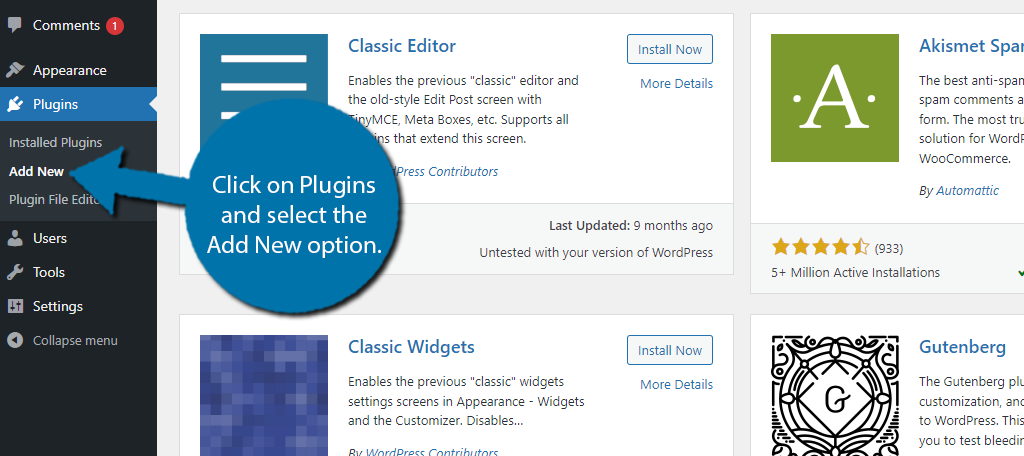
Click on Plugins and select the Add New option on the left-hand admin panel.
Search for User Profile Builder in the available search box. This will pull up additional plugins that you may find helpful.
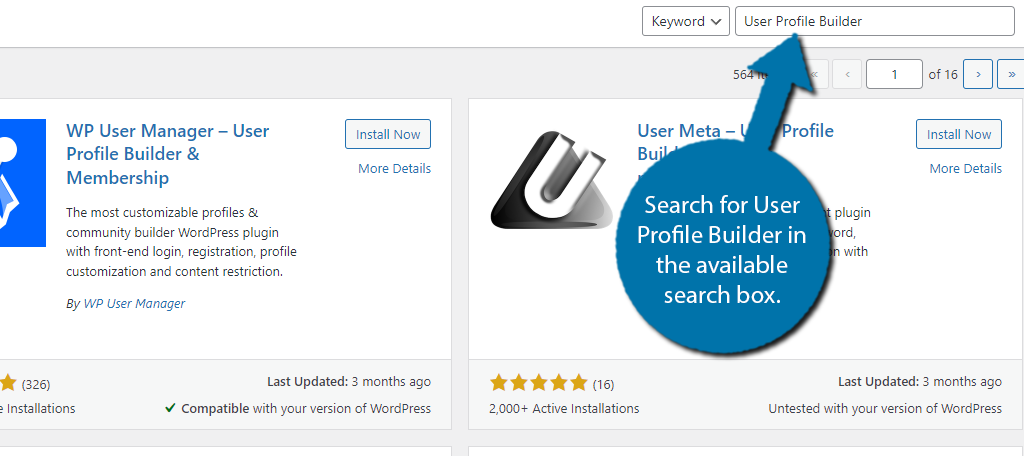
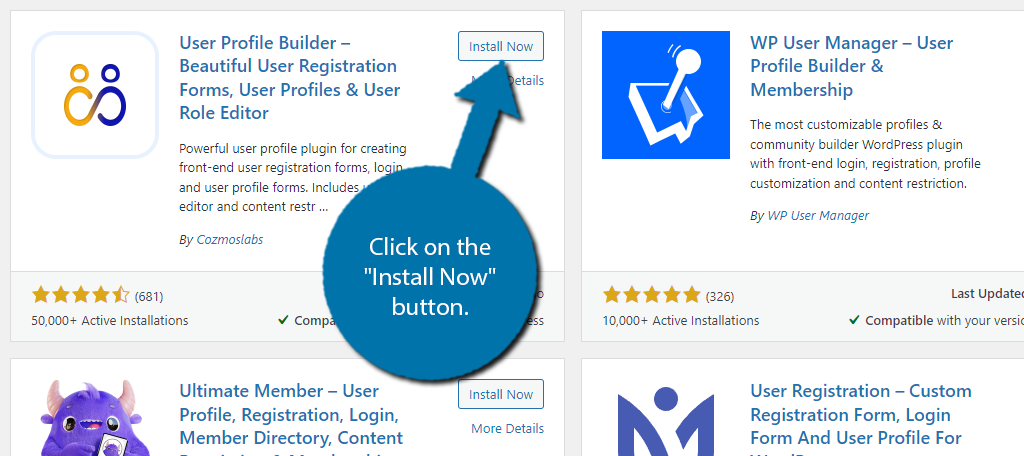
Find the User Profile Builder plugin and click on the “Install Now” button and activate the plugin for use.
Step 2: Setup Wizard
Upon activating the plugin, you will be greeted by the setup wizard. This will help you go through the basic settings and quickly configure them. It doesn’t take very long, so let’s get to it.
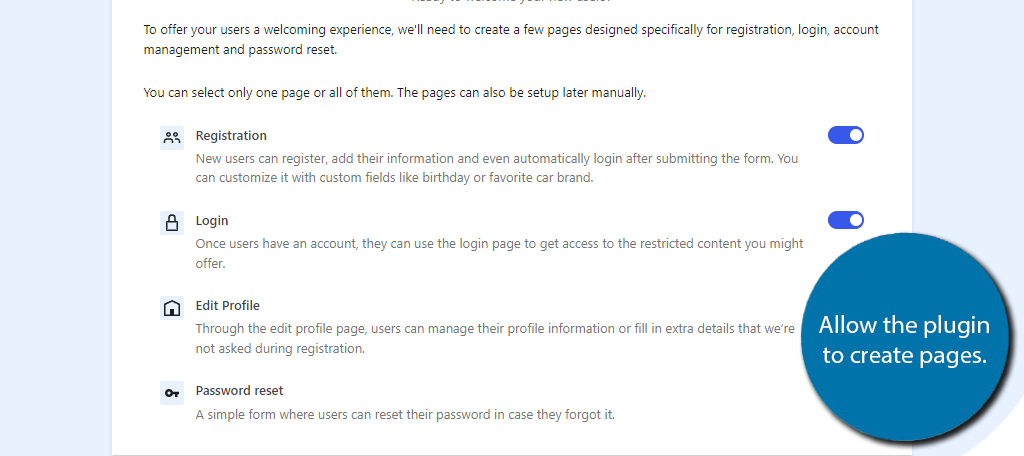
The first option is to allow the plugin to create some standard pages for you. These include Registration, Login, Edit Profile, and Password Reset. The pages themself just consist of a shortcode, so there’s not much to talk about.
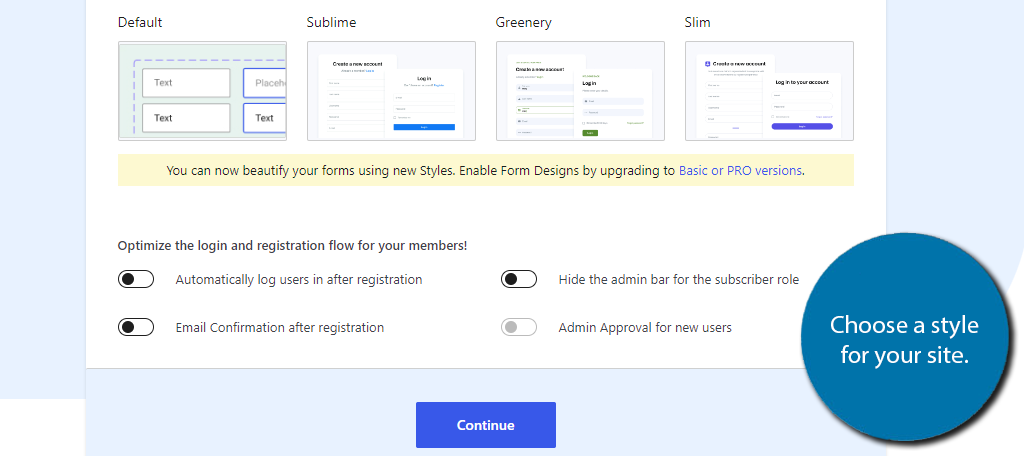
Continue to the next section where you can choose a form style to show or hide some simple options. Pick the options that best match your website’s design.
Up next is the Add-on section. This tutorial will not cover this part, as the add-ons are mostly paid, but can be quite handy. For example, you could install the Multi-step Form add-on to build more robust forms to help simplify the process.
And that’s it. The last part of the setup wizard is just a way to review the changes you made and to sign up for a newsletter (feel free to decline). With that, the initial settings are configured.
Step 3: Customize the Registration Process
Honestly, the default options will work out well for most sites and are a huge step up over the default WordPress options. That said, you should take the time to customize them for the best results.
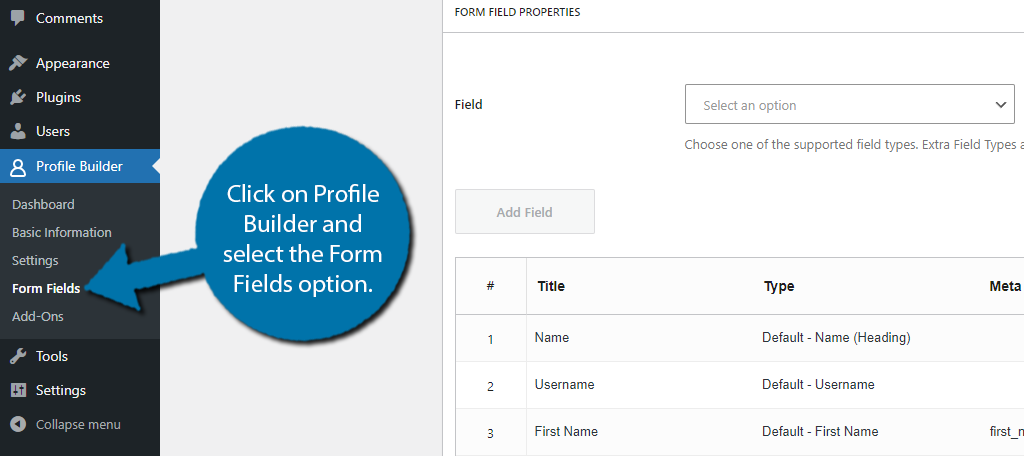
One of the first things to look at is the Registration Form. To do this, click on Profile Builder and select the Form Fields option.
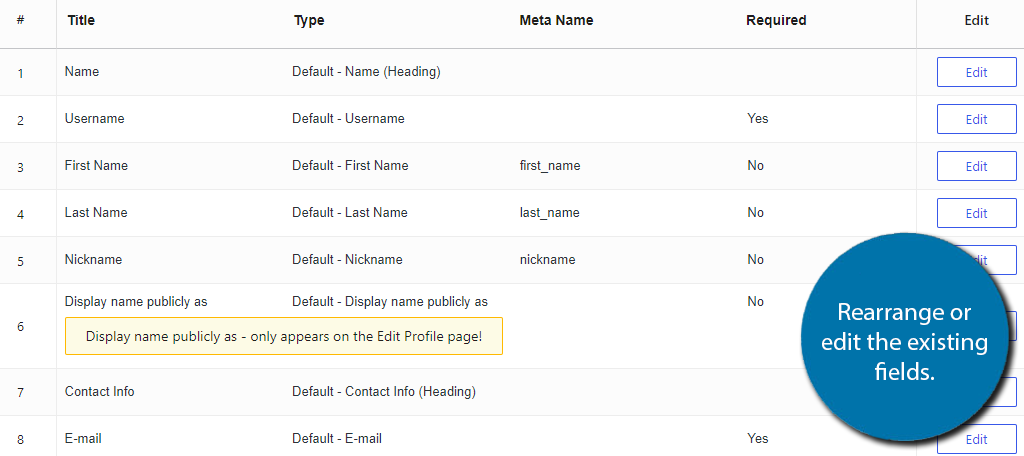
As you can probably already guess, this section is all about choosing what form fields are present during the registration process. First, take a look at the existing fields. This is a drag-and-drop section, so you can rearrange the fields in any order you want.
You can also click on the “Edit” button to make changes to any fields you see fit.
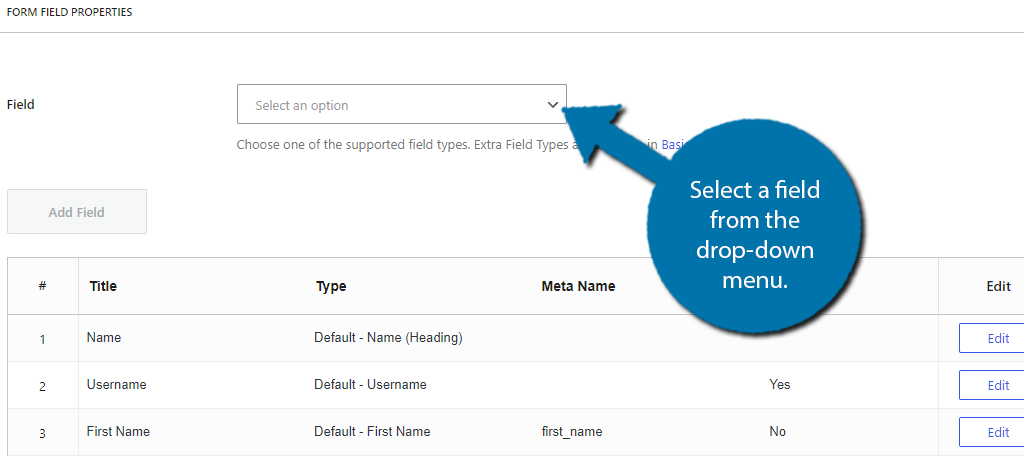
You can also add fields by using the drop-down menu at the top but be aware that many fields are locked behind the Pro version of the plugin. Thus, if they are not selectable, that is the reason why.
Note: Each field settings are slightly different as they are specific to that option.
Since each option is different, I won’t go into too much detail, but one thing every option has in common is selecting whether you want to make it a required field or not. If you choose Yes, then users must fill out that field to register.
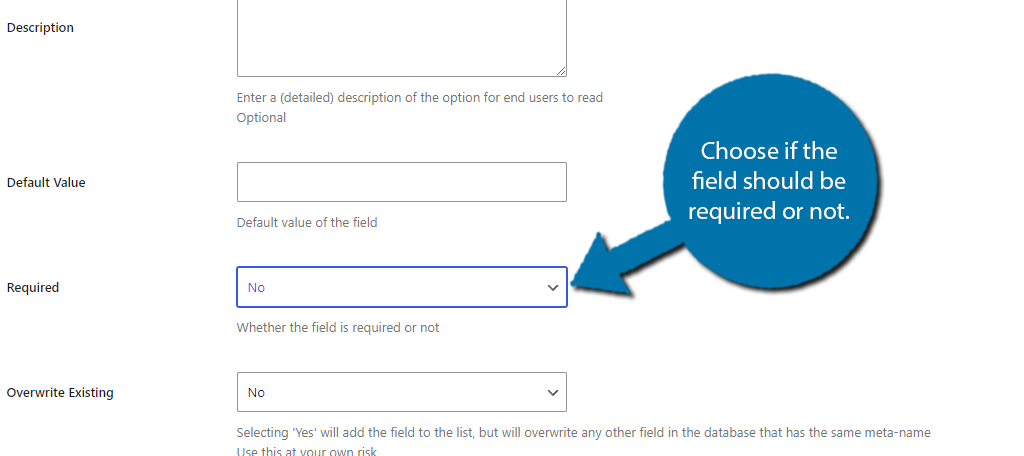
After the field has been configured, click the “Add Field” button. You can then use the drag-and-drop interface to rearrange the order. The changes you make to the registration form will be applied to the page that was created in the setup wizard.
Or if you created the page yourself, wherever that shortcode has been placed.
Step 4: Check Out the Registration Process
All that is left is to go through the process yourself. This is the best way to make sure everything is working as intended.
Of course, be sure that you actually made your registration page accessible. You can do this by adding links to your sidebar or adding it directly to your navigation menu. If users can’t find the page, it won’t do much good.
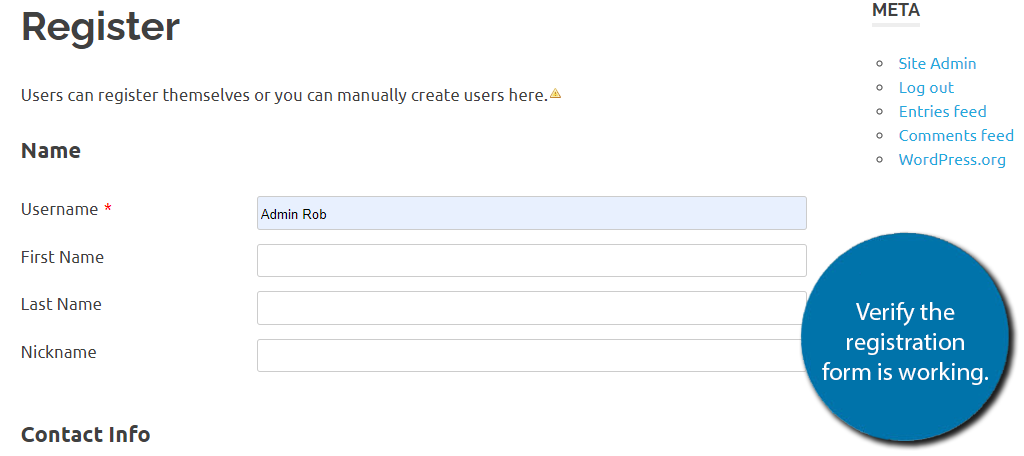
Log out of your WordPress account and visit the registration page. Here you will find the form you created in the previous step, or just the default one if you felt it was good enough already.
Fill out the information to make a new user.
And that’s really all there is to building a front-end registration form in WordPress. Feel free to customize it as much as possible by adding or removing fields, or changing the style you chose.
Customize Your User Registration in WordPress Today
The user registration process in WordPress is quite simple. And with the right plugin, you can make it quite robust and customize the experience to match the rest of your website. This opens the door for you to collect more info and give more tools to users.
Registration is also the first step when creating a membership site, but you should use a dedicated membership plugin in that case.
Do you think WordPress should have more default registration options? Which registration plugin do you use?
Great post. Profile Builder looks very good. Can I have a rule on the website to require the user registration after two clicks?