
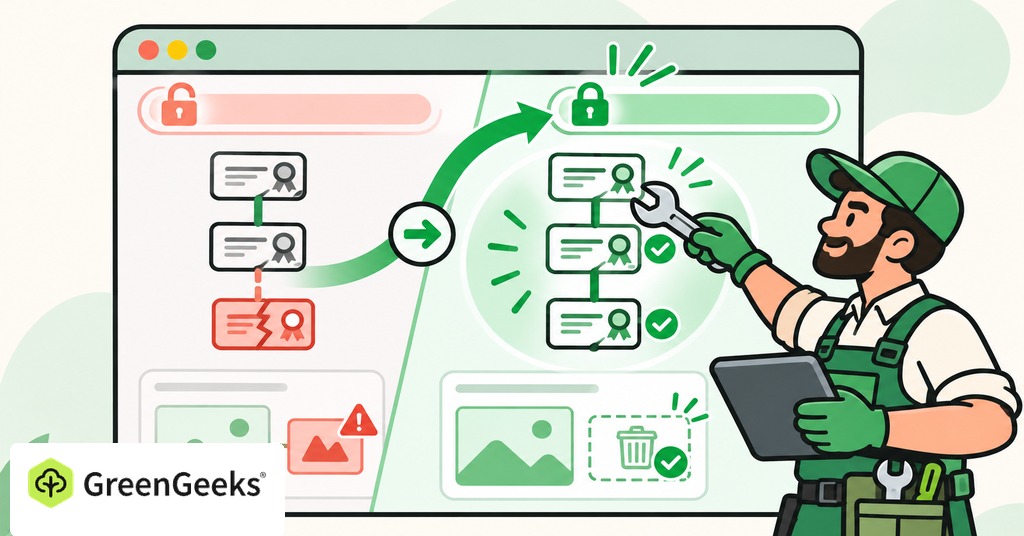
Before you change anything, copy the address of the page showing “Not Secure” and write down the full warning. Those details tell you where to start. An HTTP page needs a different fix from a certificate error that blocks the site entirely.
The usual fix starts with a valid certificate and a redirect that sends visitors to HTTPS. After that, correct any insecure files the page still loads. Buying another certificate before you know which part failed can leave the warning in place.
Check the exact warning first
Open the site and select the icon beside its address. Read what the browser says about the connection. Look for the connection information, since some browsers have changed the padlock icon.

- A page opening over http:// uses an unencrypted connection. It needs working HTTPS and a redirect that sends visitors there.
- A full-page “Your connection is not private” message points to a certificate problem or a local network issue. Copy any error code shown with it.
- A red dangerous-site warning can mean the browser has flagged malware or phishing. A new certificate alone will not resolve that investigation.
The small Not Secure label describes a connection problem and is no sign on its own that someone hacked your website. A working HTTPS connection likewise says nothing about the safety of the files or plugins behind the site.
While you investigate, avoid entering passwords or payment details into an affected page. Keep the original warning available for your host if you need help.
Test HTTPS before changing your site
Type your site’s full address with https:// at the beginning. Try the hostname your visitors normally use, including www if it appears in your published links.
If the page opens without a certificate error, HTTPS may already work. The problem could be that old links still bring visitors to HTTP. You will check the redirect shortly.
If HTTPS fails, leave redirects alone for now. Forcing every visitor onto a broken HTTPS address would make the site harder to reach.
Try both the www and non-www versions. They are separate hostnames, even when they display the same website. Each one needs the right certificate coverage if people can visit it over HTTPS. A redirect happens after the secure connection begins, so redirecting a broken HTTPS hostname does not fix its certificate problem.
Also note if this started after a hosting move or a CDN setup. Your site may now answer from a different server, while the certificate you installed belongs to the old one. Tell support what changed and when.
Fix the certificate for the right domain
Your host’s SSL area should show which domains have certificates and if they are valid. The product may say SSL even though modern HTTPS uses TLS. You do not need to sort out that naming history to fix the site.
Check the expiry date and the hostnames the certificate covers. Then look for installation or validation errors. An expired certificate needs renewal. A certificate for the wrong name needs the correct hostname added or a replacement issued. An incomplete certificate chain needs the host to fix the installation so browsers can verify it.
A free certificate from a trusted authority gives a typical website a valid HTTPS connection, so you don’t need to pay to remove the warning.
GreenGeeks normally manages Let’s Encrypt certificates automatically. To run another check from the GreenGeeks dashboard, follow its current support procedure.
- Click Manage beside your hosting account.
- In Hosting Management, open the Security drop-down menu.
- Select SSL Manager.
- Click Run AutoSSL Check.
Wait for the result and test the HTTPS address again. Running the check does not guarantee that validation will succeed.
The service must be able to verify control of the domain. If the domain’s DNS points to the wrong place, issuance can fail. AutoSSL also does not manage a domain that has been excluded. If validation keeps failing, ask support to look at the cause before you restart the check again. Leave DNS records you don’t recognize in place, since they may run email or other services.
Redirect HTTP visitors to HTTPS
Once HTTPS works, make the HTTP version send visitors to it automatically. Installing a certificate makes HTTPS available. A redirect tells browsers to use it when someone follows an old HTTP link.
Use the method supported by your hosting setup. Your host may handle it in a control panel or at the CDN. Ask for a permanent HTTP-to-HTTPS redirect that keeps the requested page and its query string. A visitor following an old product link should reach the matching page over HTTPS.
If you edit an .htaccess file, save a copy first. Existing WordPress rules and other redirects matter, so have support check the complete file if you are unsure where the new line belongs.
Avoid switching on several overlapping redirect options while troubleshooting. A server rule and a CDN can disagree about where the request should go.
Cloudflare’s Flexible mode is a documented example. It connects to the origin server over HTTP. If that server keeps redirecting the request to HTTPS, the result can be a redirect loop. Ask the person managing the CDN to align its encryption mode with the origin certificate. Full (strict) validates that certificate. Weakening validation to hide an error leaves the underlying problem unresolved.
After each change, try the original HTTP address again and watch where it ends up.
Find HTTP files on secure pages
A page can use HTTPS while requesting an image or script over HTTP. This is mixed content. Modern browsers upgrade some insecure requests and block others, so symptoms vary, from a broken feature to a console warning, and the address-bar label can differ between devices.
Open your browser’s developer tools to the Console, then reload the affected page. Look for messages about mixed content. They usually identify the resource URL that needs attention.
For files you control, confirm that the HTTPS version works, then update the reference where it is stored. That could be a page, theme setting, stylesheet, or plugin configuration. If a third-party service cannot provide its resource securely, replace or remove that file.
On WordPress, check the site’s configured addresses and stored HTTP references. Correct the stored URLs with a search-and-replace tool, or use a plugin that rewrites them, which adds a little work to each page load. Back up the database before making replacements, and use a WordPress-aware method that handles stored data correctly. Ask support or your developer for help if you are unfamiliar with the process.
Purge the relevant site and CDN caches after the correction. Then reload the page and check the console again.
Why the warning may affect one device
If the site loads elsewhere but fails on one phone or computer, check its date and time and update its browser. Then compare the exact address in a fresh private window. A local network or security tool can also affect the connection. Try mobile data as a separate check. Never turn off certificate checks or install an unknown one to make the warning disappear.
Confirm the fix and prevent a repeat
Test the homepage and an older inner page. Submit the forms visitors use too. Try the HTTP and HTTPS versions of both hostnames, including a page address after the domain. Check that redirects finish at the intended secure page without loops.
Use a fresh browser session and ask someone on another connection to repeat the checks. Keep automatic certificate renewal enabled and make sure expiry notices reach an address someone reads. Recheck HTTPS after changing hosts, DNS, CDN settings, or the main domain.
If a problem remains, send support the exact URL, warning text, error code, affected browser, and the changes you made. Mention if another device or network shows the problem too. That gives the person helping you something specific to investigate.
