The most common form of hacking attempt is a brute force attack, which just tries to login with a different password until it works. This will cause the account to lock after too many failures. You will then need to unlock WordPress accounts.
Of course, this won’t happen by default. Instead, you will need to install a plugin that will monitor the number of login attempts and lock accounts when it exceeds that threshold. The same tool will also be used to unlock accounts.
While this may sound complicated it really boils down to entering the number of login attempts each account gets and clicking a button to unlock them. As such, no matter your skill level, you should be able to use this tool.
Today, I will demonstrate how to use the Login Lockdown plugin to limit and unlock WordPress accounts.
What Are Brute Force Attacks?
Brute force attacks remain the most common forms of attack websites face because of their simplicity. In the simplest examples, a hacker will program a bot to continuously attempt to log into an account.
This is usually after they obtain the email address from other means. The bot will then continuously attempt to log in and change the password every attempt. If left unchecked, it will eventually guess the correct login information.
How long that takes depends entirely on the strength of the password, as longer more complex passwords take much longer to guess.
However, due to how common these attacks are, several safeguards exist that can prevent them. The most common, due to its simplicity, is to limit the number of login attempts. Doing so prevents the bot from continuously guessing, which shuts down the attack.
The number of attempts is set by the site, but the general rule of thumb is to give every account three tries to get in.
After that, the account is locked or the IP address of the attempt is blocked entirely.
How to Unlock WordPress Accounts with Login Lockdown
The Login Lockdown plugin was built specifically to improve account security by limiting the amount of login attempts each user gets. Naturally, it also has a way to unlock those accounts in the event they exceed the login attempts.
This is a rather simple plugin that allows you to customize the number of login attempts, set an automatic account unlock, and also has a manual override in cases, where the user really needs to log in.
Step 1: Install Login Lockdown
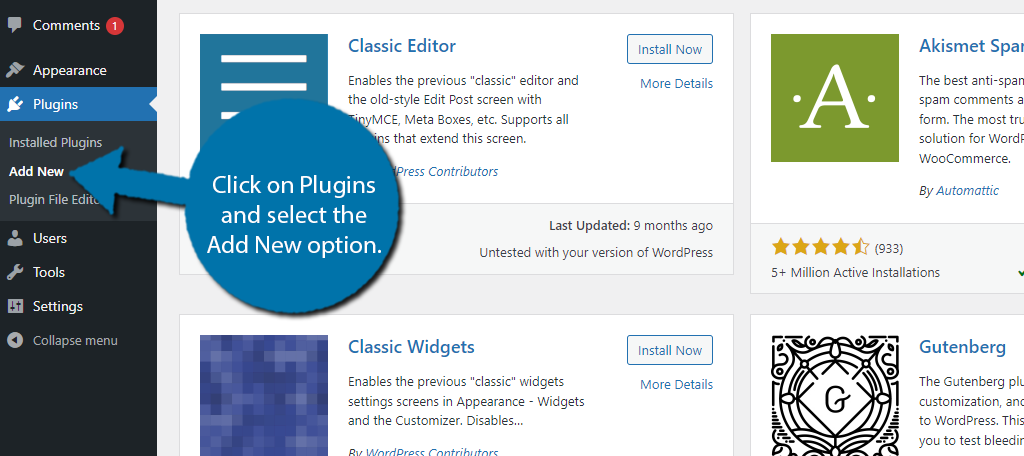
Let’s start by clicking on Plugins and selecting the Add New option on the left-hand admin panel.
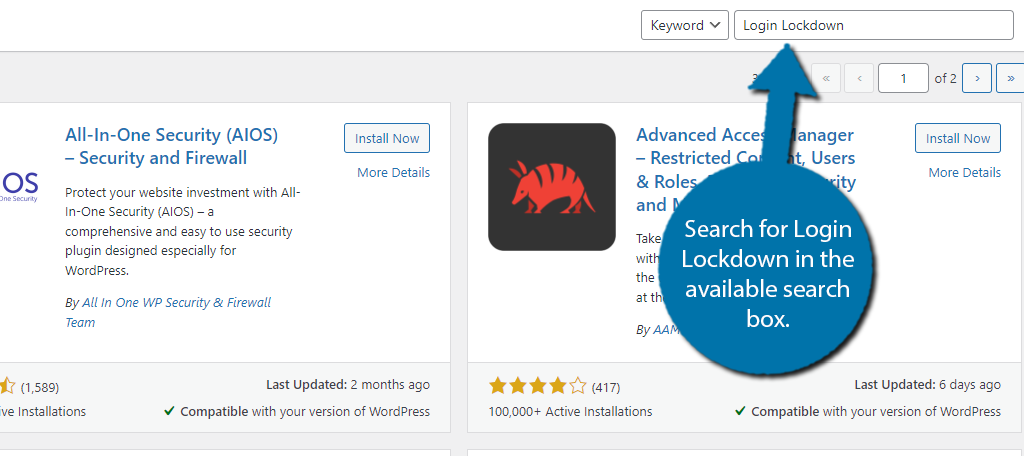
Search for Login Lockdown in the available search box. This will pull up additional plugins that you may find helpful.
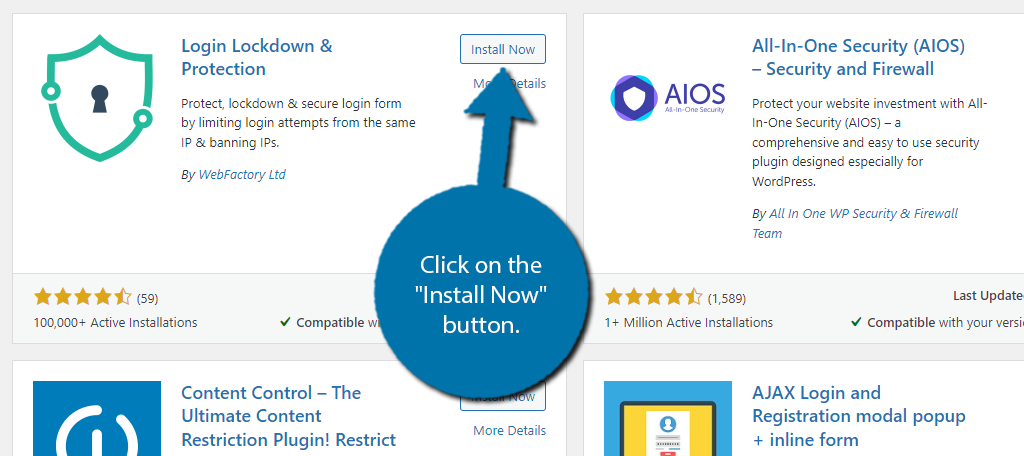
Scroll down until you find the Login Lockdown plugin and click on the “Install Now” button and activate the plugin for use.
Step 2: Customize Login Lockdown
The plugin’s default options will secure your login area, but you can customize them to give your users more attempts, as real users do sometimes forget their login details and trigger the account lock, thus giving them a few more attempts is smart.
Of course, there are a lot of other options you can configure that this plugin provides.
For example, you can block certain countries from accessing your website. Unfortunately, this is only available in the Pro version, but the option exists.
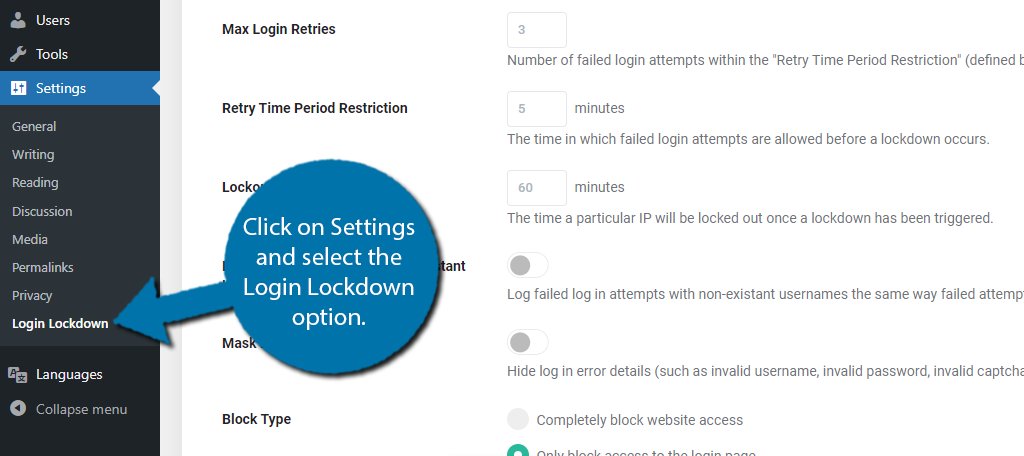
To find the plugin’s settings, click on Settings and select the Login Lockdown option.
There are several tabs, but for the most part, you can ignore them because many have options exclusive to the Pro version. Instead, let’s focus on what we can do with the free version.
On the Login Protection tab, we can customize how the login lockdown behaves. This includes the number of login attempts, how close together the attempts need to be, and the length of the lockdown.
Simply enter the appropriate values into the respective boxes.
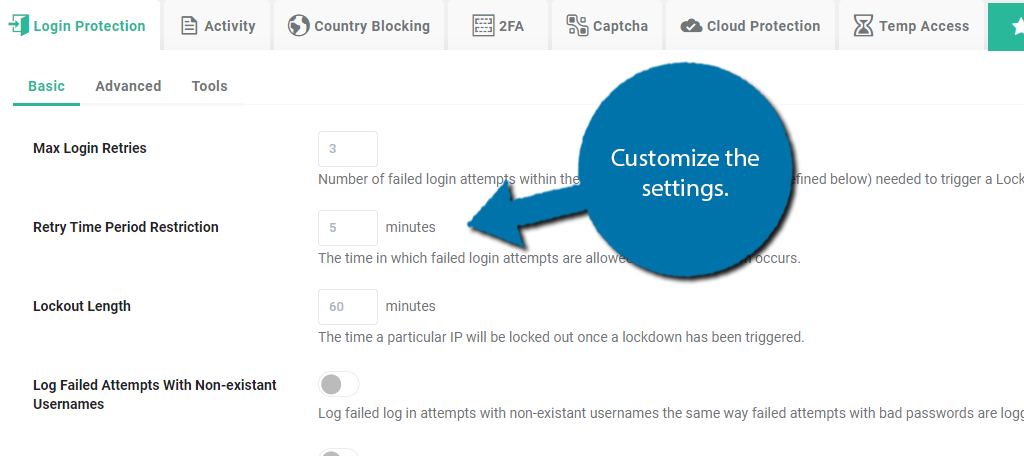
There are some other options here like hiding the login error message (invalid username, invalid password, etc.), if the user should be blocked from just the login area or the entire site, what the block messages say, and a box to enter any whitelisted IP addresses.
For example, you can enter your own IP address, so it never locks your account. However, I do not recommend doing this as it is possible to spoof an IP address, thus circumventing the security measures.
Be sure to save the changes you make.
Step 3: Unlock WordPress Accounts
So, in the event a user gets locked out, there are two ways to unlock the account. The first is for the user to wait the allotted amount of time. By default, the value is 60 minutes, but you can change that to whatever you want.
In some cases, you may want to unlock the account sooner. In this case, the user must contact the site administrator so they can unlock the account manually. Many sites choose to not give this option to the user because it creates more work.
Remember, if the timer was for 60 minutes, the user would be expecting a very quick response. This option is suited more for sites with established support lines with staff standing by to help, like a web hosting company.
In any case, to unlock the account manually, click on the Activity tab.
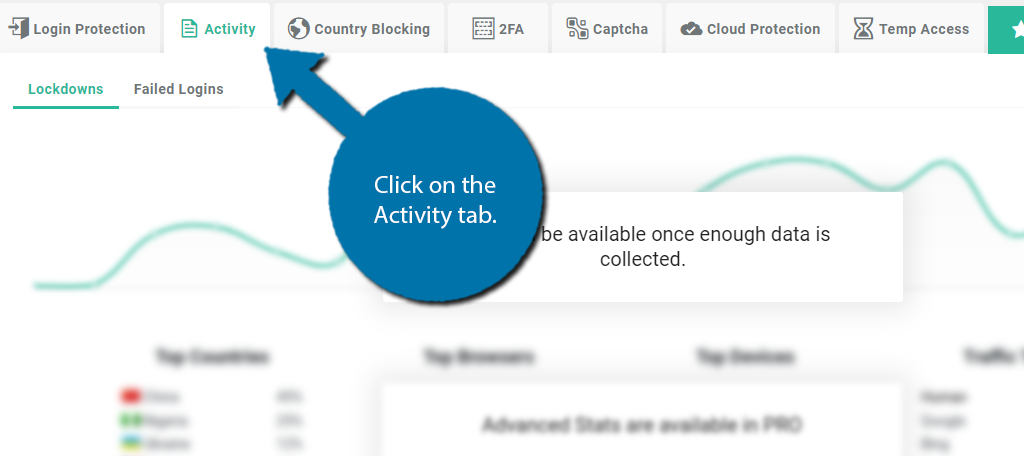
There will be a stats section at the top of this page. However, when you first install the plugin, it will be blurred out as the plugin needs time to compile stats, thus it may take several hours to propagate, or days depending on your site’s activity.
Below this will be the lockdown log. It will show you a list of all lockdowns that have been triggered on your account. Some information is locked behind the Pro version. For example, you can see the country they attempted to log in from with the Pro version.
If the user is still locked out, there will be an option to unlock the account in WordPress for them. Again, in most cases, users will just wait out the lockdown, as it is just easier that way.
Avoid Being Overly Strict
Website security is one of the biggest concerns of any site today, however, ensuring that your security measures do not negatively impact your users is just as important. Naturally, getting locked out of your account can be very frustrating.
As a result, you should be somewhat generous with your account lockout conditions.
For example, there is not much of a difference between three login attempts and five, but it can make a world of difference for some users. You may also want to limit how long a lockdown occurs. Being locked out for an extended period can be problematic.
For instance, if you ran an online store and a user was in a rush to sign in and make a purchase, if their account was locked, they would probably try a different site. While being secure is important, it can easily impact your users.
Be sure to always listen to feedback and ensure there is a balance between site security and the user experience.
Keep Your Website Secure
As you can see it is quite easy to protect your site from brute force attacks by limiting the number of login attempts. And in the case of when you need to lift that lockdown, it is equally as easy.
It is worth mentioning that most all-in-one security plugins offer similar functionality as it is the most common form of attack. As such, if you already have a comprehensive security plugin like Wordfence, you should be good to go.
I hope you found this tutorial helpful for learning how to unlock locked accounts in WordPress.
How many login attempts do you give users? Do you use a different plugin to lock accounts?


Do you mind if I quote a few of your posts as long as I provide credit and sources back to your webpage? My website is in the exact same niche as yours and my users would definitely benefit from some of the information you provide here. Please let me know if this okay with you. Thank you!
Appreciating the time and energy you put into your website and detailed information you offer. It’s nice to come across a blog every once in a while that isn’t the same unwanted rehashed information. Fantastic read! I’ve saved your site and I’m including your RSS feeds to my Google account.