It seems like job listings can be found on just about every website out there today. Companies are always hiring, and what better way to show available employment vacancies than showing them right on your own website? Luckily, there is an easy way to build an available jobs page by using the WP Job Openings plugin.
If you have a WordPress website and you want to post available jobs, then the job posting app we are going to talk about today will be right up your alley. This allows you to keep all your employment vacancies directly on your website, even if you do post them in other places.
Why You Should Have an Employment Vacancies Page
There are actually a couple of reasons behind this thinking. First off, you want your site users to be able to view the employment opportunities your company has directly on your website. This keeps them on the site and gets them to interact with the listings and other content that may be available.
That being said, many WordPress jobs listed on-site are also simply listed as part of a growing employment listings page that you may be trying to grow and use to bring extra traffic to your site.
Whatever the reason may be, there is no need to try and build out a jobs page using code and an editor. In this article, I am going to show you how you can list available jobs using a smooth and easy-to-use plugin.
Let’s take a look at this tool and see what all it has to offer.
WP Job Openings
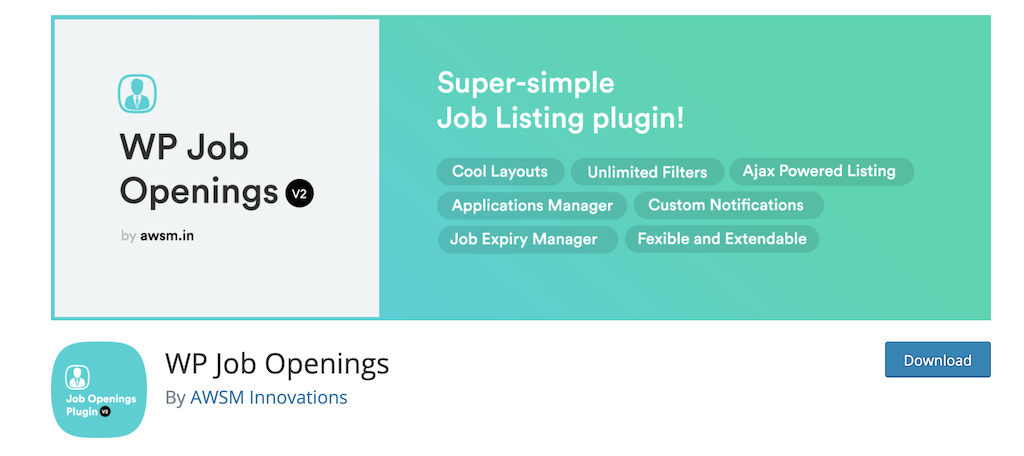
WP Job Openings is a simple, straightforward, yet powerful plugin that allows users to easily build a job listing page for their website. It can be used to drive traffic to your website or used to create in-house job opportunities that users can explore.
Once the plugin is on your site and running, you will have the opportunity to create one of two layout styles: Grid or List. Both are designed to be easy to view, mobile-friendly, and totally customizable.
As a matter of fact, the customize area is where this WordPress employment application plugin really shines. There are actually a ton of great features that are built into the plugin. Some of the highlights include:
- Easy to Setup and Use
- Modern Layout Styles
- Clean Design and Functionality
- Unlimited Job Specs
- Unlimited Filtering Options
- Search Functionality
- AJAX Powered Job Listing and Filtering
- Default Form for Application Submission
- Email Notifications
- Application Listings
- Structured for SEO
- WPML Support
- Developer Friendly
- Works With All Top Plugins and Themes
If you want an easy way to create a job listing page and have access to all the tools needed to do it, then this is the plugin for you. Let’s get it installed and running on your site.
Note: There is a pro version of this plugin available. It provides some extra features and options that may be of interest to you. Feel free to give it a look. The tutorial below is based on the free version of the plugin.
Add an Available Jobs Page to Your Site
Step 1: Install and Activate the Plugin
Before you can add a list or grid of employment vacancies on your website, you first need to install and activate the WP Job Openings plugin. You can do this by clicking over to the Plugins page in the WordPress admin dashboard.
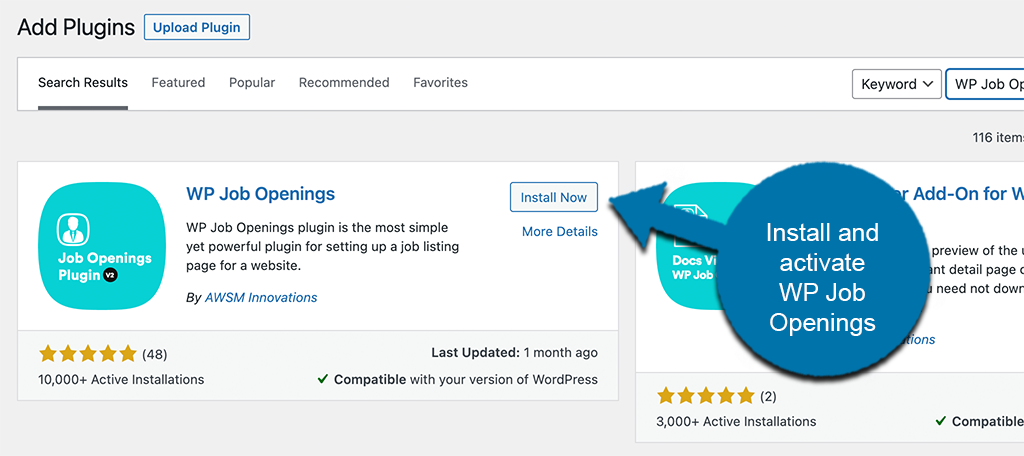
You can see that there is an available search field on the top right of the page. Simply search the plugin by name using the field. Once you see it pop up, install and activate it right from there.
Step 2: Go to the Settings Page
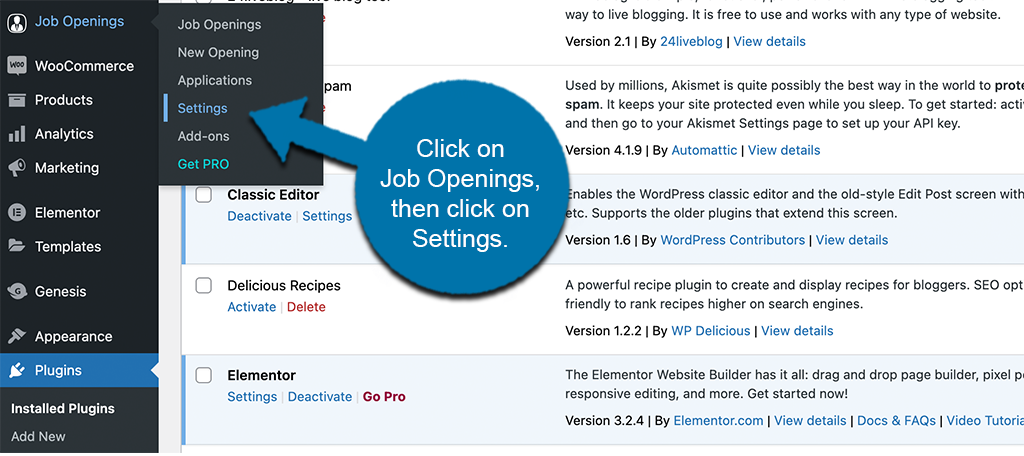
After you have installed and activated the plugin, you want to head on over to the main settings page. This is where you can configure all the available options to your liking.
To get there, click on Job Openings > Settings, located on the left side menu area of the dashboard.
Step 3: Configure the WP Job Openings Settings
At this point, you have made it to the main settings page for the plugin. You will see five main tabs that are available to go through and configure. These include:
- General
- Appearance
- Job Specifications
- Form
- Notifications
Let’s go through them together real quick.
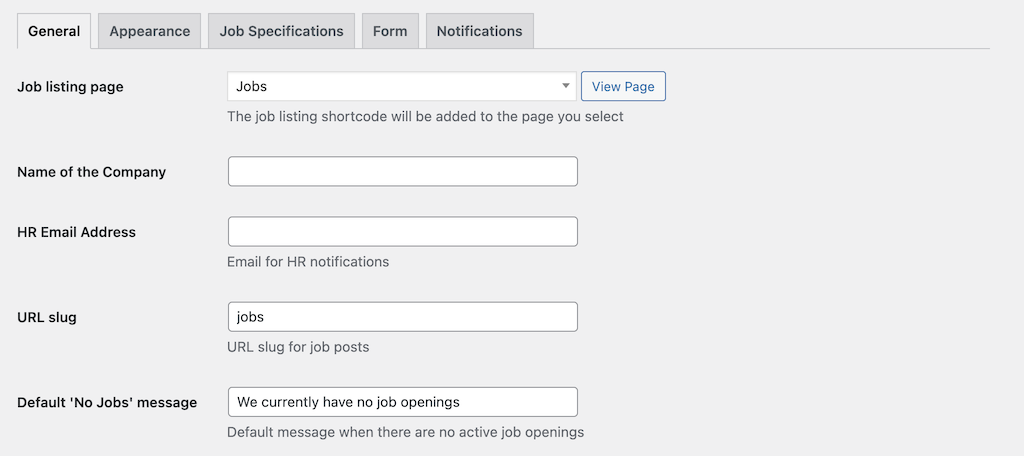
General
The “General” tab will have all the common configurations for the plugin. Go ahead and scroll through them all and make selections and choices based on how you want the job posts and page to display and perform on your site.
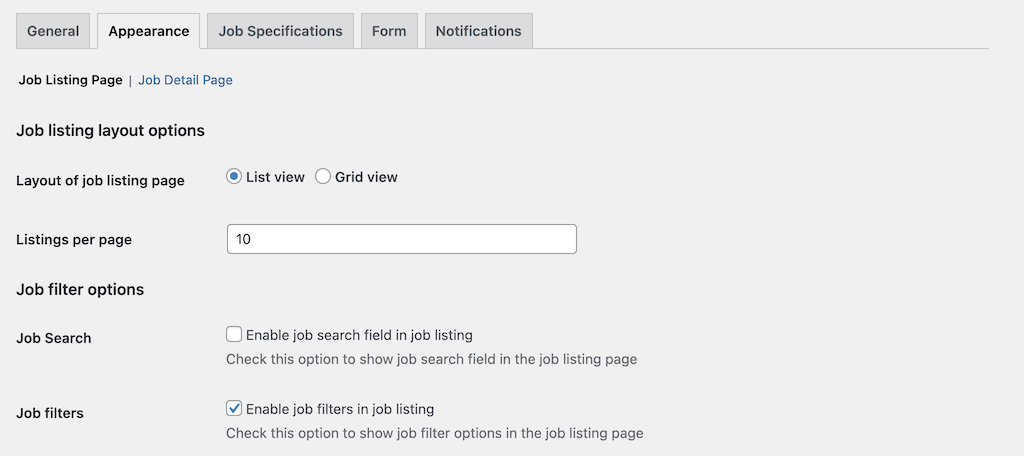
Appearance
Configure the appearance of both the job listing page and the job detail page from under this tab. There are several options and filters available, so make sure you go through all of them.
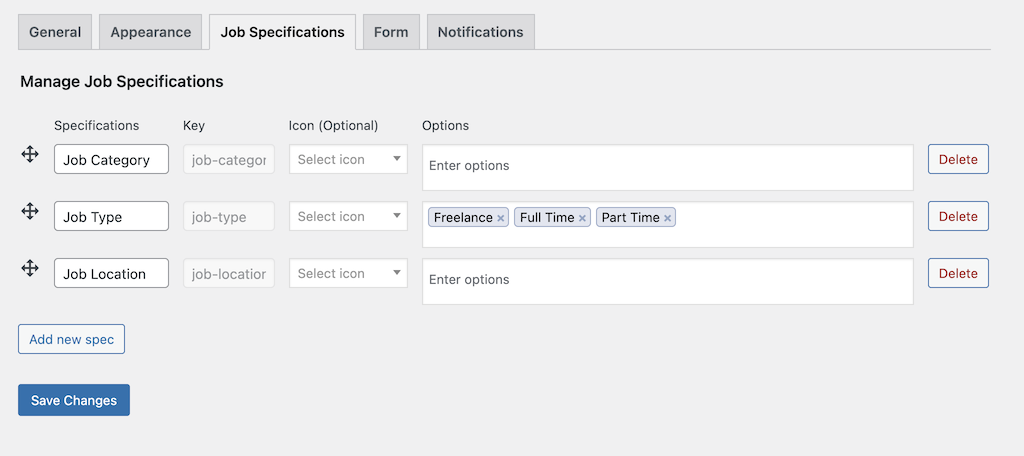
Job Specifications
You can add and subtract job specs from here. You can include as many different specs as you want to be made available so have fun with it.
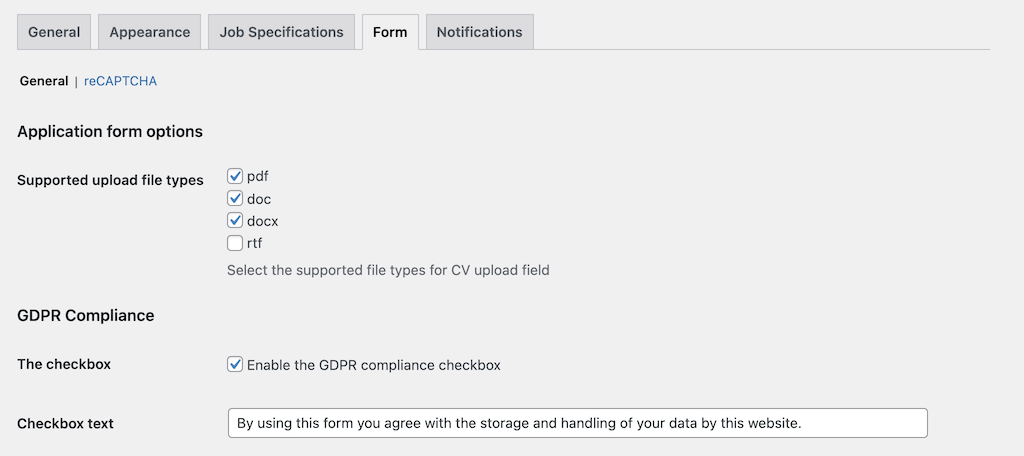
Form
These configurations apply to the built-in form that comes with the plugin. Make your selections based on how you want that form to act.
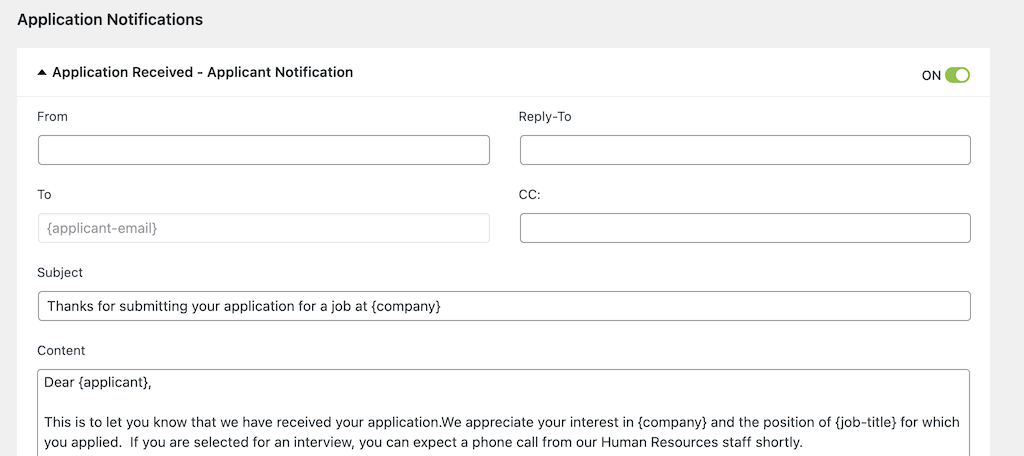
Notifications
This tab provides the settings for the built-in notification email that is sent when an applicant applies for one of the jobs listed on your site. Lay this out and add appropriate content.
Click the “Save” button when you are done making configurations and you are good to go.
Step 4: Add a New Job Opening
Now that all the proper configurations have been made, you are ready to add a new job opening to your employment page.
Click on the “New Opening” tab link on the left side menu. It is housed under the main Job Openings tab.
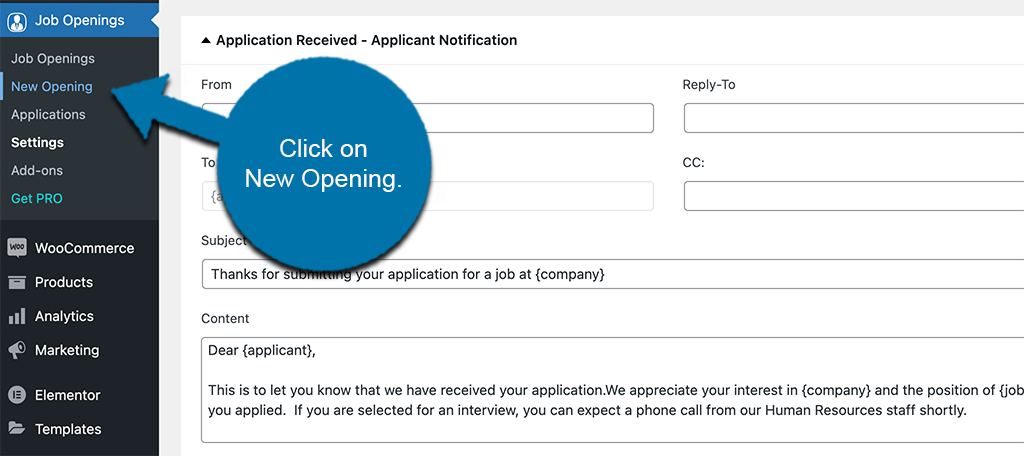
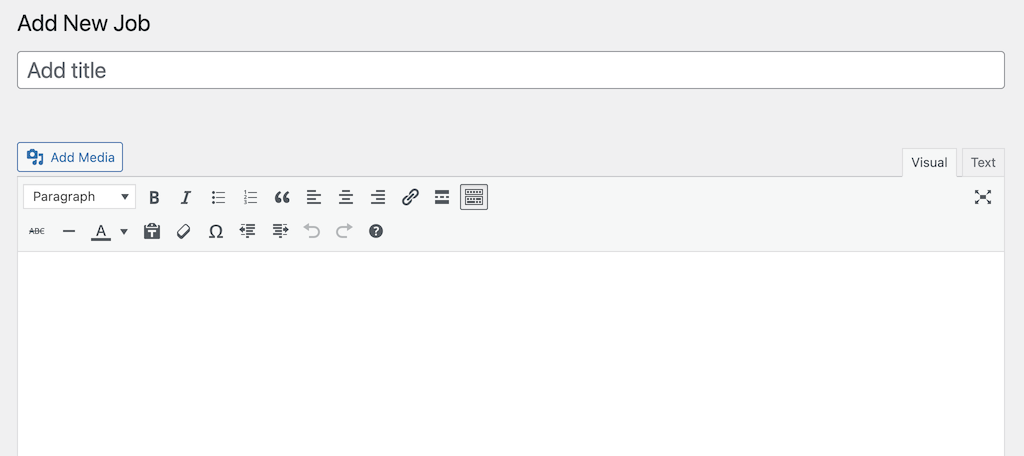
This opens up the job editor, and you can add the appropriate information needed for your first listing.
Go ahead and add a title and as much information about the job as you want.
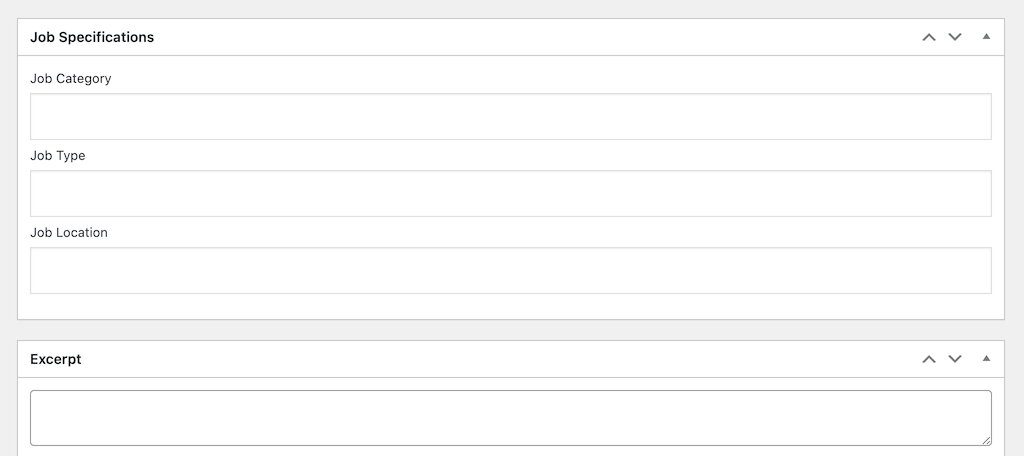
Now, scroll down some and add all the relevant job specs needed for this particular listing. You can even add an excerpt if you want.
Finally, look to the right of the editor. You will see a box that allows you to add an expiration date for the job. If you want to add this, then go ahead.
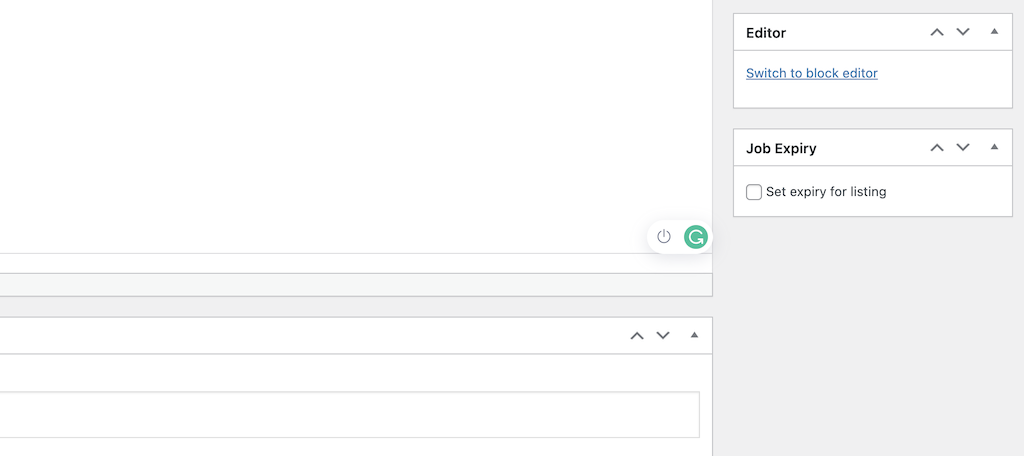
Click on the publish button to publish the job. It will automatically appear properly on the jobs page according to all the configurations you made from the main settings page.
Step 5: View Your Live Jobs Page
You can now go to the live jobs page and view how it all looks.
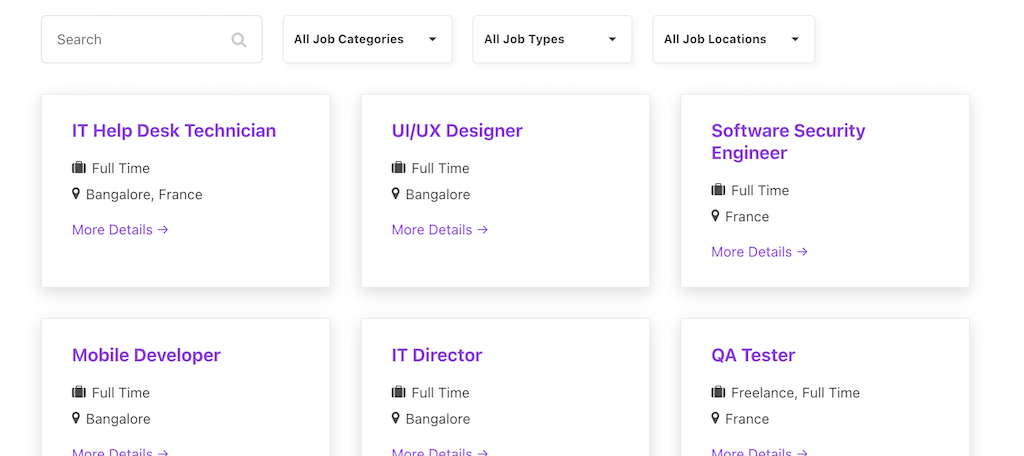
Remember, your board will appear differently based on the settings you chose. You also need to add multiple jobs to get the page to really fill out over time.
That’s it! You can continue to add as many open jobs as you want. If you need to make adjustments, then go back to the settings page and change whatever you need to.
Viewing All Applications
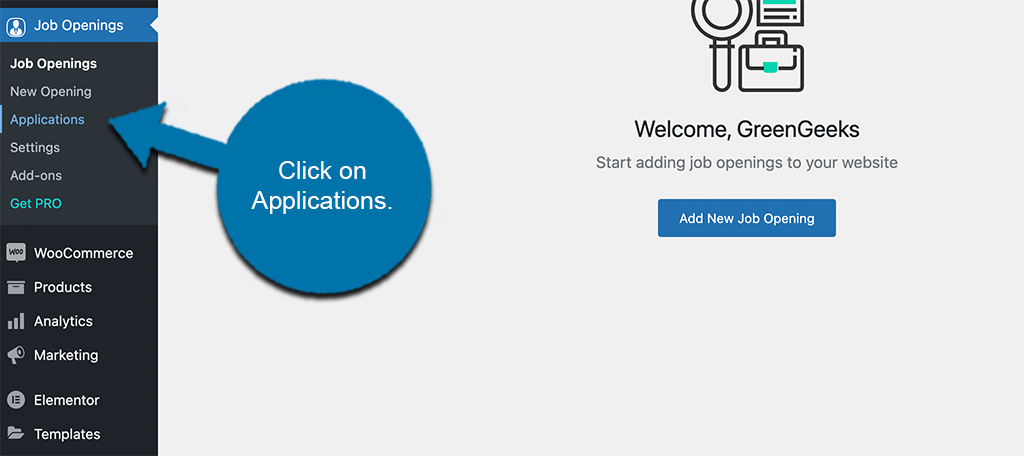
The plugin automatically houses all the applications that are submitted to all available open jobs. This means that you can view them at any time and have all that information available whenever you are going over applicants.
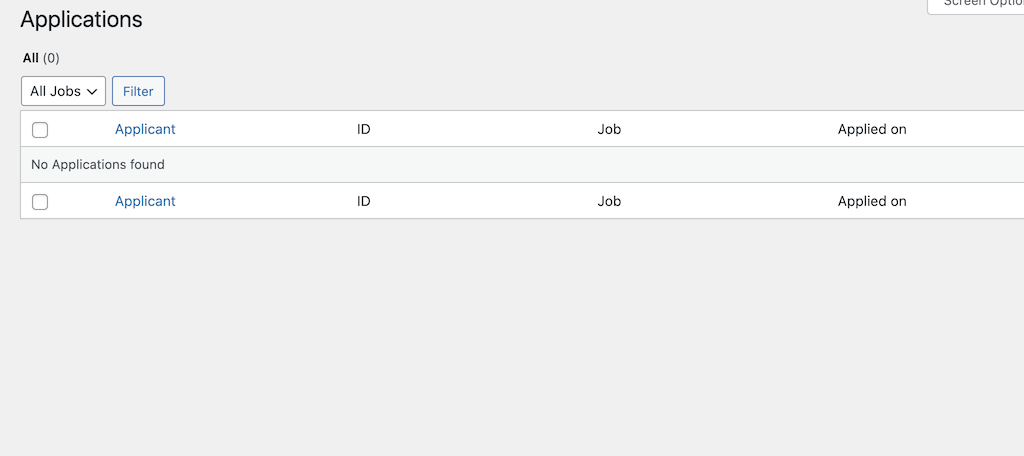
Simply click on the “Applications” tab to get there.
You will see all applicants listed here once they start coming in.
Final Thoughts
Having a jobs page on your website is a good idea because you can highlight available positions and opportunities at your company. You can also use it to help bring more traffic to your website, as people will visit just to look at available jobs.
I hope this tutorial was able to show you how easy it is to add employment vacancies to your site. The WP Jobs Opening plugin makes it extremely easy.
Have you been trying to build a jobs page manually? How long does it take you to create your job listings?