
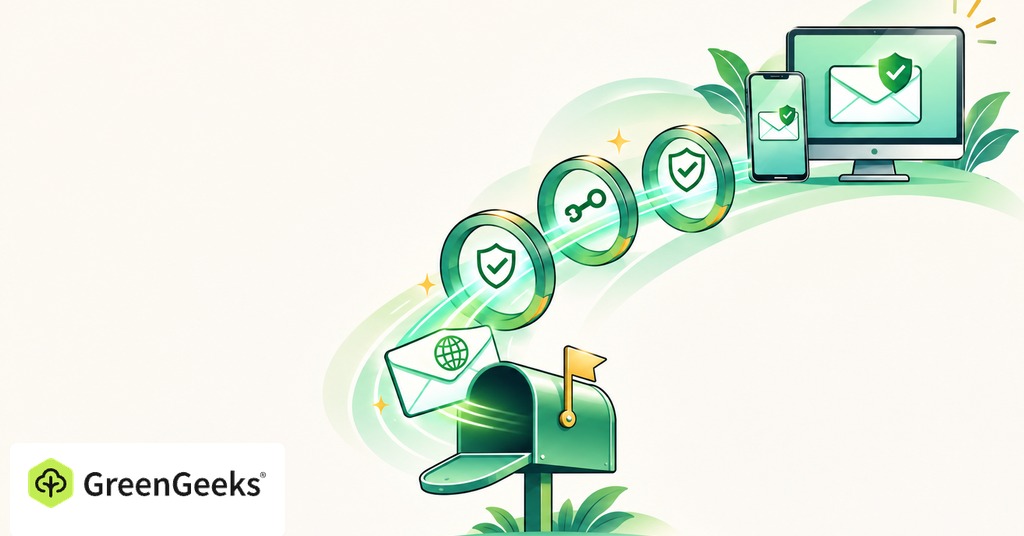
To use an address at your own domain, you need control of that name, a service that hosts the mailbox, and the right mail settings. Buying the domain gives you the name after the @ sign.
You can use the same domain for your website and email, even when different companies host them. You can also set up domain email before you have a website. Either way, connect the mailbox service without disturbing anything that already works.
Check your domain and existing email first
Sign in to the account that manages your domain’s DNS records. These records tell other systems where to find services such as your website and email. Your registrar may manage them, or you may use a separate DNS provider.

Before changing anything, save a copy of the current records. Check if the domain already receives email, including addresses that forward messages to another inbox. Ask anyone who manages the website if its forms send mail from the domain, too.
If you already have working mail, plan the move before changing its routing. List every address you need to keep, including role addresses for sales, billing, or support. Create those recipients with the new service first.
Check where old messages are stored. Some may be on the old mail server. Others may exist only in a desktop mail app, especially if it has been downloading messages and removing them from the server. Those local messages need their own export or backup. Keep the old service active while you set up and test the new one. Changing mail records redirects new deliveries, and old messages, contacts, and calendars need a separate migration.
For a new domain with no existing mail, you can move straight to choosing your addresses and creating the accounts.
Choose mailboxes and aliases
Give each person who needs a separate login their own mailbox. Choose a simple address format that you can keep using as the business grows. A first name may work for a solo business, and surnames help once two people on the team share one.
A role address such as billing@ lets customers reach a function without tying it to a particular employee.
An alias gives an existing mailbox another address. It can be useful when one person handles both their own messages and general inquiries. Unlike a mailbox, an alias usually has no separate sign-in or inbox. If several people need to answer the same messages, check if the service offers a shared mailbox, group, or delegated access. Avoid giving everyone one password. You need a way to know who has access and remove it when someone leaves.
Also check storage and any sending limits before you commit. Day-to-day correspondence and a newsletter can have different requirements, and a mailbox included with web hosting may limit bulk sending.
Create your email account
Your email host will give you its own setup process. It may ask you to prove you control the domain by adding a verification record. Follow the values and labels it supplies for your account.
For a domain in your GreenGeeks account, you can create a mailbox from the Account Manager.
- Log in to your GreenGeeks account.
- Find the domain and click Manage beside it.
- Click Email in the left-hand panel, then Accounts.
- Under Create an Email Account, enter the new address and its password.
- For help connecting a mail app, tick the option that sends setup instructions by email.
- Click Create Account.
If the account includes several domains, check the dropdown before creating the address.
Use a unique password and save it in a password manager. Protect the account you use to administer email, too. Someone who can reset mailbox passwords may be able to gain access without knowing the current one. Creating the account gives the service a recipient for your messages. Mail reaches it only once the domain’s MX records point there.
Point new mail to the right host
MX records tell other mail servers where to deliver messages addressed to your domain. Your email provider supplies the correct destination values and priorities. Copy them from its current setup instructions.
Make the changes where your domain’s DNS is managed. Editing a record in a dashboard that isn’t serving your domain won’t change what other mail systems see. If the provider says to replace the existing MX records, remove the old routing as directed. Keeping unrelated old and new records together can send mail somewhere you didn’t intend. Don’t treat a second provider as an automatic backup destination.
You generally don’t need to move the website or change its web records to set up email elsewhere. Change only the mail records, and leave the rest in place.
Allow time for the updated records to be recognized. The delay depends partly on the record’s TTL, which sets how long other systems keep the previous answer. Check progress with the provider’s verification tools, since no fixed number of hours applies to every change.
While a move is in progress, check both old and new inboxes. Some mail can keep reaching the old service while senders use cached routing information. Confirm the migration is complete before ending that service.
Set up SPF, DKIM, and DMARC
Incoming mail can work while outgoing messages fail authentication. Three settings help receiving systems check that mail using your domain is legitimate.
SPF lists the services allowed to send for the domain, and DKIM adds a cryptographic signature to each outgoing message. DMARC builds on both, confirming that the authenticated domain matches the address readers see and telling receivers what to do with messages that fail.
Use your provider’s instructions for each record. The names, values, and activation steps depend on the sending service. Publishing a DKIM record may be only part of the job if the provider also requires you to turn on signing. Keep one SPF policy for the domain. If you already have one and add a legitimate sending service, update the policy as instructed. Adding a second SPF record can cause authentication errors.
Remember the other services that send as your business. A newsletter tool or website form may need its own authentication setup. Don’t remove its settings because your personal mailbox works.
Introduce DMARC carefully. A monitoring policy such as p=none lets you gather reports without asking receivers to reject or quarantine anything. Review legitimate sending sources before tightening it to p=quarantine or p=reject. Your mail provider or administrator can help interpret those reports.
Authentication lets receiving systems verify your mail, and inbox placement also depends on message content, sending reputation, and the recipient’s filtering.
Connect your phone or mail app
Start by signing in through webmail. If the mailbox works there, you have a useful reference point before adding another app and its settings.
For a GreenGeeks mailbox, open the three dots beside the account and select Mail Configuration. That screen supplies the username, incoming server and IMAP port, and outgoing server and SMTP port. The password isn’t displayed.
Use those settings when adding the account to your phone or desktop app. Follow the provider’s secure connection settings, and enter the full username it specifies. Don’t guess the server name from your website’s address.
IMAP is useful when you read mail on several devices because messages and actions stay synchronized with the server. A message deleted on your phone can also disappear from webmail, so don’t treat synchronization as a separate backup.
If you can receive but can’t send, review the outgoing server settings and authentication. If the app fails while webmail works, compare its configuration with the provider’s screen before changing DNS records again.
Test the address before you switch fully
Send a message from the new mailbox to an address outside your domain, then reply to it. Check the visible sender address, the reply destination, and the inbox receiving the answer. Try the same exchange from the phone or app you’ll use. If you have aliases, test those separately.
For an existing business, test website forms and other legitimate senders as well. Check authentication results with your provider if messages are rejected or go to spam. Once those tests work, confirm the old mail you need is accessible. Update your contact details too, since people who send you important messages may keep using the old address until they hear about the new one.