
Your next purchase is usually web hosting that supports the site you plan to publish. The registrar continues to control renewal and transfer of the domain name.
Registration controls the name. Hosting stores and serves the website.
DNS connects the name to web hosting and any email service. You may buy those services from one company or keep them with several providers.

Choose the host first. Change DNS only after the host has accepted the domain and you have recorded the current zone.
Keep the Domain at the Registrar
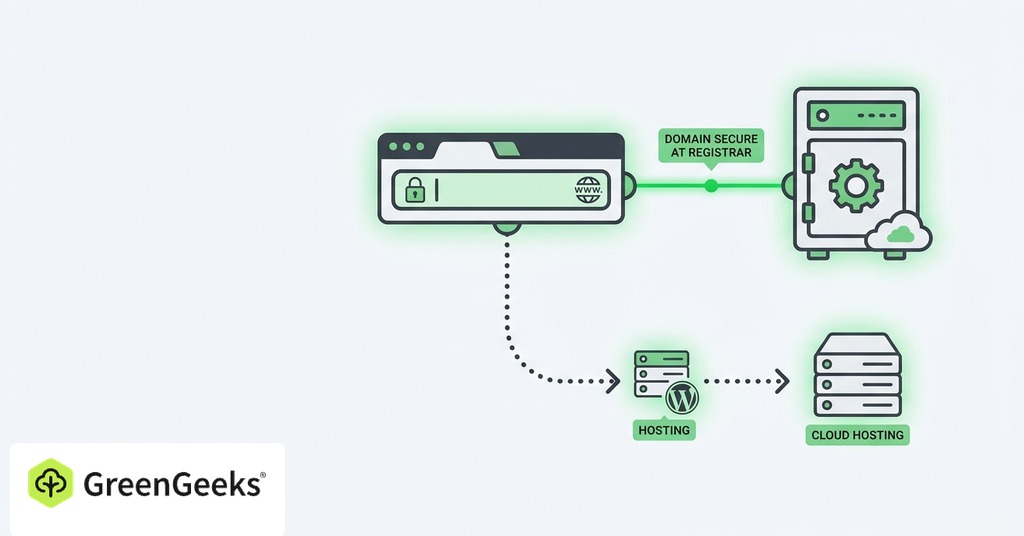
You can connect a domain to hosting without transferring its registration. The registrar remains responsible for renewal and transfer controls. Its dashboard also identifies the authoritative nameservers for the domain.
Keeping registration separate can improve portability because a hosting move does not require a registrar move. Consolidating both services may simplify billing for a first site. Either arrangement works when account recovery and renewal ownership are documented.
Turn on automatic renewal and multi-factor authentication at the registrar. Confirm that the registrant email remains accessible outside the new website. Use a domain lock when the registrar provides one.
Choose Hosting for the Planned Site
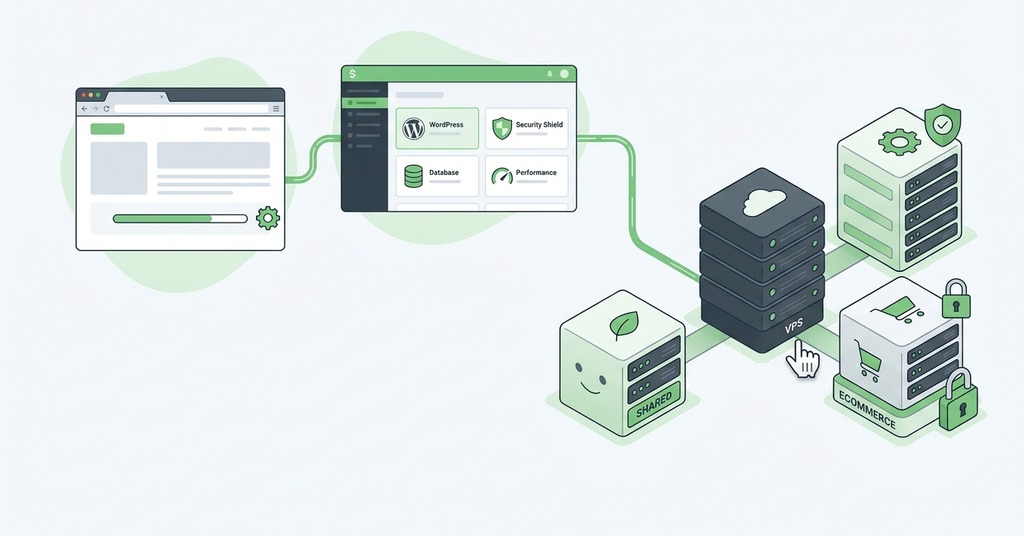
Describe the planned website before comparing plans. A basic WordPress or small-business site usually fits managed shared hosting. A hosted builder may suit a simple site when the owner wants one editing system and limited server work.
An online store needs hosting that supports its commerce software and payment workflow. A custom application may require a specific runtime or server package. Choose a VPS only when those requirements or measured resources justify server administration.
Compare each plan by category:
- Commercial terms: standard renewal price, full billing term, and the first cancellation date that does not forfeit a prepaid amount
- Recovery: backup frequency, retention location, restore method, and any manual restoration charge
- Operations: support channel for a failed site and migration help from the current platform
- Compatibility: the runtime or software version required by the planned site
- Portability: downloadable site files and a database export in common formats
- Email: included account count and storage available per mailbox
Ask the host to describe a damaged-site restore from start to finish. A backup has limited value if the customer cannot select a usable copy or the restore requires an unbudgeted fee.
GreenGeeks, for example, can host a domain registered elsewhere. A first WordPress site can use its shared or WordPress hosting, which includes automatic SSL and support access. The domain can connect through GreenGeeks nameservers or through web records retained at the current DNS provider.
The host supplies connection targets after the account and site destination exist. That is why DNS changes come after hosting setup.
Add the Domain to the Hosting Account
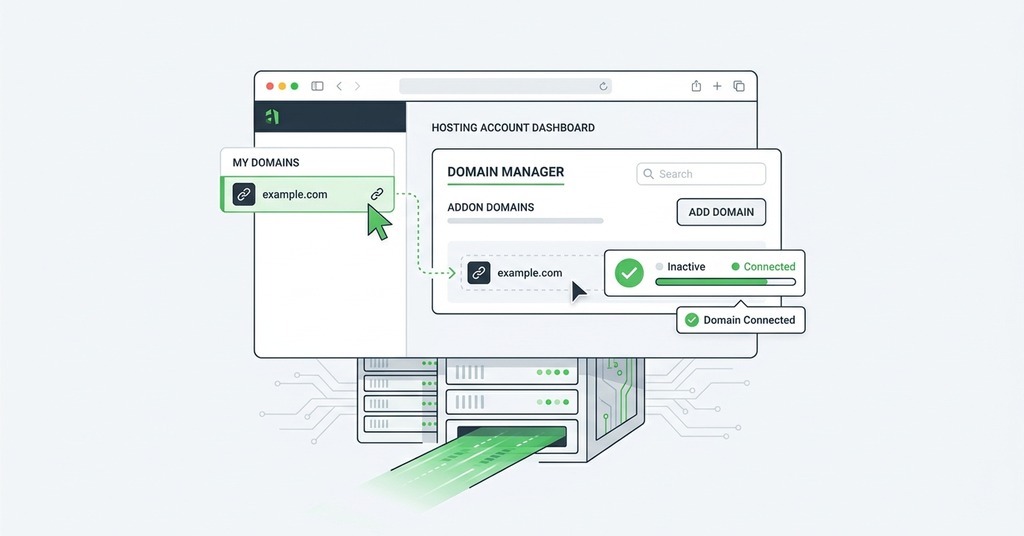
Complete the hosting setup in this order:
- First: Add or assign the domain inside the hosting dashboard.
- Next: Install the site or create the empty site location required by the platform.
- Then: Record every nameserver and the account IP address supplied by the host.
- Also: Save any CNAME target or verification record associated with the new account.
- Last: Select the preferred root or www address and assign both names to the same site.
Public DNS still points to the old destination during these steps. After the connection works, the unused address form can redirect to the selected canonical HTTPS address.
Record the Current DNS Zone
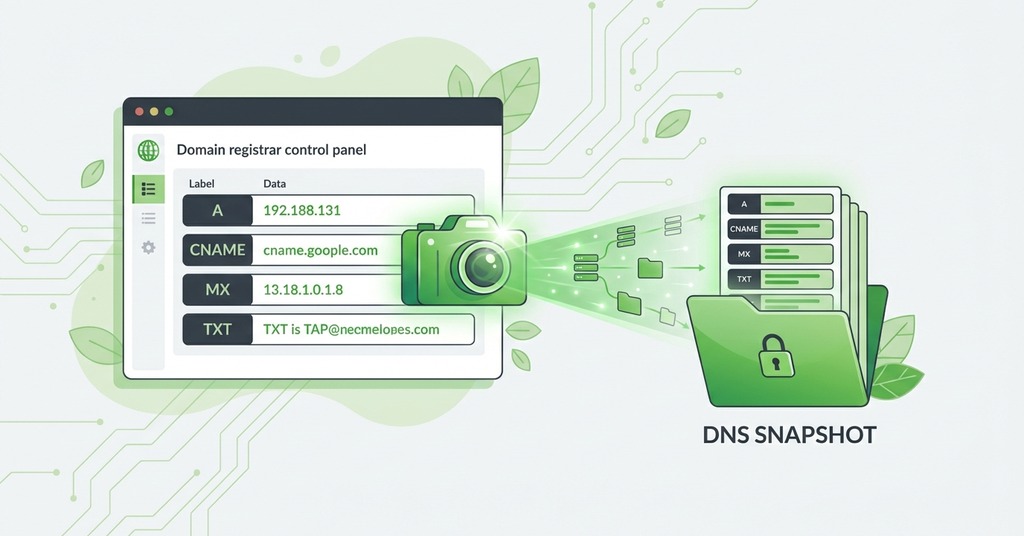
Open the present DNS manager and copy every record into a working note. Screenshots help with recovery, but a text copy is easier to compare after the change. Record each name and type, plus its value and TTL.
Web entries commonly use A or AAAA records. A CNAME can provide an alias for www or another hostname. MX records direct email. TXT records may contain service verification or email authentication data.
Pay close attention to SPF and DKIM entries. A DMARC policy may also be present. Removing any of these can affect delivery even when incoming mail continues to arrive.
Identify every outside service that uses the domain. A newsletter platform or search tool may depend on a verification record. Preserve those entries through the hosting connection.
Record the current TTL for every entry you plan to change, since resolvers may continue serving an earlier answer until that cache period expires.
Connect the Domain Through One DNS Path
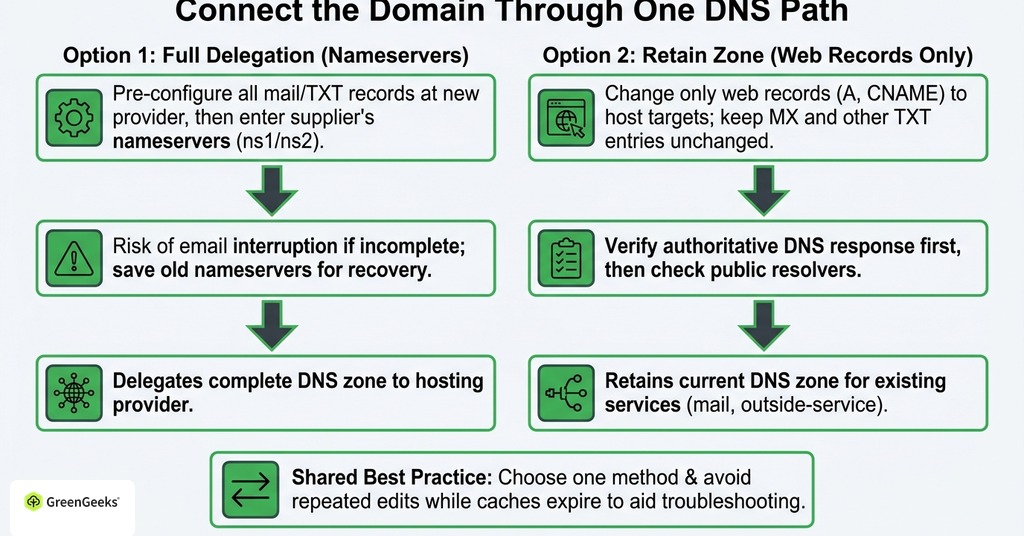
Use one of the following methods. Do not alternate between them while caches are updating because repeated changes make troubleshooting harder.
Change the Nameservers
A nameserver change delegates the complete DNS zone to the hosting provider. GreenGeeks supplies ns1.greengeeks.net and ns2.greengeeks.net for this method. Enter the supplied pair in the registrar dashboard only after the new zone contains every required record.
Before changing delegation, create every required mail and verification record at the new DNS provider. A nameserver change directs resolvers to a different zone. Missing MX or TXT records in that zone can interrupt email and authentication.
Save the previous nameservers. If the new zone is incomplete, those values provide a recovery reference. Avoid switching back merely because one network shows cached data.
Keep DNS and Change Web Records
Existing mail or outside-service records often make the current DNS zone worth retaining. In that case, change only the web records supplied by the host. The root commonly uses an A or AAAA record, and www may use A or CNAME. Keep MX records and unrelated TXT entries unchanged so the website connection does not interrupt mail. Hosted platforms use different targets, so copy the exact values from the new account.
After saving the web records, query the authoritative DNS service first. Its response shows if the new value was accepted. Next, check a public resolver that may have cached the old record. Different responses during the TTL period are expected. Repeated edits restart the troubleshooting process because the team can no longer identify which value a resolver cached. Keep one approved value in place while the relevant cache period expires.
Install the Site and Enable HTTPS
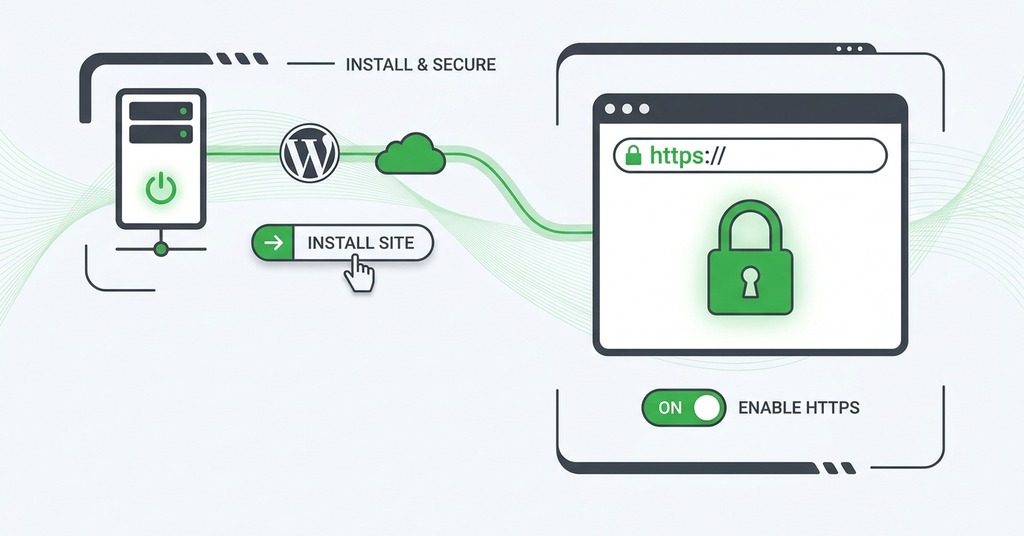
Install the content management system or upload the finished site after the host has assigned the domain. If you use WordPress, confirm that its site address matches the preferred public HTTPS URL.
Certificate issuance usually begins after DNS points to the host and the provider can validate control of the domain. Many hosting plans include automated certificates, so a separate certificate purchase may be unnecessary.
Wait for DNS caches to expire before treating mixed results as a configuration fault. Different networks can show old and new answers at the same moment. Check the authoritative nameservers first, then query the web record from more than one resolver.
Once the certificate is valid, redirect HTTP requests to HTTPS. Confirm that the root and www forms reach the same selected address without a redirect loop.
Verify DNS, HTTPS, and Email
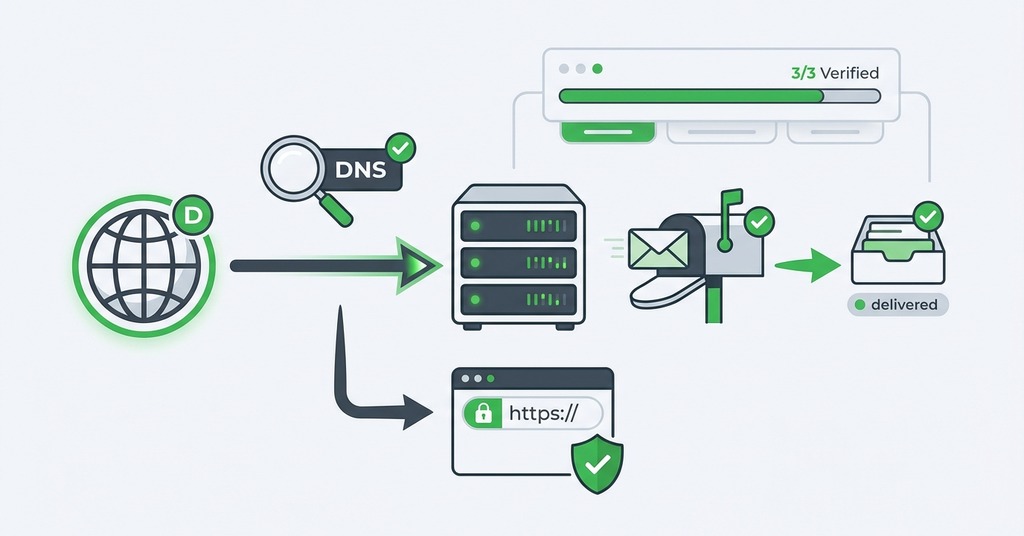
Use this launch checklist from a second network:
- The public address shows the expected site with a valid certificate on that network.
- Both the root and www addresses reach the selected HTTPS destination without a loop.
- Every important form submits successfully and delivers its notification to the intended recipient.
- A message sent from the domain reaches an outside mailbox, and its reply returns.
- Analytics records a test visit from the page and property being launched.
- A backup created after final setup can be selected for restoration from its documented location.
Finish the account record separately. Name the person responsible for domain and hosting renewal, then document certificate automation and mail-service ownership.