Sticky side buttons on a website post or page can be very useful. You may know this better as a “floating menu.” Basically, this allows a menu of icons to float with the website page when you scroll.
These sticky side buttons can be a number of different things. The most popular being social media sharing buttons. However, since you can make multiple menus, you have the ability to add basically any type if icon you want. These icons can be linked to pages, posts, email links, telephone numbers, and other info.
That being said, in order to build this type of floating menu, you need to either know how to write code from scratch, or find a plugin that gives you all the tools you need to accomplish it. Today, we are going to look at a smooth plugin I found called Float menu.
This plugin will give you the ability to create floating menus and style them however you want. Let’s look at the plugin together.
Float Menu
Float Menu is a type of sticky button WordPress plugin that will allow you to easily add a floating menu and sticky buttons to your website. The menu that you build moves along while someone is scrolling down the page. This means it is always visible and always easily accessible.
The floating menu you build will not take up a lot of the screen. It is fully responsive and mobile-friendly as well. The plugin is built to allow you to add sticky side buttons that will enable you to increase conversion rates.
It does this by incorporating a lot of tools and functionality into the plugin. Some of the main features include:
- Create Unlimited Menus
- Two Display Positions (right or left)
- Customize all Labels and Buttons
- Shape Buttons Square if Needed
- Tons of Font Awesome and Icon Choices
- Select Icon Color
- Insert Links
- Open Links in New Windows
- Set Background Color of Buttons
Basically, the plugin does everything you need and more to create amazing floating buttons in WordPress using a variety of icons.
Let’s take a look at how to get the plugin installed and activated. Then, we will go over it together.
Note: The plugin does have a pro version that includes a lot of extra functionality. That being said, this tutorial is based on the free version, which gives you everything you need to create floating sticky side buttons and add menus to the left side or right side of your page.
Install and Activate Plugin
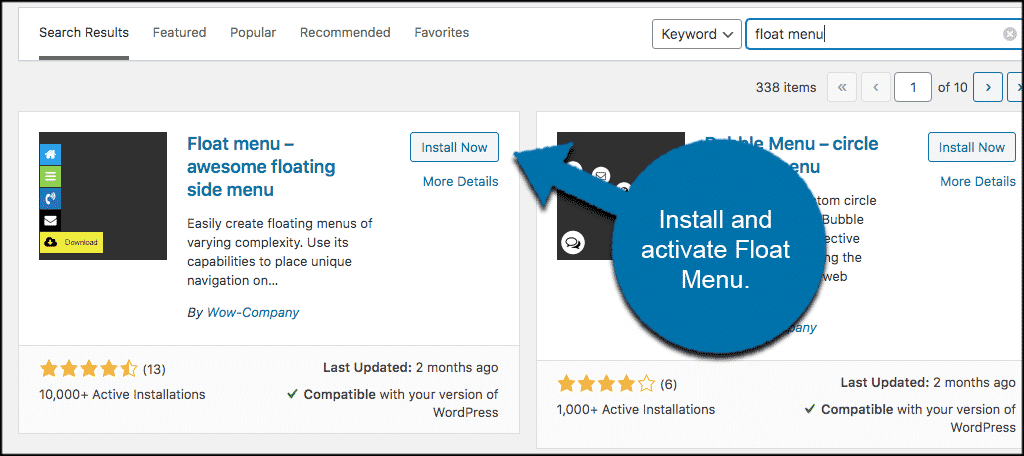
In order to start building your library of sticky side buttons and adding them to menus, you first need to install and activate the plugin. You can do this by going to the Plugins page in your WordPress admin dashboard. Simply search the name of the plugin and install it right there.
Once the plugin has been installed and activated, click on Wow Plugins > Float Menu. You will see this new label on the left side menu of your dashboard.
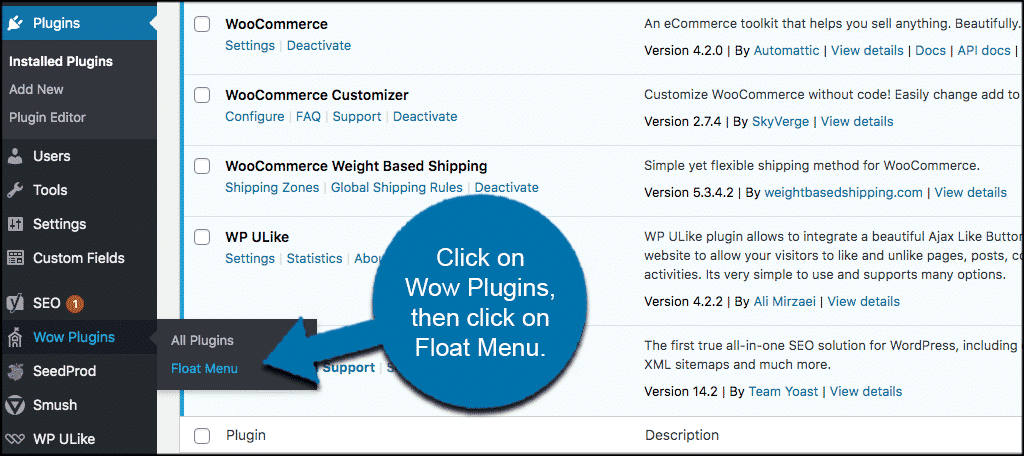
This will take you to the main setup page for the plugin. Here you will find everything you need to get it configured and running. Once the plugin has been configured, there is nothing else to do. It will automatically display on the left or right side of the screen, based on the way you configure it.
Let’s go over it together.
Add Sticky Side Buttons
At this point, you should be on the main configuration page for the Float menu plugin. You will see five tabs. These tabs include:
- List
- Add New
- Pro Features
- Support
- Plugin
Feel free to scroll through those if you want. They are pretty self-explanatory. The most important tab here is the “Add New” tab. This is where you will set up your main settings and then add new buttons for your menu.
Let’s go through this setup process together. Click on the “Add New” tab and open it up. Once inside, You will see two links to the left. These are “Settings” and “Menu.”
Settings
First off, go ahead and give this item a name. You can do so by filling in a name in the top field labeled “Register an item name.” This will make it easy to identify the different items (sticky buttons) moving forward, in case you ever want to add them to another menu that you build.
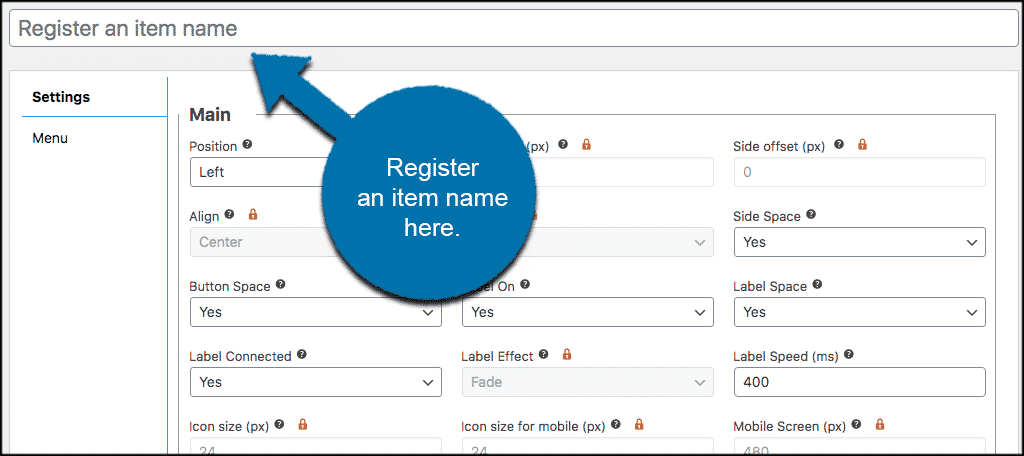
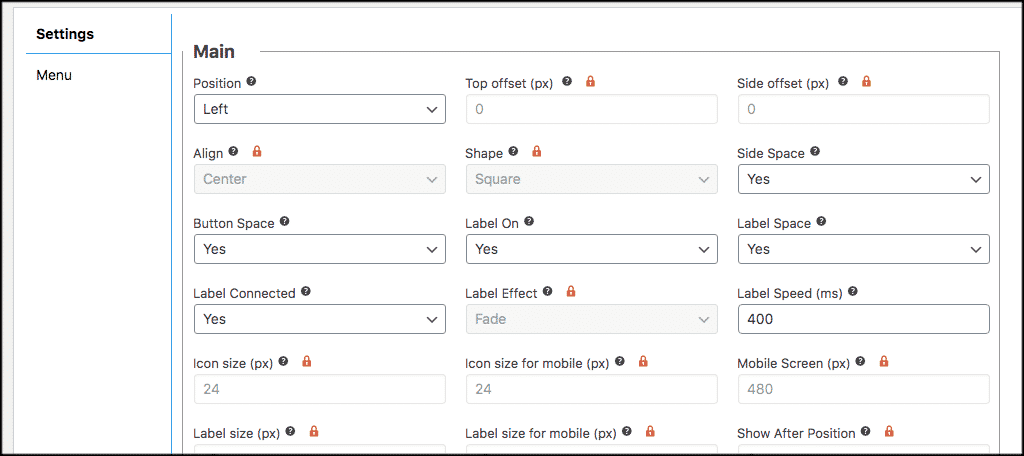
Now click in the “Settings” link. Here is where you will create all the main settings for this particular floating menu. Go ahead and choose all of your main positioning configurations now.
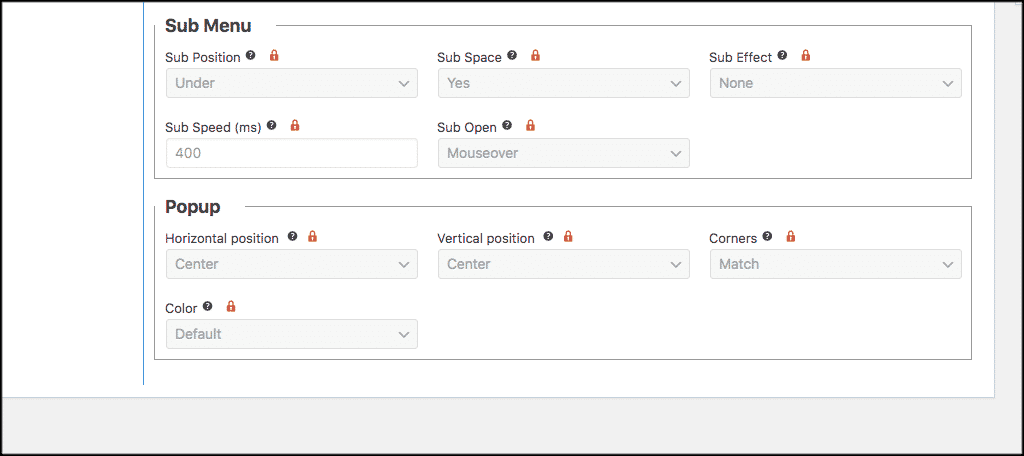
Now scroll down some and choose the submenu and popup settings that you would like for your sticky side buttons floating menu.
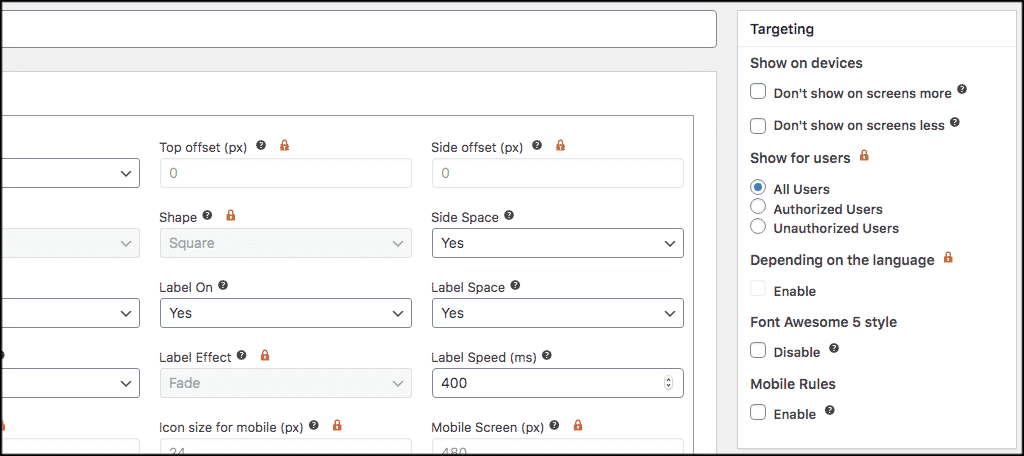
Finally, if you look to the upper right of the screen, you will find there are a few “targeting” settings for you to choose from. Make the choices relevant to how you want the menu to display and target.
Once that is done, go ahead and click on the “Save” button. The floating menu options have now been put into place.
Menu
Now click on the “Menu” link. Inside there, you will see a blue button called “Add Item.” Go ahead and click on that and let’s add an item together.
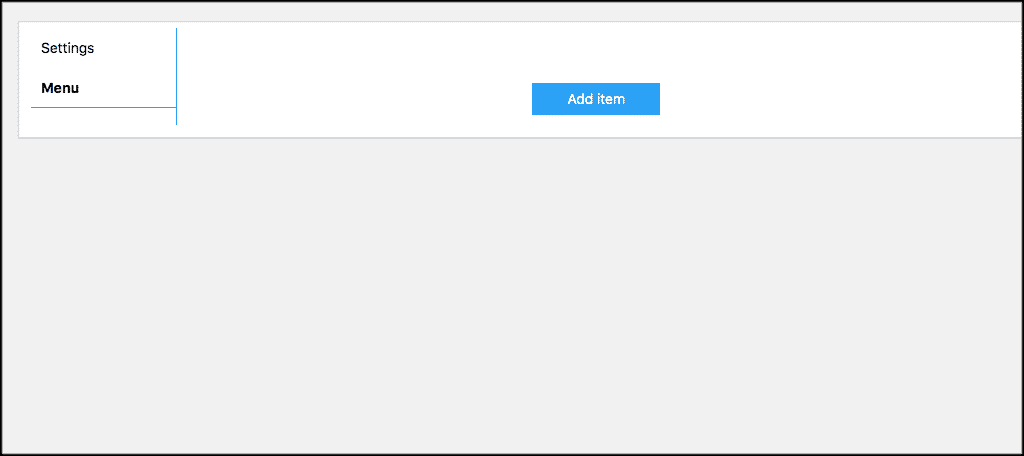
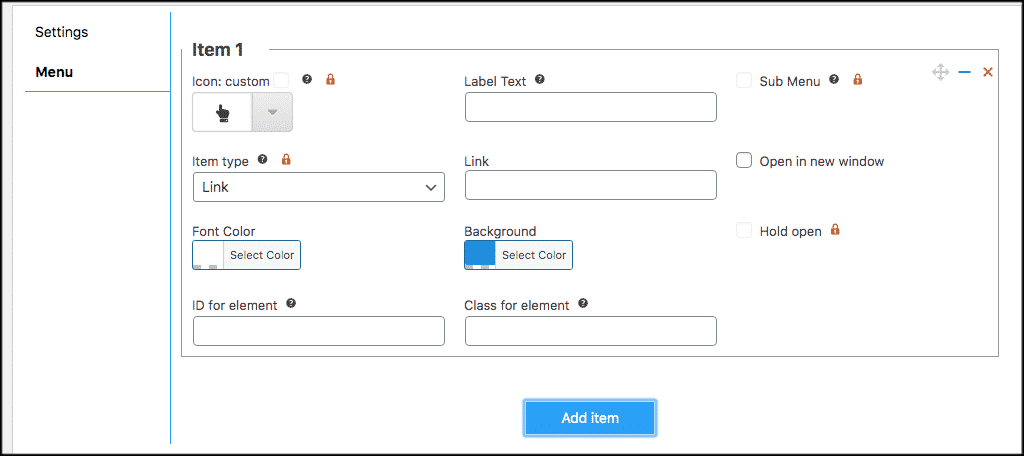
When you click this button, the item settings box will appear. Here is where you are going to add an item or a sticky button, to the menu you built above. Items you add can be anything.
Go ahead and select your icon, colors, labels, fonts, and anything else that is available. You can link your items as well and have them open in separate pages when appropriate.
When you are finished, you have a couple of choices. You can either click on the “Save” button and save that item, or you can click on the “Add Item” button and add another to this same menu.
Essentially, you can add as many items to a menu as you want. These actually become the sticky side buttons that will appear on the right or left of your WordPress posts and pages.
That’s it! You have successfully built a floating menu and added sticky buttons to it. The menu will now automatically display on your site based on the settings you gave.
Remember, you can repeat the process above and add as many different menus and register as many different items as you would like.
Final Thoughts
Having floating buttons in WordPress is a great way to showcase certain items and links that you want customers to have easy access to. These are called sticky buttons, and they are buttons that stick with you no matter what part of the page you are on.
By using the Float menu plugin that we went over together, you can easily add sticky side buttons to your WordPress posts and pages. Furthermore, you can do this all without having to write a single line of code. Since the plugin does everything for you, all you need to do is install it and configure its settings.
I hope this tutorial was informative and gave you easy, step-by-step instructions on how to add floating buttons in WordPress.
Have you ever added sticky buttons to your page and posts? What other plugins have you found that will do this?